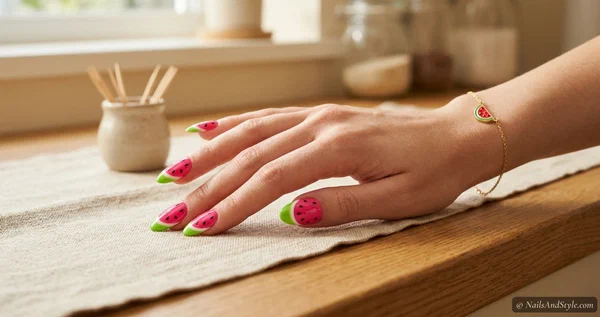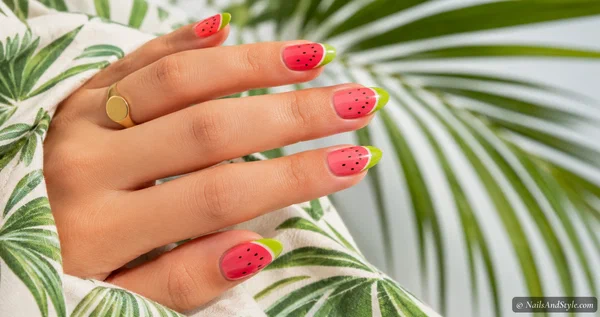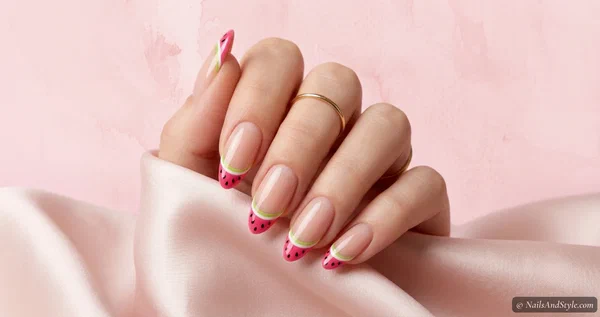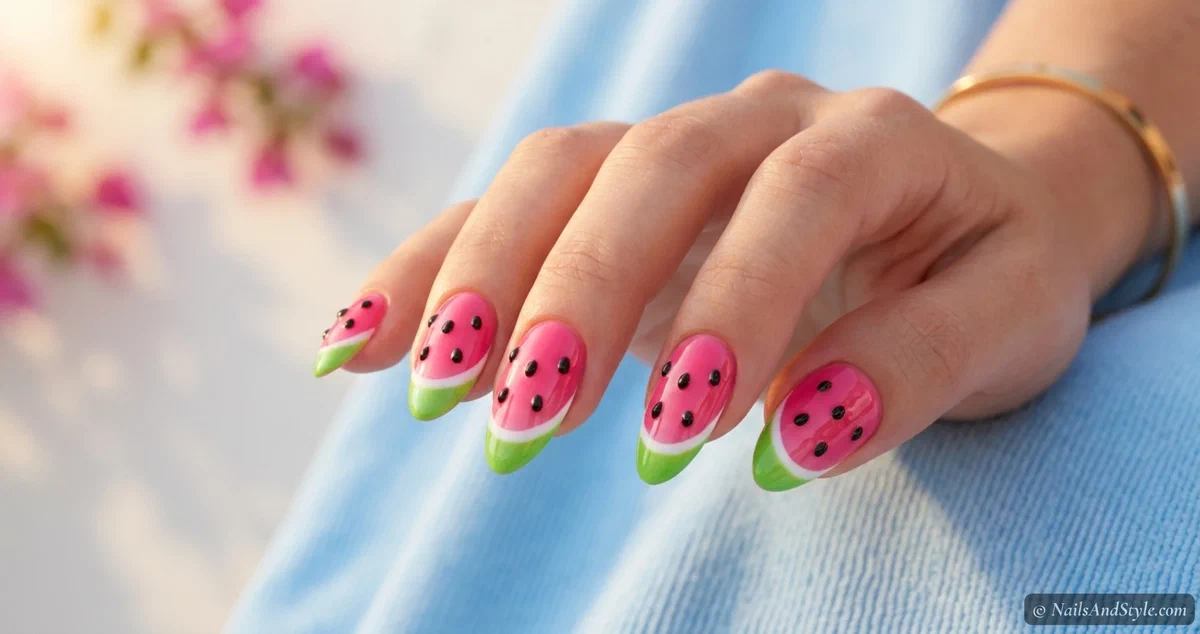
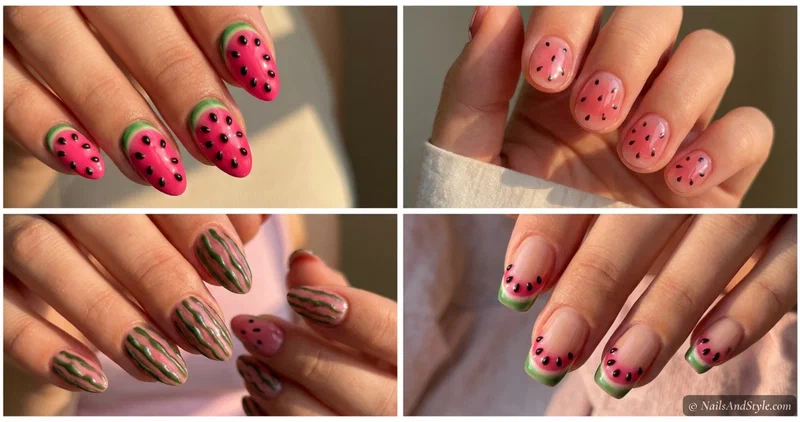
Painted watermelon nails are adorable. But have you seen the ones with seeds that stand up off the nail — the kind you can run your finger over? That tiny bit of texture is the whole reason 3D watermelon nail art has quietly taken over my summer saves folder.
This guide walks you through how to build that texture at home, with eight different versions — from raised seeds to plump jelly domes to embossed rinds that look like real fruit skin. Some take ten minutes. A couple are lazy-Sunday projects. All of them work on short and medium nails.
I’ll show you the exact colors, the tools, and the little tricks that make the 3D part hold up instead of peeling off by dinner.
Why 3D Watermelon Nails Are Worth the Extra Effort#
Flat watermelon nails are cute. Textured ones are a conversation. There’s something about a raised, glossy seed catching the light that reads way more expensive than it actually is to make.
They photograph beautifully too — the little bumps throw tiny shadows, so your pool selfies suddenly look editorial. Great for vacations, brunches, festivals, or just a Tuesday when you want your hands to feel a bit extra. If you love a summer fruit theme, you’ll probably want to pin a few flatter painted versions from my summer fruit nails post too.
A Few Things to Keep in Mind Before You Start#
- Colors: hot pink flatters warm undertones; soft coral or baby pink suits cooler ones. Green and black stay the same across the board.
- The 3D bit: you’ll want a clear builder gel (or a thick, gloopy top coat), a dotting tool or toothpick, tweezers, and optionally tiny black beads or rhinestones.
- Shape and length: short and medium almond or square nails hold 3D details best — long nails put the texture at more risk of catching.
- Base and top coat, always. The base stops staining. A generous top coat is what locks your raised seeds down so they don’t pop off.
Quick Pick: Which 3D Watermelon Look Should You Try?#
| If you’re looking for… | Try these designs |
|---|---|
| Total beginner | Raised Black Seed Slice, Caviar Bead Seeds |
| Short nails | Mini 3D Watermelon Charm, Caviar Bead Seeds |
| Maximum wow-factor | 3D Jelly Dome Watermelon, Encapsulated Seed Watermelon |
| Elegant but still playful | 3D Watermelon French Tips, Matte Rind Glossy Seeds |
8 Ways to Create 3D Watermelon Nail Art at Home#
I’ve ordered these roughly from easiest to fanciest. Pick whichever matches your patience level today — no shame in starting with the simple one.
1. Raised Black Seed Slice#
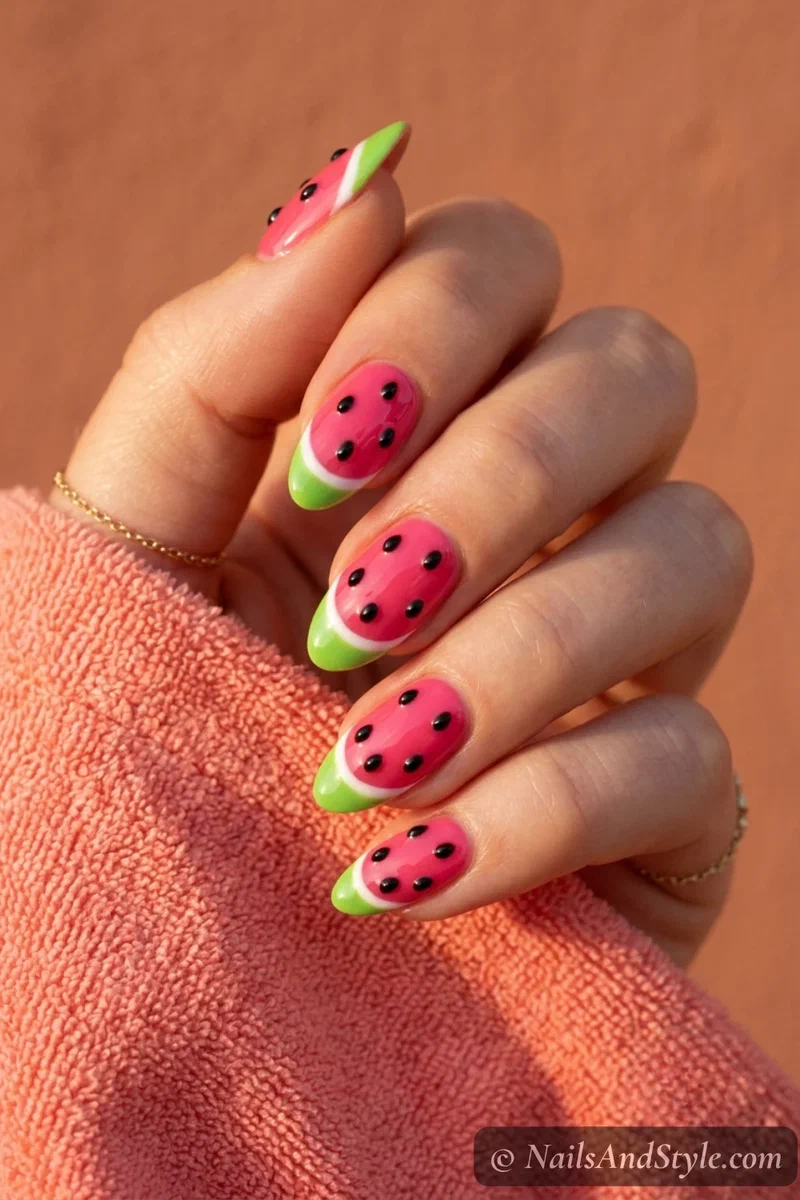
This is the design that started my whole obsession. It’s the classic watermelon slice, except the seeds sit up off the surface instead of lying flat.
How to do it: Paint two coats of hot pink, add a thin white line and a bright green tip like a normal slice. Now for the fun part — instead of dotting flat seeds, place a tiny drop of clear builder gel or nail glue where each seed goes, let it dome slightly, then top each little bump with black polish once set. Cap the whole nail in glossy top coat. Tap one and you’ll feel it (and trust me, people will try to touch them).
2. 3D Jelly Dome Watermelon#
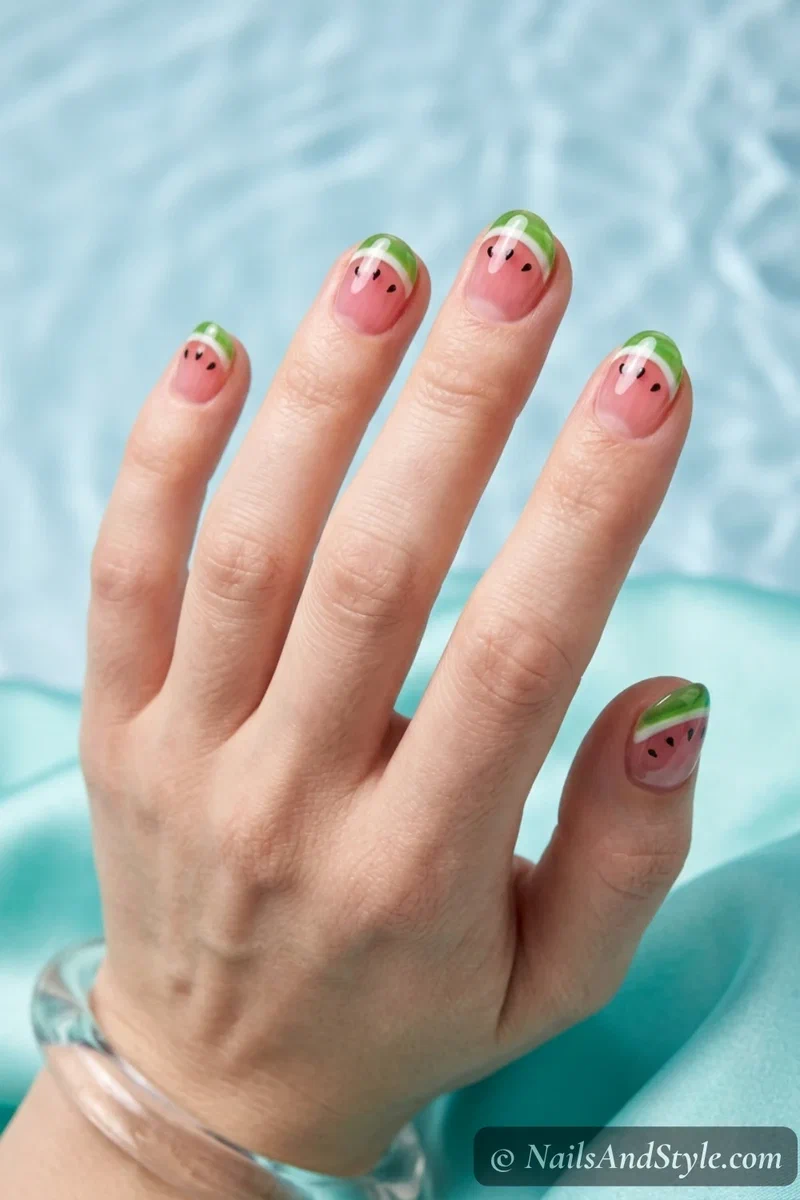
You know that plump, glassy, poured-in-resin look? That’s a builder gel dome, and it makes a watermelon slice look genuinely juicy.
Start with a sheer jelly-pink base so a little natural color glows through, add your slim white line and green tip, drop in a few seeds. Then flood the whole nail with a self-leveling clear builder gel and let it settle into a rounded bubble before curing or drying. The result is thick, wet-looking, and honestly a little hypnotic. If you’re new to working with gel, my gel nails at home without a UV light guide covers the basics first.
3. Encapsulated Seed Watermelon#
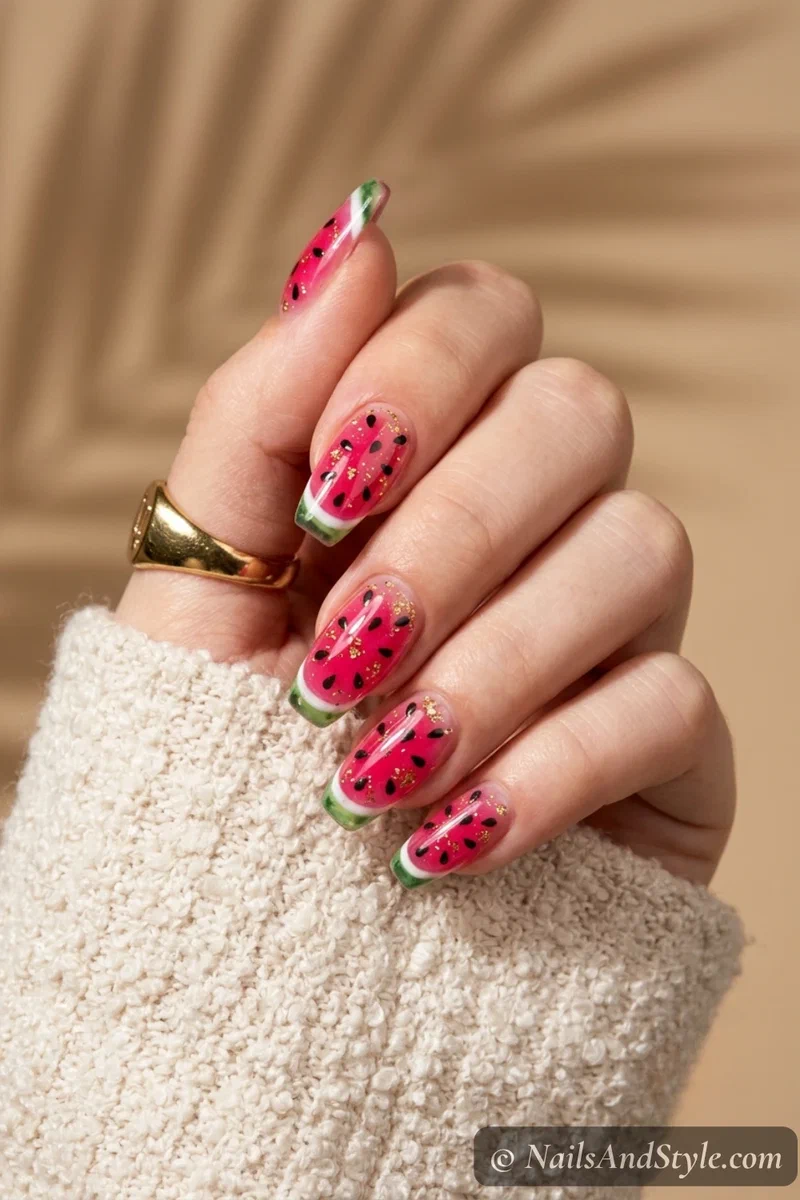
Fruit set in glass — that’s the vibe. The seeds and a whisper of gold flake float inside a clear layer, so they look suspended with real depth.
How to do it: Lay down your pink base, then a thin clear gel layer. While it’s wet (or between cures), scatter your black seeds and a few fine gold flakes across the pink, then cap everything with a thicker clear builder layer. The extra depth is what makes the seeds look like they’re floating. Finish glossy and glassy.
4. Embossed Rind Texture#
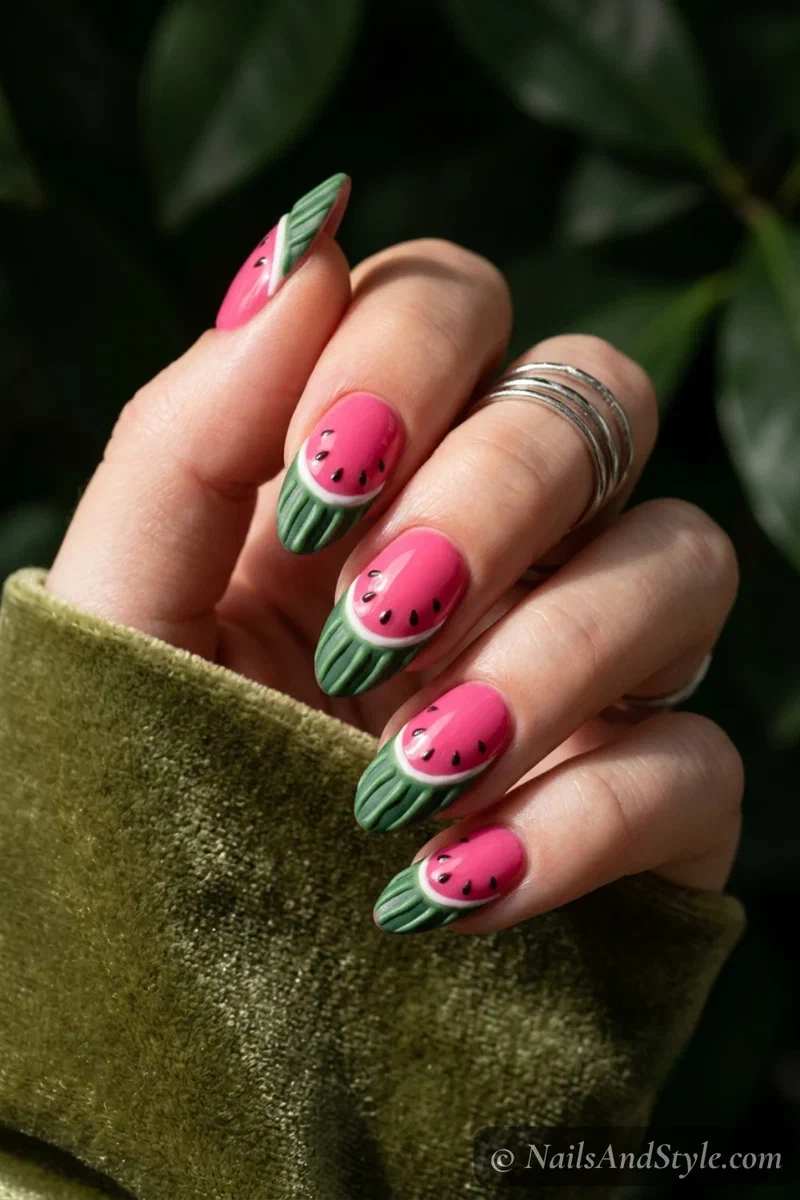
Most watermelon nails do a flat green tip. This one sculpts the rind so it stands up like the real thing.
Instead of painting the green section flat, pipe a thin bead of green builder gel (or a 3D relief gel) in a couple of curved stripes along the tip, letting them sit raised off the surface. Keep the pink glossy and the ridged rind slightly matte for contrast — the texture difference is what sells it. This one feels sculptural, almost like tiny nail jewelry.
5. 3D Watermelon French Tips#
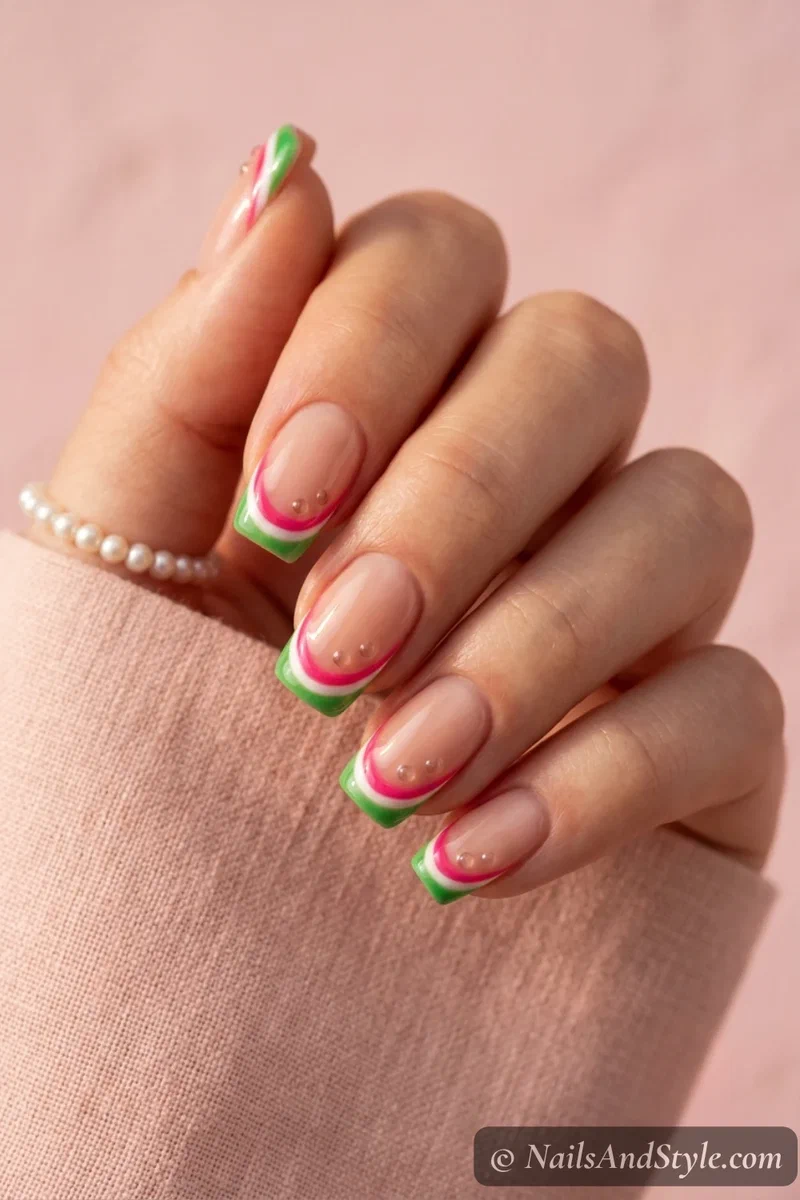
For when you want playful but still a little grown-up. Think brunch, or a summer wedding where you don’t want anything too loud.
Paint a sheer nude base, then create a watermelon French smile at the tip — pink, thin white line, green edge. Dome just the smile line with a touch of clear builder gel and press two or three raised seeds into it. You get the elegance of a French with a fun textured surprise right at the tips. Glossy finish, obviously.
6. Caviar Bead Seeds#
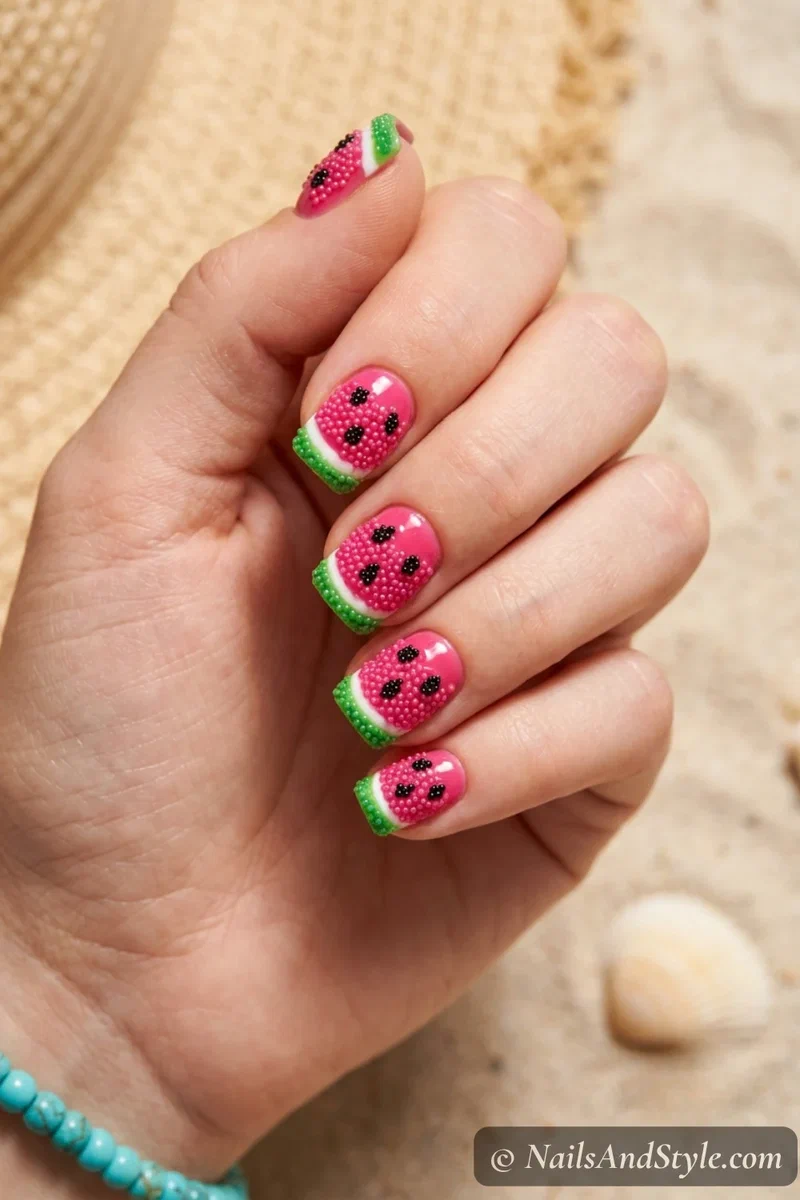
Want texture without any gel-doming skills? This is your shortcut. Tiny caviar beads give you that bumpy, candy-like feel in about two minutes.
How to do it: Paint your slice as usual, brush a layer of clear top coat over just the seed area, then press a cluster of micro black caviar beads onto the tacky coat while it’s still wet. Don’t top-coat over the beads or you’ll flatten the texture — leave them bare and bumpy. So easy it almost feels like cheating.
7. Matte Rind, Glossy 3D Seeds#
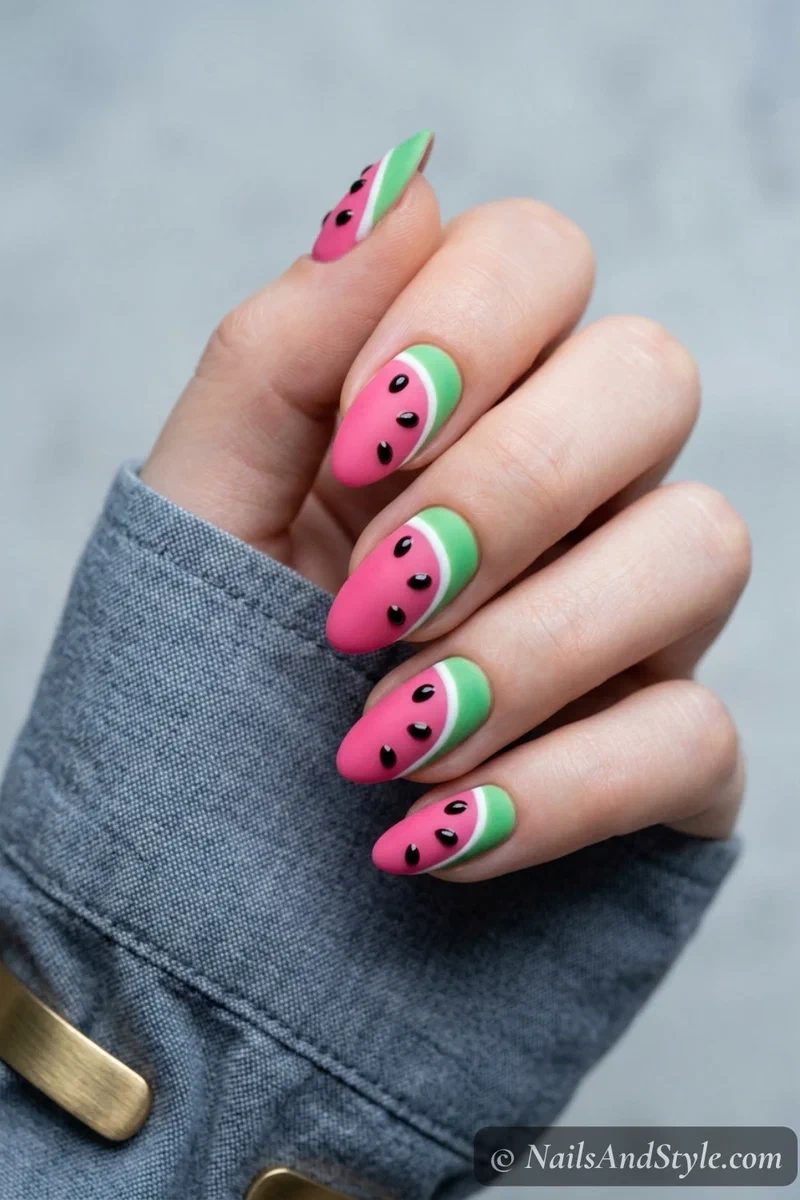
Here’s a fun trick — let the finish do the 3D work. A flat matte body makes glossy raised seeds pop like they’re lit from inside.
Paint your pink and green sections, then seal everything in a matte top coat. Once that’s set, build your raised black seeds with a glossy gel or thick top coat right over the matte. The shine contrast tricks your eye into reading the seeds as even more raised than they are. Understated but very clever-looking.
8. Mini 3D Watermelon Charm Accent#
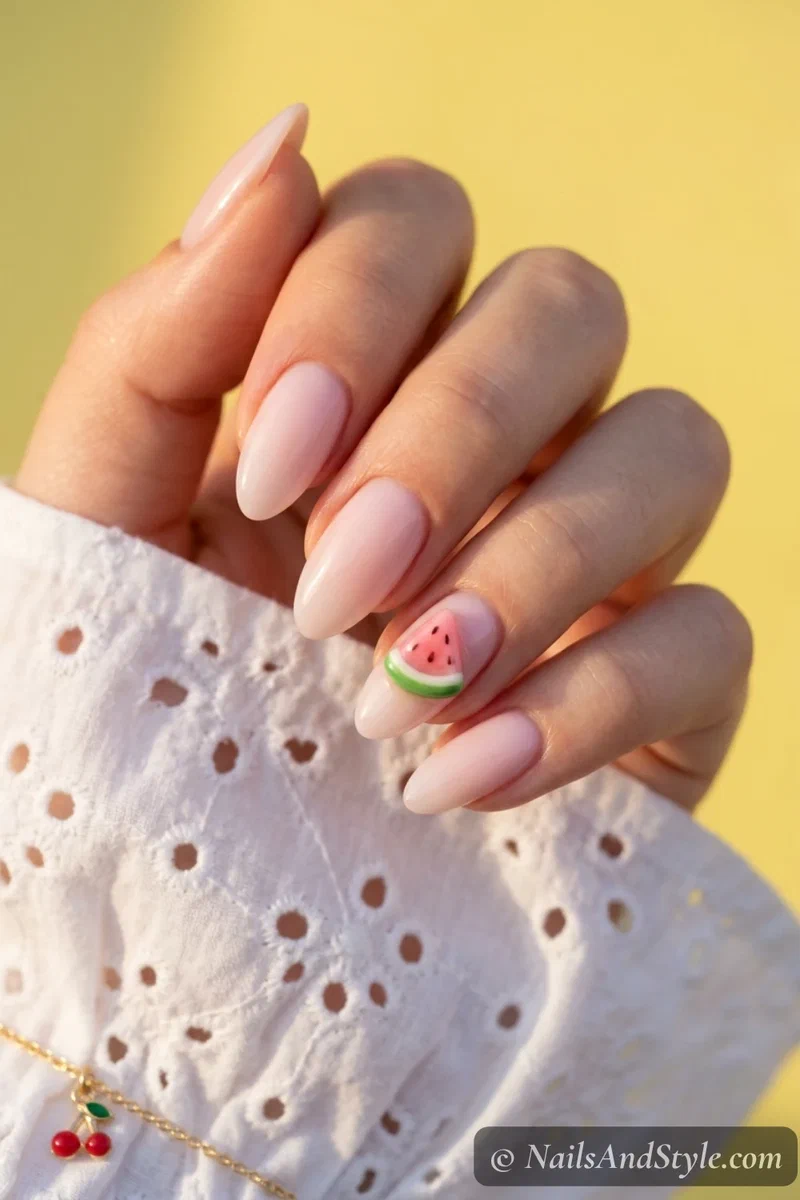
The low-commitment one. Four soft nails, one little sculpted watermelon wedge that does all the talking.
Paint four nails in a milky pink or sheer nude, then on your accent nail, sculpt (or glue on) a tiny 3D watermelon wedge — a plump little half-slice of pink, white rind, and green skin sitting proud of the surface. It’s playful without being a whole production, and it’s the version I’d recommend if you’re short on time. For flatter painted takes, my full watermelon nails design post has ten more ideas.
3D Watermelon Nails on Short Nails#
Short nails, can they really handle 3D? Honestly, better than you’d think. The smaller surface keeps the texture from looking crowded, and a raised detail actually draws the eye upward, which can make short nails look a touch longer.
The trick is scale. Keep the 3D elements small and grouped — one cluster of seeds or one tiny wedge beats trying to cram a busy sculpted design onto a short nail.
A Few More Short-Nail Ideas#
- Single caviar-seed cluster on each nail — tiny, tactile, and impossible to mess up.
- One 3D charm accent with the rest kept sheer keeps short nails feeling light.
- Raised seeds on a nude base stretch the nail visually because so much stays bare.
- A slim embossed rind stripe at the very tip adds texture without eating up length.
- Matte body with two glossy seeds — minimal effort, maximum “did you get those done?”
What You’ll Need#
- Base coat — a clean base to build on
- Glossy top coat — seal the flat areas
- Watermelon polishes — pink/red, green, white + black seeds
- Builder gel or acrylic — to sculpt the raised seeds and dome
- Dotting tool — to shape and place the 3D seeds
Simple Step-by-Step: How to Do 3D Watermelon Nails at Home#
Here’s the order I follow no matter which of the eight I’m doing:
- Prep. Wash hands, push back cuticles, trim, and file in one direction.
- Buff lightly so your base grips better — this matters more when you’re building height.
- Base coat. One thin layer to protect against staining.
- Base color. Hot pink, jelly pink, or sheer nude, depending on your chosen look.
- Paint the slice. Add the white divider line and green tip with a striping brush or a steady hand.
- Build the 3D element. Dome seeds with clear gel or glue, press on caviar beads, or pipe a raised rind — whatever your design calls for. New to detail work? My beginner nail art guide helps here.
- Set it. Cure under a lamp if using gel, or let air-dry fully if you’re using polish and glue. Don’t rush this part.
- Clean the edges with a small brush dipped in remover.
- Top coat. Glossy coat over the flat areas, and carefully around raised seeds so they stay domed. Seal the free edge.
How to Ask Your Nail Artist for 3D Watermelon Nails#
If you’d rather leave the sculpting to a pro, a little prep makes a big difference. 3D work is very specific, so the clearer you are, the closer you’ll get to what’s in your head.
- Bring 2-3 reference photos and point out whether you want raised seeds, a jelly dome, or an embossed rind — these look totally different in person.
- Ask for gel or builder gel, not regular polish. The 3D height genuinely needs a gel base to last more than a day or two.
- Suggest a short-to-medium almond or square shape — it’s the most durable canvas for texture.
- Say whether you want hand-sculpted details or pre-made charms and beads. Sculpting costs more time (and usually money), so decide upfront.
- Mention you want the 3D bits sealed well so they don’t catch or peel — a good artist will cap the edges for you.
Tips to Make 3D Watermelon Nails Last Longer#
- Keep every layer thin — bulky polish under 3D details is what causes lifting.
- Cap the free edge and gently cap around your raised seeds with top coat.
- Skip hot water for at least an hour after painting.
- Wear gloves for dishes and cleaning (yes, even for a quick load).
- Don’t file or buff over the textured areas once they’re set.
- Refresh a thin top coat every 2-3 days to keep the seeds glossy and locked.
- Cuticle oil daily — happy cuticles quietly help the whole manicure last.
Quick FAQ#
Is 3D watermelon nail art hard for beginners?#
The raised black seed version is genuinely beginner-friendly — you’re just building small domed dots and topping them with black. The jelly dome and embossed rind take a bit more practice, so save those for once you’re comfortable.
What colors work best for 3D watermelon nails?#
Classic hot pink, bright green, white, and black give you that instantly-readable watermelon look. For a softer summer mood, swap in baby pink and mint with dark brown seeds instead of black.
Can I do 3D watermelon nails on natural nails without a lamp?#
Yes. You can build raised seeds with layered clear top coat or a dot of nail glue instead of gel, so no lamp needed. It won’t last as long as gel, but it’s a great no-equipment way to test the look first.
Final Thoughts#
Once you feel that first raised seed under your fingertip, flat nail art kind of loses its shine — 3D watermelon nail art is a little addictive like that. And the tools are cheap, the technique is forgiving, and even a slightly wonky seed still reads as charming rather than wrong.
Save the versions that made you smile, then start with the raised seed slice and work your way up to a jelly dome once you’ve got the feel for it. Fair warning though: you’re going to spend the rest of summer tapping your own nails just to feel them.