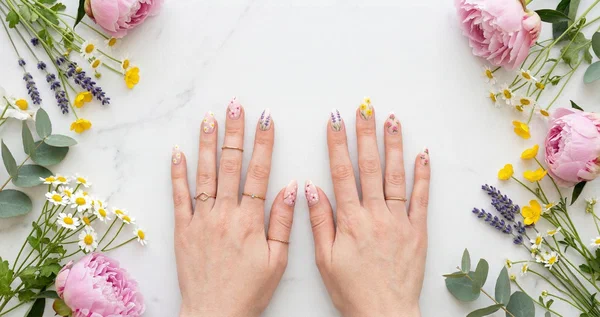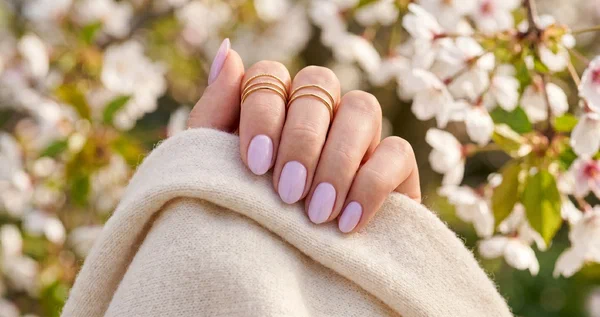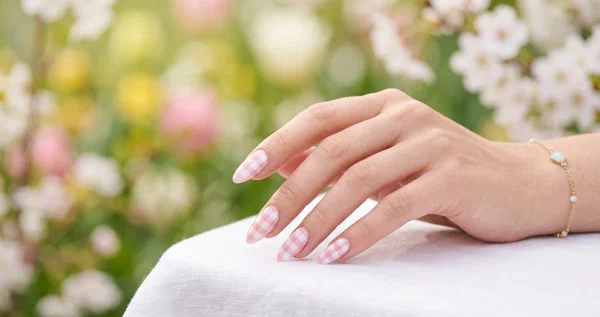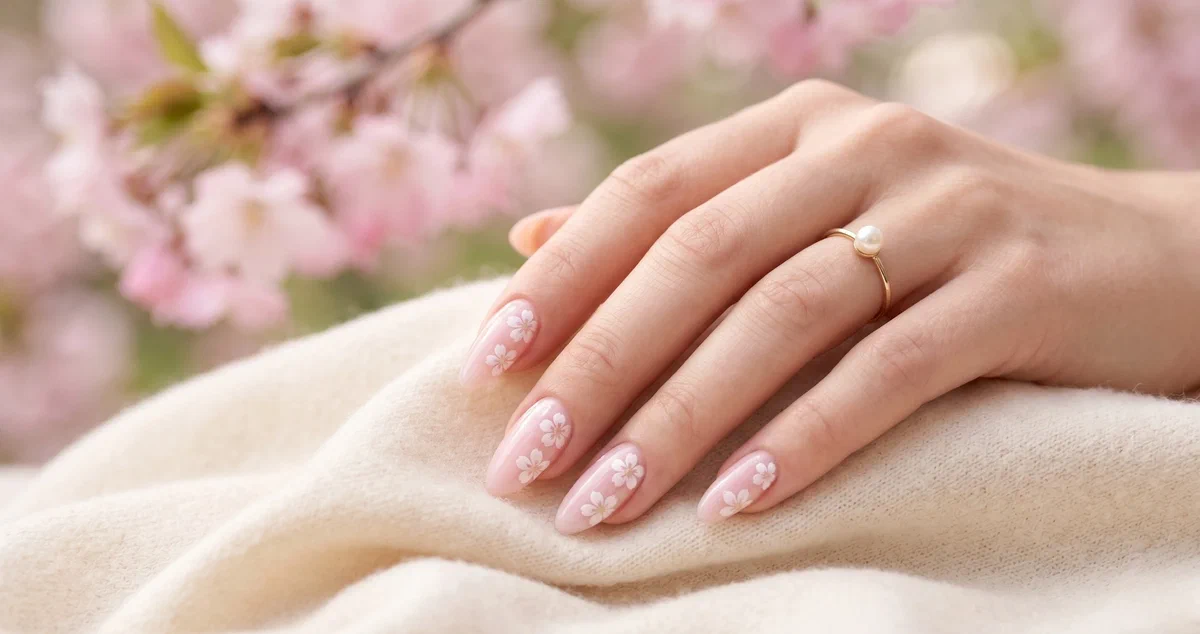
Cherry blossoms are kind of unfair. They show up for two weeks, disappear before anyone is ready, and somehow every spring we all forget exactly how pretty they were and fall hard all over again. Cherry blossom nails are how I cheat the timeline — put them on your fingertips and sakura season is yours to keep for a few weeks longer than nature intended.
This post has 15 dreamy designs you can actually recreate at home. Minimal options for the “I want it subtle” crowd, full-on 3D petals for the maximalists, and plenty in between. Every look works beautifully on short and medium nails. No salon trip, no extensions, no stress.
Pour some tea. Let’s scroll.
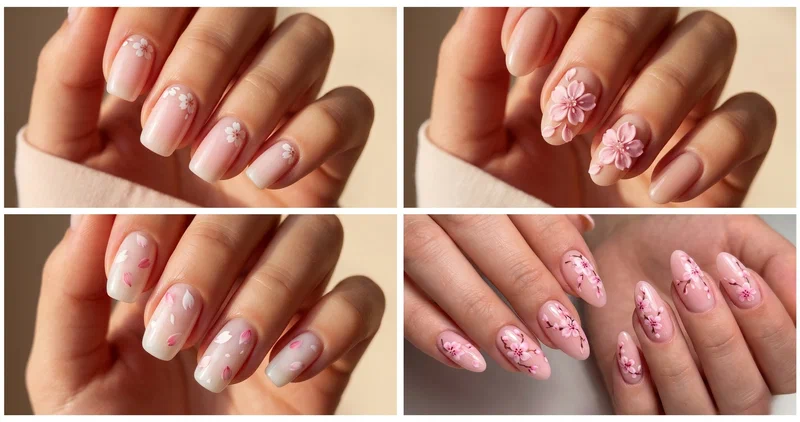
Why Cherry Blossom Nails Are Having Such a Moment#
Soft pinks have been everywhere this season, and cherry blossom designs fit right into that romantic, slightly whimsical vibe the whole spring is leaning into. Between milky bases, pearlescent finishes, and those dainty five-petal flowers, there’s a softness to these manis that works for almost anything — weddings, brunches, picnics, or a random Wednesday when you want your hands to feel a little special.
And here’s the best part. They’re not as tricky as they look. Most cherry blossoms are literally five dots in a circle with a tiny center. That’s it. If you’ve seen my spring floral nails post, you already know I’m a big believer in “if it’s dots, you can probably do it.”
A Few Things to Keep in Mind Before You Start#
- Pick a base that flatters. Milky white, sheer pink, or warm nude lets the flowers do the talking.
- Match the pink to your skin tone. Warm undertones glow in peachy pinks. Cooler tones look stunning in dusty rose.
- Almond and oval shapes are your best friends. The elongated shape gives tiny flowers room to breathe.
- Base coat. Always. Pink pigments stain like nothing else if you skip it.
Quick Pick: Which Cherry Blossom Design Should You Try?#
| If you’re looking for… | Try these designs |
|---|---|
| Beginner-friendly | Milky Pink Cherry Blossoms, Petal Rain |
| Short nails | Minimalist Blossom Outlines, Negative Space |
| Bold statement | 3D Cherry Blossom Accent, Cherry Blossom Chrome |
| Soft and romantic | Watercolor Cherry Blossom, Cherry Blossom Ombre |
15 Cherry Blossom Nail Designs to Try This Spring#
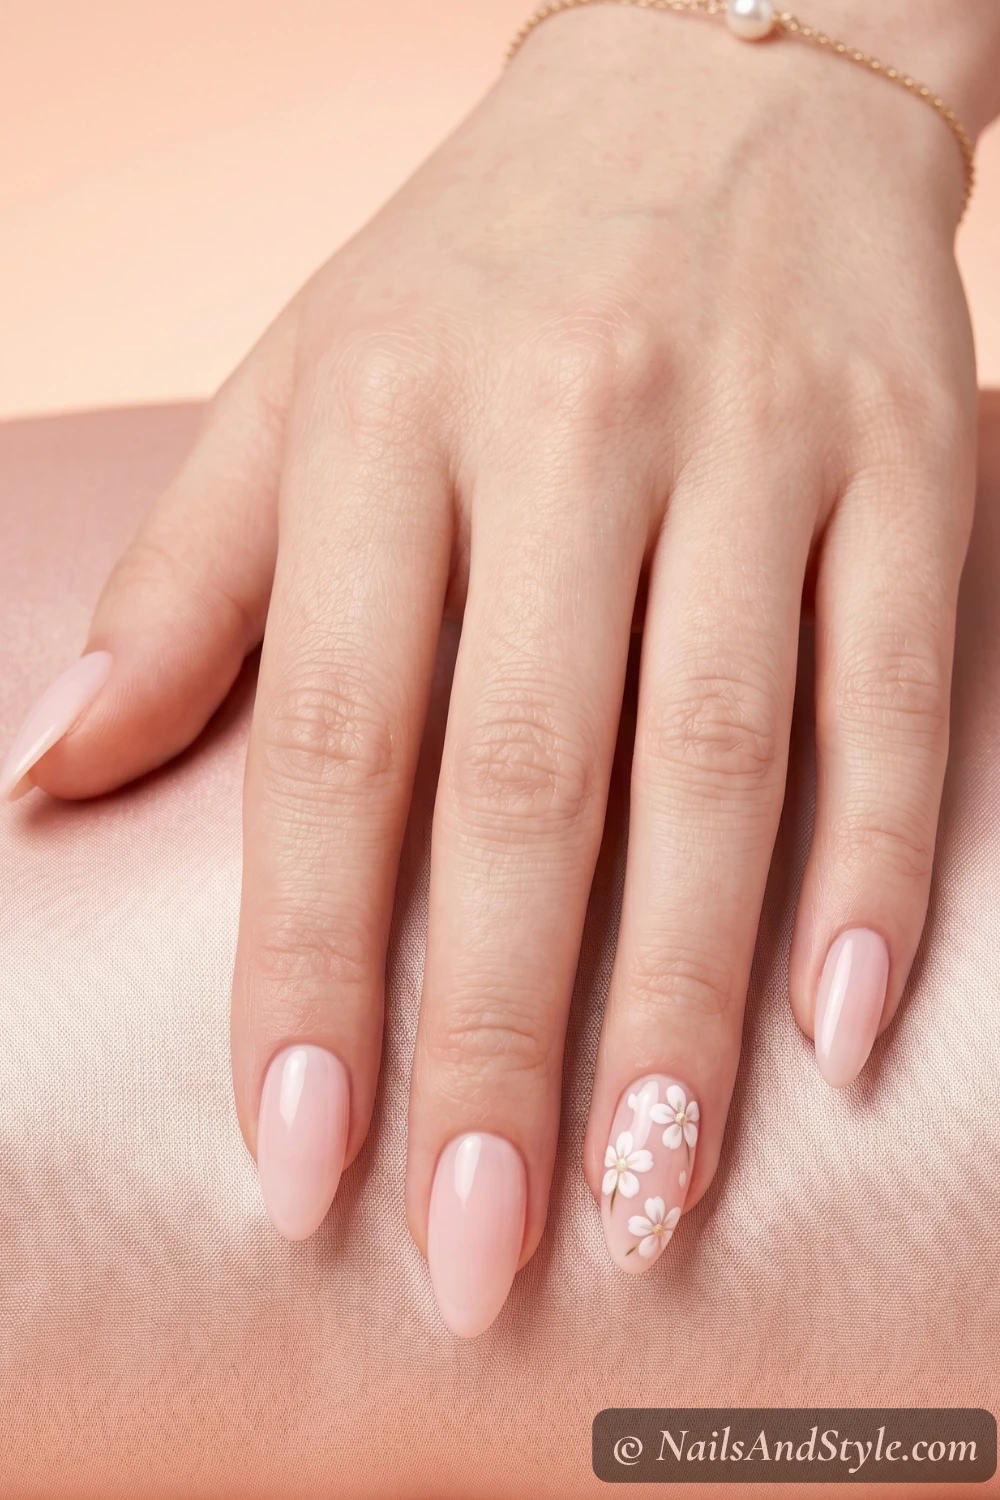
1. Milky Pink Cherry Blossoms#
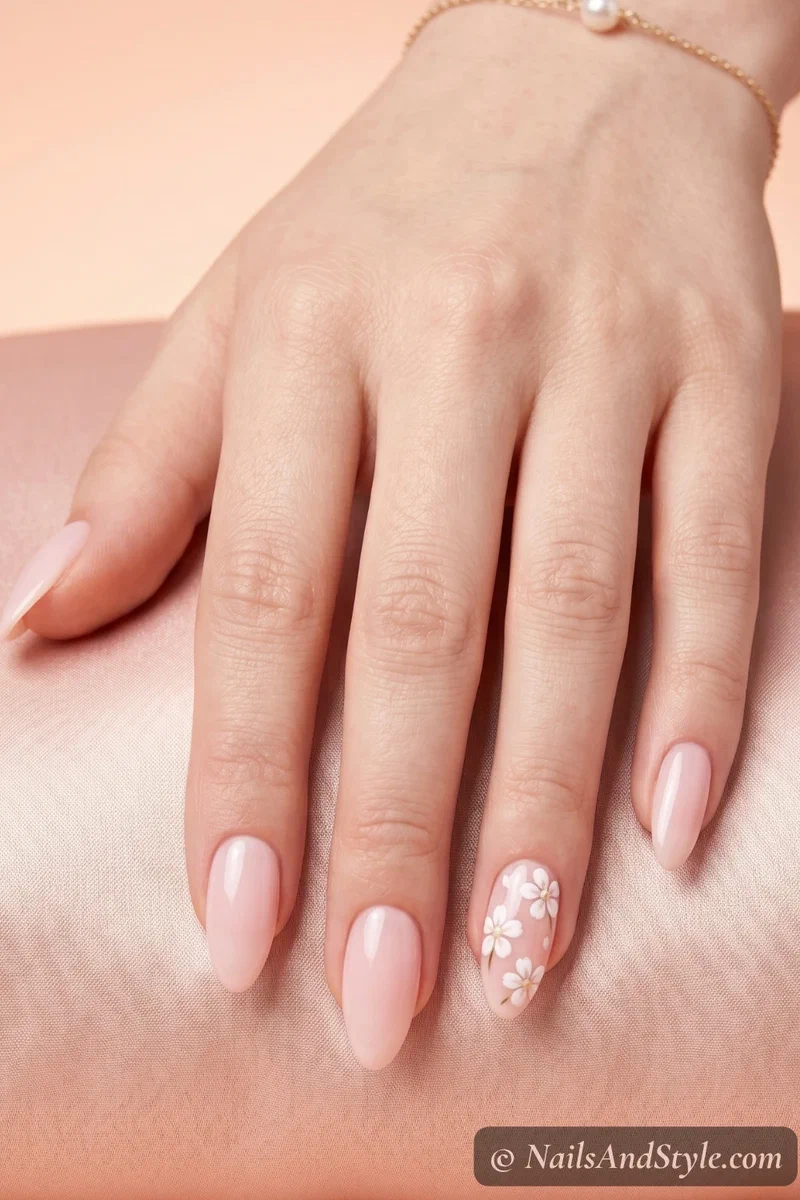
This is the entry-level dream. Two thin coats of milky pink — just barely opaque — then five tiny white petal dots clustered near the cuticle on one or two accent nails. Drop a yellow or deep-pink center in with a toothpick. Glossy top coat, and you’re done in under an hour.
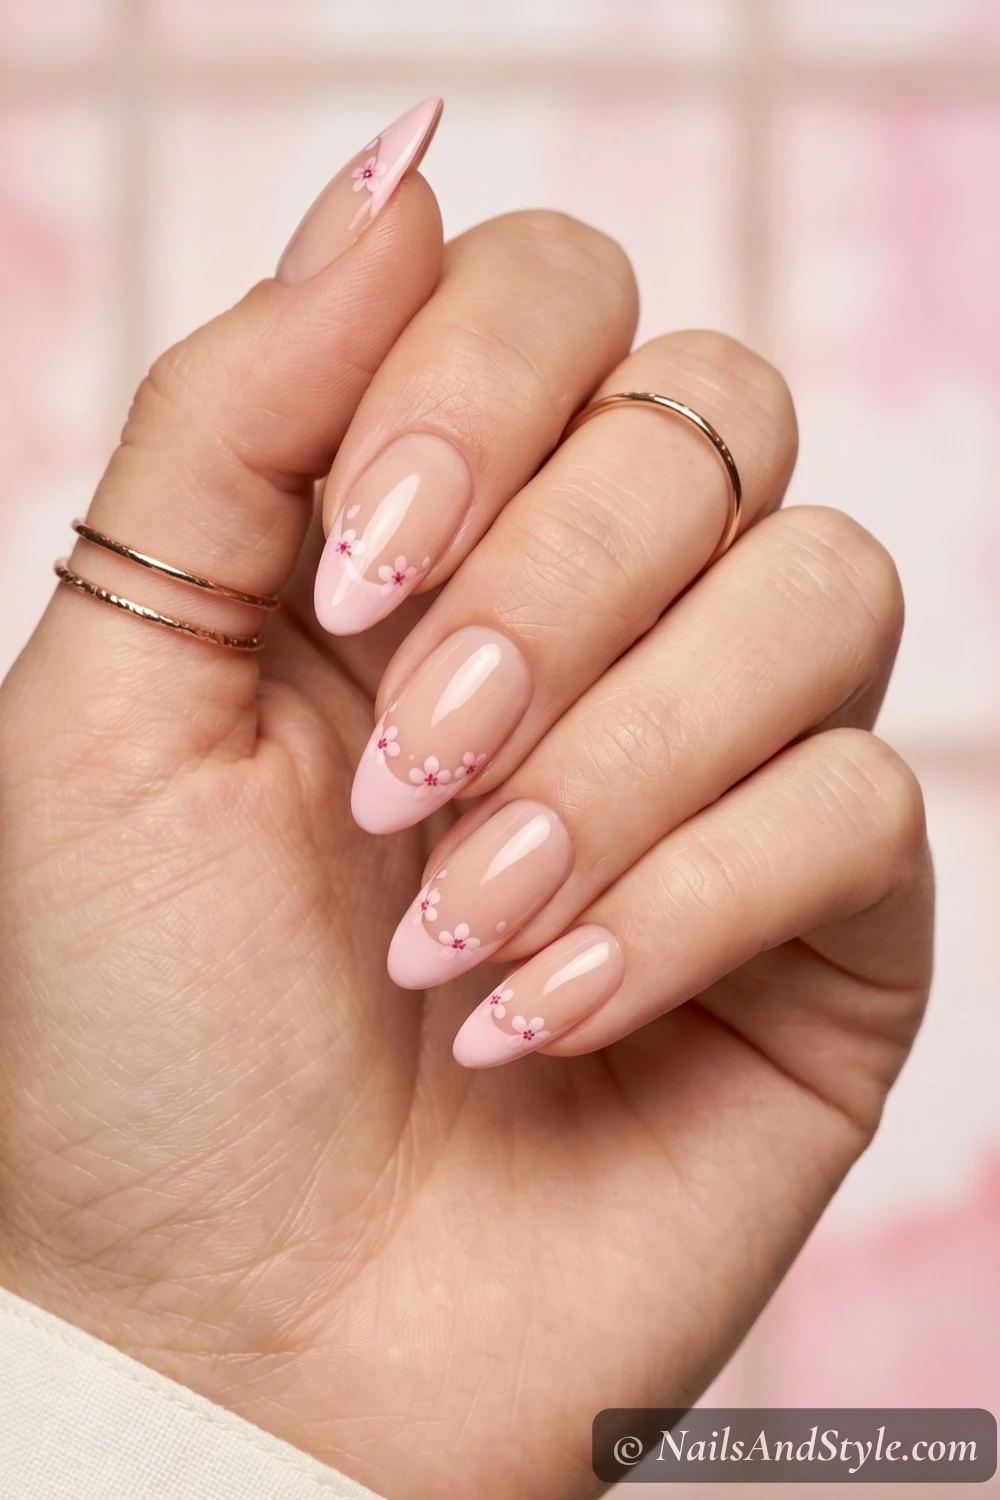
2. Delicate Cherry Blossom French Tips#
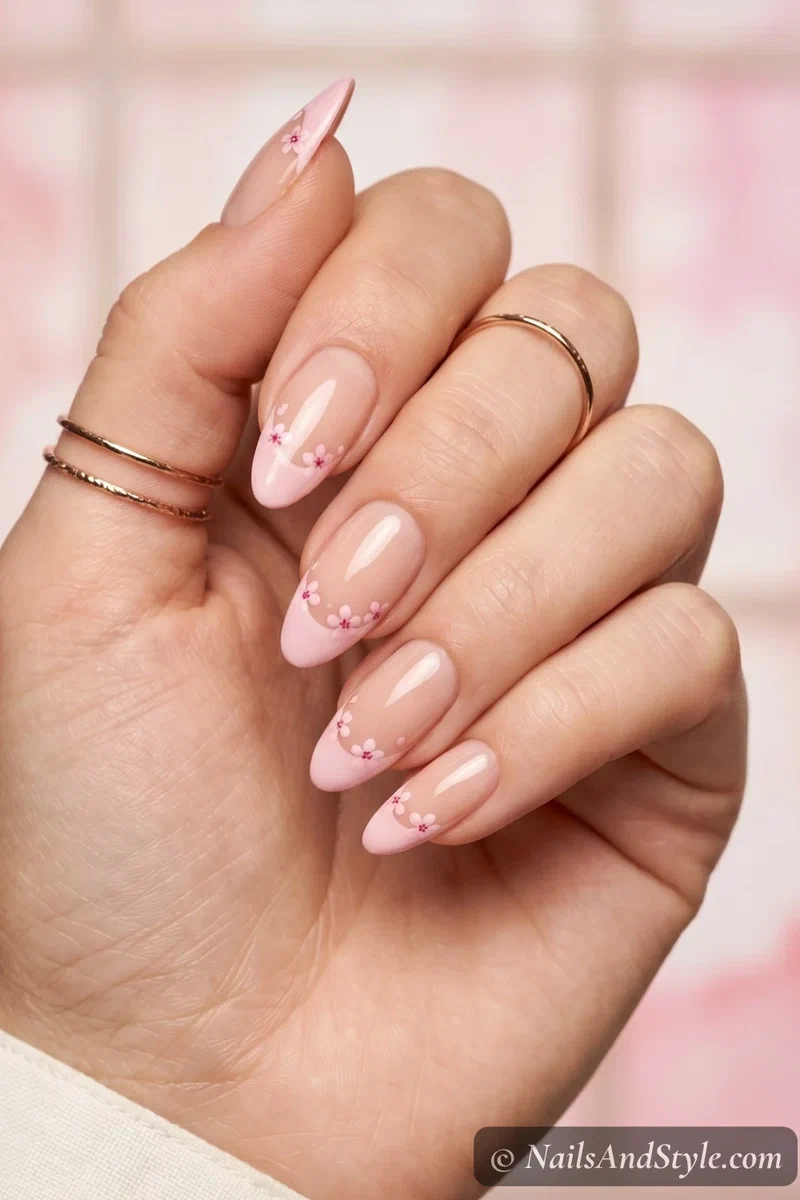
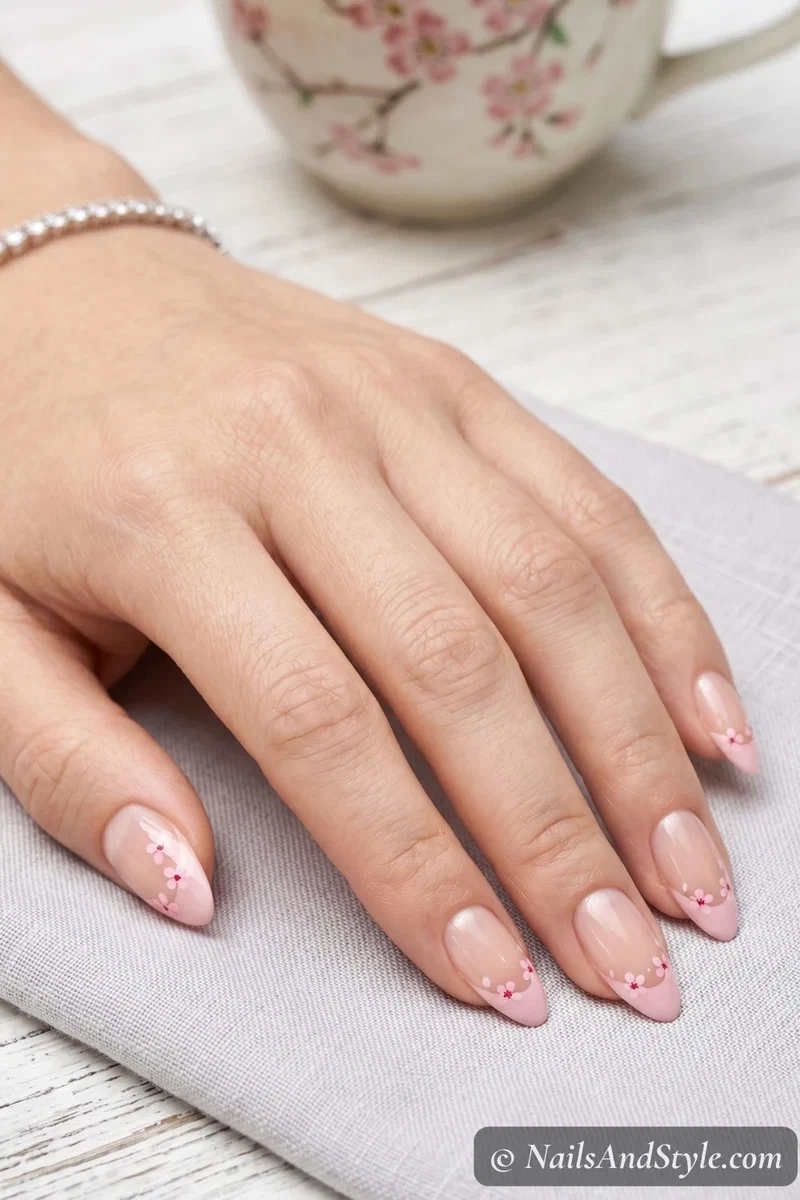
French tips, but the smile line is scattered with tiny pink blossoms instead of a crisp white stripe. Use a French guide for a soft blush tip, let it set, then dot on the flowers with a thin detail brush. Classic mani wearing its prettiest outfit. Glossy top coat seals everything in.
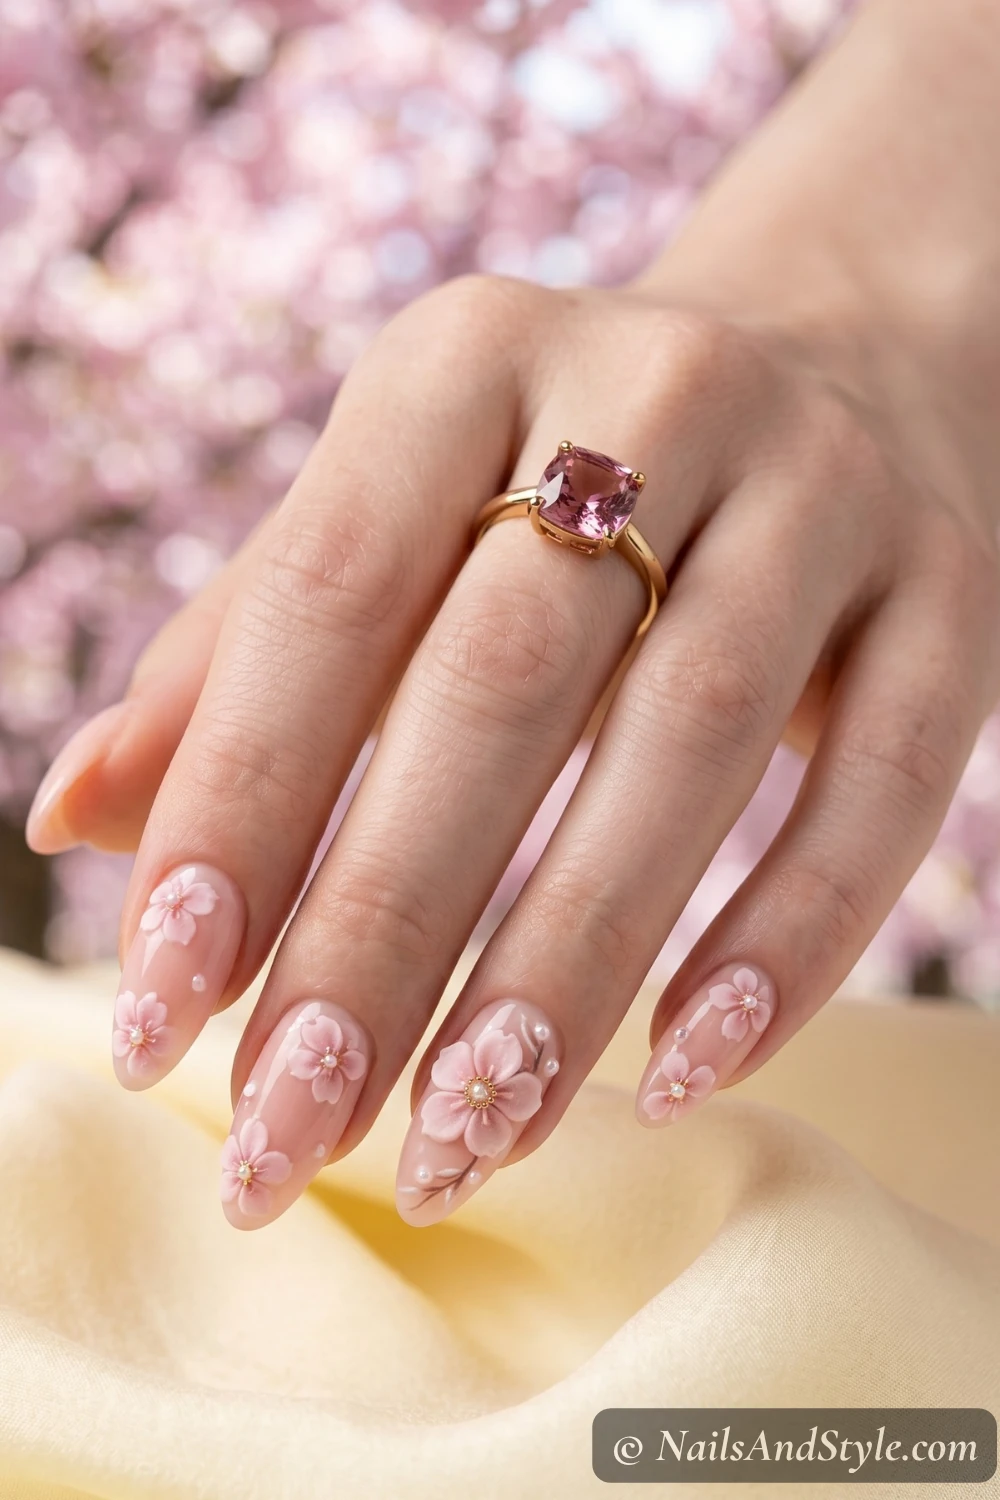
3. 3D Cherry Blossom Accent#
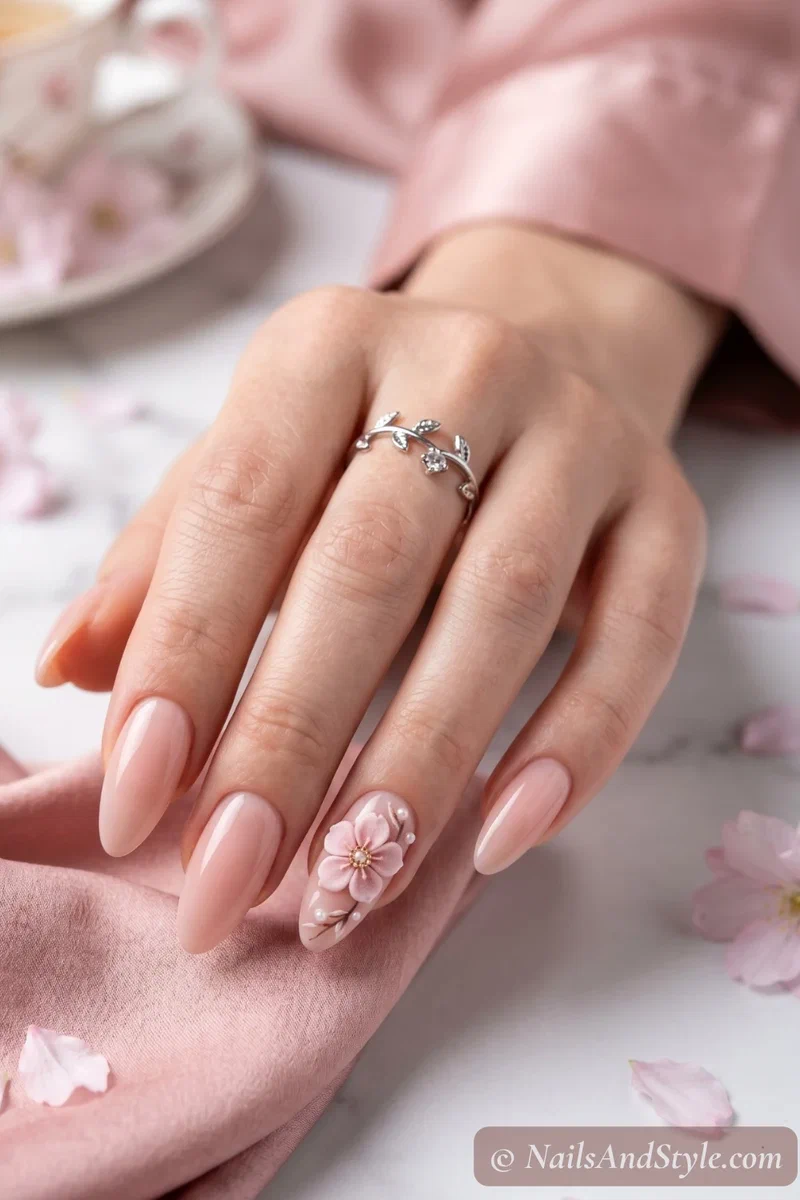
For when you want a little drama. Paint a soft nude base across all ten, and on one accent nail, sculpt tiny raised petals out of a thick gel builder (or even acrylic if you’ve got it). Shape the petals into a full blossom. Matte or glossy top coat, whichever mood you’re in — both look incredible. Genuinely salon-level.
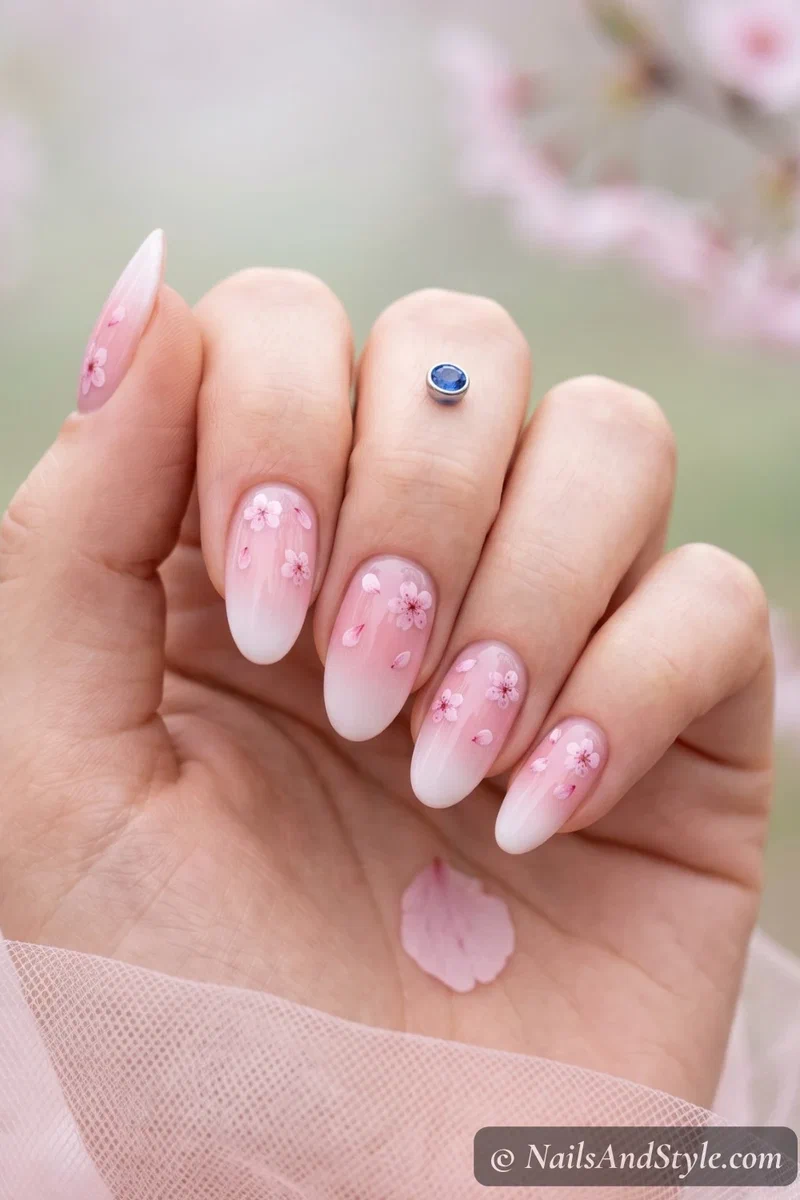
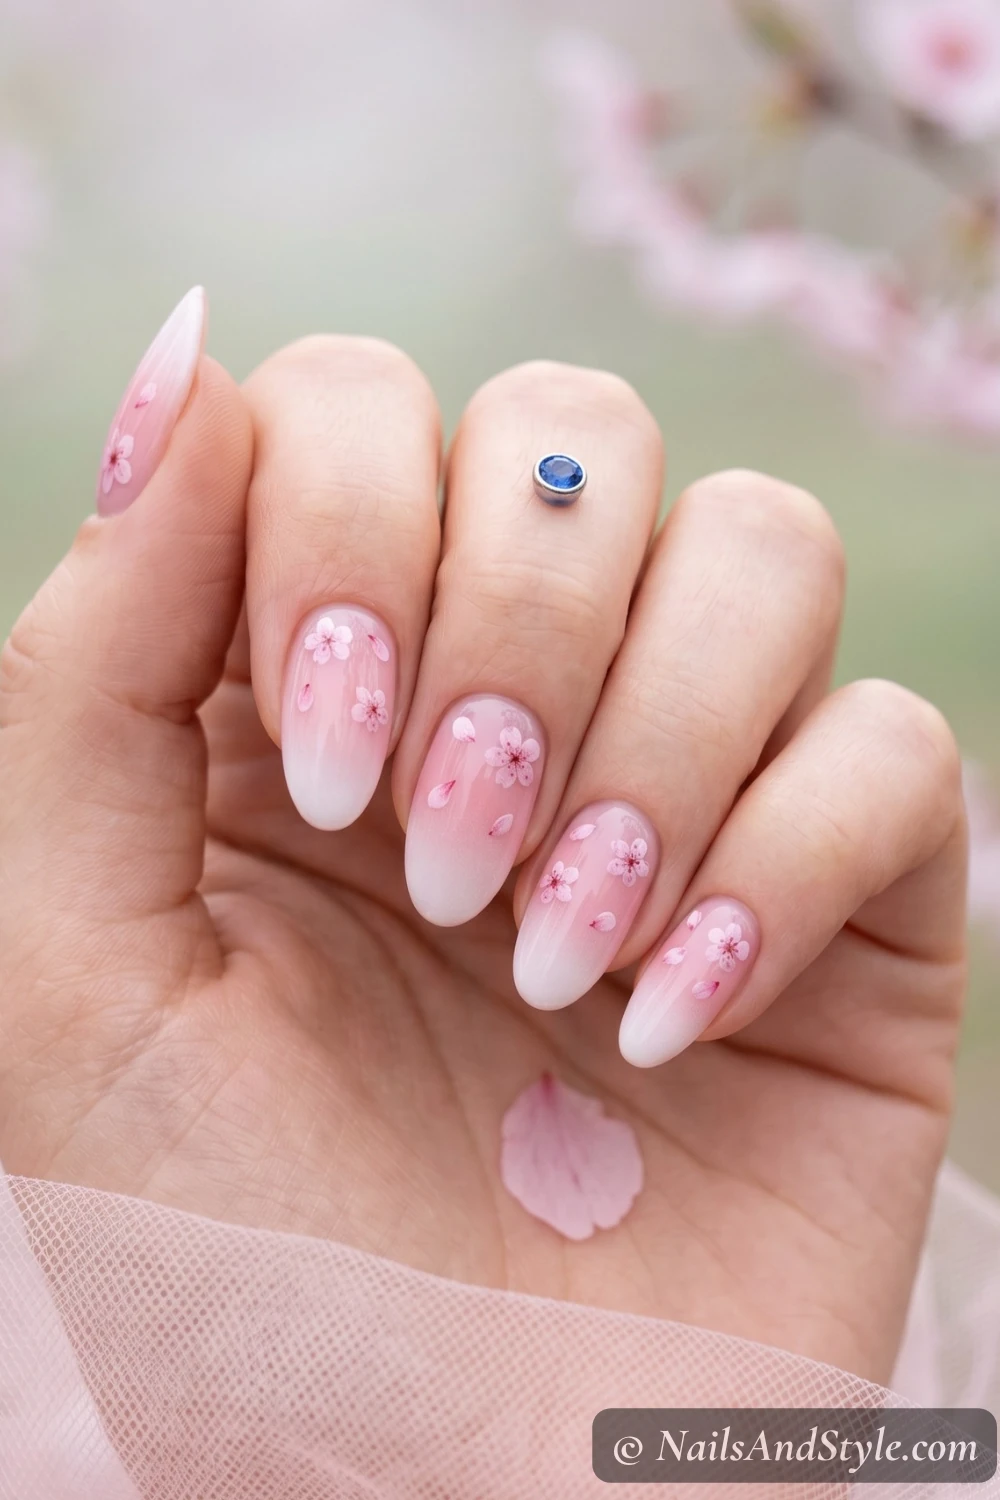
4. Cherry Blossom Ombre#
Watercolor-sky energy. Sponge a sheer pink fading to white ombre on each nail, and once dry, scatter a few blossoms across the gradient — some full, some just petals, all random. A jelly top coat gives it that glassy, dreamy finish I’m low-key obsessed with.
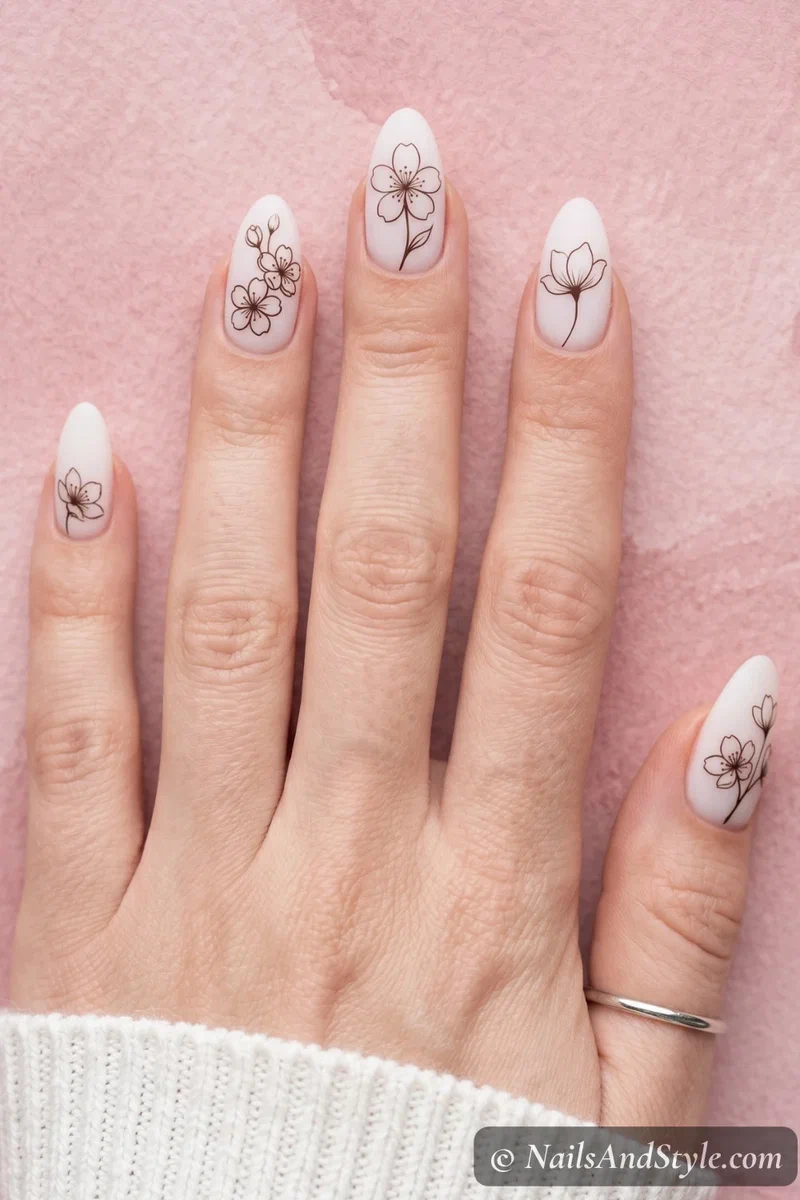
5. Minimalist Blossom Outlines#
Not every blossom needs to be filled in. Try thin black or soft brown outlines of single sakura flowers on a clean milky base — just the silhouette, no color inside. Striping brush or an ultra-thin detail brush for the linework. Matte top coat over the whole thing. It reads like a modern pencil sketch on your fingertips.
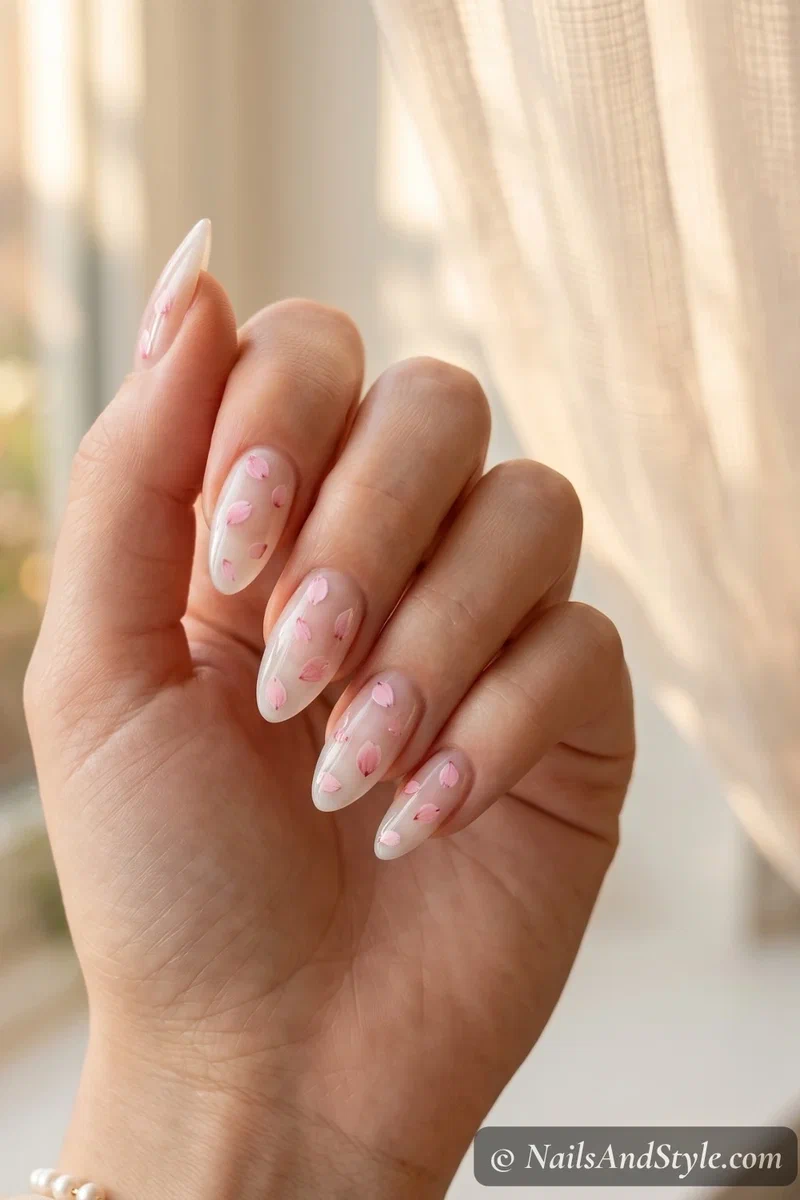
6. Sheer Milky Base with Falling Petals#
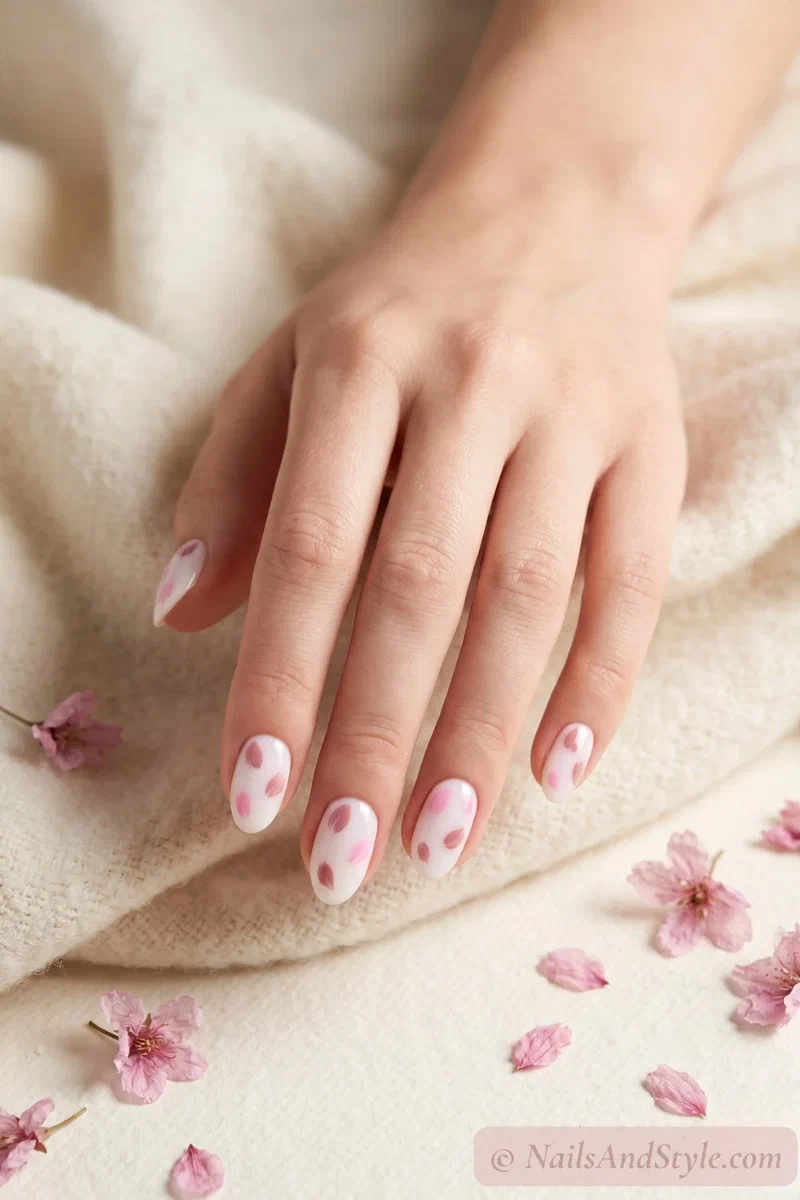
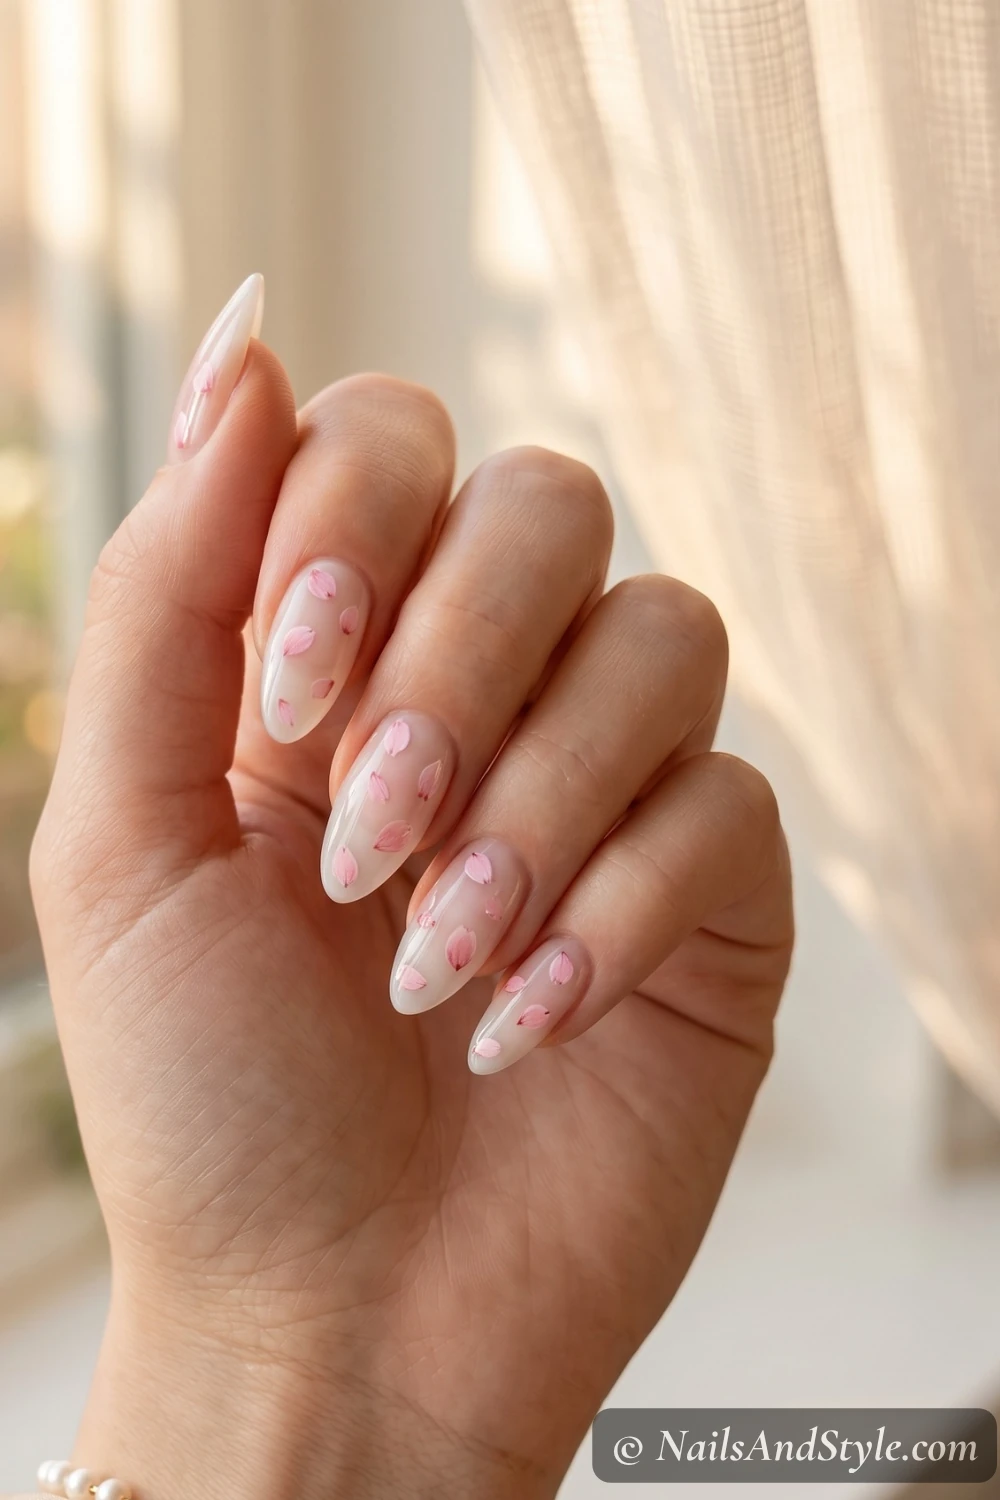
You know that slow-motion shot of sakura petals drifting in every Japanese film? This one’s basically that. Start with a sheer milky white — barely pigmented, just a soft blur of pale. Then dot a handful of pink petals across each nail in a scattered, falling-in-the-breeze pattern. No full flowers, just petals mid-drift. Glossy finish seals the dream.
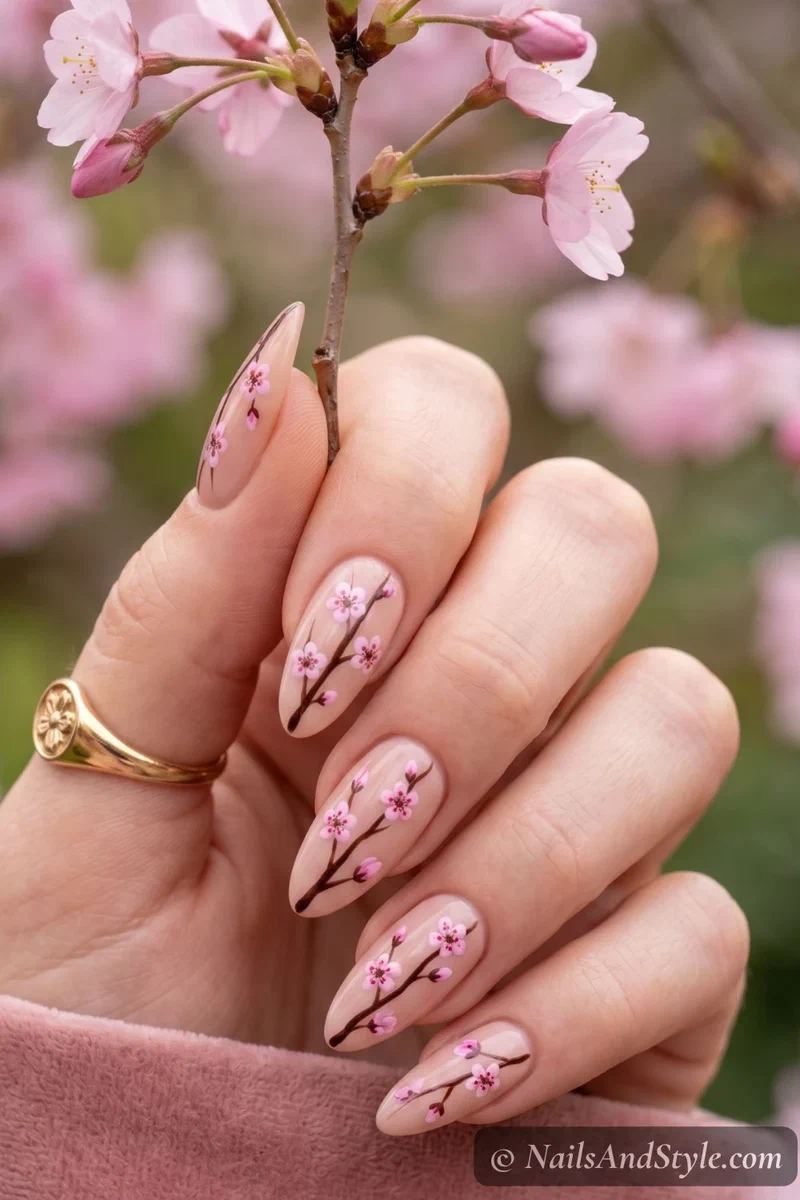
7. Cherry Blossom Branch Nails#
This one takes a little patience, and it looks so worth it. Nude base, then use a thin brush to paint a dark brown branch running diagonally across the nail. Add clusters of tiny pink blossoms along the branch — some buds, a few full flowers. Glossy top coat. It’s a Japanese spring garden on about an inch of space. If you love spring looks with this much detail, my april nails post has more of the same energy.
8. Pink and White Petal Rain#
Milky white base (or clear if you want it really translucent). Then scatter random petal dashes in two shades of pink — one dusty rose, one soft bubblegum. Don’t try to make full flowers, just individual petals floating in space. Glossy top coat. It’s the most forgiving design in the whole list because there’s literally no “wrong” placement.
9. Matte Sakura Design#
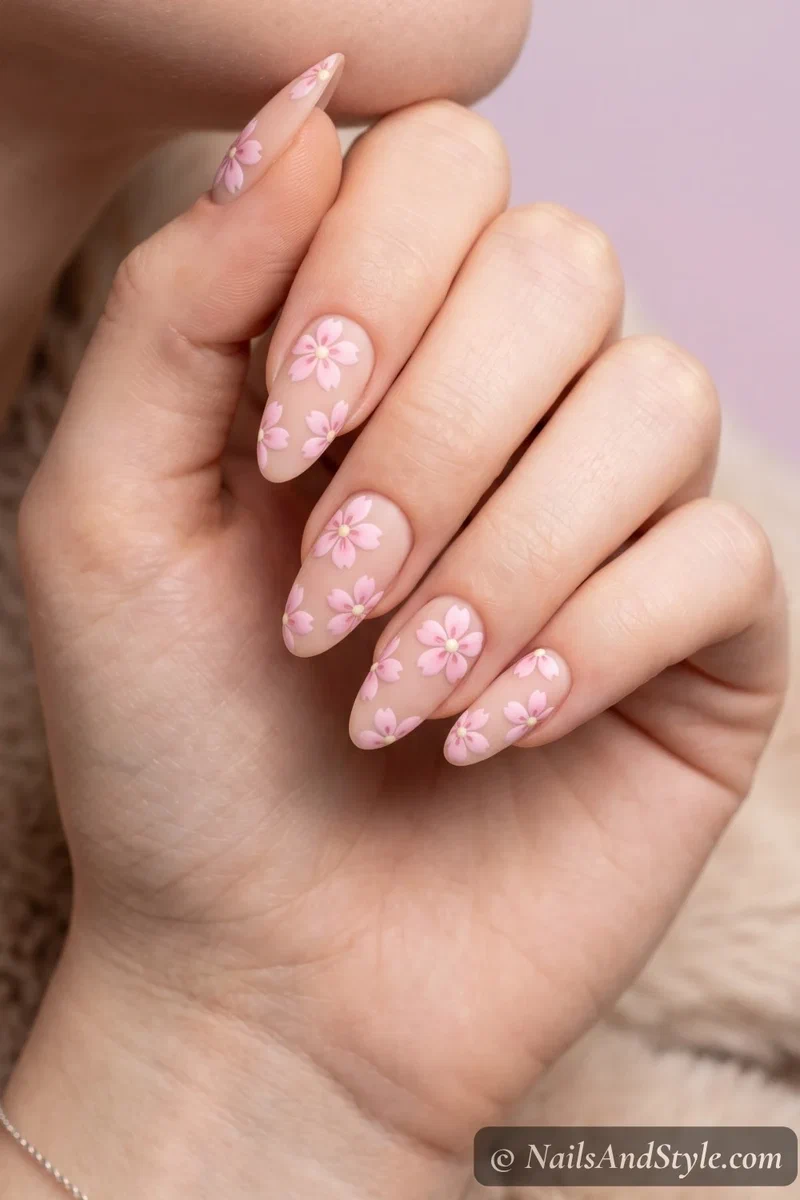
Here’s a mood shift. Paint any cherry blossom design you like — pick your favorite from the list — and then seal it with a matte top coat instead of glossy. That soft, chalky finish plays so nicely with delicate flowers. It’s the version that makes everyone ask who did your nails. (Honestly? You did.)
10. Cherry Blossom Chrome#
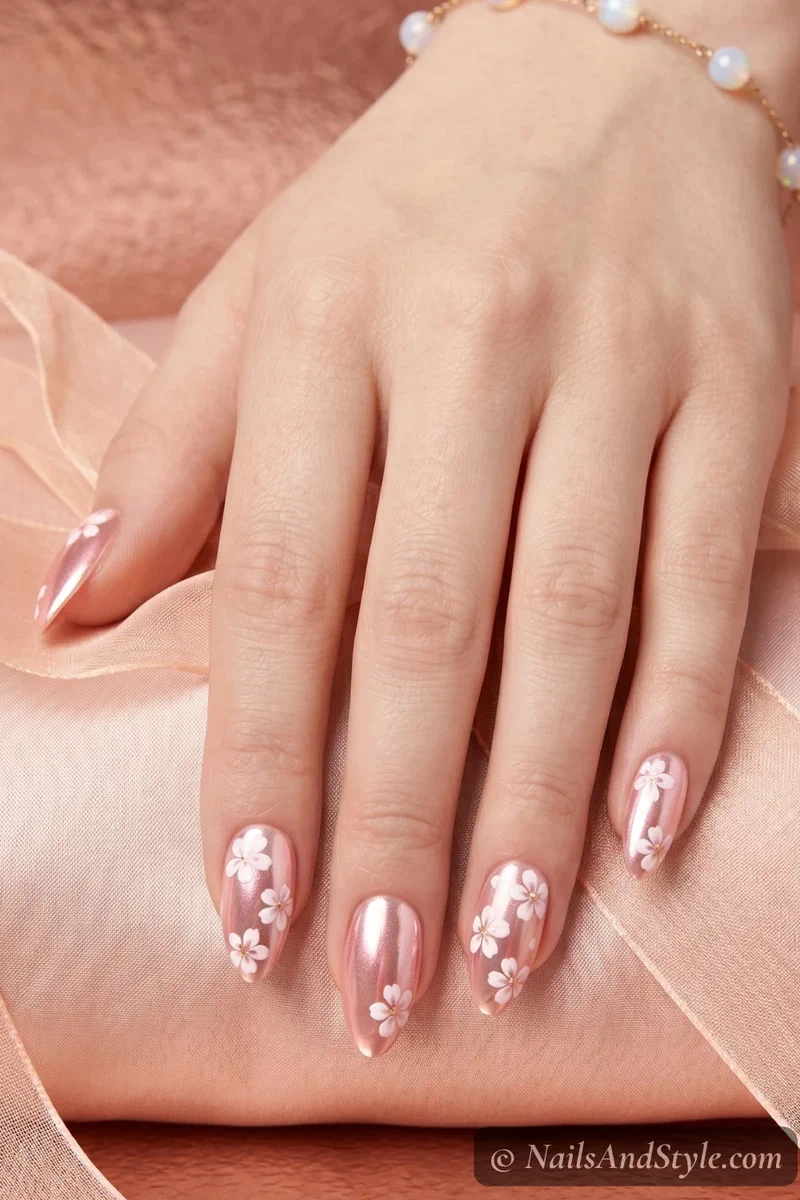
Hear me out on this one. Start with a pale pink base, let it dry completely, then rub chrome powder on top for that mirror pink-gold shimmer. Seal with a no-wipe top coat, and dot a few white five-petal flowers on top of the chrome. The finish underneath makes the blossoms look almost holographic. Extra? A little. Worth it? Absolutely. For more chrome how-to, how to apply chrome powder on nails walks through every step.
11. Negative Space Cherry Blossoms#
Clear base coat — that’s your whole background. Then paint a couple of blossom clusters directly onto the bare nail, nothing underneath. The translucency is the entire point. Your natural nail shows between the flowers for this fresh, barely-there vibe. Glossy top coat. So clean.
12. Pink Cherry Blossom Almond Nails#
If you’ve got longer almond nails, this is where they really shine. A blush pink base with detailed cherry blossoms scattered across all ten nails, using a thin brush for the petals and a tiny dotting tool for the centers. The kind of mani that’s practically begging to be photographed. Glossy finish all the way.
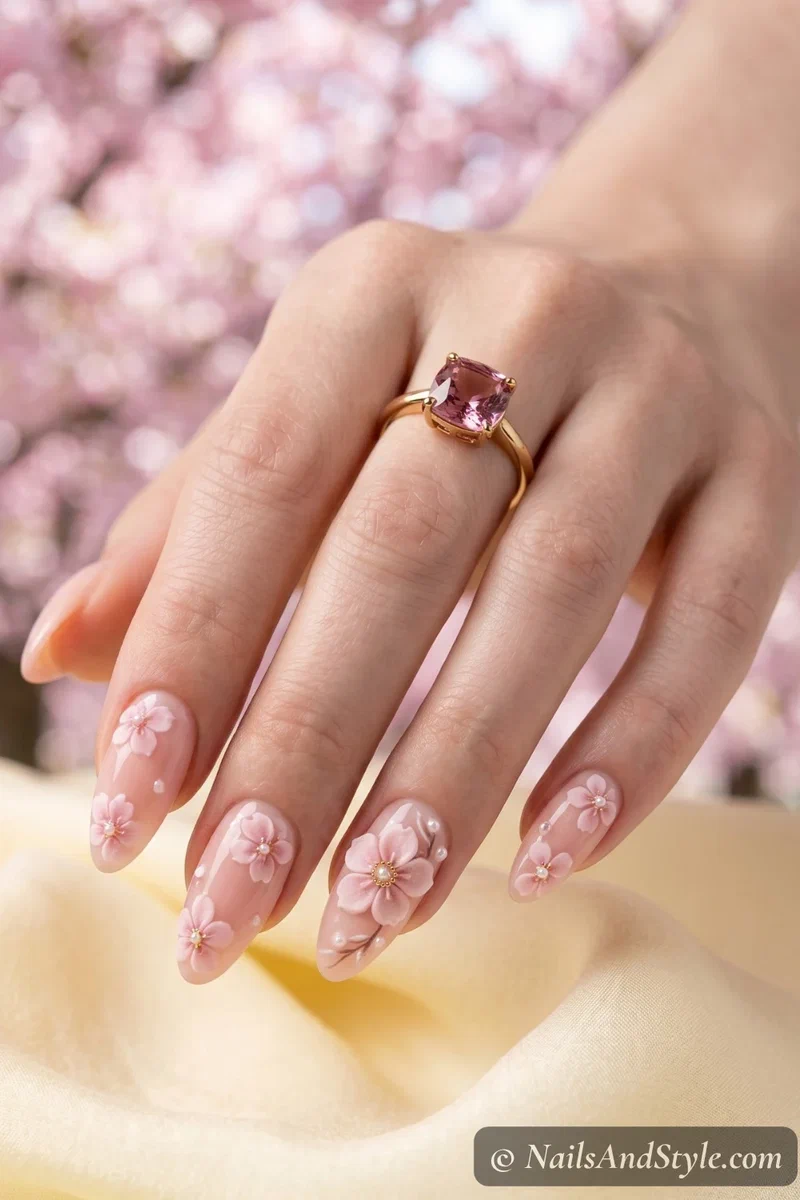
13. Pastel Pink Blossom Tips#
Instead of a full French tip, paint just the very edge of each nail in pastel pink — thinner than a classic tip. Scatter a few blossoms right where the color meets the nude base, so the flowers look like they’re floating at the border between the two. Glossy top coat. It’s quiet, pretty, and extremely wearable for work or school.
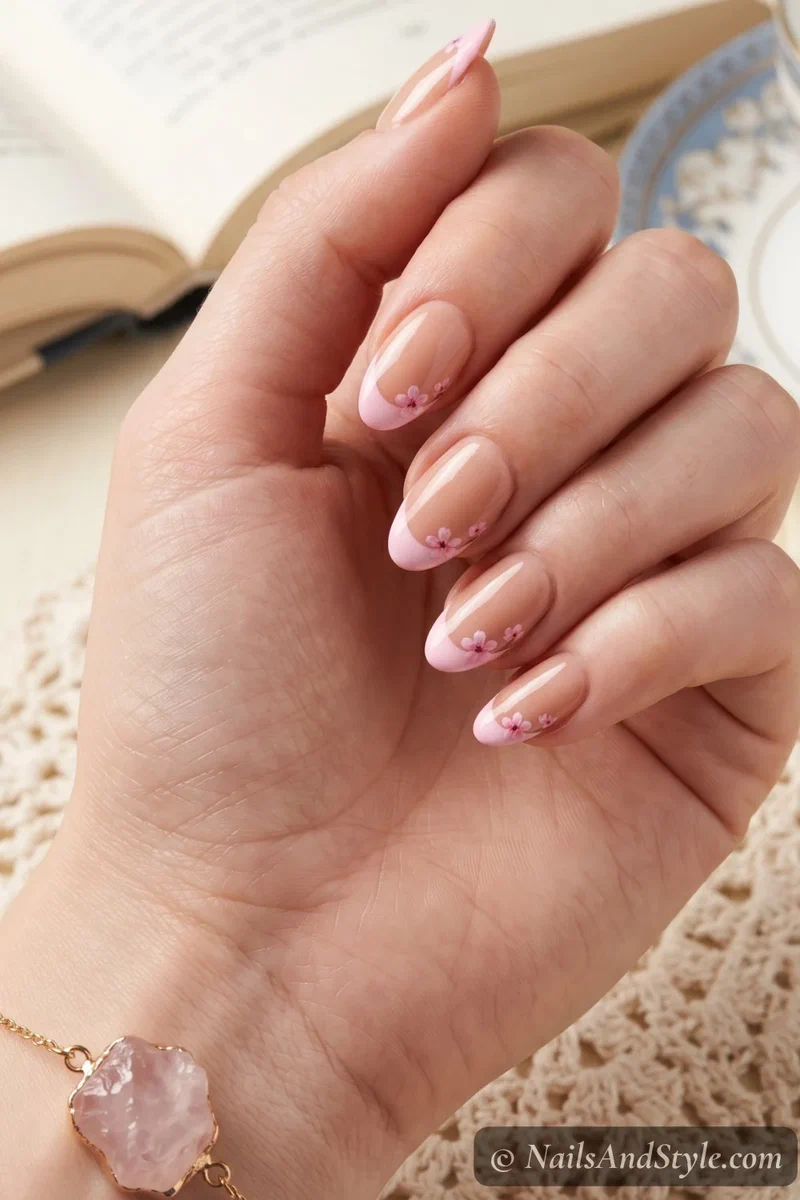
14. Falling Petals with Gold Foil#
Soft nude base. Scatter pink petals with a dotting tool like in design 6 — and now we level it up. Press tiny flakes of gold foil between the petals while your top coat is still tacky. The gold catches every bit of light and makes the whole thing look expensive (because it kind of is). Glossy finish locks it in.
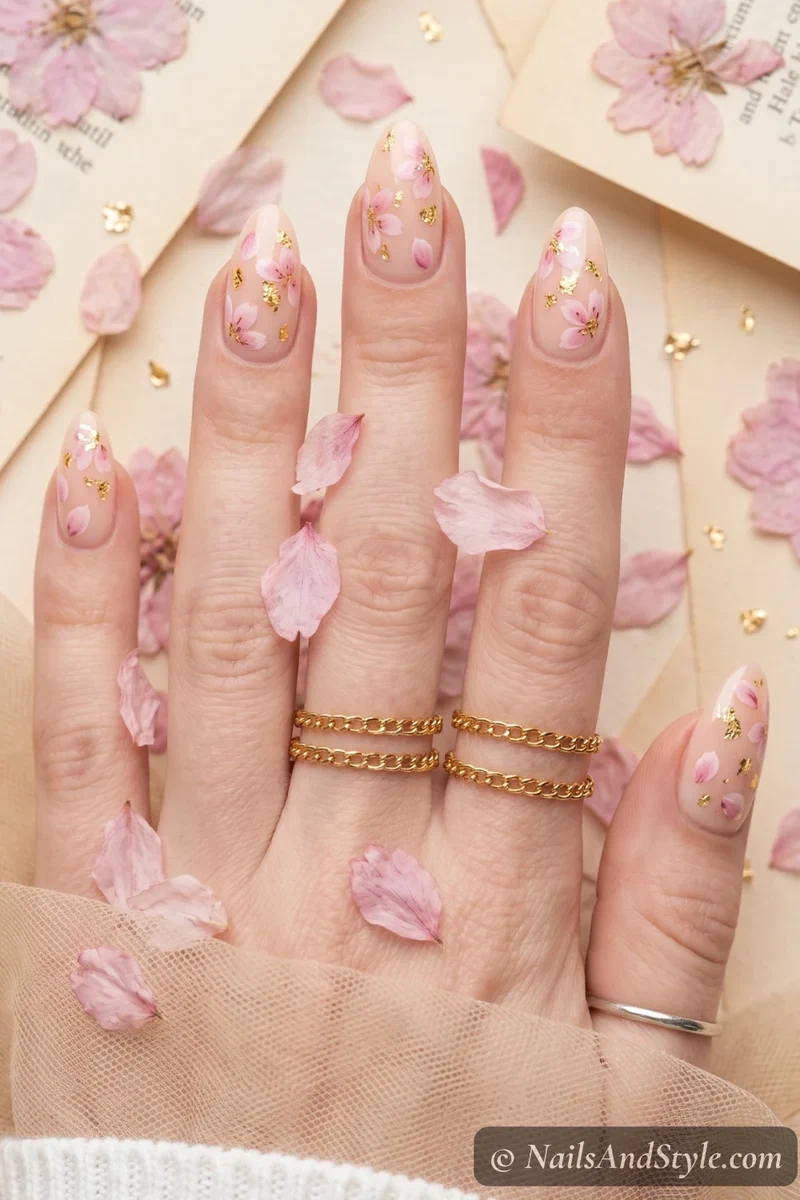
15. Watercolor Cherry Blossom#
The most artsy one here. Dilute pink polish with a tiny drop of top coat and paint loose, almost blurry blossoms onto a milky white base — let the edges stay a little messy on purpose. The softness mimics real watercolor, and no two nails turn out identical. That’s the whole point. Jelly or glossy top coat, both look incredible. If you love this kind of soft, pinky vibe, pink summer nails carries it into the warmer months.
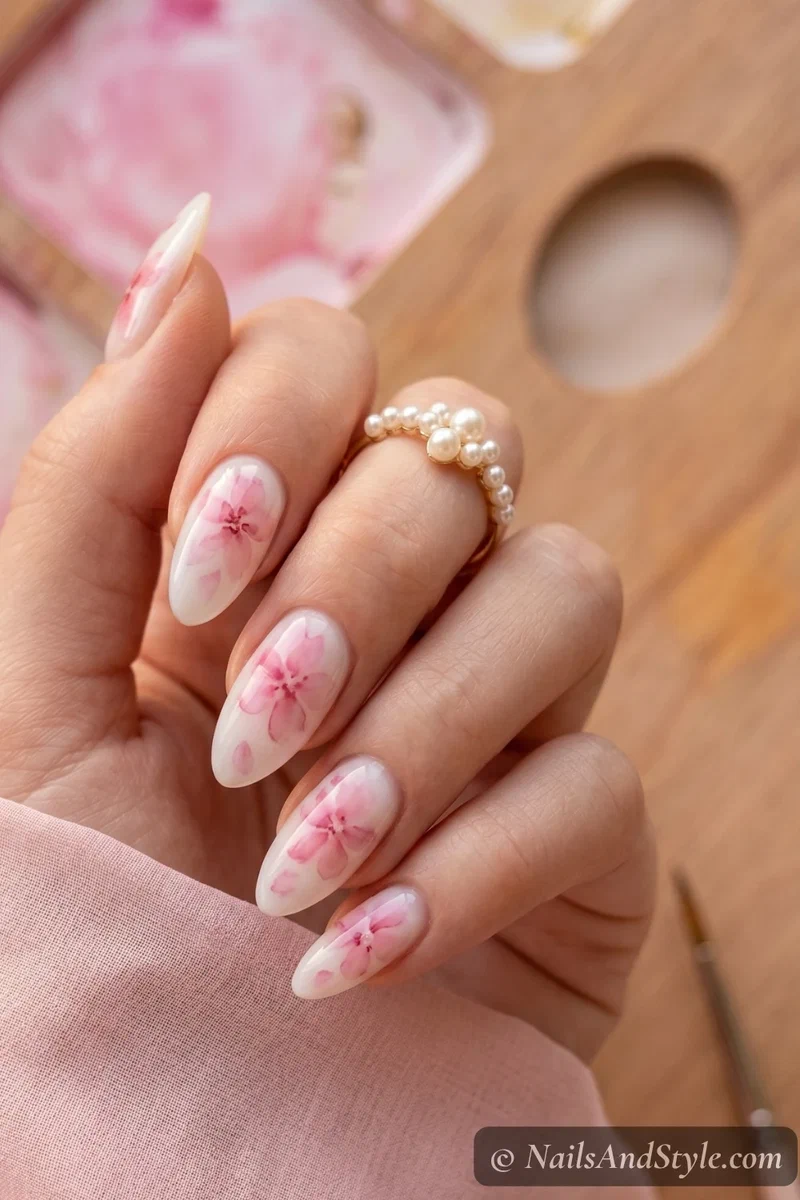
Shop the Look#
Everything you need to recreate these cherry blossom looks at home:
 BaseBase + Strengthener CoatStops pink pigment from staining your nails
 ShineGlossy Top CoatJelly for pressed-petal shine; a matte top for soft sakura
 Milky pinkEssie FijiThe milky pink base behind these looks
 PinksOPI Blush, Sheer & Milky WhiteMod About You blush, Bubble Bath sheer, Funny Bunny white
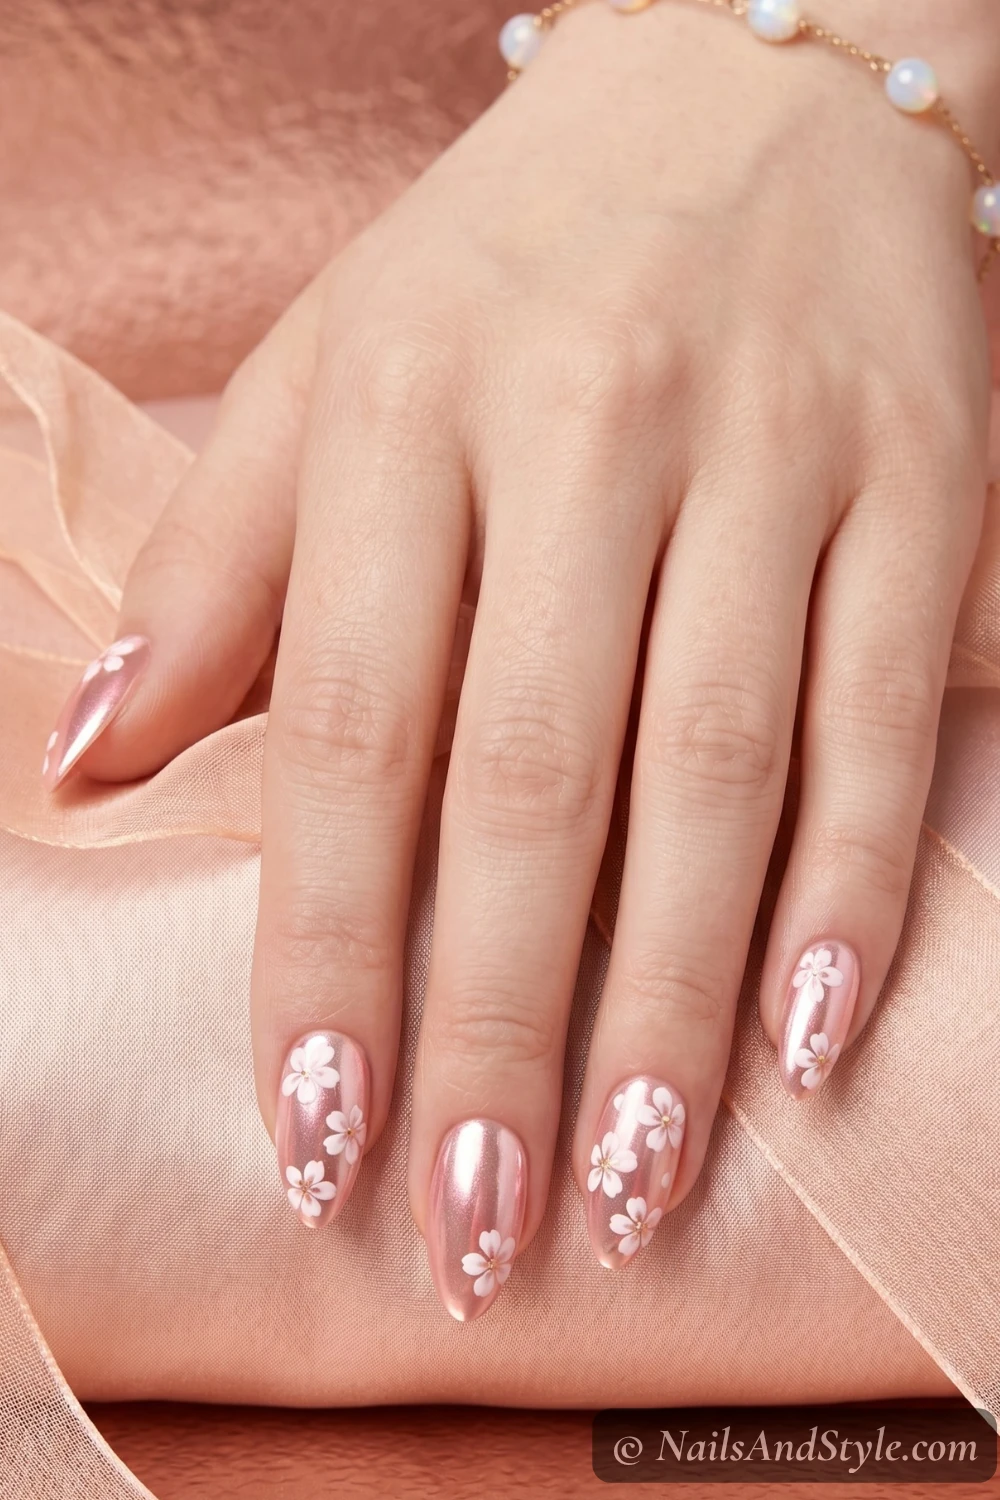 ChromeGold Chrome PowderFor the pink-gold chrome shimmer
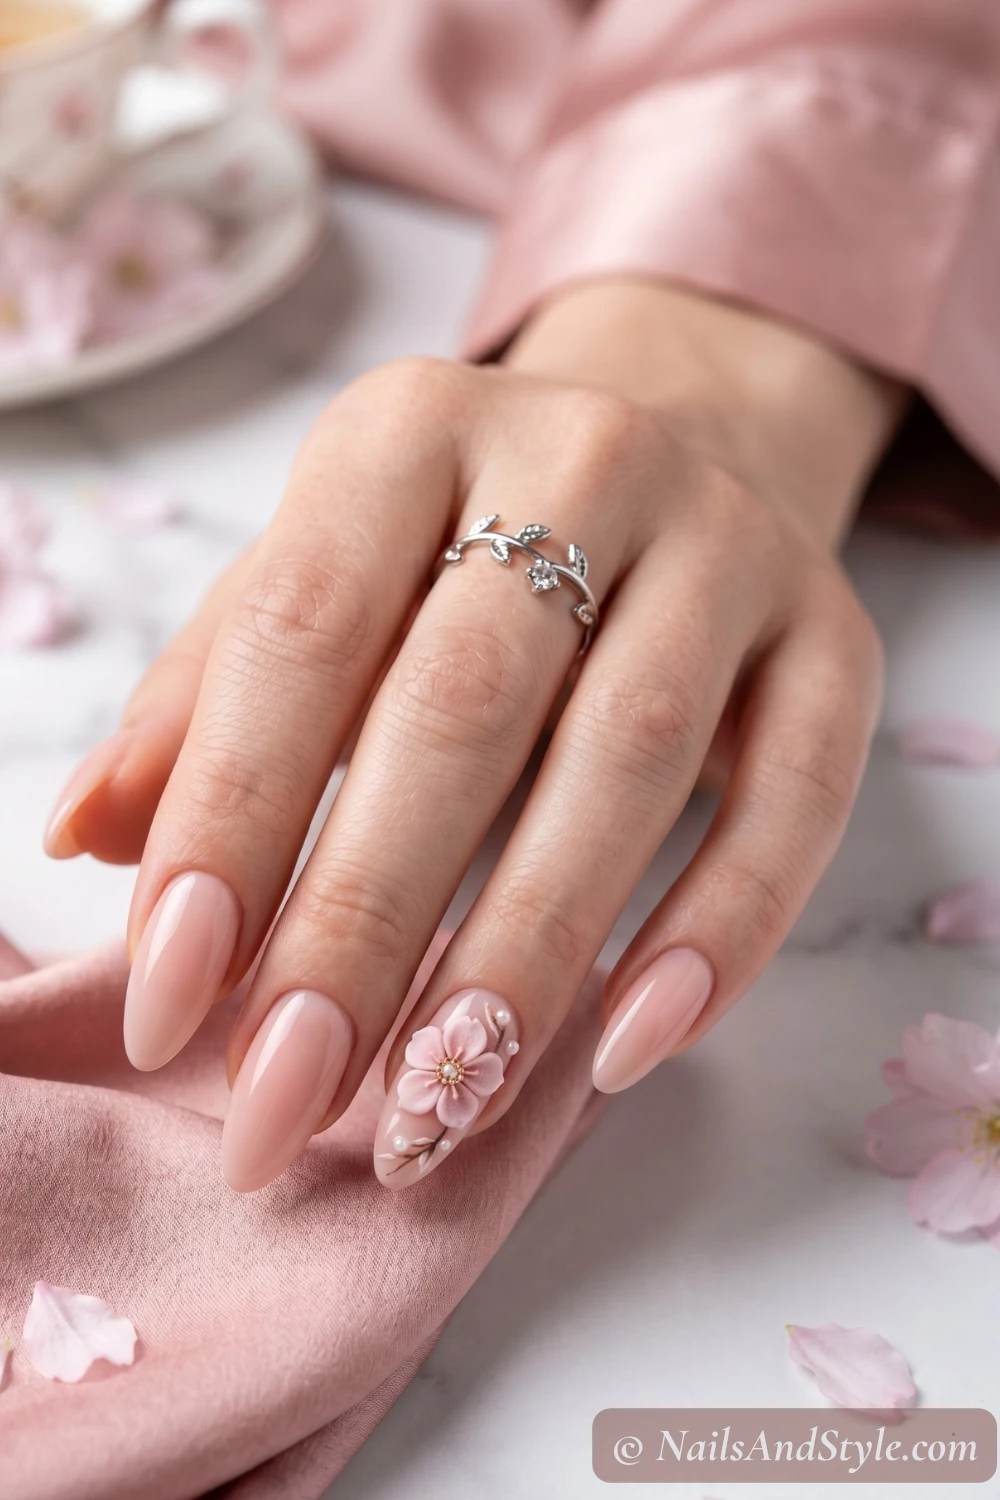 3D petalsBuilder Gel & Acrylic KitSculpt raised 3D blossom petals
 DetailDotting Tool SetFive dots in a circle makes every blossom
Cherry Blossom Nails on Short Nails#
Real talk — short nails and cherry blossoms are genuinely made for each other. The tiny flowers never have to fight for space, the design reads as intentional, and short nails are the friendliest length to practice detail work on. Honestly the proportions often work better here than on long acrylics.
A Few More Short Nail-Specific Ideas#
- Milky pink with accent blossoms — proportional and effortless.
- Minimalist outlines — negative space makes shorter nails feel airy.
- Scattered petal rain — no full flowers means the design never feels cramped.
- Delicate French tips — thin blush tips with tiny flowers actually make nails look longer.
- Matte sakura — the soft finish feels especially gentle on neat, short nails.
For more short-nail inspiration (cherry blossom and beyond), my short spring nails post has 30 ideas worth saving.
How to Do Cherry Blossom Nails at Home#
- Prep your nails. Clean, trim, shape, gently push back cuticles.
- Buff lightly so the polish has something to grip.
- Apply base coat and let it set fully. Don’t skip this.
- Paint your base color — milky pink, sheer white, or warm nude. Two thin coats.
- Paint the blossoms using a dotting tool for petals. Five dots arranged in a circle for each flower.
- Add the centers with a toothpick or a tiny dot of yellow or deep pink.
- Clean the edges with a small angled brush dipped in remover for sharp lines.
- Top coat it. Glossy for fresh, matte for soft, jelly for that glassy pressed-petal look.
How to Ask Your Nail Artist for Cherry Blossom Nails#
Cherry blossom designs are detail-heavy, so the salon will appreciate clear direction — the difference between “tiny minimalist sakura” and “full Japanese garden branch” comes down to specifics.
- Bring 2-3 reference photos showing the exact petal density and style you want — full flowers versus falling petals versus full branches
- Specify the finish — matte forgives wobbles, glossy reads crisp, jelly looks pressed-glass dreamy
- Almond or oval shapes give tiny flowers room to breathe; squoval works for short nails
- Ask about hand-painted vs decals — true sakura decals are subtle and quick, hand-painted gives more personality
- Choose gel polish for detail work — fine floral linework chips quickly on regular polish, gel holds the details for weeks
Tips to Make Your Cherry Blossom Mani Last Longer#
- Thin coats beat thick coats every time.
- Seal the free edge with both base and top coat.
- Skip hot water for at least an hour after painting — polish needs time to cure.
- Wear gloves for chores. Dish soap is polish kryptonite.
- Touch up the top coat every 2-3 days to keep that shine alive.
- Cuticle oil daily. Hydrated hands make any mani look salon-fresh.
- Stop using your nails as tools. Package openers exist for a reason.
Quick FAQ#
Are cherry blossom nails hard for beginners?#
Honestly, no. The flowers are literally five dots in a circle with a tiny center. If you can dot polka dots, you can paint sakura. Start with the milky pink design and build from there — the matte finish hides any tiny wobbles.
What pink shades work best for cherry blossom nails?#
Soft blush, dusty rose, baby pink, and warm peachy pinks all photograph beautifully. Go cooler if you have cool undertones, warmer if you’re warm. Cherry blossoms aren’t fussy — most pinks end up reading as sakura once the flowers are small enough.
Can I do cherry blossom nails on natural nails?#
Every single design here works on natural nails. Regular polish, a dotting tool, a thin brush, and a solid top coat are all you need. No gel, no acrylic, no UV lamp.
Final Thoughts#
Cherry blossom nails are that rare combo — pretty enough to feel special, easy enough that you can genuinely do them while half-watching a show. Whether you go barely-there with milky pink and a few dots, or all-in with 3D petals and gold foil, there’s a version here that’ll match your mood and your skill level.
Save a few favorites to your Pinterest board and give one a try this weekend. Petal placement doesn’t need to be symmetrical, pink doesn’t need to be precise, and nothing says “sakura” quite like flowers that look like they just tumbled onto your nails from a nearby tree.
Now go raid your polish drawer for every pink you own.