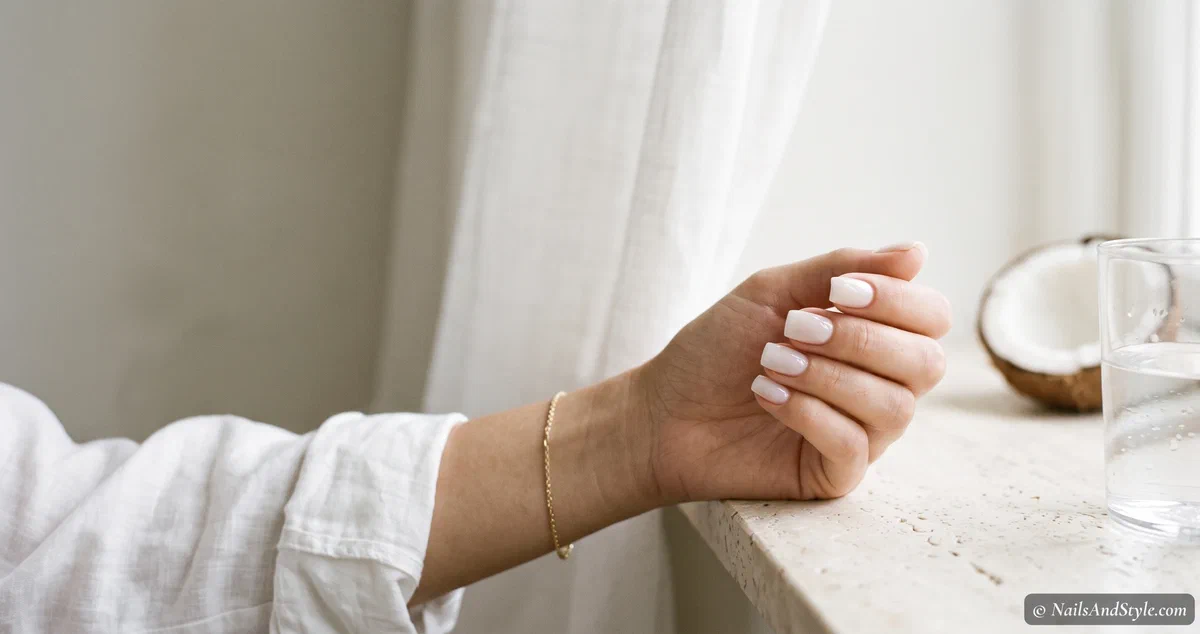
Something happens to nail trends every summer. They get lighter, glossier, a little more “I just got back from somewhere warm.” And this year, one look quietly took over every feed I scroll: coconut jelly nails. Sheer, milky white, squishy-looking, and wet-glossy like glass.
If you saw Anne Hathaway’s nails doing the rounds a while back — that soft, see-through white with a lit-up shine — that’s the one. Her manicurist, Tom Bachik, gets the credit for kicking off the craze. And honestly? It’s the rare celebrity manicure that’s actually easy to copy at home.
That’s what this is. A proper walk-through of how to get the look yourself — no gel, no UV lamp, no salon appointment. Best part for the low-maintenance among us (hi): it looks incredible on short and medium nails. Anne’s were short and square, actually.
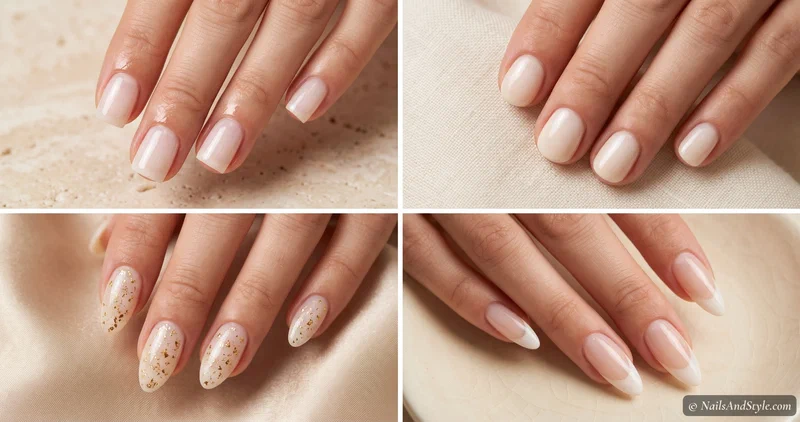
What Are Coconut Jelly Nails?#
Picture the inside of a coconut. That creamy, slightly-warm white — not stark, not bright, just… milky. Now imagine it as a sheer, glassy layer you can almost see your natural nail through. That’s coconut jelly nails in one sentence.
The “jelly” part is all about translucency. Instead of a flat, opaque white sitting on top of your nail, a jelly finish lets a whisper of your nail bed show through, so it reads soft and squishy instead of painted-on. Pile on a seriously glossy top coat and the whole thing looks like glass. Or, well, jelly.
You’ll also see it called coconut jelly gloss. The reason it blew up is simple: it goes with everything, it doesn’t scream for attention, and it makes your hands look clean and expensive without a single bit of nail art. No steady hand required. Big win, if you ask me. It’s shaping up to be one of the softest [Internal link to: summer nail trends for 2026] going.
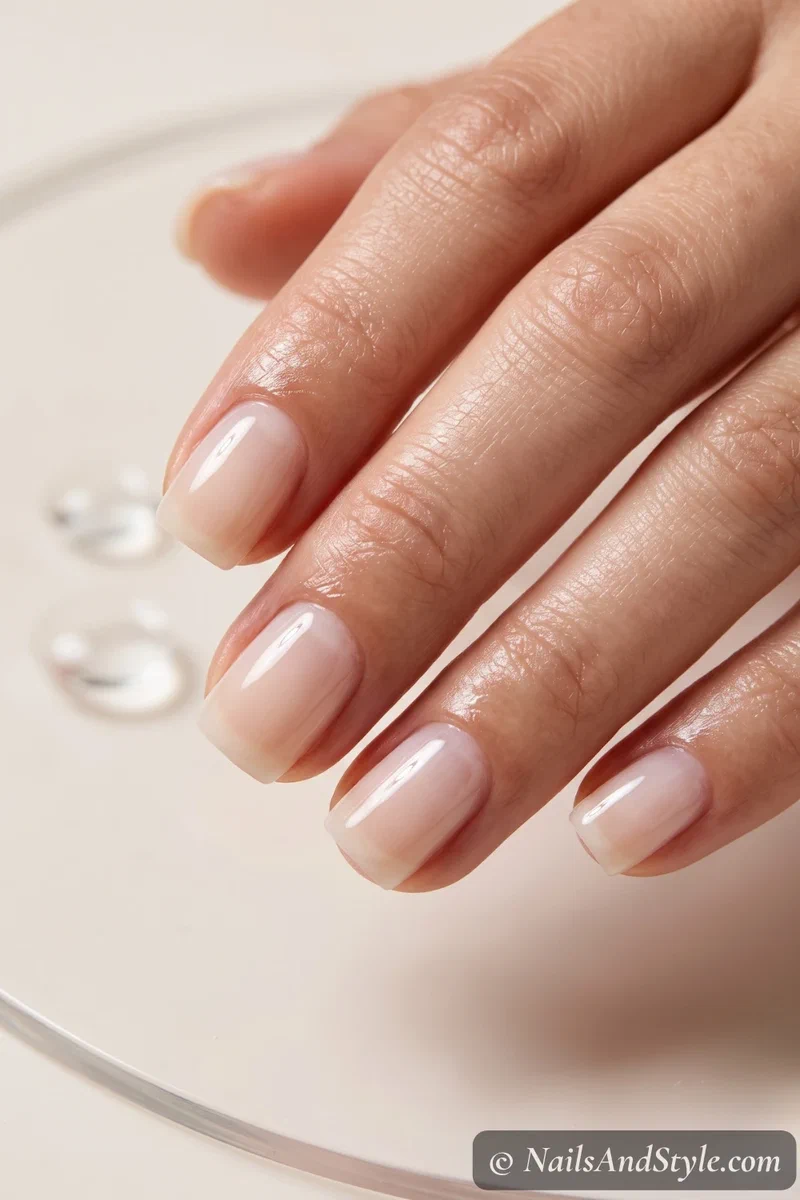
Coconut Jelly vs. Coconut Milk Nails#
Okay, these two get mixed up constantly, and fair enough — they’re basically cousins. Both are soft, milky, and low-key. The difference comes down to how see-through they are.
| Coconut Jelly Nails | Coconut Milk Nails | |
|---|---|---|
| Finish | Sheer, glassy, translucent | Creamy, semi-opaque, soft |
| See-through? | Yes — nail bed peeks through | Barely — more of a milky veil |
| Shine | High-gloss, wet-look | Soft glow to glossy |
| The vibe | “Glazed,” jelly-like | Clean, milky, minimal |
Short version? Coconut jelly is the sheerer, glossier one. Coconut milk is its slightly more opaque sister — a milky veil rather than clear glass. Same coconut-white base, just dialed to different levels of transparency. You can even land somewhere in between, which is half the fun of doing it yourself.
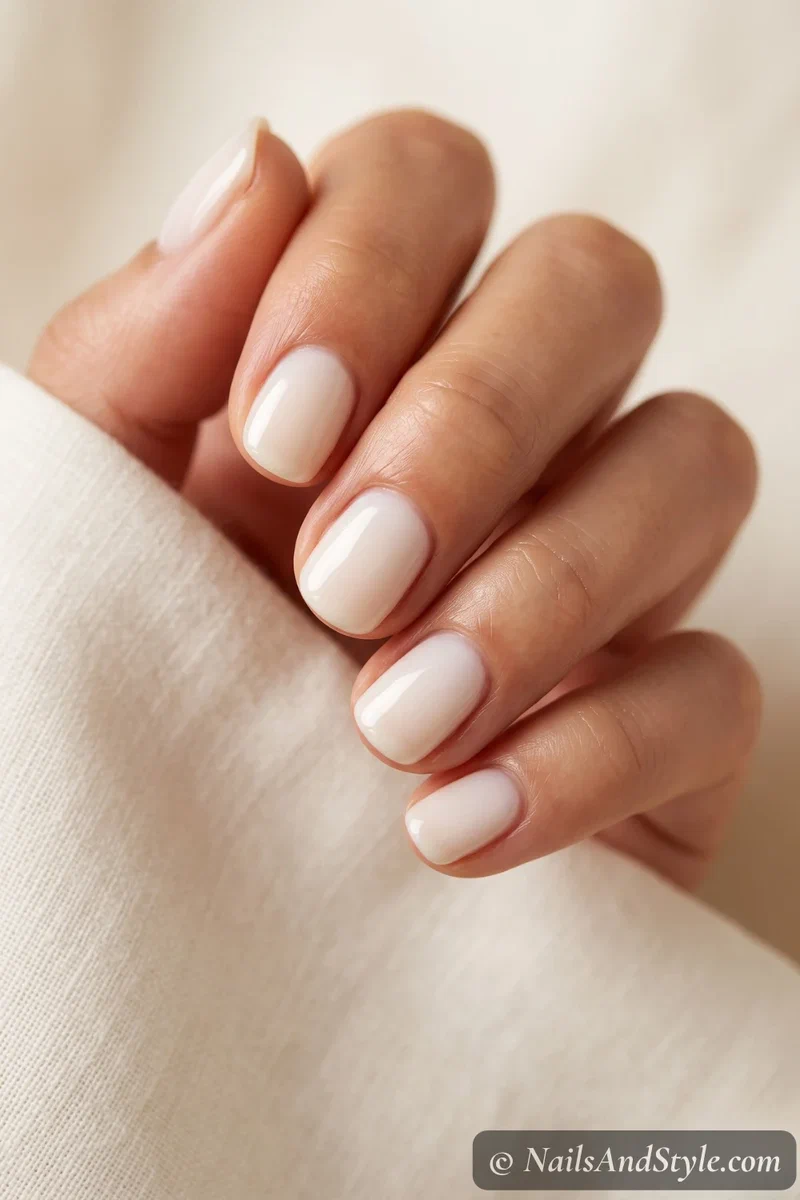
What You’ll Need#
Here’s the thing — this is one of the cheapest trends going. It’s really just a couple of polishes and a genuinely good top coat, and you probably own half of this already.
- Sheer white jelly polish — the star — a see-through, jelly-gloss white (Essie's jelly gloss is the OG behind the trend)
- Milky white polish — for a creamier coconut milk finish, or to build the look a touch more opaque
- Base coat — stops the white from staining and gives sheer polish something to grip
- Glossy high-shine top coat — the glass-like shine IS the jelly look — don't skip it and don't go matte
- Nail buffer — a smooth nail plate means no streaks showing through sheer polish
- Cuticle pusher — clean cuticles make the whole thing look salon-fresh
- Cuticle oil — healthy cuticles make sheer nails look expensive
Not sure where to start? The sheer white and a glass-like top coat are the two that actually matter. Everything else just makes the result cleaner — a bit like how good [Internal link to: how to keep your natural nails strong and healthy] pays off under any polish.
How to Get Coconut Jelly Nails at Home, Step by Step#
Ready? This is genuinely a 20-minute job once your bits are laid out. Regular polish, no lamp, no fuss.
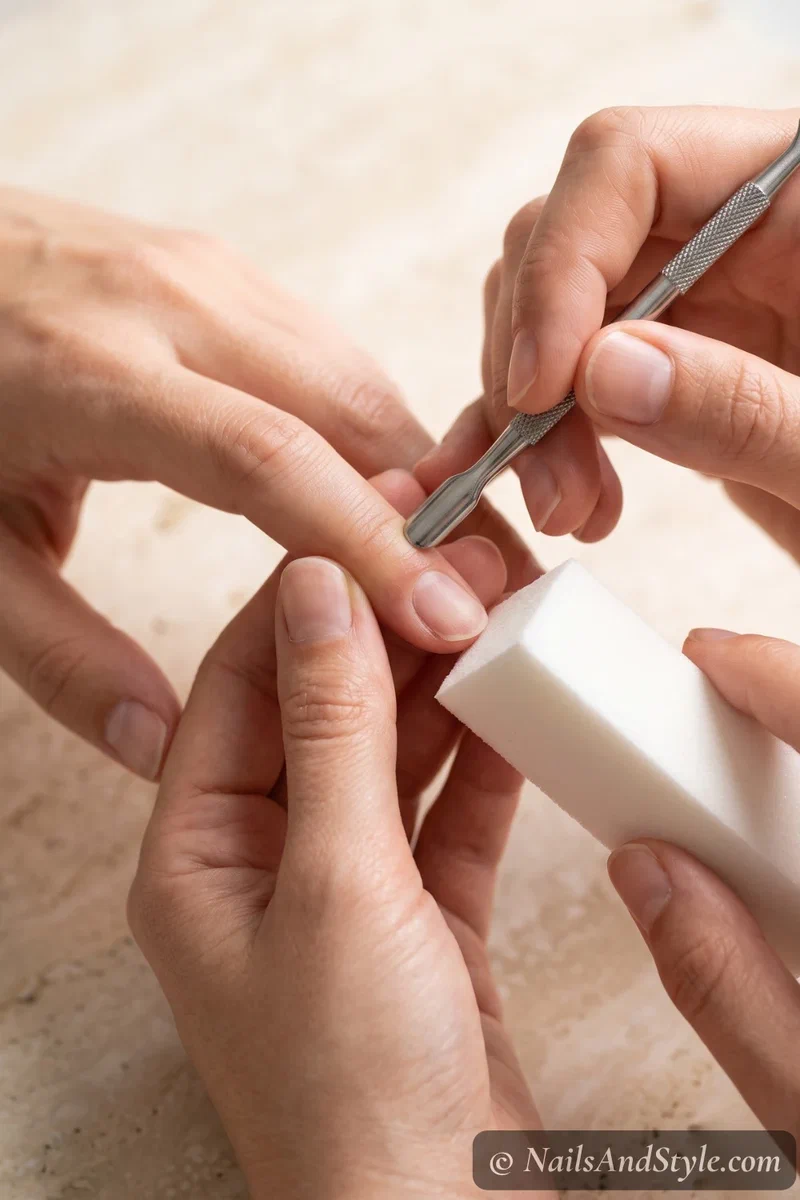
- Prep first. Push back your cuticles, trim and file to your shape (short square is the classic coconut jelly move, but almond is gorgeous too), then lightly buff the surface. A smooth nail plate is what stops streaks later.
- Base coat, always. One thin layer. It stops the white from staining your natural nail and gives the sheer polish something to hold onto.
- Build your sheer white in thin coats. This is the whole trick. Two thin, sheer layers instead of one thick gloopy one, letting each dry before the next. You want buildable, see-through colour — not full coverage.
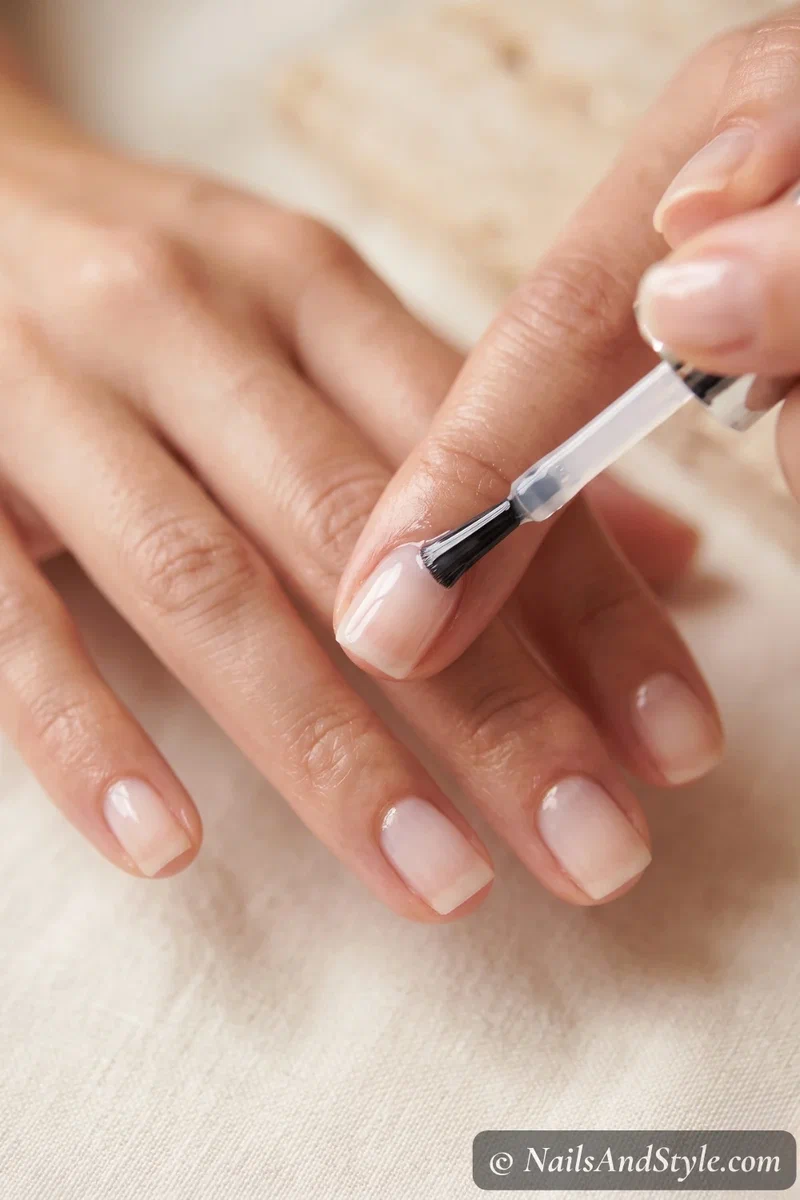
- Check your opacity. After two coats, hold your hand back and look. Want it milkier, more coconut milk? Add a third whisper-thin coat. Happy with the see-through jelly look? Stop right there.
- Clean up the edges. A small brush dipped in remover tidies any polish on your skin. Sheer white shows every little wobble, so this step earns its keep.
- Now the glossy top coat. A generous, glassy layer — this is where flat white polish turns into that wet, glass-like jelly finish. Don’t rush it.
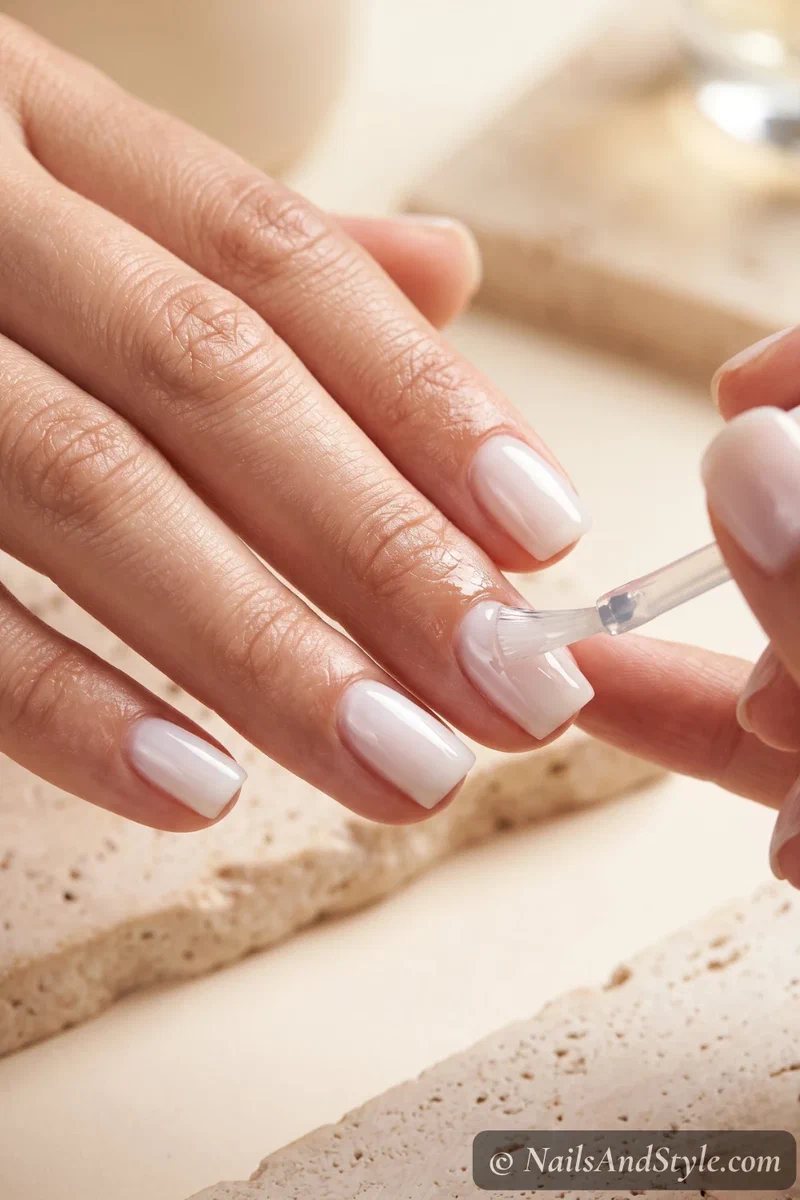
- Air-dry and oil up. Give it a solid 15 minutes, then a drop of cuticle oil around each nail. Instant fresh-from-the-salon hands.
Coconut Jelly Nail Ideas & Variations to Try#
Once you’ve got the basic coconut jelly mani down (sorry), it’s honestly hard to stop. A few easy ways to switch it up:
- Jelly French. Keep the sheer coconut base and add a milky white tip — softer and dreamier than a crisp classic French.
- On almond or coffin shapes. Longer shapes make the glassy finish look even more like liquid. Very expensive-minimalist.
- Micro gold flecks. A tiny scatter of gold leaf under the top coat, coconut-flake style. Subtle, warm, a little luxe.
- Coconut milk ombré. Sheer at the base fading milkier toward the tips, so it looks lit from within.
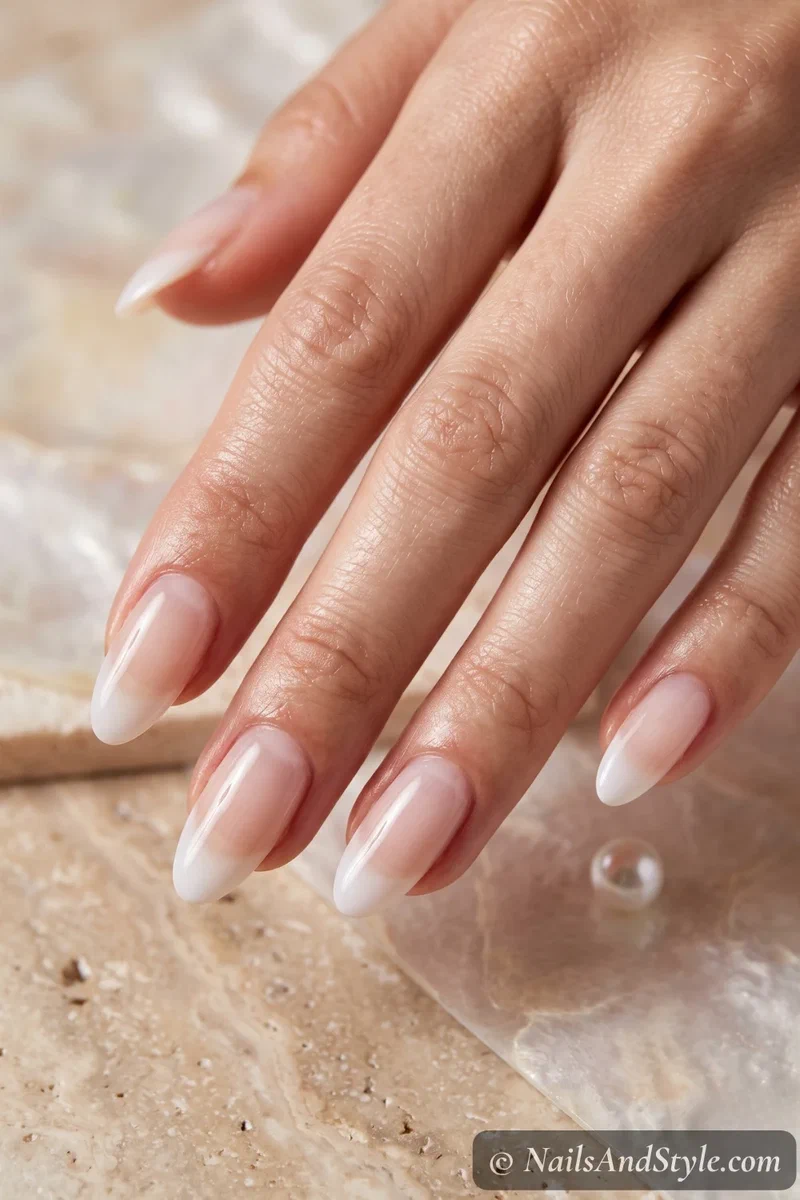
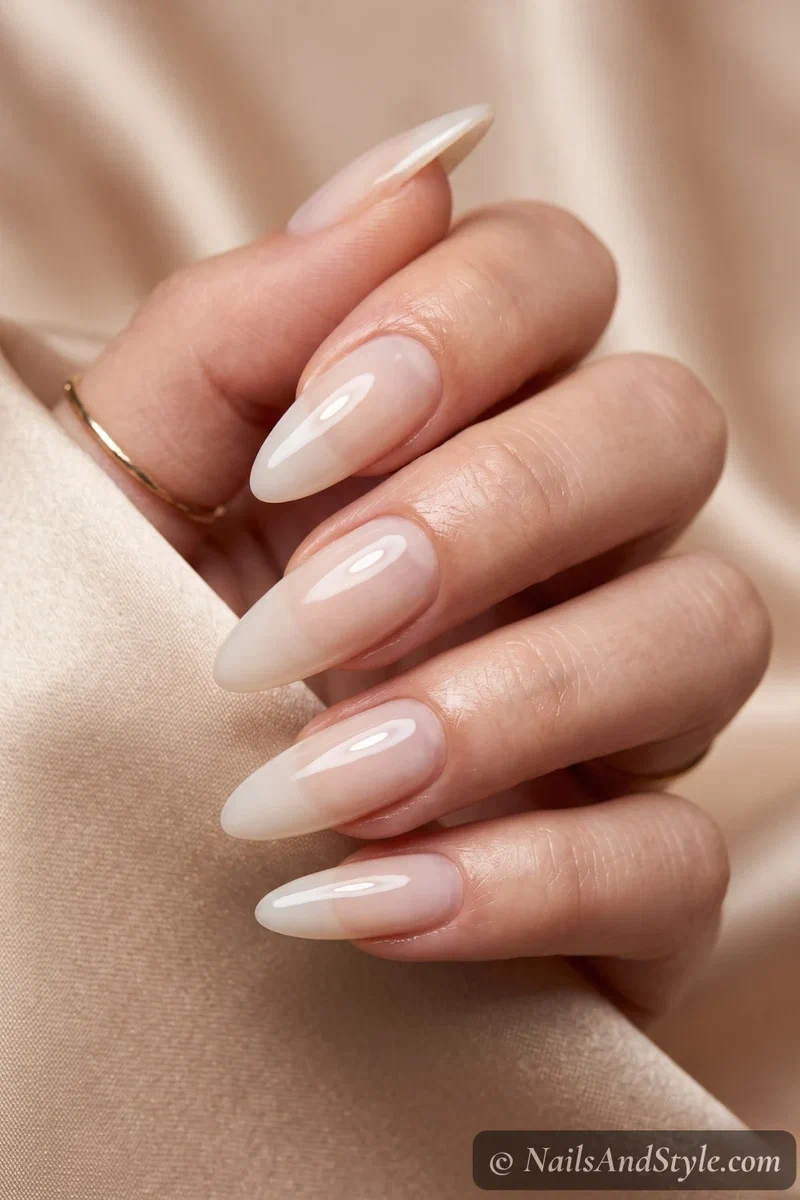
And a nice bonus: because the base is a soft, neutral white, it flatters just about every skin tone. On deeper and tan skin it gives this pretty milky contrast; on paler skin it melts into a clean, barely-there wash. Genuinely hard to go wrong — it’s one of those [Internal link to: nail designs that look expensive] without any real effort.
Troubleshooting: Cloudy, Streaky & Other Jelly Nail Problems#
Sheer polish is more honest than opaque polish — it shows whatever’s underneath. So if yours isn’t looking right, it’s usually one of these:
- Cloudy or dull instead of glassy? Your top coat is doing the heavy lifting. A thin, cheap top coat gives a flat finish. Go glossy and generous.
- Streaky? Almost always too-thick coats, or brushing back over polish that’s still tacky. Thin layers. Patience. Let each one dry.
- Too opaque, lost the jelly effect? You’ve built up too many coats. Fewer, sheerer layers keep that see-through look.
- Cloudy patches over the nail bed? Often it’s ridges or dry spots showing through. Buff smooth first, and a hydrating base helps.
- Chipping fast? Seal the free edge — swipe your top coat right along the tip of each nail — and it’ll last noticeably longer.
The fix is nearly always the same two words: thinner coats. If you love this soft milky family, the same rules carry over to [Internal link to: white summer nail designs] too.
How to Ask Your Nail Artist for Coconut Jelly Nails#
Not a DIY person? No shame in that. Getting this done in a salon is quick, and usually cheaper than a full set since there’s no art involved — but the words you use really matter, because “white nails” will get you the wrong thing entirely. Bring these:
- Two or three reference photos, and say “sheer coconut jelly” or “milky jelly gloss” — not just white. Show the see-through finish clearly.
- Ask for a jelly or sheer gel built in thin coats, not a solid white gel (that reads chalky and flat).
- Mention your shape — short square or almond holds the look best.
- Say how milky you want it. More sheer reads as jelly; a touch more opaque reads as coconut milk. This is the detail people forget.
- Gel over regular polish if you want that wet, glassy shine to last two-plus weeks without a redo.
Tips to Make Your Coconut Jelly Nails Last Longer#
- Keep every layer thin — thick polish chips and clouds.
- Seal the free edge with both base and top coat.
- Skip hot water and dishes for a couple of hours after painting.
- Wear gloves for cleaning, since sheer white picks up stains easily.
- Swipe a fresh layer of glossy top coat every three days to keep the shine alive.
- Cuticle oil daily — healthy cuticles make sheer nails look so much more expensive.
Quick FAQ#
Can you do coconut jelly nails without gel or a UV lamp?#
Totally. Regular sheer polish and a glossy top coat get you there — that’s the whole method above. Gel just makes it last longer and shine a bit harder, but it’s not required at all.
How many coats do you actually need?#
Usually two thin coats of sheer white, sometimes three if you want it milkier, then one good glossy top coat. Thin is the magic word. Thick coats go streaky and lose the jelly effect.
Can I do this on natural nails?#
Yes, and it looks lovely on them. Use a base coat so the white doesn’t stain, keep your layers thin so they dry evenly, and finish glossy. Natural nails are honestly ideal for that soft, see-through look.
Final Thoughts#
Here’s why I think coconut jelly nails stuck around when so many trends fizzle out: they’re easy, they’re cheap, and they make your hands look pulled-together with basically zero artistic skill. Pretty unbeatable combo.
So grab a sheer white, a glassy top coat, and give it a Sunday-afternoon try. Save the variations you like — the French, the gold flecks, the milkier ombré — and mess around until it feels like yours. Your future self, mid-iced-coffee and admiring her own glassy nails, will thank you.