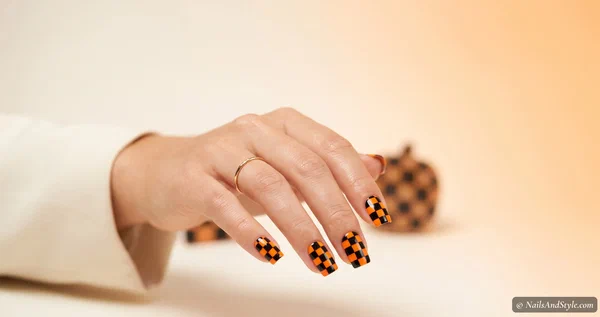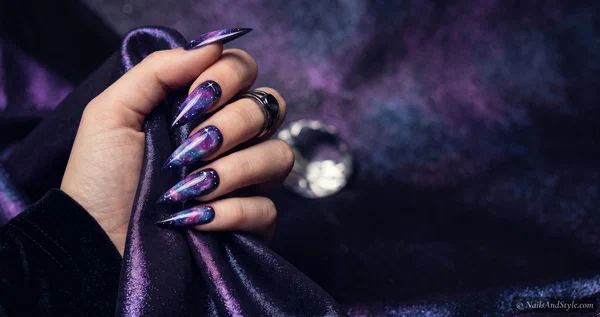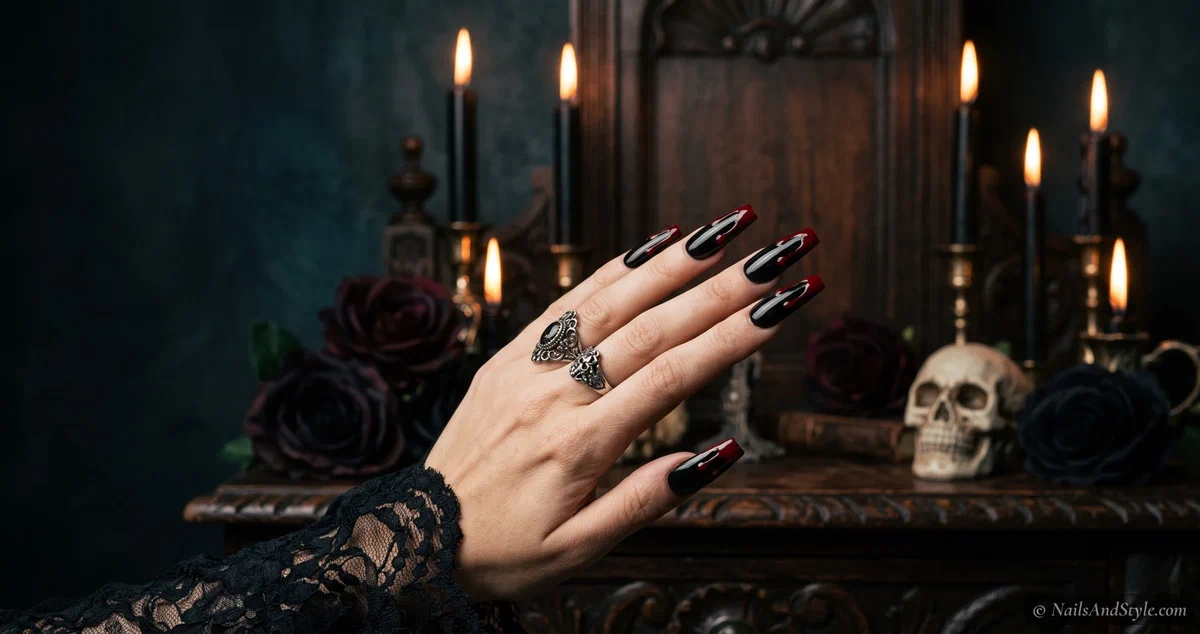
If you want your Halloween nails to make an entrance, coffin is the shape. Long, tapered, with a squared-off tip, it gives you the biggest canvas for the most dramatic art — blood drips that actually run, full skeleton hands, mirror chrome, haunted scenes. These coffin Halloween nails go all in, and most of them are built as halloween acrylic nails for that statement length.
You can do these at home with acrylic, hard gel, or coffin press-on tips — I’ll flag which looks need the length. Every design here leans bold and detailed, because that’s what the shape does best. This is the coffin deep-dive from my Halloween nails by shape guide, and if you’re building your own length, my how to do acrylic nails at home walkthrough has you covered.
Five categories of drama, coming up. Let’s build something wicked.
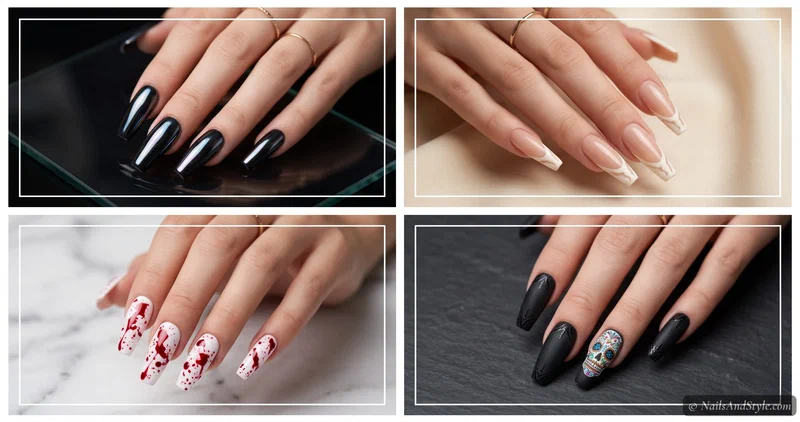
Why Coffin Halloween Nails Are the Ultimate Statement#
Here’s what the coffin shape does that others can’t: it gives your art room to be dramatic. A blood drip on a short nail is cute; on a long coffin it looks like a scene from a horror film. Skeleton bones stretch out and read anatomical. Chrome catches light down the whole length. The shape amplifies everything.
It’s a commitment, though — coffin nails mean length, which usually means acrylic or gel, and a little more care so they don’t catch or chip. But for one big spooky moment (a party, a costume, a photo everyone screenshots), nothing else comes close. Go big or go home, basically.
A Few Things to Keep in Mind Before You Start#
- Build your length first. Acrylic, hard gel, or coffin press-on tips give you the canvas; file to a clean squared tip.
- Detail loves this shape. Save your most ambitious art — scenes, skeletons, full webs — for these long nails.
- Balance the set. A couple of statement nails plus solid-color coffin nails reads cleaner than ten busy ones.
- Seal everything. Base coat against stains, top coat over art, and always seal the free edge so long tips don’t chip.
Quick Pick: Which Design Should You Try?#
| If you want… | Try these designs |
|---|---|
| Maximum gore | Blood Splatter Coffin, Bloody Claw Scratch Coffin |
| Expensive-looking | Black Chrome Coffin, Chrome French Coffin |
| A full spooky scene | Graveyard Scene Coffin, Creepy Forest Coffin |
| Full artist flex | Sugar Skull Coffin, 3D Spider Coffin |
Blood & Gore Coffin Nails#
The coffin shape was basically built for gore — all that length lets the blood run. This is the goriest, most dramatic bundle, and honestly the most fun.
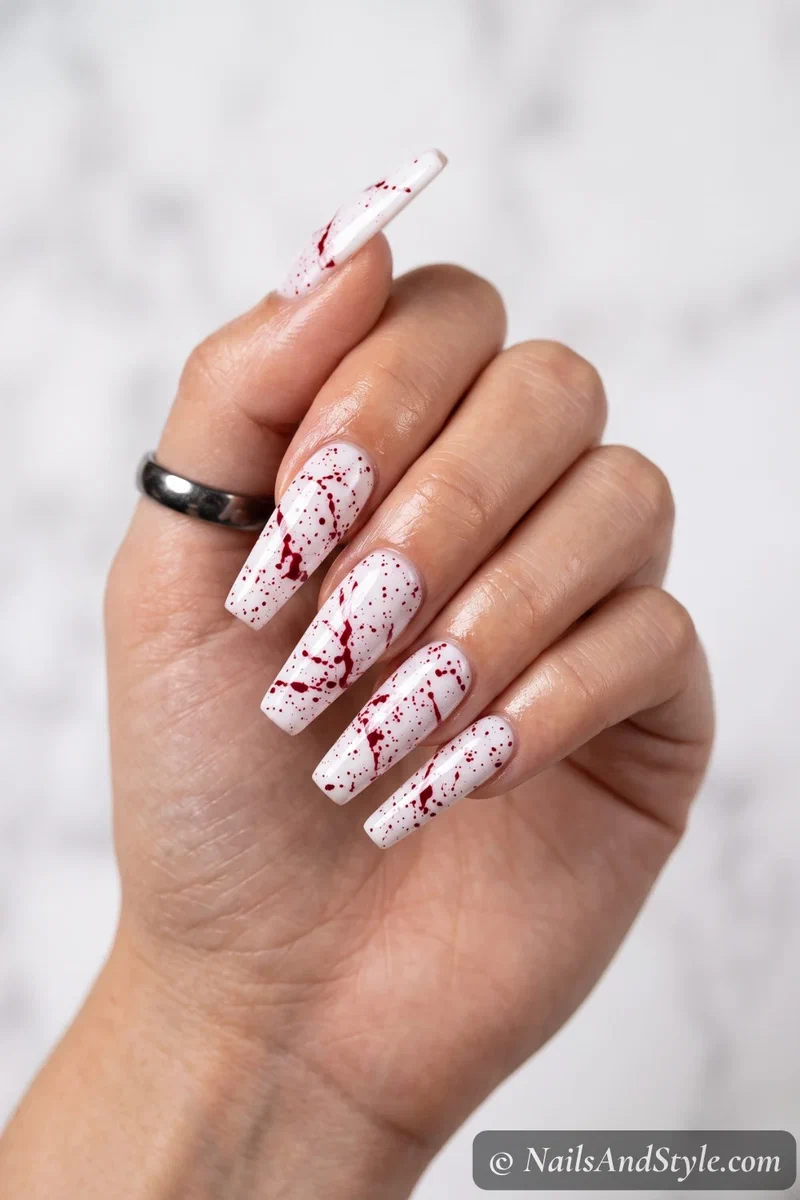
1. Blood Splatter Coffin Nails#
Crime-scene chic on the perfect canvas. Fine red splatter flicked across long white coffin nails looks like you walked out of something unspeakable. Dip a thin brush in deep red and tap it against your other hand to fling specks down the length. Glossy top coat keeps it fresh.
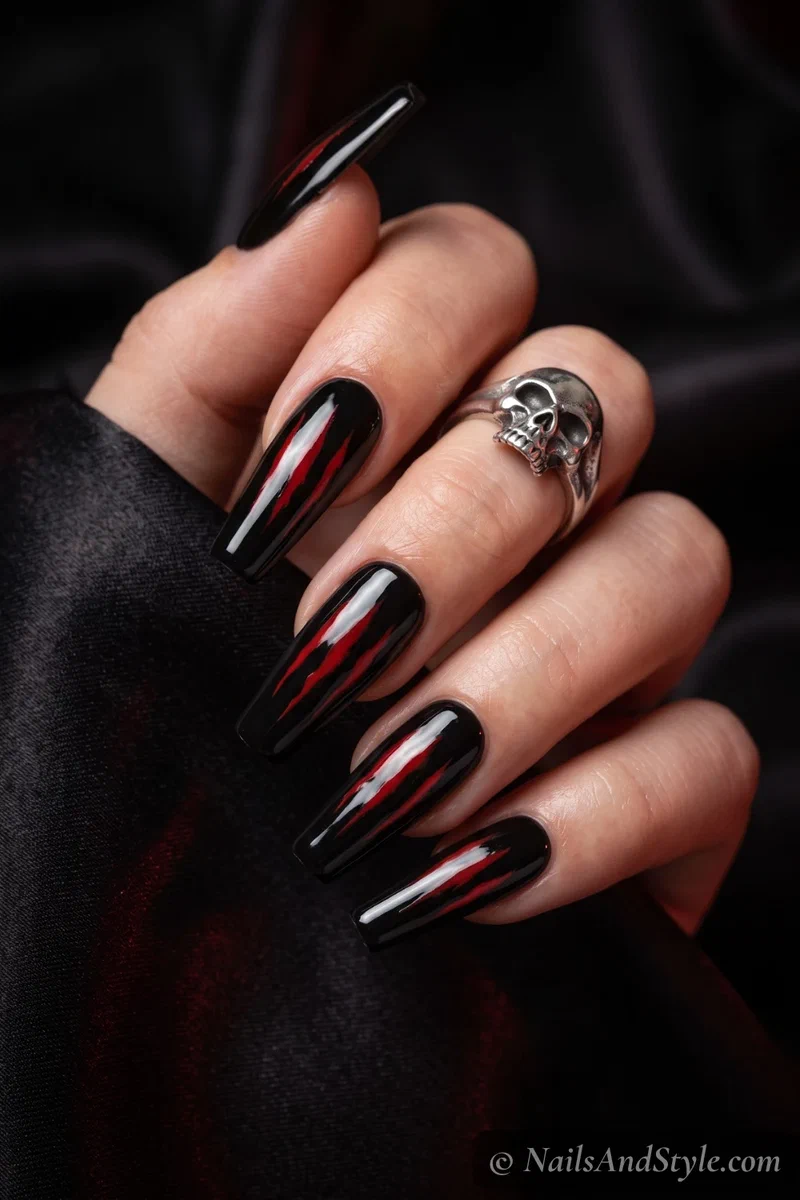
2. Bloody Claw Scratch Coffin Nails#
Like something clawed its way across your nails. Three raking red scratch marks over a glossy black coffin base — sharp, violent, and so effective on the long shape. Drag a thin brush in red down the nail in parallel streaks, keeping the ends tapered. Deeply unsettling in the best way.
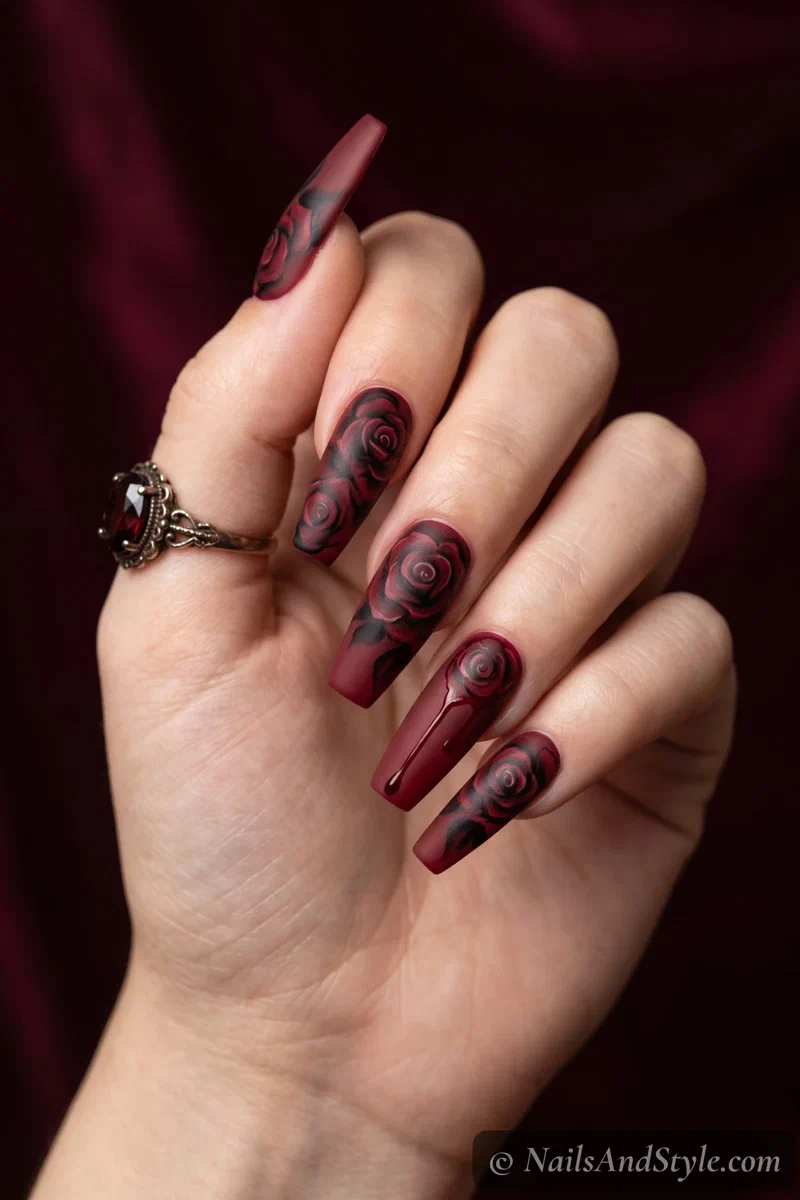
3. Gothic Blood Rose Coffin Nails#
Where horror meets romance. Deep blood-red roses with black shadows trailing down long coffin nails — dramatic, elegant, a little deadly. Paint loose rose shapes in dark red, shadow them in black, and let one bleed a thin drip. Matte top coat makes them look like pressed velvet.
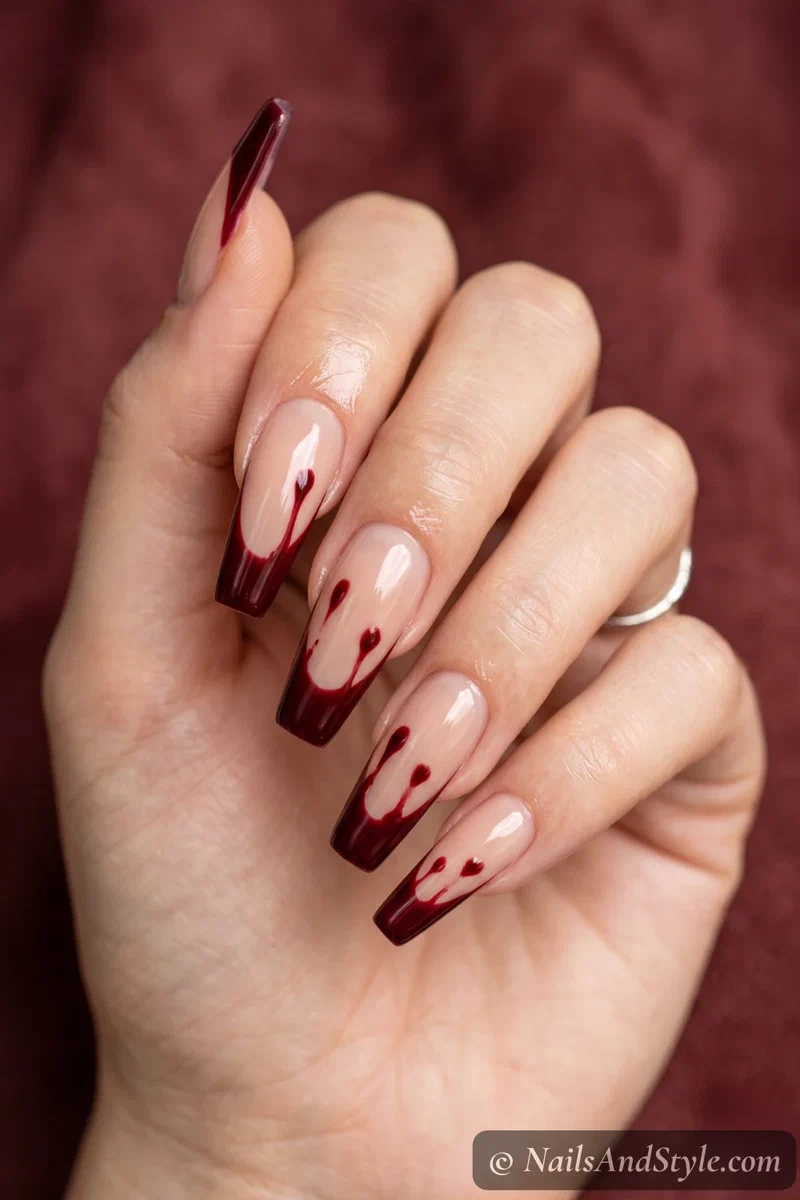
4. Bleeding French Coffin Nails#
The elegant gateway to gore. A clean nude coffin nail with dark red French tips that drip down like they’re bleeding. Do a normal red tip, then pull a few thin drips downward before it sets. From a distance it’s chic; up close, it’s dripping. Love that double-take.
Chrome & Metallic Coffin Nails#
Long coffin nails and chrome are a match made in heaven — that flat length shows off the mirror finish like nothing else. Zero art skill, maximum expensive-looking payoff.
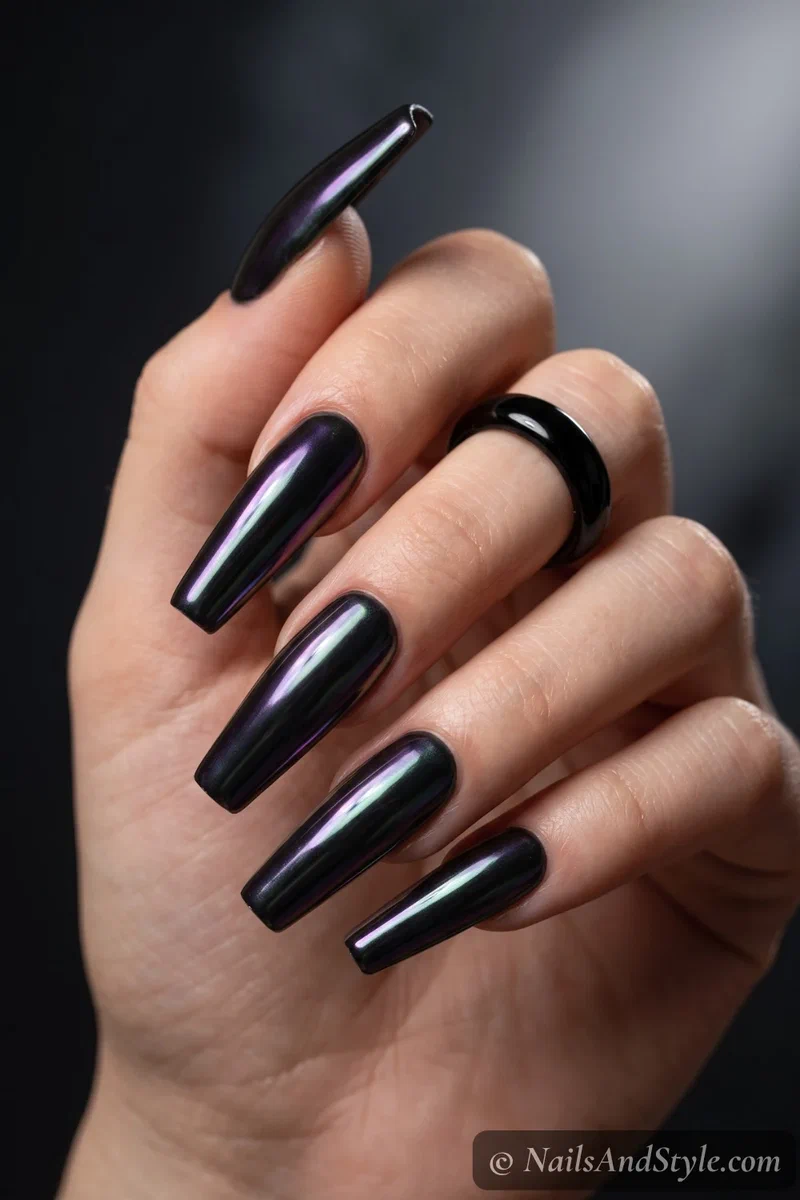
5. Black Chrome Coffin Nails#
The darkest, most dramatic mirror there is. Oil-slick black chrome down long coffin nails has a liquid, almost wet depth — gothic and futuristic. Paint a black base, buff graphite chrome powder over the top, seal quick. It’s a mirror, but midnight. Absolutely elite.
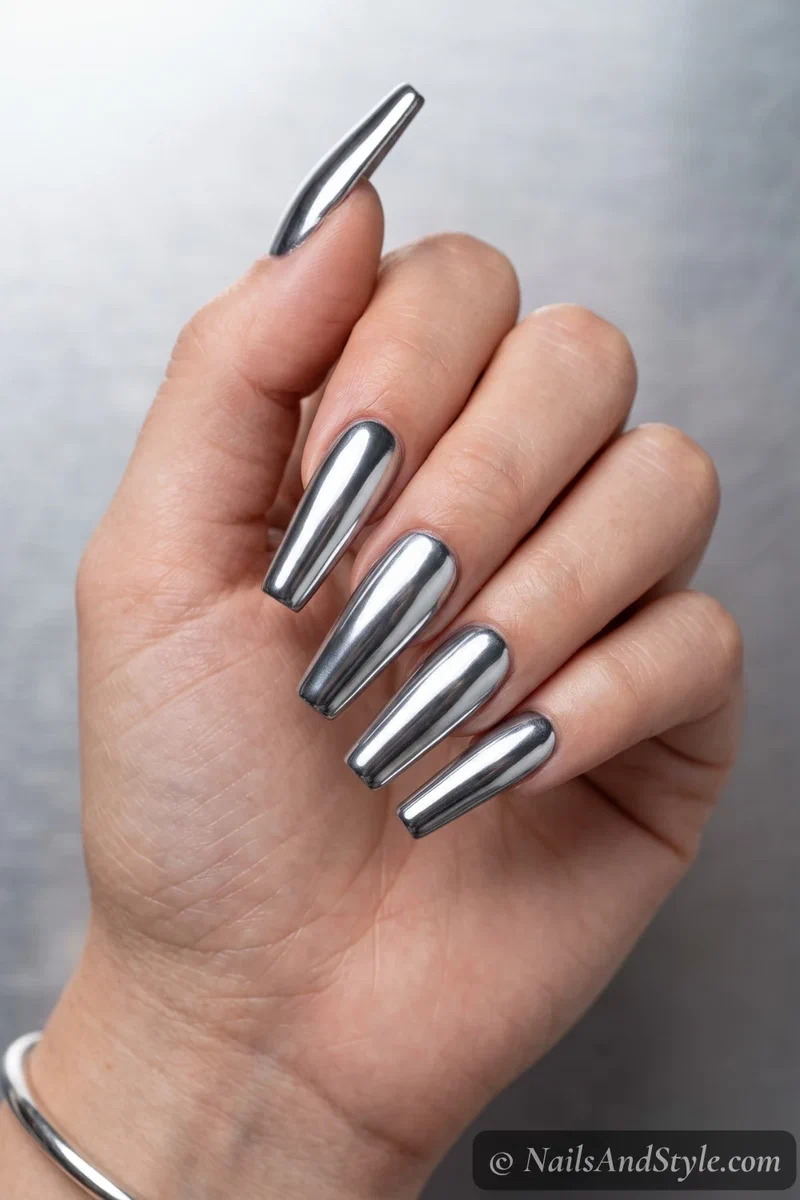
6. Silver Chrome Coffin Nails#
Cold, sharp, and a little clinical — horror-movie scalpel energy. Silver chrome down the long coffin canvas reflects everything and looks razor-sharp. Black base, silver chrome powder buffed to a mirror. Icy and striking, especially in photos.
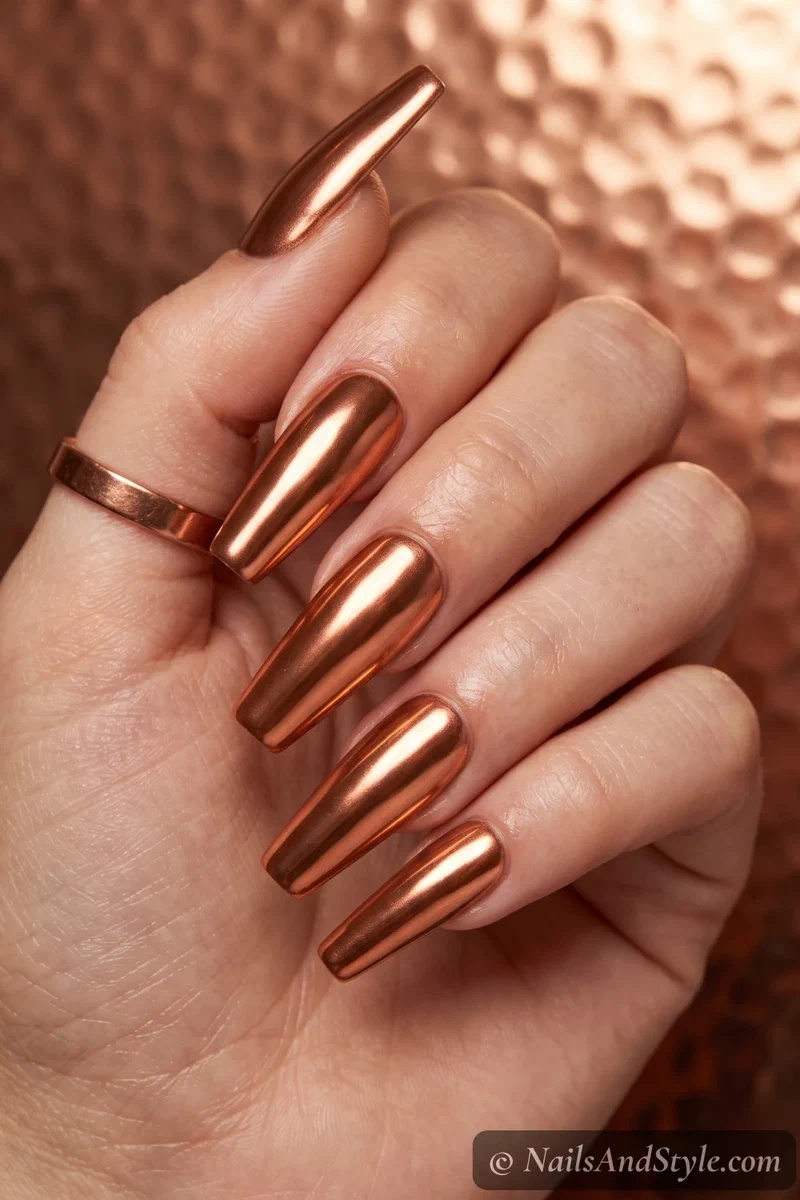
7. Copper Metallic Coffin Nails#
Warmer and more autumnal, bridging Halloween and fall. Burnished copper down long coffin nails glows like a penny and pairs with every October outfit. Brown or orange base, copper chrome buffed on. Rich, reflective, a little witchy-luxe.
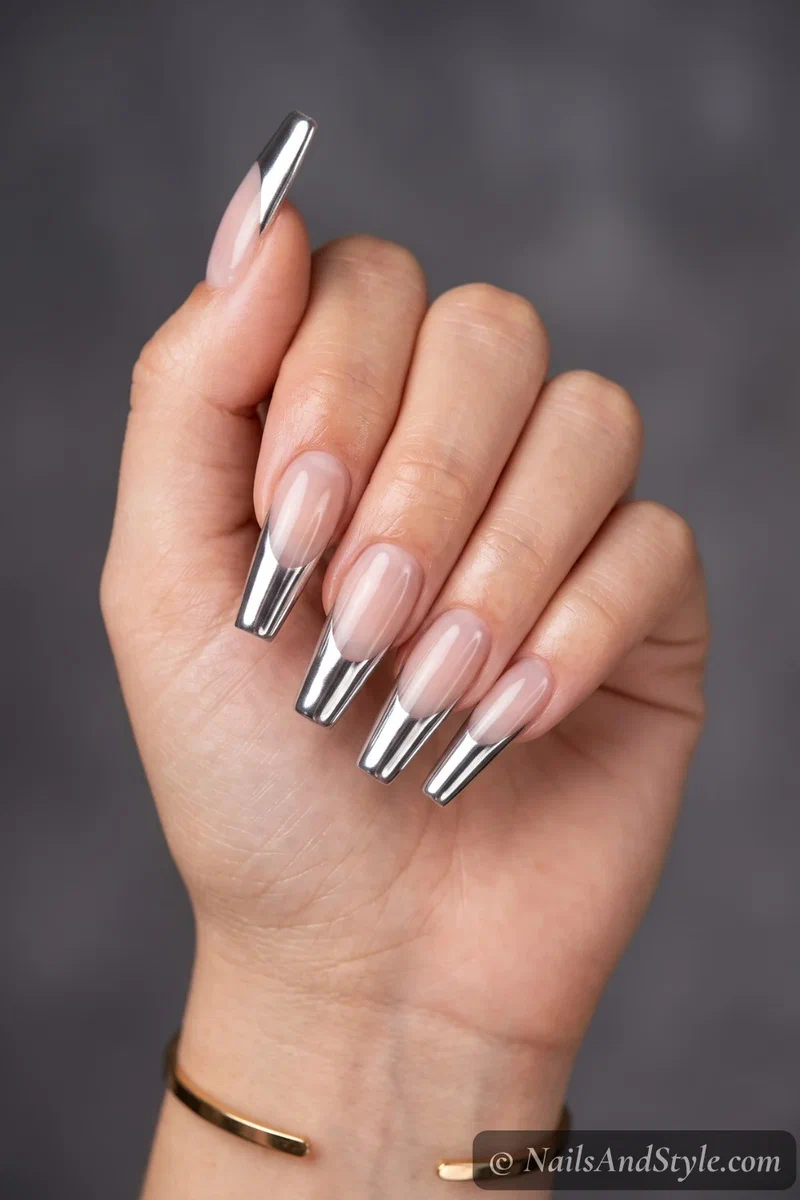
8. Chrome French Coffin Nails#
Modern and sleek — a French tip, but make it mirror. Silver chrome tips on a sheer coffin nail, so just the long tips gleam. Buff chrome powder onto the tip area over a tacky top coat. The length makes the metallic tip look extra dramatic. Futuristic and clean.
Spooky Scene Coffin Nails#
This is where the coffin canvas really earns its keep — full miniature scenes that need every millimeter of length. Save these for accent nails; they’re a project, and worth it.
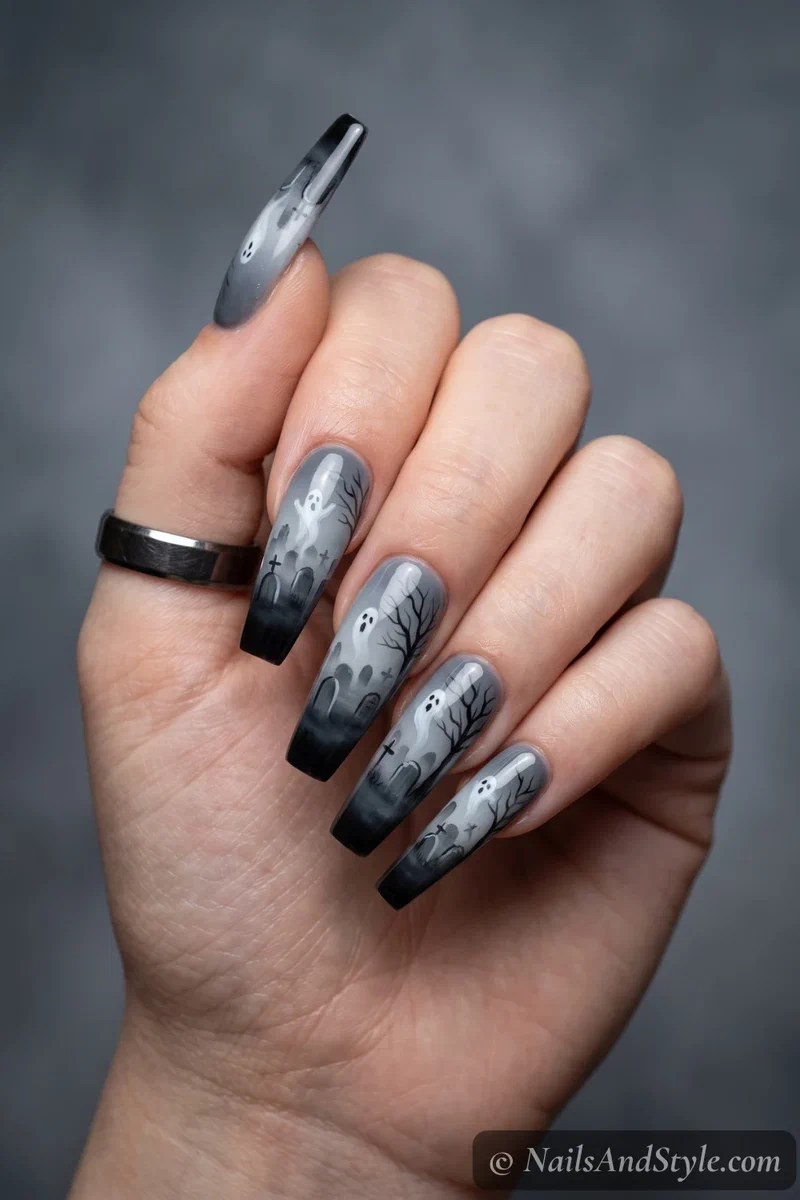
9. Graveyard Scene Coffin Nails#
A whole cemetery down your nail. Grey tombstones, a bare tree, and a rising ghost against a misty grey-to-black gradient — the length lets the scene stretch out spookily. Sponge the foggy sky, then add tombstones and thin details. A dot of glow polish for “spirits” is a nice touch. Pairs perfectly with the gorier looks in my spooky Halloween nails.
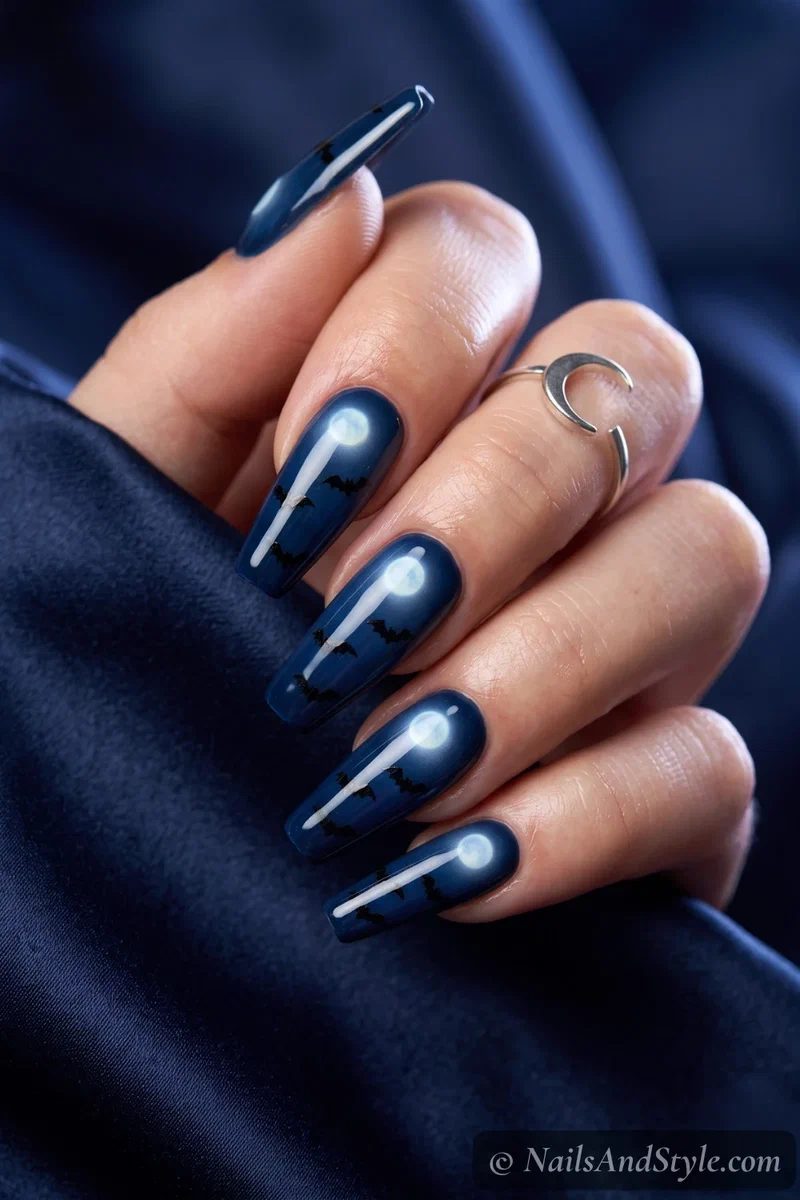
10. Full Moon Night Coffin Nails#
Moody and cinematic. A glowing full moon with black bats flying across a midnight-blue sky, running the length of long coffin nails. Sponge a soft moon glow, then dot bats around it. Simple to build but the long shape makes it look like a movie poster.
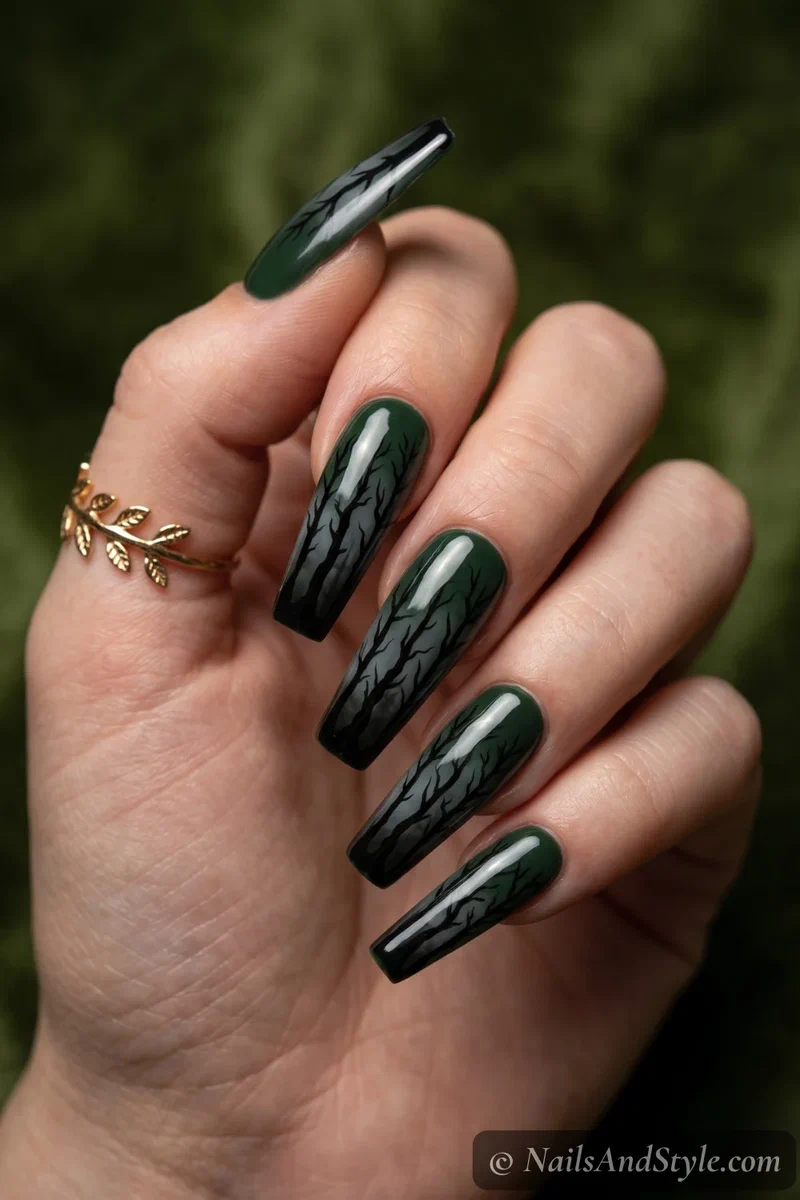
11. Creepy Forest Coffin Nails#
A haunted woodland at midnight. Black dead-tree silhouettes rising through fog on a deep forest-green base, the long nails perfect for tall spooky trees. Paint the trees with a fine brush and sponge a little grey fog between them. Atmospheric and eerie.
12. Ghost Town Coffin Nails#
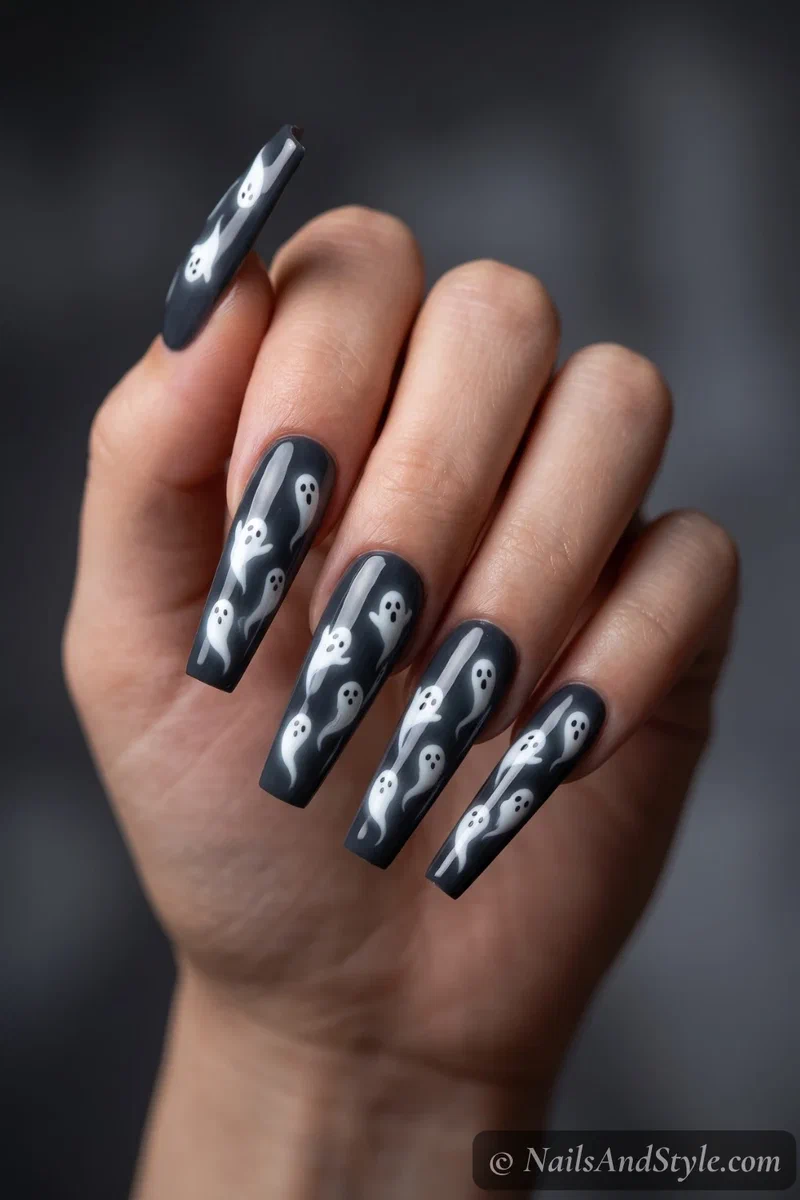
Softly spooky. Little floating white ghosts drifting up long charcoal coffin nails, like a haunted procession. Paint several ghosts at different heights with a soft brush and add faint glows around them. The length gives them room to float. Eerie but pretty.
Skeleton & Skull Coffin Nails#
Bones and the coffin shape are a classic pairing — the length gives skeletal art the room it needs to look properly anatomical and dramatic. If your set catches on things, my how to remove acrylic nails at home guide makes taking them off painless.
13. Sugar Skull Coffin Nails#
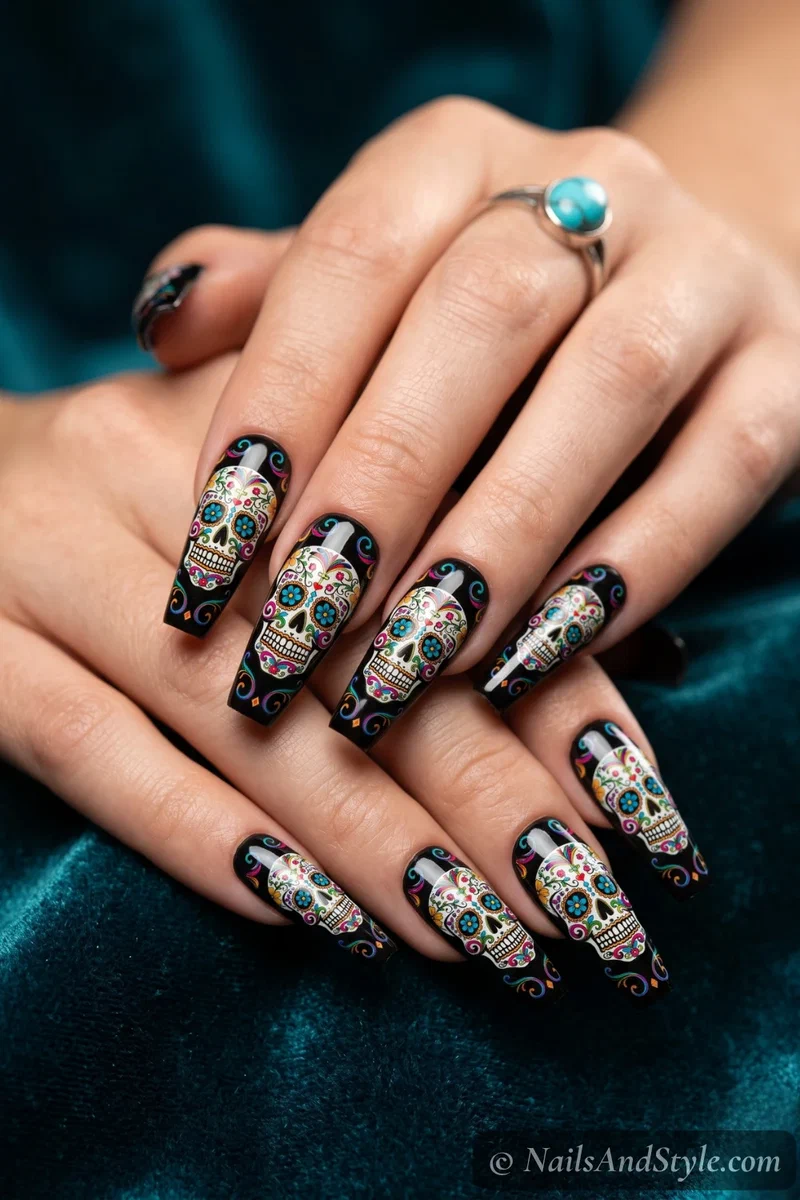
Día de los Muertos, gorgeously detailed. An ornate colorful sugar skull with swirls and flowers on a black coffin nail — the long canvas fits all the intricate work. Paint the white skull, then layer color details with a fine brush and dotting tool. Bright on black, it pops.
14. Skeleton Ribcage Coffin Nails#
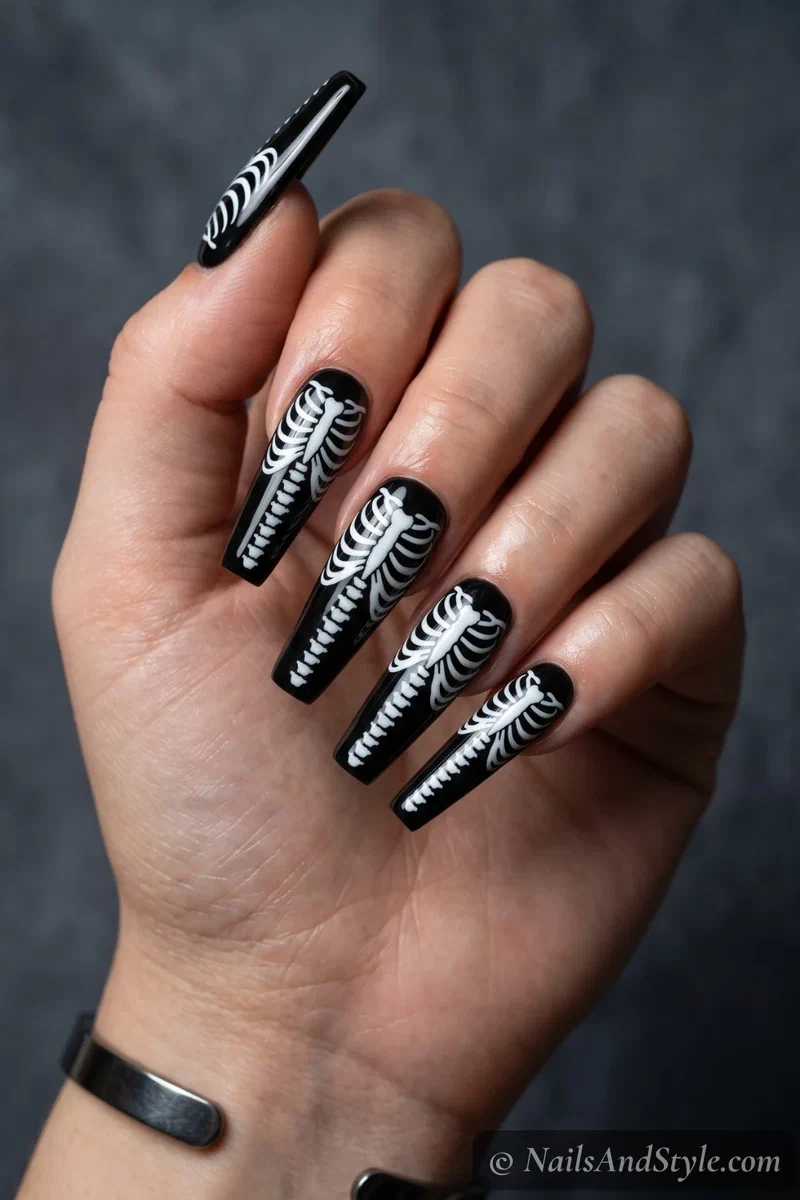
Anatomical and eerie. A white ribcage and spine curving down long black coffin nails, like your finger’s an X-ray. The length is perfect for the vertical spine detail. Paint the spine line, then curved ribs branching off. Simpler than a full hand, just as striking.
15. Skull & Roses Coffin Nails#
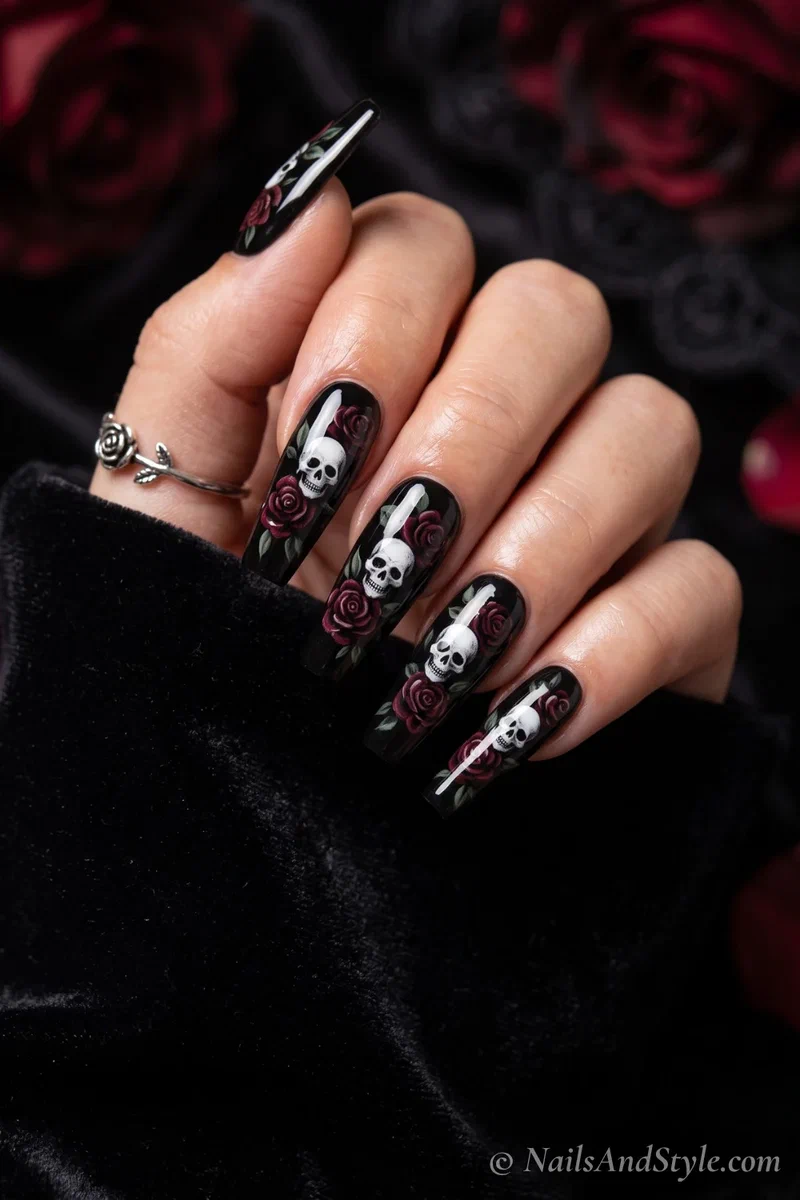
Beauty and death, together. A white skull nestled among dark red roses on a black coffin nail — gothic, romantic, and dramatic on the long shape. Paint the skull first, then roses around it with black shadowing. It tells a whole moody story. Stunning as an accent.
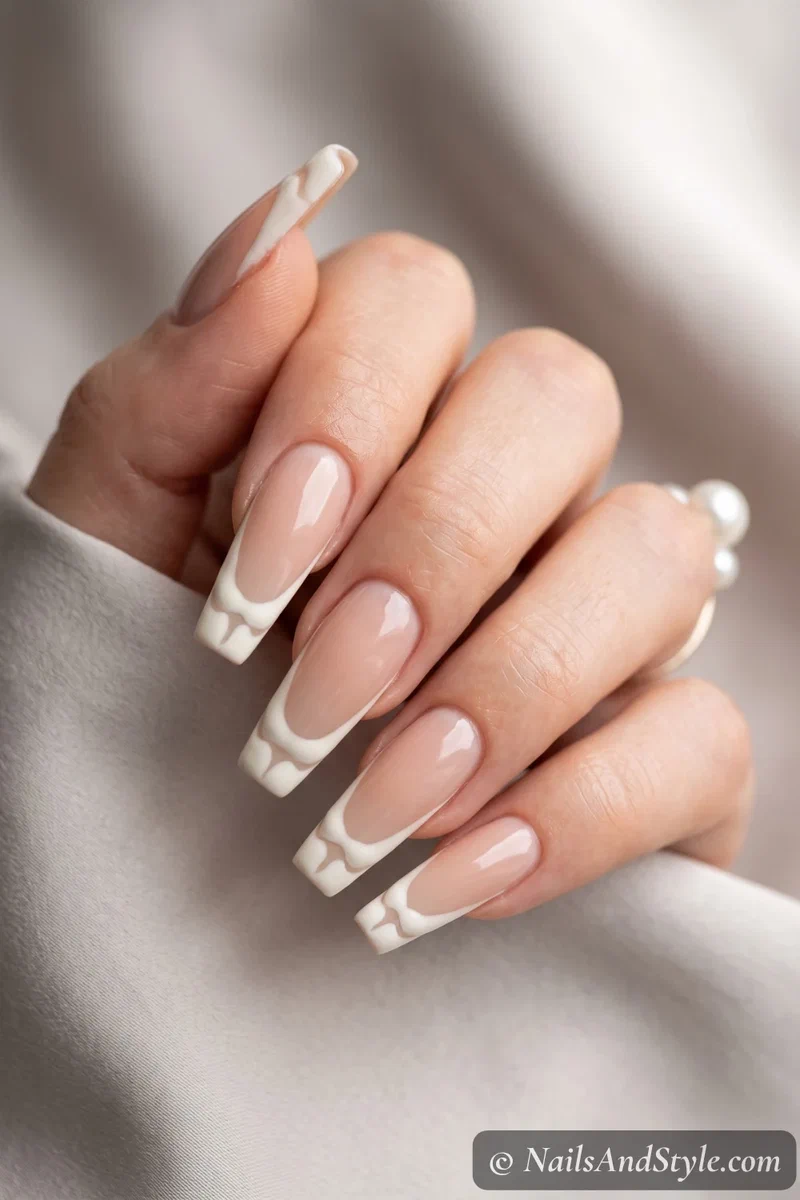
16. Bone French Coffin Nails#
A skeletal twist on a classic. Instead of a smooth French tip, the tip is painted as bone — knuckle-and-joint shaped — in bone white on a nude coffin nail. The long tip sells the skeletal effect. Subtle from afar, creepy up close. Very cool.
Spider, Web & Bat Coffin Nails#
We close with the crawlers and flyers. Spiders, webs, and bats all get more dramatic with length — a spider descending a long coffin nail is genuinely startling.
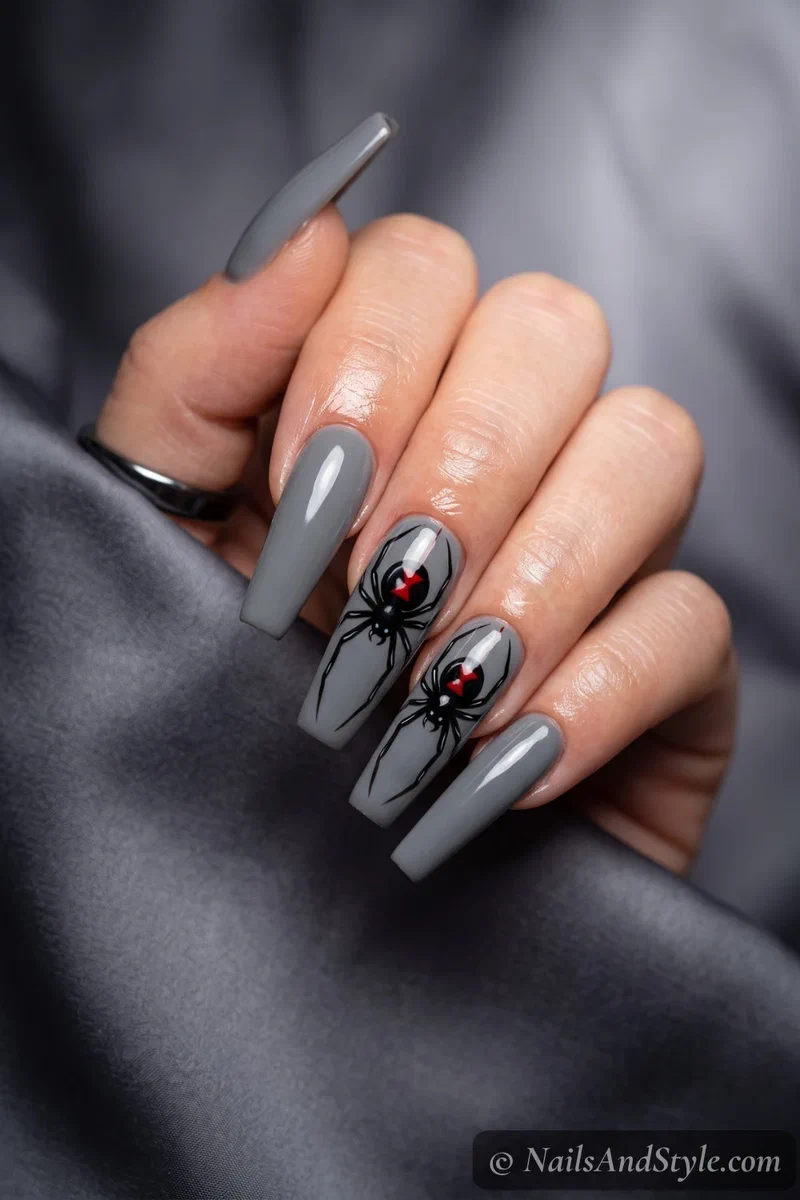
17. Black Widow Coffin Nails#
Danger with a red hourglass. A glossy black widow spider, red mark and all, descending a long coffin nail — the length makes it look like it’s really crawling toward you. Paint a rounded body, thin legs, and the red hourglass on its back. Menacing and iconic.
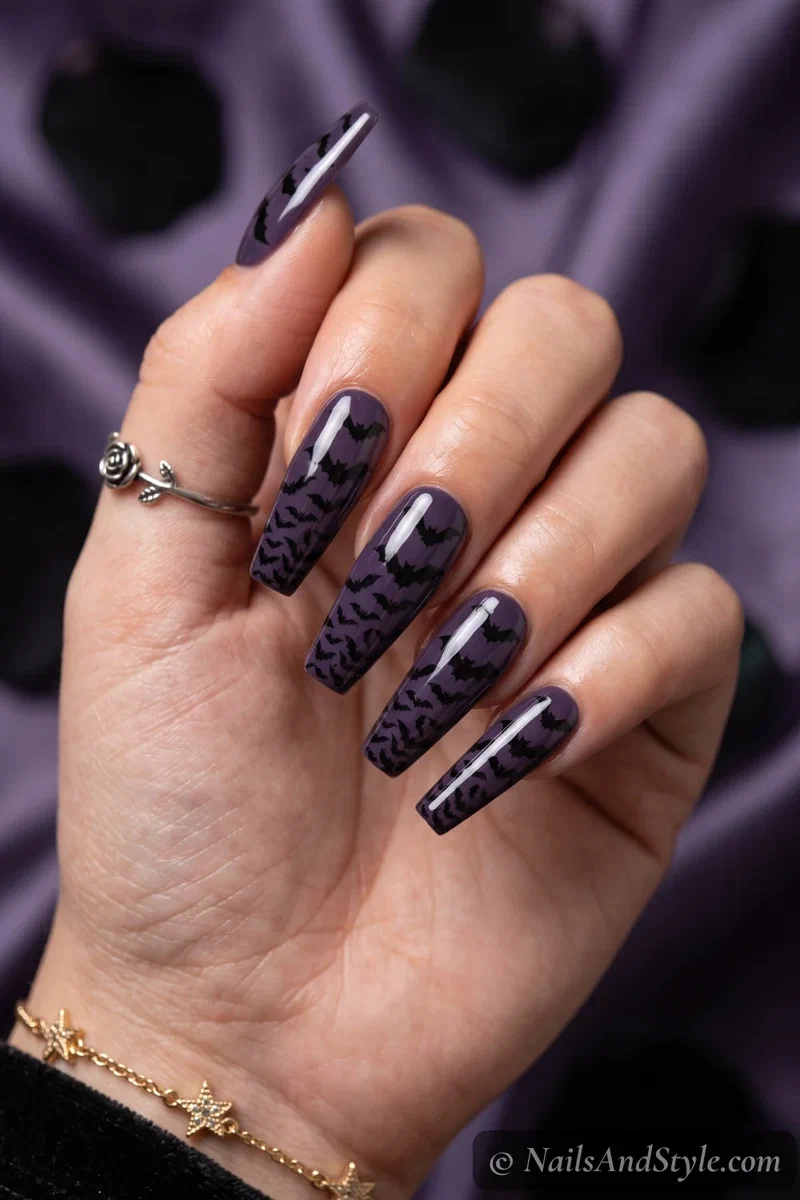
18. Bat Swarm Coffin Nails#
A whole colony taking flight. Black bats swarming up long dusk-purple coffin nails, small at the base and bigger toward the tip for depth. Dot and flick the bats with a fine brush, layering sizes. The long shape gives the swarm somewhere to go. So dramatic.
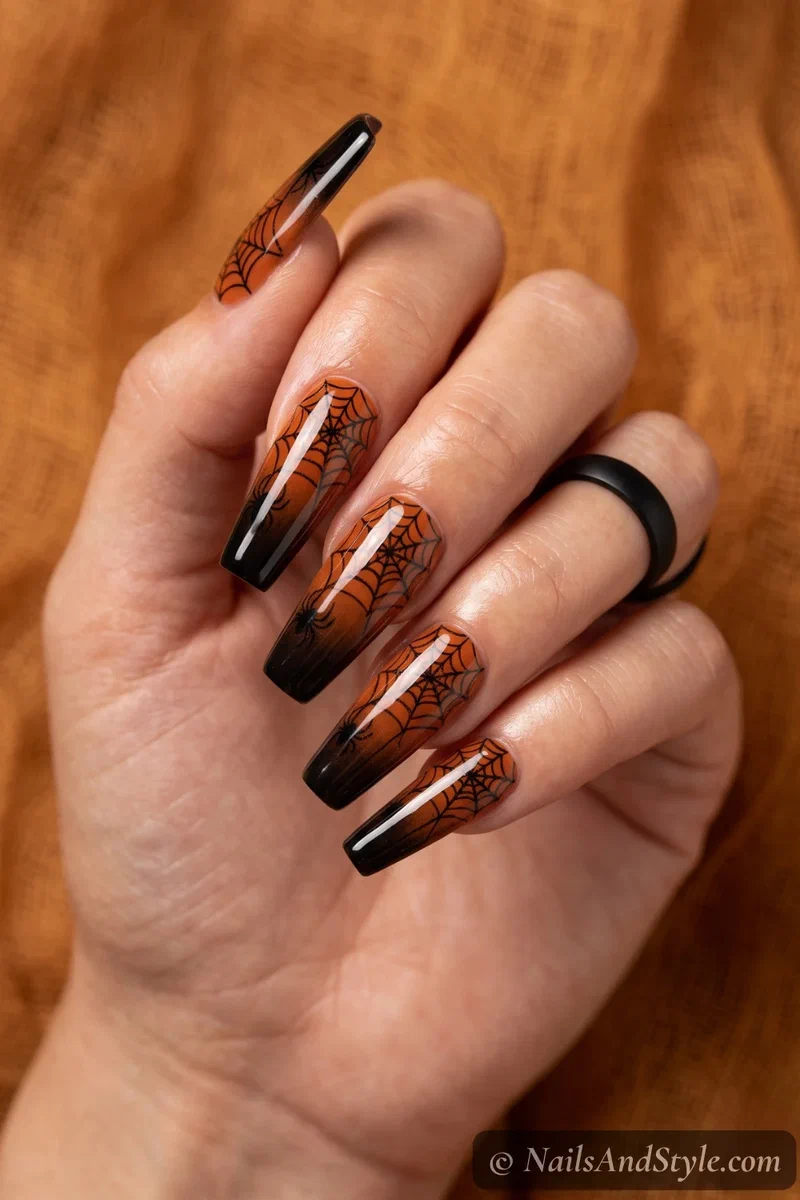
19. Web Ombré Coffin Nails#
Two effects, one dramatic nail. A burnt-orange-to-black ombré fade with a fine black web laid over the top, down long coffin nails. Sponge the gradient first, then draw the web across it. The fade plus the web plus the length is a lot of look, in the best way.
20. 3D Spider Coffin Nails#
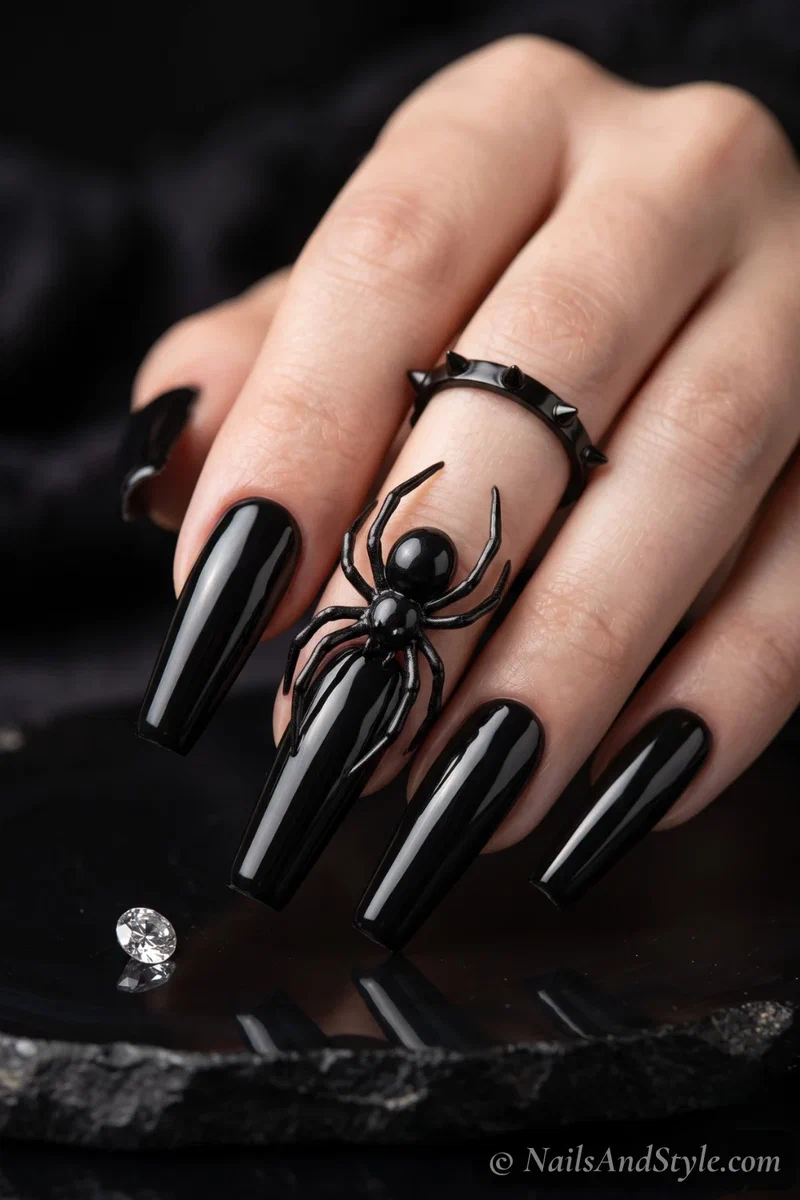
The full artist flex to finish. A raised, three-dimensional spider sculpted onto a black coffin nail so it stands right off the surface — the ultimate statement. Build the domed body and legs with black builder gel, cure, then gloss. Only really possible on a sturdy acrylic or gel coffin nail. Show-stopping.
Coffin Halloween Nails on Shorter Nails#
Not ready for full-length claws? The coffin shape scales down. A short coffin — filed with tapered sides and a squared, slightly rounded tip — gives you that edgy silhouette without the upkeep, and it’s much kinder to daily life. Solid matte black, a single blood drip, or a small chrome accent all look sharp on a short coffin.
Keep the art simpler on shorter coffin nails — one clear motif rather than a full scene — and lean on strong finishes like chrome and matte to carry the drama. You still get that cool, tapered coffin edge, just in a version you can type and carve pumpkins in.
A Few More Short Coffin Ideas#
- Short black chrome coffin — all the drama, none of the length.
- One blood drip on a short coffin — clean, sharp, and quick.
- Matte black short coffin — the edgiest low-effort look.
- Bone French on a short coffin — the tapered tip suits the skeletal French.
- A single spider accent — one crawler on a short coffin reads bold, not busy.
Simple Step-by-Step: How to Do This at Home#
- Build your length. Apply acrylic, hard gel, or coffin press-on tips, and file to a clean tapered coffin with a squared tip.
- Prep and buff. Smooth the surface and push back cuticles so art sits cleanly.
- Apply a base coat. Guards against staining from black and red.
- Paint your base color. Two thin coats, fully dry before any art.
- Build the design. Sponge for gradients and scenes, a thin liner for skeletons and webs, builder gel for anything 3D.
- Add the drama. Drips, bones, chrome, glow — layered on last for maximum impact.
- Clean the edges. A small brush and remover for a neat skin line.
- Seal it. Glossy for gore and chrome, matte for gothic roses and bones. Seal the free edge and dry fully.
How to Ask Your Nail Artist for Coffin Halloween Nails#
Coffin sets are a salon specialty, since the length usually needs building. Clear direction gets you the exact drama you want.
- Ask for the coffin shape and length. Say “long coffin” or “short coffin” and mention acrylic, gel, or tips.
- Bring reference photos. Detailed art varies hugely — pictures lock in the exact scene or finish.
- Name the finish. Chrome, matte, glossy, or 3D all change the look; say which.
- Flag 3D or scene work. Sculpted spiders and full scenes need extra time and product — book accordingly.
- Definitely go gel or acrylic. Long coffin art needs the strength; regular polish won’t hold detail or length.
Tips to Make Your Nails Last Longer#
- Seal the free edge on every nail — long coffin tips chip there first.
- File any snag immediately so it can’t catch and tear the whole tip.
- Wear gloves for chores; long nails take the most abuse.
- Avoid using your nails as tools — the number-one cause of a broken coffin tip.
- Refresh your top coat every few days to protect detailed art.
- Use cuticle oil daily so the nail flexes instead of snapping.
- Book fills every 2-3 weeks if you’re wearing acrylic or gel through the season.
Quick FAQ#
Are coffin Halloween nails always acrylic?#
Most of the long ones are — the coffin shape needs length and a squared tip, so people build it with acrylic, hard gel, or coffin press-on tips. You can file natural nails into a short coffin, but the dramatic long designs really need extensions.
Do detailed designs work better on coffin nails?#
Yes. The long, flat coffin canvas is ideal for detailed art — skeleton hands, full webs, haunted scenes, and chrome all have room to breathe. It’s the best shape for anything ambitious.
How do I keep long coffin nails from breaking?#
Seal the free edge, never use them as tools, and file down snags immediately. Gel or acrylic gives long tips their strength, and daily cuticle oil keeps the nail flexible so it bends instead of snapping.
Final Thoughts#
Coffin Halloween nails are for the moments you want to go all out — the party, the costume, the photo that gets screenshotted. The long, dramatic canvas turns blood drips into horror scenes and chrome into liquid metal, and nothing makes a bigger spooky statement.
Save the looks that made you gasp, pin them for your salon appointment, and don’t be shy about mixing drama — a chrome base with a 3D spider, a scene nail among solid coffin tips. For the other shapes and the whole spooky range, head back to my Halloween nail ideas roundup — but if you want maximum impact, coffin is where it’s at.