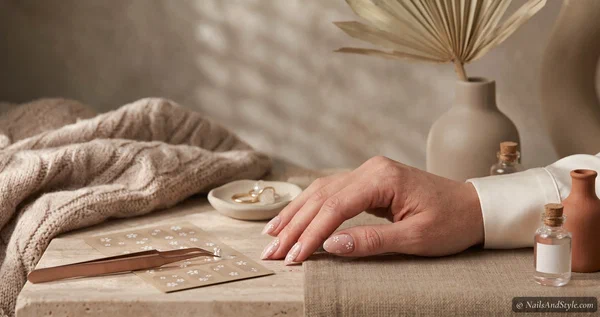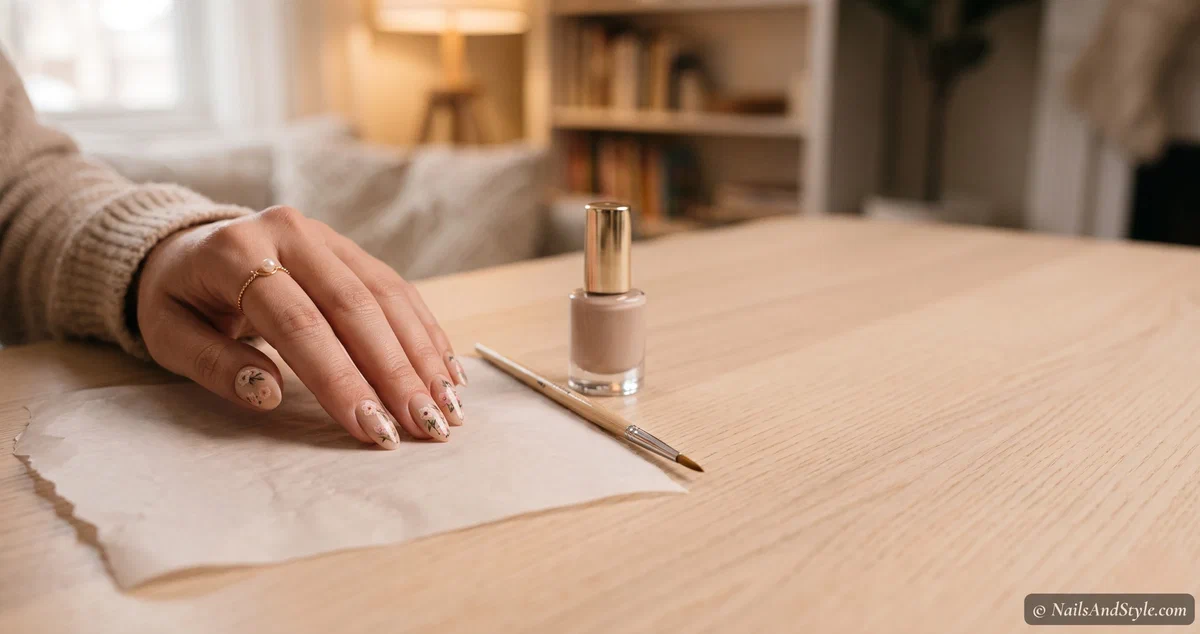
Store-bought stickers are great — but there’s something addictive about learning how to make your own nail stickers. Any design you can dream up, in your exact colors, for pennies a set. Your initials, a tiny version of your cat, a color that matches one specific dress. Nobody else will have them.
And it’s genuinely easier than it sounds. You don’t need a fancy machine (though I’ll cover that route too). A bottle of top coat and a scrap of parchment paper will get you surprisingly far.
I’ll walk you through both paths — the Cricut print-and-cut way for crisp, repeatable designs, and a couple of no-machine methods anyone can do on the couch. Short nails, medium nails, whatever art skills you’ve got. Let’s make something.
What You’ll Need#
Depends which method you pick, so grab what fits — you won’t need all of it at once:
- Printable sticker paper or clear nail vinyl — the base your design prints or cuts onto — waterproof or clear works best
- A Cricut or craft cutting machine — optional — only for the print-and-cut method; skip it for the no-machine ways
- Small sharp scissors or a craft knife — for hand-cutting decals if you're machine-free
- Base coat — a smooth layer for your DIY sticker to grip onto
- Glossy top coat — seals the design — and it's the whole secret to the peel-off method
- Fine-tip nail art pen or thin brush — for hand-drawn designs and little details
- Parchment paper or a plastic sleeve — the non-stick surface you paint peel-off decals onto
- Rubbing alcohol — to prep clean, oil-free nails before you apply anything
Two Ways to Make Nail Stickers: Cricut vs No-Cricut#
Before you start, pick your lane. There’s really no wrong answer — it comes down to what you’ve got and how precise you want to be.
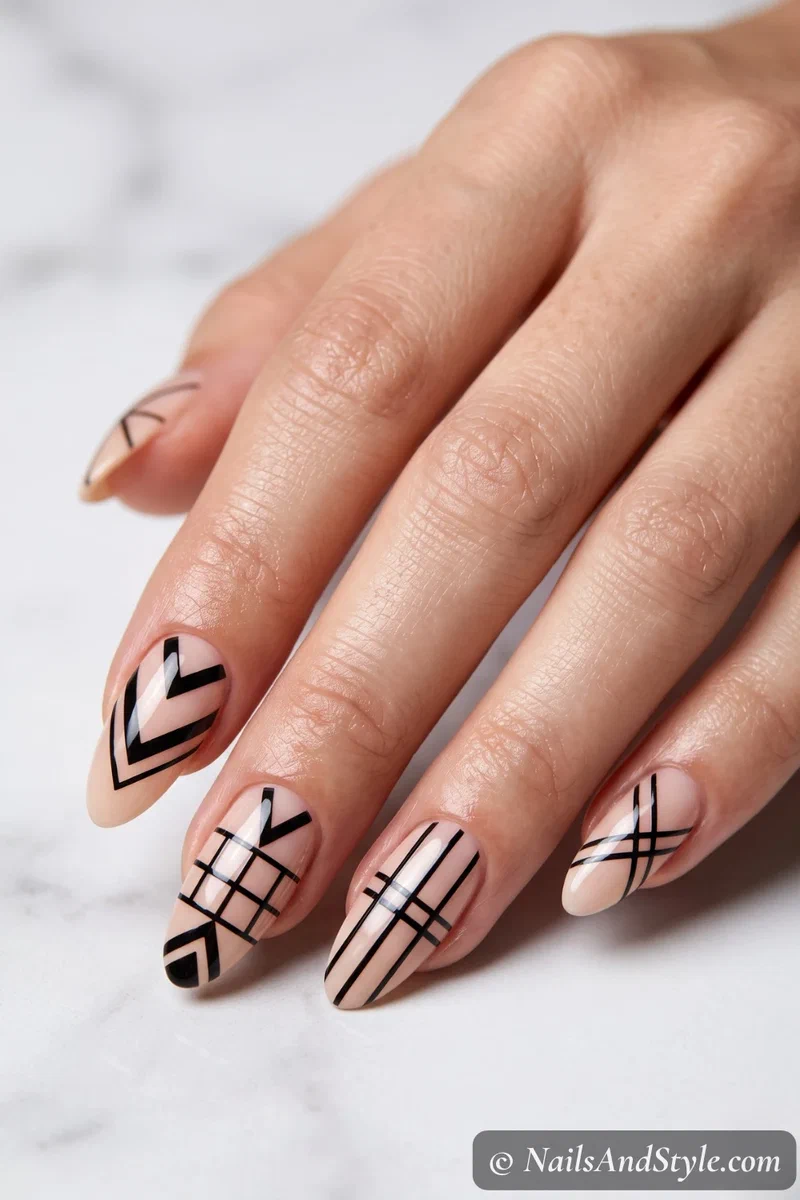
The Cricut route is for crisp, repeatable, professional-looking decals. If you want ten identical tiny flowers or perfectly cut lettering, a machine nails it. The no-Cricut route is for the rest of us — cheaper, more forgiving, and honestly more fun in a crafty way. You can get beautiful results with zero equipment.
I’ll do both. Start wherever you land.
Method 1: DIY Nail Stickers with a Cricut#
If you’ve got a cutting machine, this is the crispest way to make decals — and once your design’s saved, you can cut it again and again.
- Design it. Open Cricut Design Space and build (or import) your artwork — small is key, so scale each element down to nail size. Keep shapes simple; fine details under a few millimeters get fiddly.
- Pick your material. For colorful printed art, use printable sticker paper and Cricut’s Print Then Cut feature. For solid-color shapes and lines, cut clear or colored nail vinyl directly.
- Print (if printing). Send your sheet to an inkjet printer, then let the ink dry fully so it doesn’t smudge under the blade.
- Cut. Load the sheet onto the mat and cut on the sticker-paper or vinyl setting. Go slow — tiny cuts need a sharp blade.
- Weed and lift. Peel away the excess around each decal with a weeding tool or tweezers. What’s left is your custom sticker, ready to apply.
Method 2: No-Cricut, Hand-Made Nail Stickers#
No machine? No problem. This is the method I actually reach for most, and it costs almost nothing.
The star here is the peel-off top coat trick:
- Paint your design on parchment. On a scrap of parchment paper or a smooth plastic sleeve, paint your design with regular nail polish — dots, flowers, swirls, whatever. Make it a touch bigger and bolder than you think.
- Let it dry, then top-coat it. Once the polish is dry, brush a solid layer of clear top coat right over the whole design, spreading a little past the edges. This layer is what turns your art into a flexible decal.
- Wait — really wait. Let it cure until it’s completely dry and rubbery, not tacky. Rushing this is the number one way it tears.
- Peel it off. Gently lift the whole design off the parchment. It should come away as one bendy little sticker.
- Place and seal. Lay it on a base-coated nail, press it smooth, trim any overhang, and seal with another top coat.
Prefer cutting to painting? Draw your design straight onto clear nail vinyl or printable paper and hand-cut it with small sharp scissors. A little less precise than a machine, but for simple shapes it’s totally fine.
Tips for DIY Stickers That Actually Stick#
Homemade decals can lift faster than store-bought ones if you skip the fundamentals, so don’t:
- Prep oil-free nails. Wipe with rubbing alcohol first — DIY or not, oil is what makes stickers peel.
- Always cap the free edge. Wrap your top coat over the tip. This matters even more for handmade decals.
- Make them slightly small. A decal that touches your skin lifts early. Trim to fit.
- Let every layer dry fully. Impatience is the enemy of the peel-off method especially.
For the full breakdown on longevity, my how to apply nail stickers so they last guide applies to homemade ones too.
Fun DIY Design Ideas to Try First#
Not sure what to make? These are beginner-friendly and look great even if your lines wobble a little:
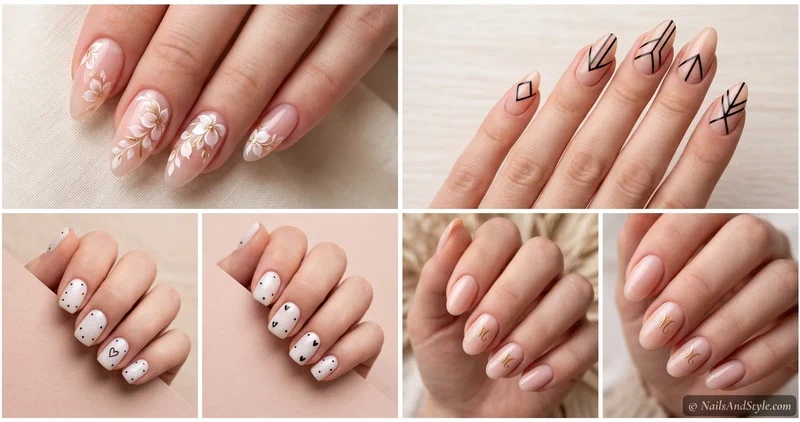
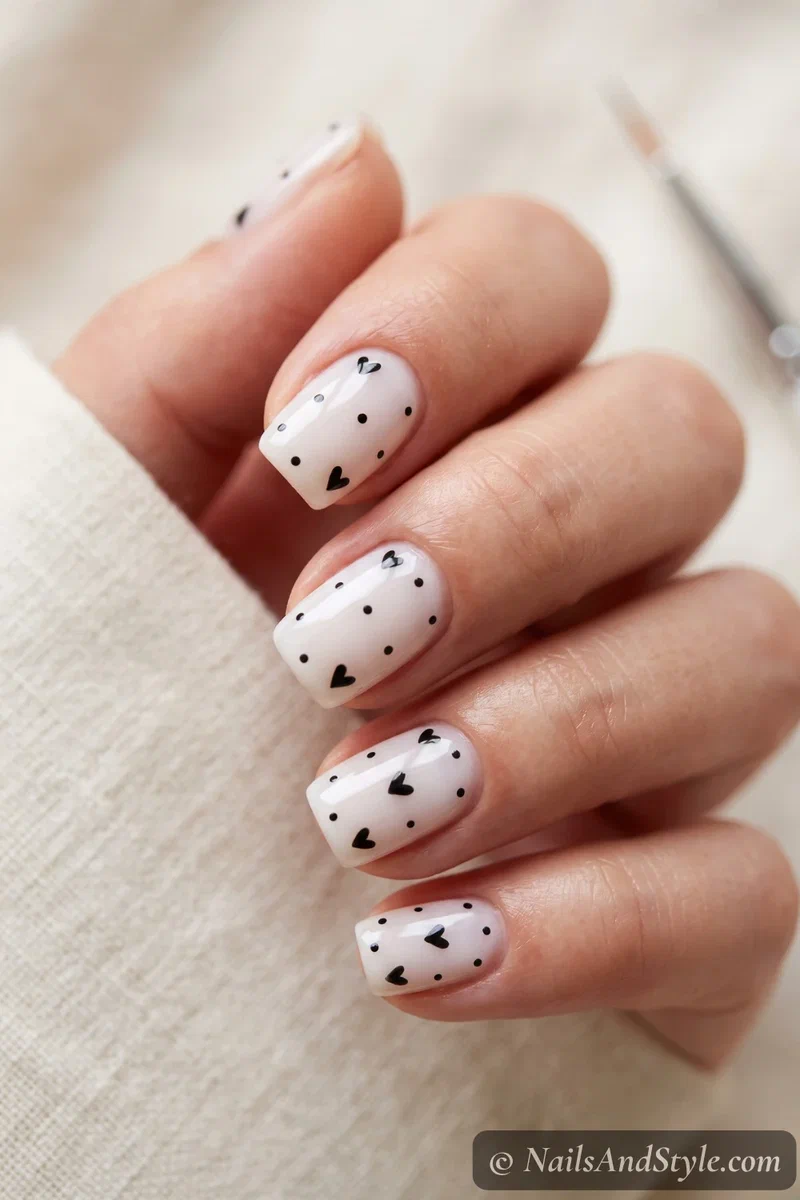
- Simple dots and tiny hearts — the easiest possible starting point, and genuinely cute scattered over a nude base.
- Your initials — one small letter on an accent nail feels custom and personal.
- Abstract squiggles — impossible to mess up, because there’s no “right” shape.
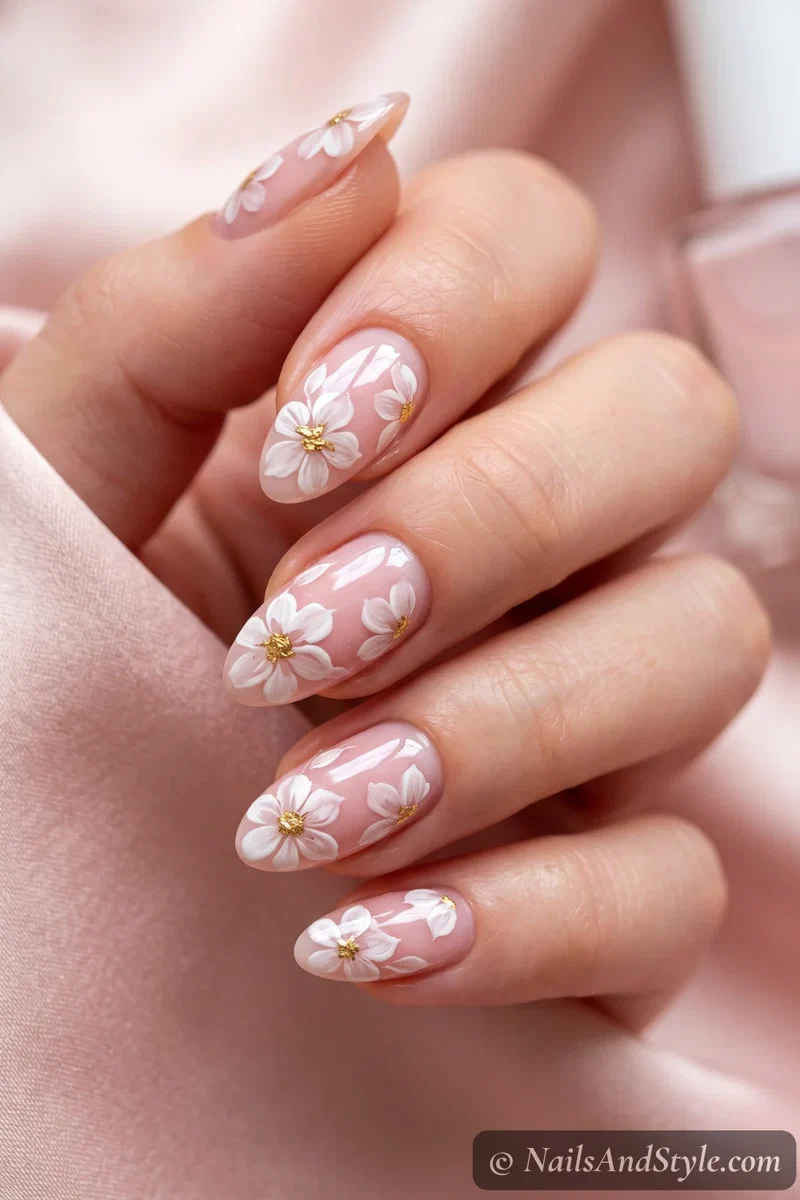
- Mini flowers — five dots around a center dot, done.
If you want more inspiration for what to draw, my how to do nail art at home for beginners post is full of simple motifs that translate perfectly to DIY decals.
Applying and Removing Your DIY Stickers#
Application is the same as any sticker: base coat, place your decal, smooth from the center out, cap the tip, top coat. When you’re ready for a change, don’t peel them off dry — soak them off gently the way I describe in how to remove nail stickers without damage, and your natural nails stay happy. And if you want the full rundown on every sticker type out there, the complete nail stickers guide covers it all.
Quick FAQ#
What polish works best for peel-off decals?#
Regular (non-gel) nail polish works best for the design itself, sealed with a regular clear top coat — the two peel away together as one flexible piece. Gel polish stays stuck to the parchment and won’t lift, so save the gel for your actual nails.
How long do homemade nail stickers last?#
With good prep and a sealed edge, a few days to about a week — similar to store-bought flat decals. They’re not meant to be a two-week gel manicure, but for the cost and customization, that’s a fair trade.
Can I make nail stickers with just nail polish?#
Yes — that’s the whole peel-off method. Polish for the design, clear top coat to bind it into a decal, and more top coat to stick it down. No special supplies required beyond what’s already in your polish drawer.
Final Thoughts#
The best part of learning how to make your own nail stickers is that you stop waiting for a brand to release the design you want — you just make it. Start with the peel-off method and a few dots this weekend; it’s the gentlest possible intro, and it’ll click faster than you expect.
Save your favorite little designs, keep a stash of pre-made decals in a small box for busy mornings, and don’t stress about perfection. Handmade wobble is kind of the charm.