Here’s something that surprised me when I first tried it: figuring out how to do gel French tip nails at home is actually easier than doing them with regular polish. Sounds backwards, I know. But gel doesn’t dry on its own — it stays put until you cure it under a lamp. So that smile line you’re stressing about? You have all the time in the world to fix it before it sets.
That’s the whole magic. No racing against polish that’s drying halfway through your third nail.
This one’s a full beginner walkthrough — the tools, the exact curing steps, the one trick that makes your tip line razor-sharp, and a few looks to try once you’ve got the basics down. Works on short and medium nails. No salon, no experience needed.
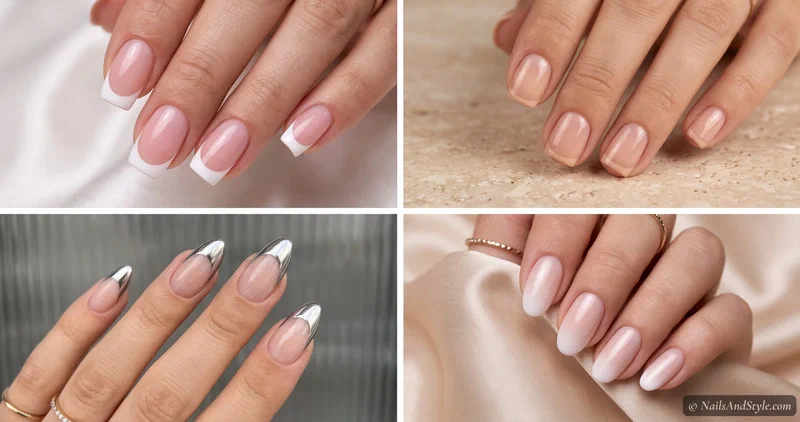
What You’ll Need#
- LED or UV nail lamp — cures each gel layer — non-negotiable for gel
- Gel base coat — grips the polish and protects your nail
- Sheer nude or pink gel polish — your base color
- White gel polish — or any shade for the tip
- No-wipe gel top coat — locks in 2-3 weeks of shine
- French tip guide stickers — curved stencils for clean lines
- Thin gel brush — freehand smile line and cleanup
- Silver chrome powder (optional) — only if you want chrome tips
- Nail cleanser or 91% alcohol + lint-free wipes — prep and wiping the sticky layer
Why Gel French Tips Are Easier Than You Think#
I already gave away the big one — gel doesn’t set until it cures — but there’s more going for it. Gel polish is thicker and more pigmented than regular, so it lays down a cleaner, crisper line in fewer strokes. And when you’re done? Two to three weeks of glossy, chip-free wear. No smudging your tips on the car keys ten minutes later.
The trade-off is that removal takes effort (an acetone soak, not a quick wipe), and you do need a lamp. But for the actual painting part, gel is the friendlier option. New to gel in general? My complete gel nails at home guide covers the fundamentals.
A Few Things to Keep in Mind Before You Start#
- Prep is 90% of the battle. Oil left on the nail is the #1 reason gel lifts. Wipe every nail with cleanser and don’t touch them after.
- Thin coats, always. Thick gel cures unevenly, stays gummy, and peels. Two thin coats beat one goopy one.
- Cap the free edge. Run every layer along the very tip of the nail — this is what stops chips from starting.
- Keep the tip thin, especially on short nails. A skinny micro-line makes the nail look longer; a chunky band shortens it.
How to Do Gel French Tips at Home: Step-by-Step#
Same order every time, no matter which look you’re going for:
- Prep. Push back cuticles, gently buff the shine off the nail, then wipe each one with cleanser or alcohol. Bone-dry, oil-free.
- Base coat. One thin layer, capped at the edge. Cure 60 seconds.
- Base color. Sheer nude or pink, one or two thin coats, curing 60 seconds after each. This is your canvas.
- Paint the tip. Freehand with a thin brush, or lay a guide sticker at your smile line and paint the exposed tip white.
- The flash-cure trick. If you used a guide, flash-cure the tip for just 10-15 seconds, then peel the sticker off. This sets the line so it doesn’t smear when the sticker lifts. Most people skip this and wonder why their tips look ragged.
- Clean up and full cure. Tidy any wobble with a thin brush before the gel is fully set, then cure the tip the full 60 seconds.
- Top coat. No-wipe gel top coat over everything, capping the edge again. Cure 60 seconds.
- Finish. Wipe the sticky layer if your top coat needs it, then massage in cuticle oil. Done.
Gel French Looks to Try#
Once the basic white tip clicks, these are barely any extra effort.
Classic White Gel French#
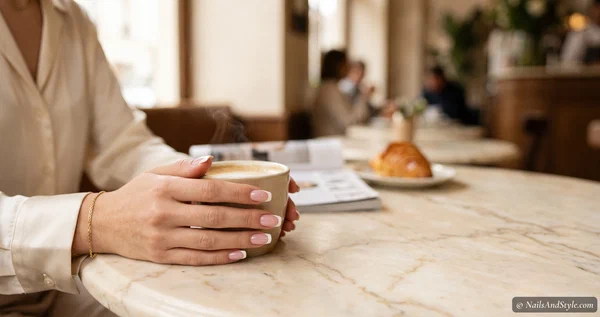
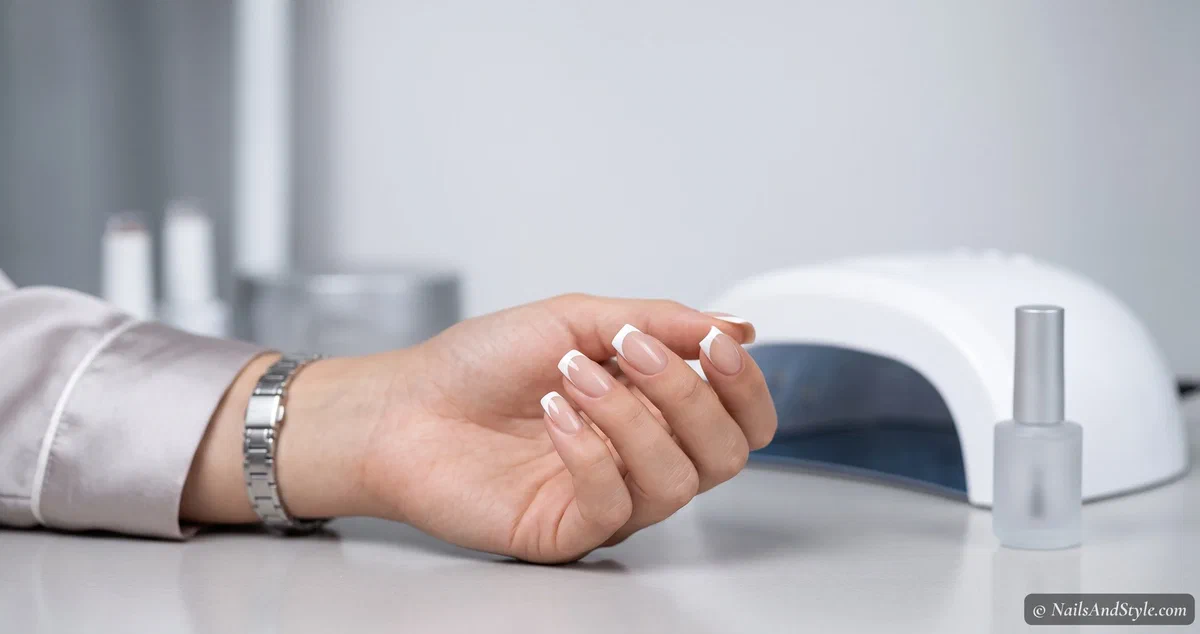
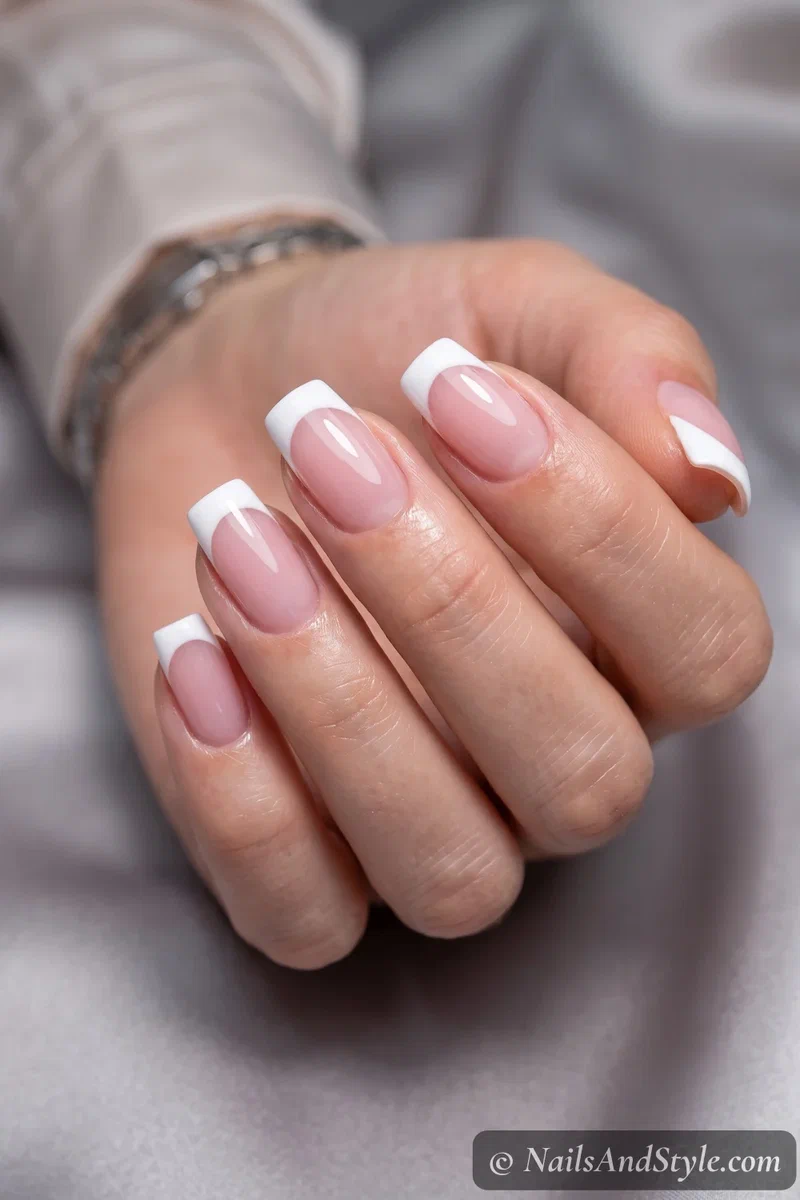
The one that started it all. A crisp white tip over a sheer pink or nude base — clean, timeless, works everywhere from the office to a wedding. Gel makes that white line look sharper and more opaque than regular polish ever could. Keep it glossy with a no-wipe top coat and it’ll shine for weeks.
Baby Boomer Gel Ombré#
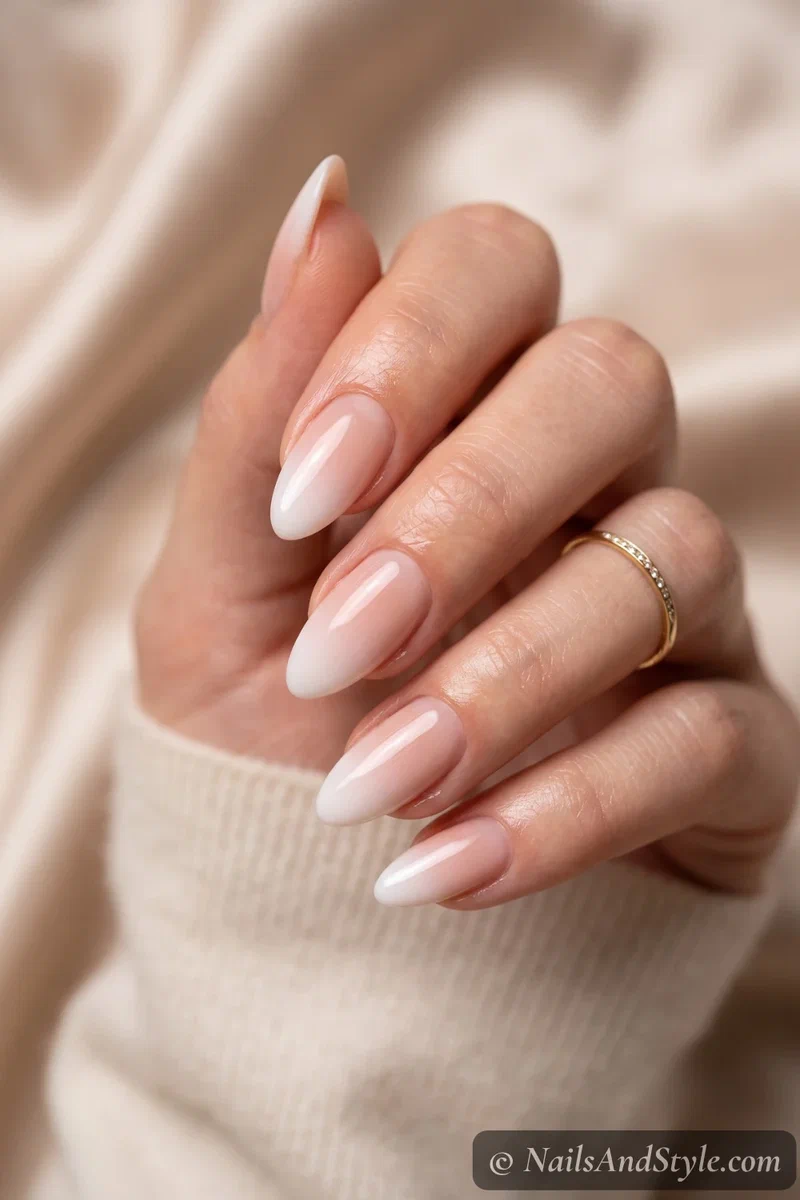
Instead of a hard line, this one melts the white into the nude for a soft, faded gradient. Gel is honestly perfect for it — because it doesn’t dry, you can keep blending the two colors with a brush or sponge until it’s seamless, then cure. Try it if you find sharp lines stressful; the whole point here is soft.
Chrome Gel French Tips#
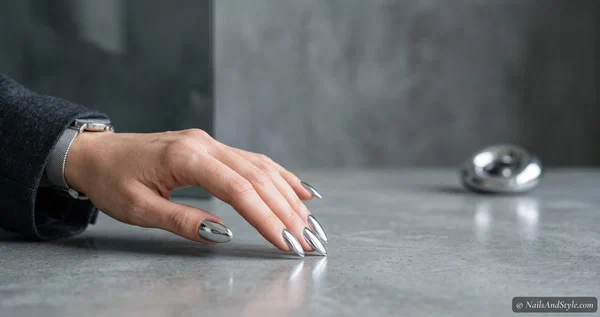
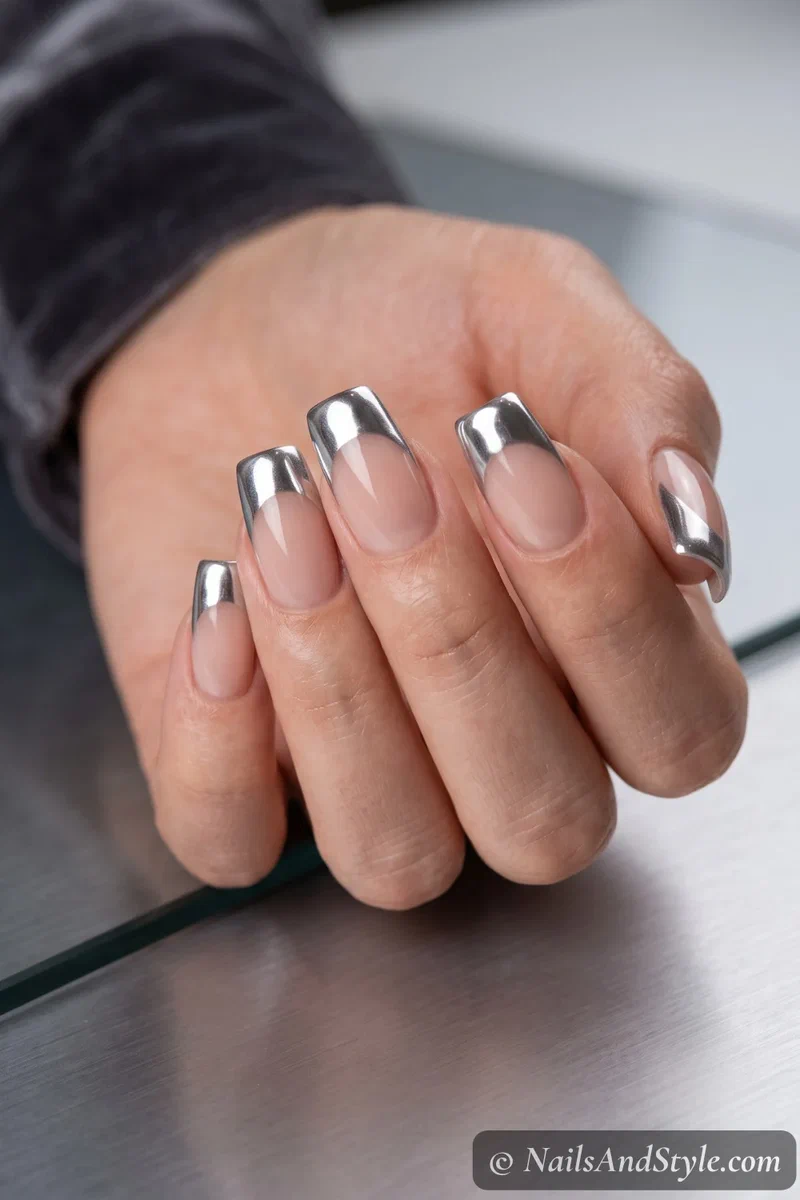
Want the mirror-metal moment? Cure a layer of no-wipe top coat on just the tip, then buff silver chrome powder over it and seal. The gel gives chrome that glassy, liquid-metal shine that regular polish can’t hold. It’s a bit more advanced but so worth it — full steps in my chrome powder tutorial.
Colored Micro French#
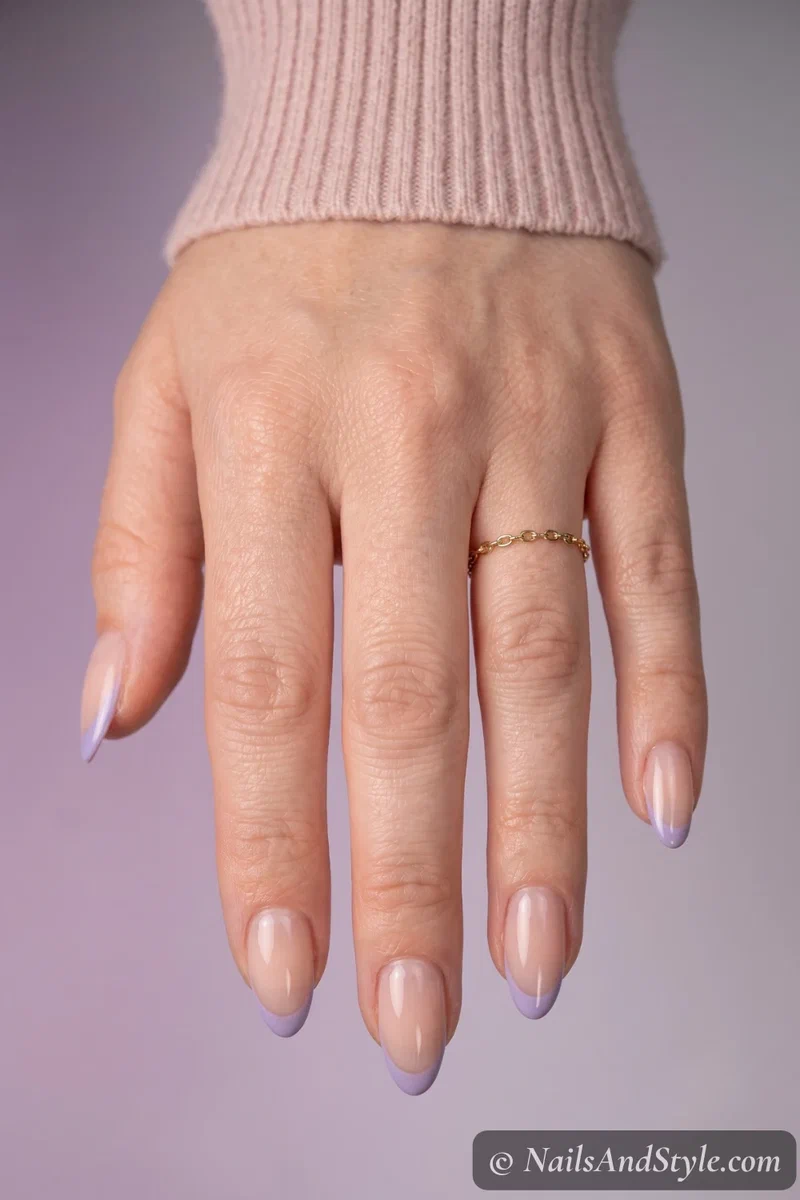
Swap the white for lavender, sage, baby blue, or cherry red, and make the tip extra thin. It’s modern, a little unexpected, and the skinny line reads super delicate. This is my go-to when I want something that isn’t quite so bridal. Same technique as the classic — just a different bottle.
Gel French on Short Nails#
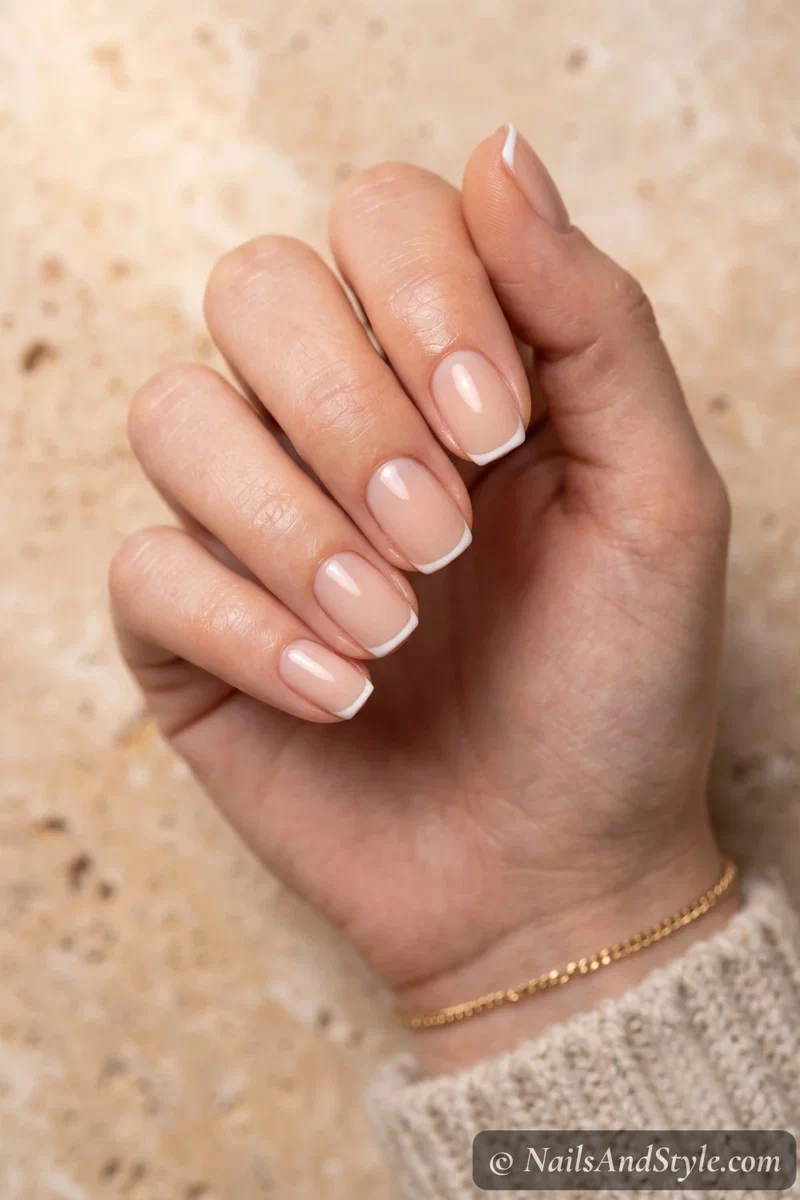
Short nails and gel French are a genuinely great pair. Keep the tip as thin as you can manage and match the base color close to your skin tone — that seamless blend tricks the eye into seeing length. Gel’s durability is a bonus here too, since short nails take more daily abuse. If you skip the lamp, gel nails without a UV light has options.
How Long They Last & How to Remove Them#
Done right, gel French tips hold for two to three weeks without chipping. When they start to grow out or lift, please don’t peel them — peeling takes a layer of your natural nail with it. Instead, soak cotton in acetone, hold it on each nail with foil for 10-15 minutes, then gently push the softened gel off. Follow with cuticle oil to rehydrate.
A few habits that stretch the wear:
- Cap the free edge with every single layer.
- Wear gloves for dishes and cleaning.
- Massage in cuticle oil daily — flexible nails lift less.
- Never use your nails as tools (the eternal struggle, I know).
How to Ask Your Nail Artist for Gel French Tips#
Prefer to have it done? A little detail gets you exactly what you pictured.
- Bring 2-3 reference photos showing the tip thickness and color — a bold white reads totally different from a thin colored micro tip.
- Say “gel” specifically, and ask about builder gel (BIAB) under it if you want extra strength on weak nails.
- Name the finish — glossy is standard, but ask if you want chrome, matte, or a glazed pearl top.
- Suggest a shape — square and squoval hold a classic French; almond and coffin stretch the tip longer.
- Ask them to cap the free edge for wear. A pro will anyway, but it never hurts to say it.
Quick FAQ#
Do I really need a lamp?#
For true gel polish, yes — it only hardens under UV or LED light. No lamp, no cure, no wear. If buying one isn’t happening, no-light gel hybrids and semi-cured gel strips are your workaround for a similar look.
What’s the easiest way to get a sharp line as a beginner?#
Guide stickers plus the flash-cure trick. Lay the sticker, paint the tip, cure 10-15 seconds, then peel. You’re not relying on a steady hand at all — the stencil and a quick set do the work.
Will gel French tips damage my natural nails?#
Only if you peel them off or over-buff during prep. Buff gently, soak them off with acetone instead of picking, and keep up with cuticle oil, and your nails stay healthy underneath. Want the no-lamp regular-polish version instead? Here’s how to do French tips at home.
Final Thoughts#
So that’s how to do gel French tip nails at home — a lamp, a few bottles, and the flash-cure trick that makes the whole thing click. The first set might feel fiddly, but by your second you’ll wonder why you ever paid for it.
Pin the look you want to try first, start with the classic white, and branch into chrome or a soft ombré once you’re comfortable. Two weeks of glossy tips that don’t chip? That’s a very good return on a Sunday afternoon.