Gel nails have long been considered a luxury reserved for salon visits, but the truth is that achieving a flawless, long-lasting gel manicure at home is entirely within reach. With the right tools, a bit of practice, and the proper technique, you can enjoy chip-free, glossy nails that last for two weeks or more — all without leaving your house.
This comprehensive guide walks you through everything you need to know about doing gel nails at home, from selecting the right products and equipment to mastering the application process and safely removing your manicure when you are ready for a new look.
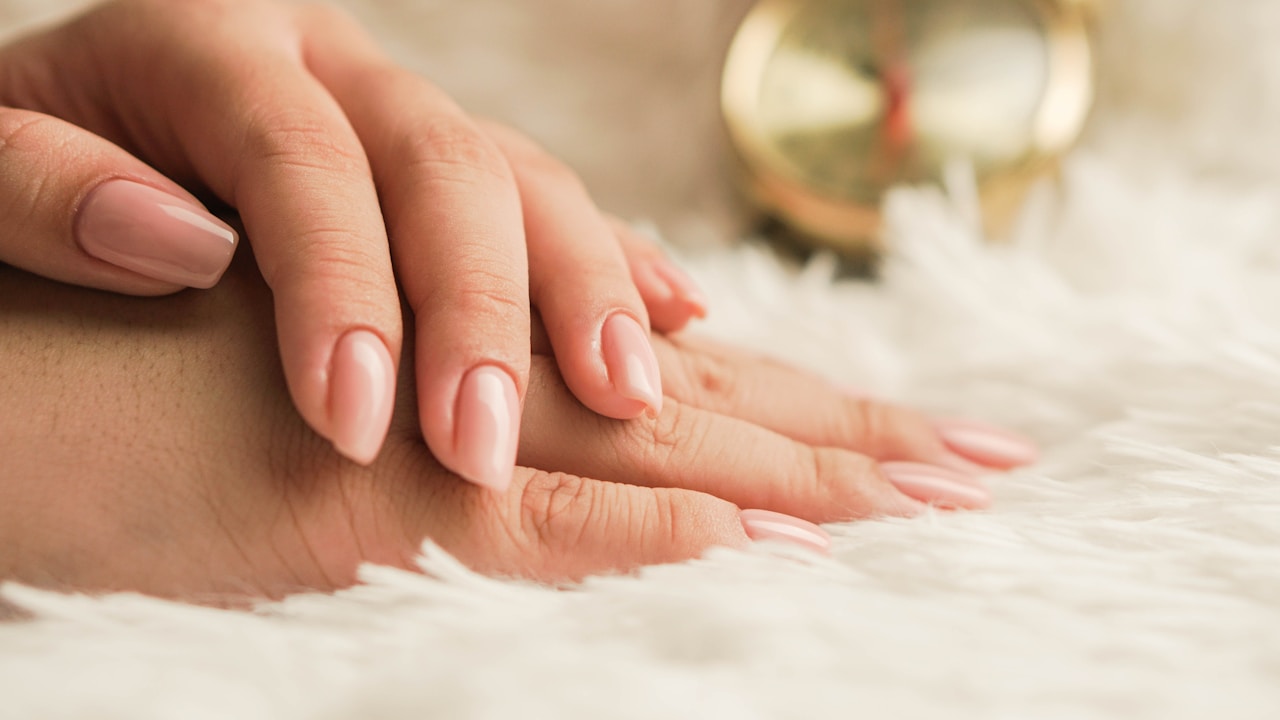
Why Choose Gel Nails?#
Before we dive into the how-to, let us talk about why gel nails are worth considering. Traditional nail polish, while easy to apply, typically starts chipping within a few days. Gel polish, on the other hand, is cured under an LED or UV lamp, creating a hard, durable finish that resists chips, scratches, and wear for up to three weeks.
Gel nails also dry instantly under the lamp, which means no more accidentally smudging your freshly painted nails on a doorknob or zipper. The finish stays glossy and vibrant from day one to day twenty-one, giving you consistent, salon-quality results.
Essential Tools and Products#
To get started with gel nails at home, you will need the following items. Investing in quality products from the start will make a significant difference in your results.
The Basics#
- LED or UV nail lamp — An LED lamp is recommended as it cures faster (30-60 seconds per coat compared to 2-3 minutes for UV). Look for a lamp with at least 48 watts for efficient, even curing.
- Gel base coat — This creates adhesion between your natural nail and the color. Never skip this step.
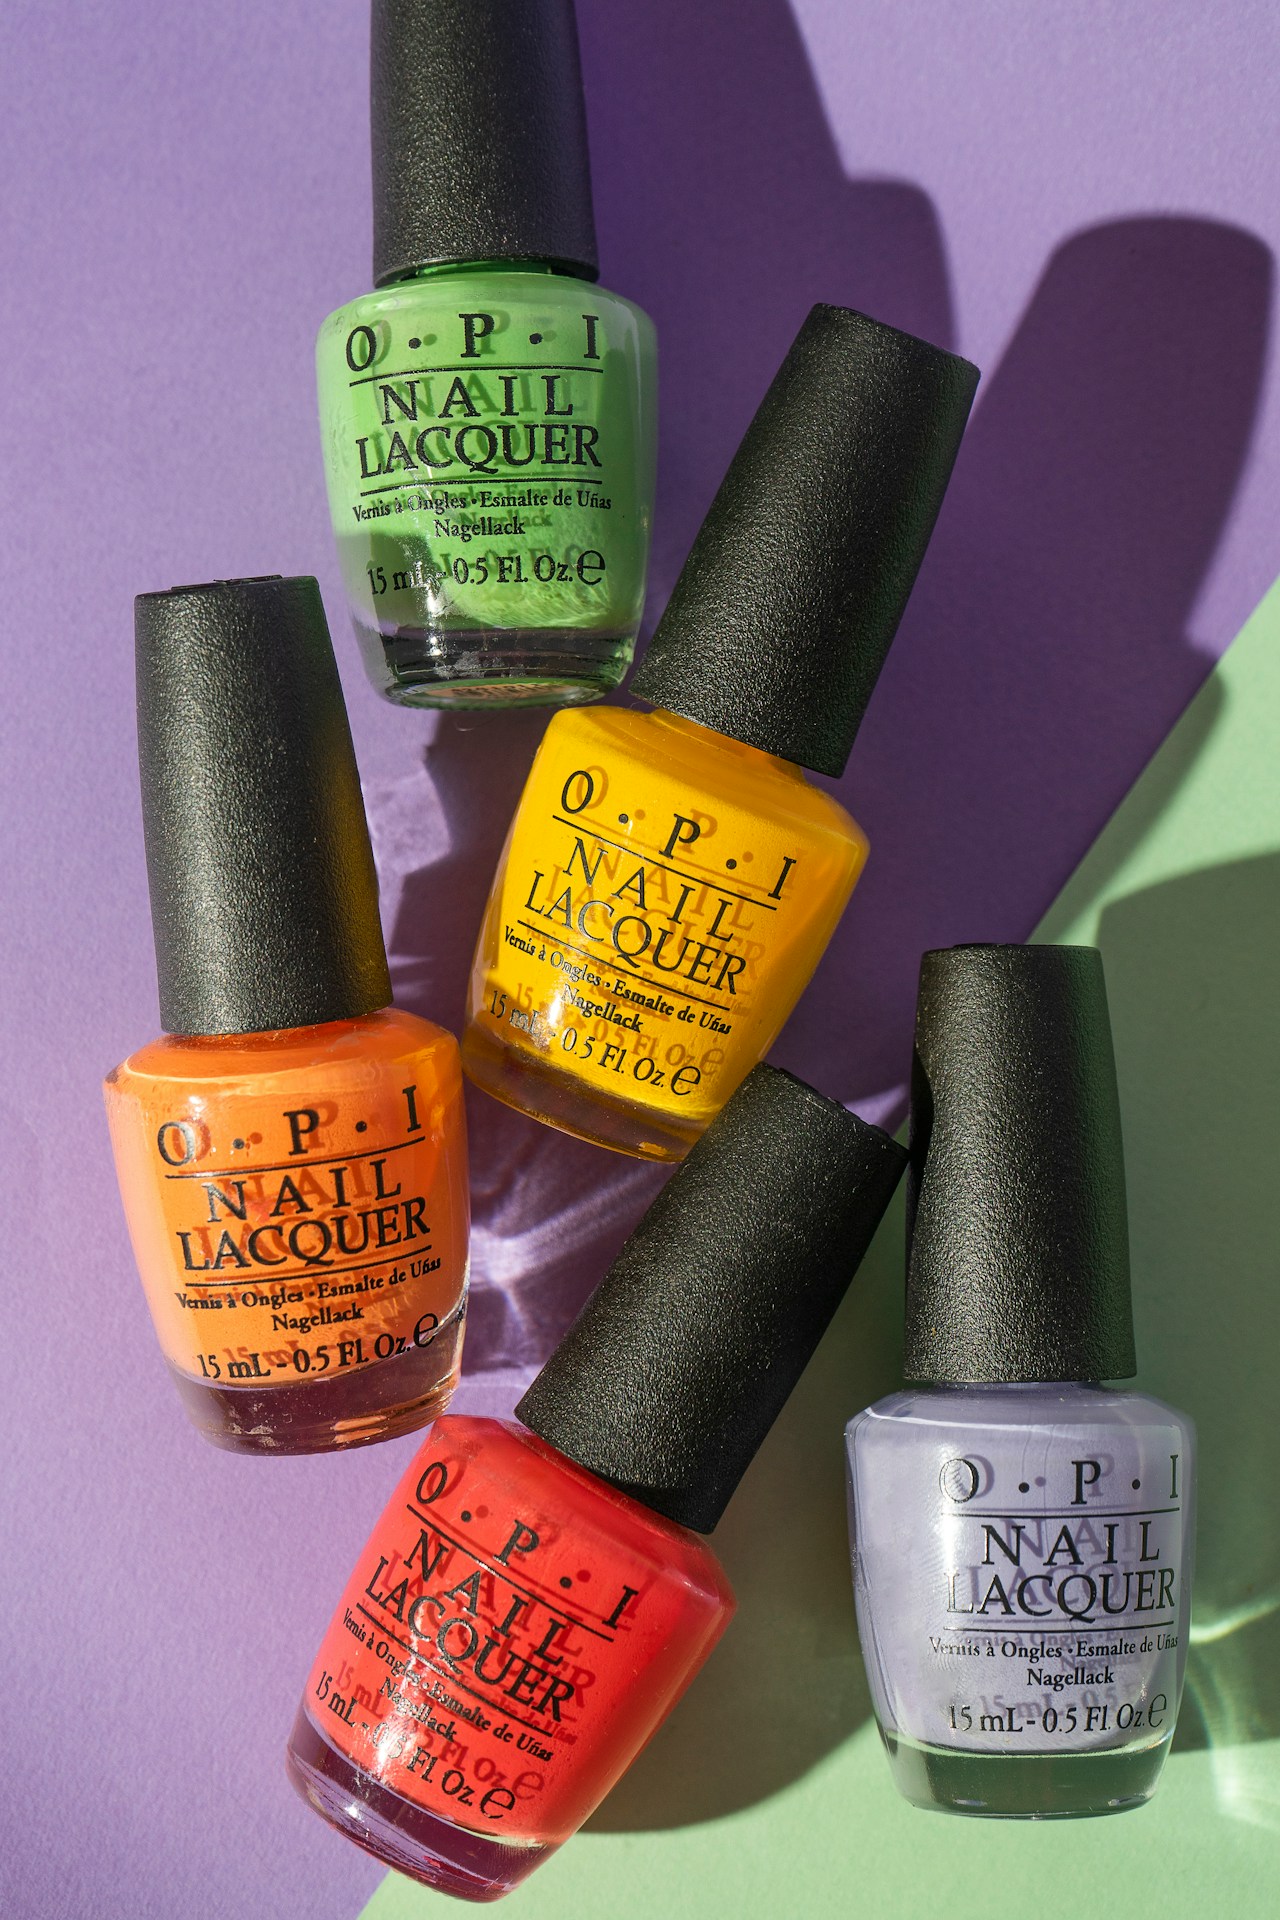
- Gel color polish — Choose any color you like. Gel polishes from reputable brands offer the best color payoff and longevity.
- Gel top coat — This seals everything in and provides that signature glossy shine. Some top coats are no-wipe, while others require a final cleanse with isopropyl alcohol.
- Nail file (180 grit) — For shaping your nails before application.
- Buffer block (220-240 grit) — For gently buffing the nail surface to remove shine, which helps the base coat adhere.
- Cuticle pusher — A metal or wooden tool to gently push back cuticles.
- Lint-free wipes — For cleansing the nail plate and removing the tacky inhibition layer.
- Isopropyl alcohol (90% or higher) — For nail cleansing and removing the sticky residue from cured gel.
- Cuticle oil — For post-manicure nail and cuticle hydration.
Nice to Have#
- Nail dehydrator and primer for extra adhesion on oily nail beds
- Gel nail art brushes for detailed designs
- Rhinestones, foils, or glitter for embellishments
- Gel cleanser solution (if you prefer not to use isopropyl alcohol)
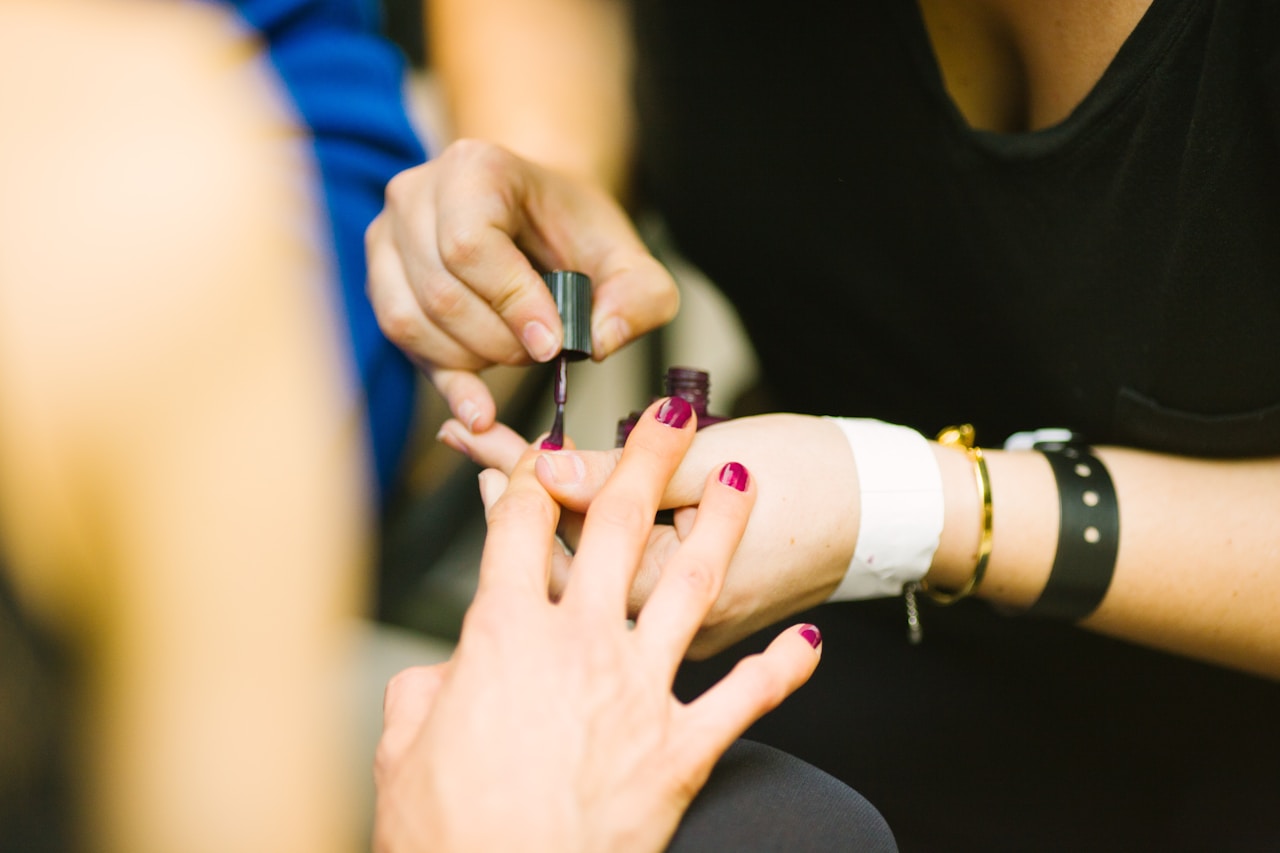
Step-by-Step Application Guide#
Follow these steps carefully for the best results. Each step plays a crucial role in achieving a long-lasting, professional-looking gel manicure.
Step 1: Prepare Your Nails#
Start by removing any existing polish. Wash your hands thoroughly and dry them completely — moisture is the enemy of gel adhesion.
Use the cuticle pusher to gently push back your cuticles. Trim any hangnails or loose skin carefully. Do not cut your cuticles, as this can lead to irritation and infection.
Shape your nails with the 180-grit file to your desired length and shape. Popular shapes include round, oval, square, squoval, almond, and coffin. Choose whatever flatters your finger shape and suits your lifestyle.
Step 2: Buff and Cleanse#
Using the buffer block, gently buff the surface of each nail with light, even strokes. You are not trying to thin the nail — just remove the natural shine so the gel has something to grip. The nail surface should look matte and slightly frosted.
Wipe each nail with a lint-free pad soaked in isopropyl alcohol. This removes all dust, oils, and debris. After this step, do not touch your nail plates with your fingers, as the oils from your skin will compromise adhesion.
Step 3: Apply Base Coat#
Apply a thin, even layer of gel base coat to one hand (five nails). Thin layers are essential — thick application leads to wrinkling, bubbling, and premature lifting.
Be careful to cap the free edge of each nail by running the brush along the very tip. This seals the edge and prevents peeling. Avoid getting any product on your cuticles or skin, as this will cause lifting.
Cure under your LED lamp according to the manufacturer’s instructions, typically 30-60 seconds.
Step 4: Apply Color#
Apply the first thin coat of your chosen gel color. Again, cap the free edge and avoid the cuticles. Cure under the lamp.
Apply a second thin coat for full opacity. Most gel colors require two coats for complete coverage, though some highly pigmented shades may only need one. Cure again.
If your color is still not fully opaque after two coats, apply a third thin coat and cure. Three thin coats are always better than two thick ones.

Step 5: Apply Top Coat#
Apply a thin layer of gel top coat, again capping the free edge. Cure under the lamp for the recommended time, which is usually slightly longer than the base and color coats — typically 60 seconds for LED.
If you are using a top coat that leaves a tacky inhibition layer, wipe each nail with a lint-free pad soaked in isopropyl alcohol to reveal the final glossy finish.
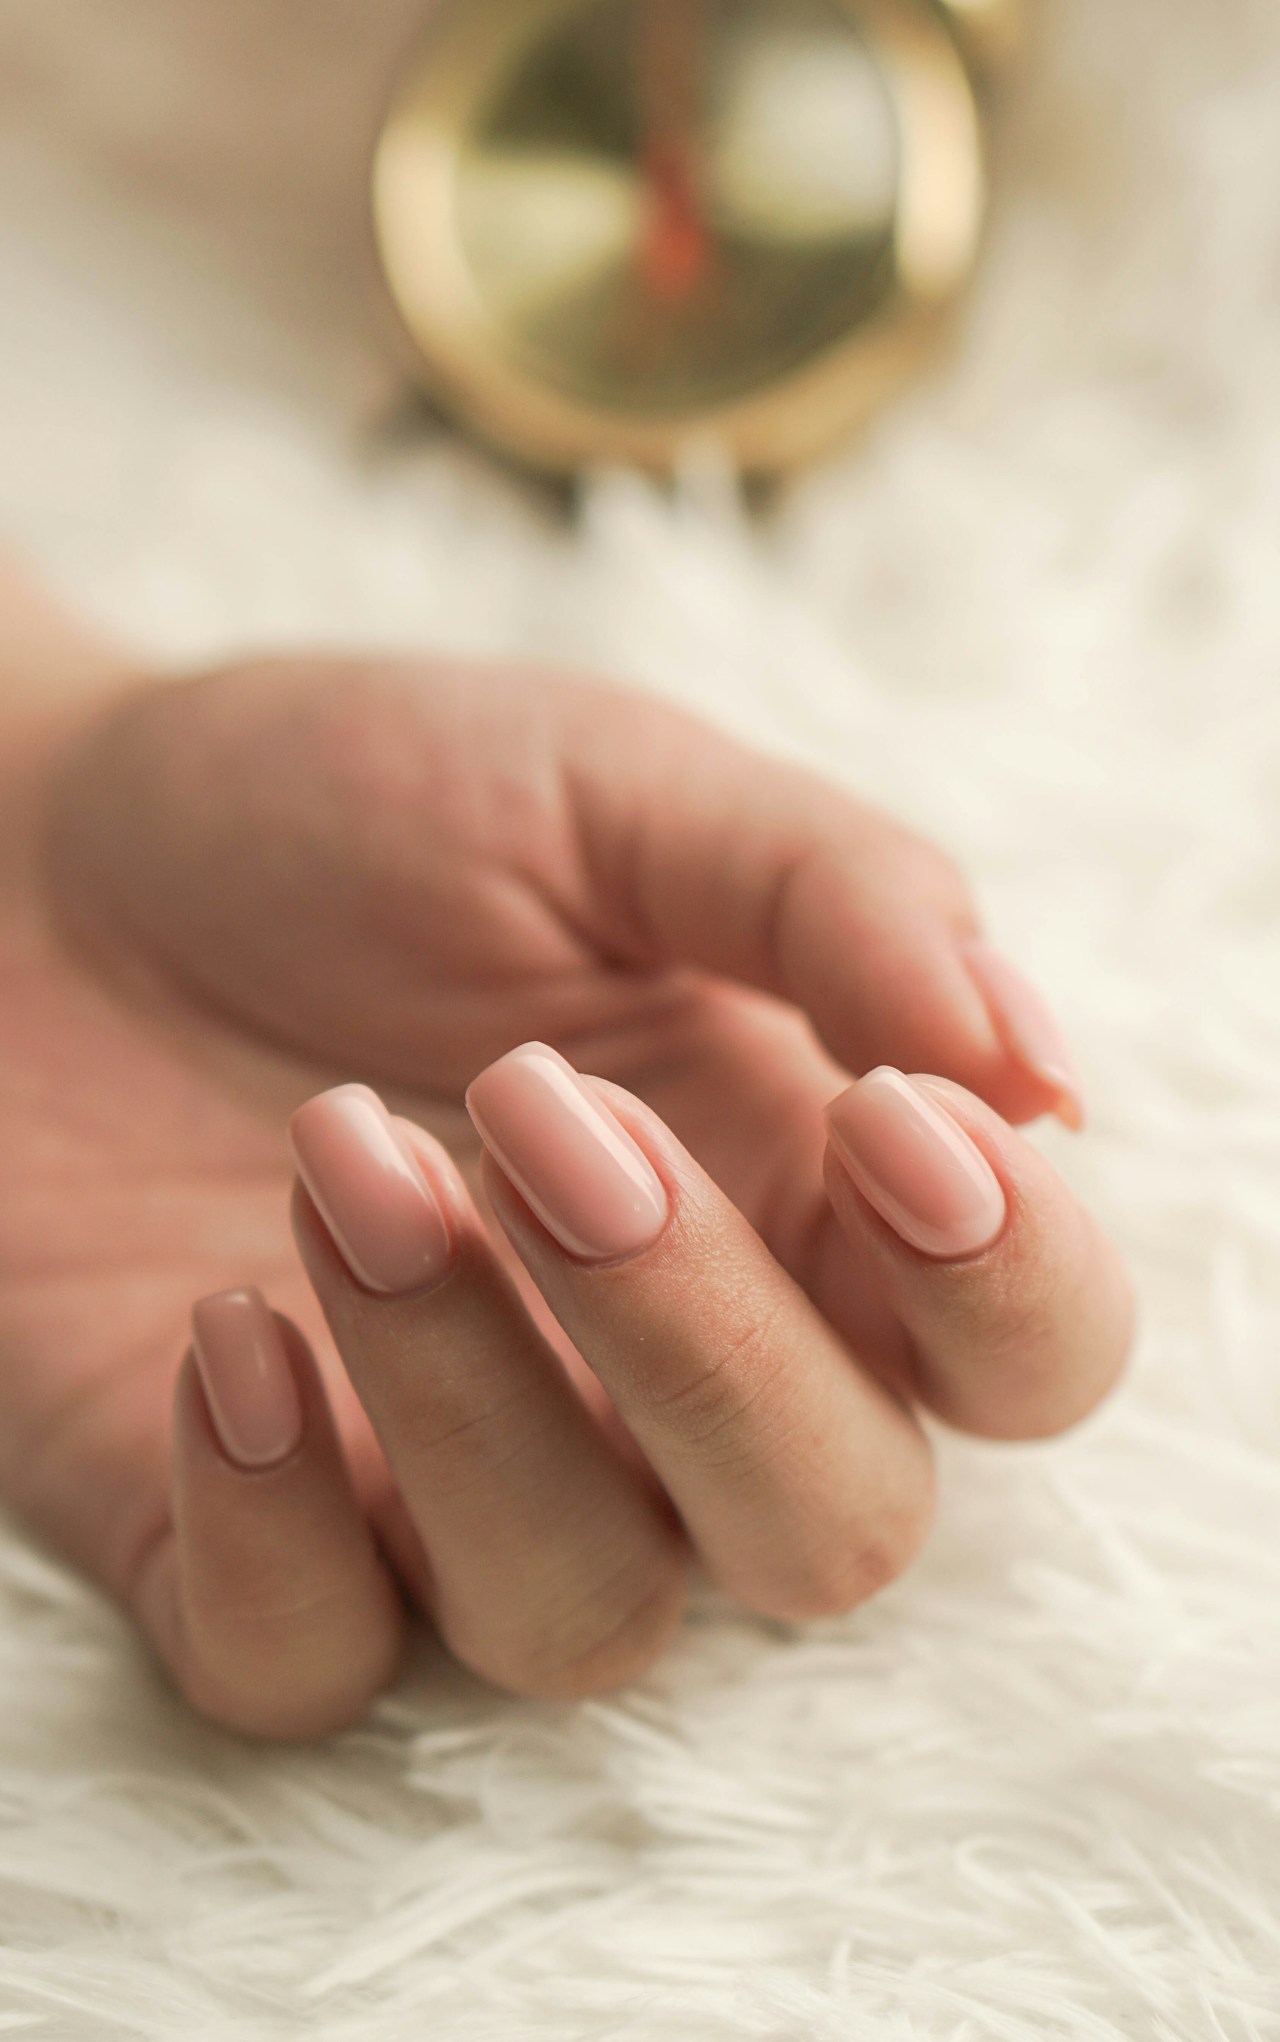
Step 6: Hydrate and Admire#
Massage a drop of cuticle oil into each nail and the surrounding skin. This replenishes moisture lost during the preparation process and gives your finished manicure an extra-healthy, polished appearance.
Common Mistakes and How to Avoid Them#
Even with careful application, beginners often encounter a few common issues. Here is how to troubleshoot the most frequent problems.
Peeling and Lifting#
This is almost always caused by one of three things: insufficient nail prep, product on the cuticles, or layers that are too thick. Make sure you buff and cleanse properly, keep a small gap between the gel and your cuticle line, and always apply thin coats.
Wrinkling or Bubbling#
This happens when layers are applied too thickly. The outer surface cures first, trapping solvents beneath and causing the gel to wrinkle. The solution is simple: thinner layers, properly cured.
Uneven Color#
Streaky or patchy color usually means you need another coat. It can also result from using old or poorly mixed gel polish. Before application, gently roll the bottle between your palms to mix the pigments without introducing air bubbles.
Sticky or Dull Finish#
If your top coat looks dull after curing, you likely need to wipe it with isopropyl alcohol. Check whether your top coat is a wipe or no-wipe formula. Also ensure your lamp is providing adequate power — weak curing can leave a tacky, undercured surface.
Safe Gel Removal#
Proper removal is just as important as proper application. Never peel or pick off gel polish, as this tears away layers of your natural nail plate, leaving them thin, weak, and damaged.
To remove gel nails safely, lightly buff the shiny top coat with a file to break the seal. Soak cotton pads in pure acetone and place them over each nail. Wrap each fingertip in a small square of aluminum foil to hold the cotton in place. Wait 10-15 minutes.
After soaking, the gel should be soft and flaky. Use a cuticle pusher or an orangewood stick to gently scrape the softened gel off the nail. If any gel resists, re-soak for a few more minutes rather than forcing it off.
Once all gel is removed, buff your nails lightly to smooth the surface, then apply cuticle oil and a strengthening treatment to help your nails recover.
Maintaining Your Gel Manicure#
With proper care, your at-home gel manicure can last just as long as a salon application. Here are a few tips for maximum longevity:
- Wear gloves when doing dishes, cleaning, or gardening. Prolonged water exposure and harsh chemicals break down gel polish.
- Apply cuticle oil daily to keep your nails and surrounding skin hydrated and flexible.
- Avoid using your nails as tools. Opening cans, peeling labels, and scratching surfaces put stress on the gel and can cause lifting or breakage.
- Reapply top coat every few days if you notice the shine starting to dull. This is not always necessary with gel but can extend the life of your manicure.
Final Thoughts#
Doing gel nails at home is a rewarding skill that saves both time and money in the long run. While there is a learning curve, most people find that by their second or third attempt, they are achieving results that rival their salon visits. The key is patience, thin layers, proper prep, and quality products.
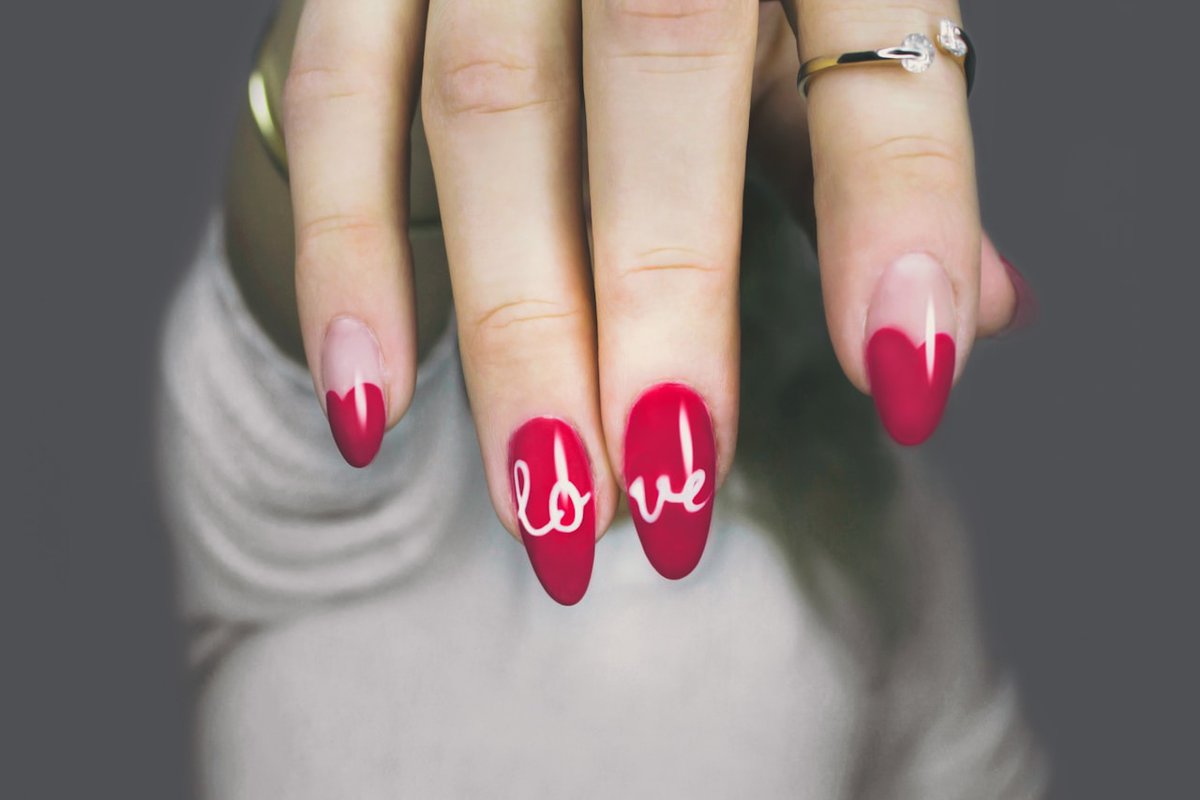
Start with simple solid colors as you build your confidence, then gradually experiment with nail art techniques like ombre, stamping, or freehand designs. The world of gel nails is vast and creative, and the only limit is your imagination.
Happy painting!