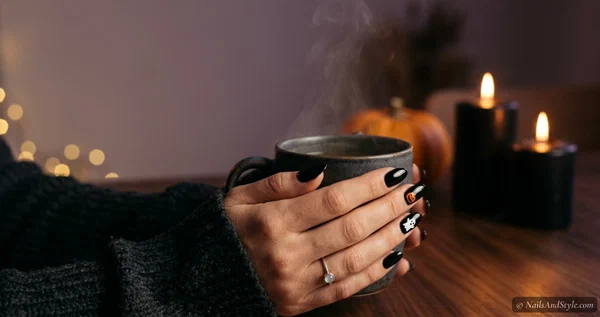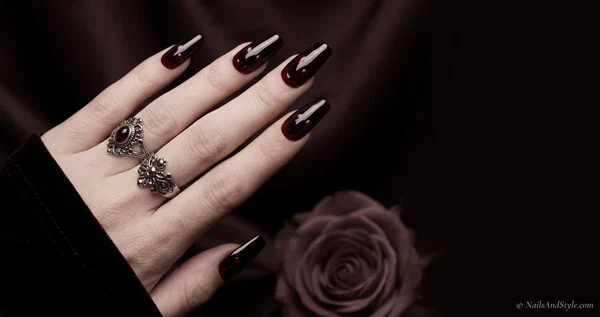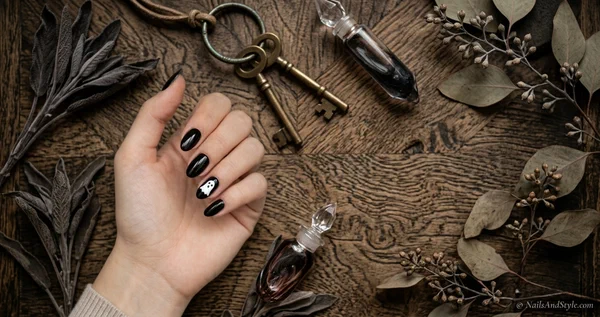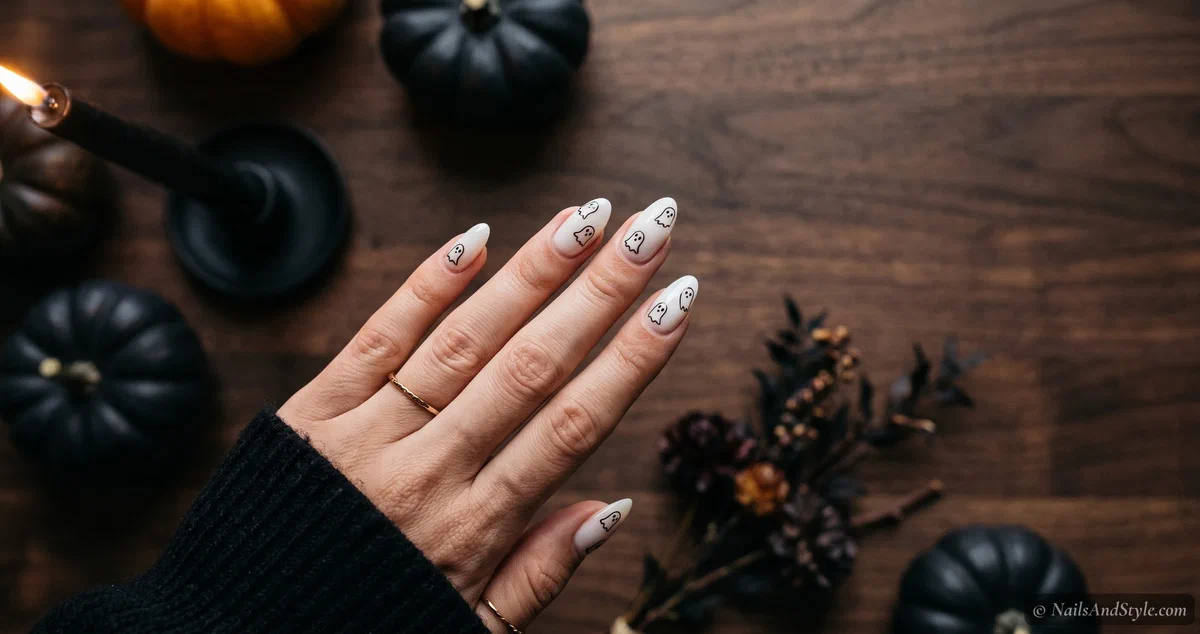
Let’s be real — most of us want festive nails in October, but not everyone can freehand a tiny ghost without it turning into a blob. That’s exactly where Halloween nail stickers come in. You peel, you stick, you seal, and suddenly your nails look like you spent an hour on them. You didn’t.
I rounded up 13 of my favorite sticker and decal looks — some spooky-cute, some genuinely a little creepy (in the best way). Ghosts, spider webs, pumpkins, blood drips, the works. Every single one skips the painting part.
And they all work on short and medium nails, which not every design roundup can say. Ready to get spooky? Let’s go.
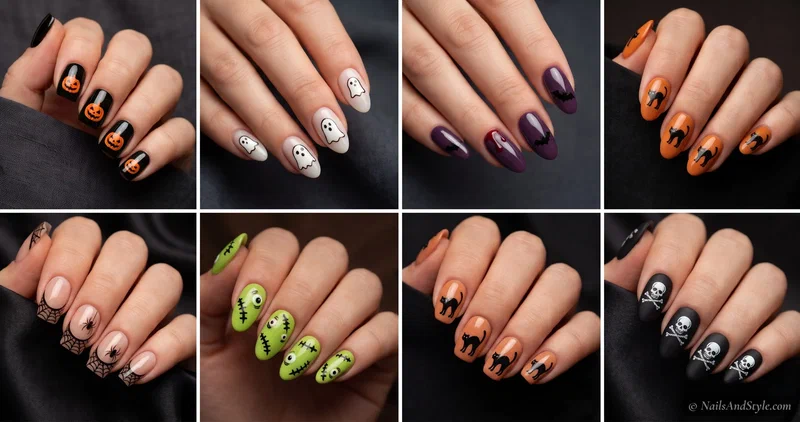
Why This Look Is Perfect for Halloween#
Halloween is basically the one time of year you’re allowed to put a tiny skeleton on your finger and call it fashion. Stickers make that ridiculously easy. Instead of committing to a full painted design (and the cleanup when it goes sideways), you get crisp little motifs that look store-bought.
They’re also perfect for the season’s whole range — from the cutesy ghost-and-pumpkin crowd to the drippy, eyeball-y, full-horror crowd. Same technique, wildly different vibes. If you want the fully painted route too, my main Halloween nail ideas guide has a ton of freehand looks.
A Few Things to Keep in Mind Before You Start#
- Pick your base color first. The sticker only looks as good as what’s behind it — black, white, and orange do the heavy lifting for Halloween.
- Match the mood to your skin tone. Warm oranges and reds glow on warm undertones; smoky greys and navys suit cooler ones beautifully.
- Keep the shape simple. A short almond or square nail is the easiest canvas for small decals — no fighting for space.
- Base and top coat, always. Base helps stickers grip (and stops dark polish staining); a top coat over the edges is what stops them peeling by lunch.
Quick Pick: Which Design Should You Try?#
| If you’re looking for… | Try these designs |
|---|---|
| Total beginner (no art) | Cute Ghost Decals, Bat Flight Accents |
| Short nails | Spider Web French Tips, Candy Corn Tips |
| Spooky-cute | Cute Ghost Decals, Black Cat Silhouettes |
| Full-on scary | Blood Drip Decals, Spooky Eyeballs |
| Moody and elegant | Witchy Moon & Stars, Cobweb Overlay |
13 Halloween Nail Sticker Ideas to Try This Year#
I kept the vibe all over the place on purpose — cute, creepy, elegant, silly. Pick the ones that match your Halloween energy and start peeling.
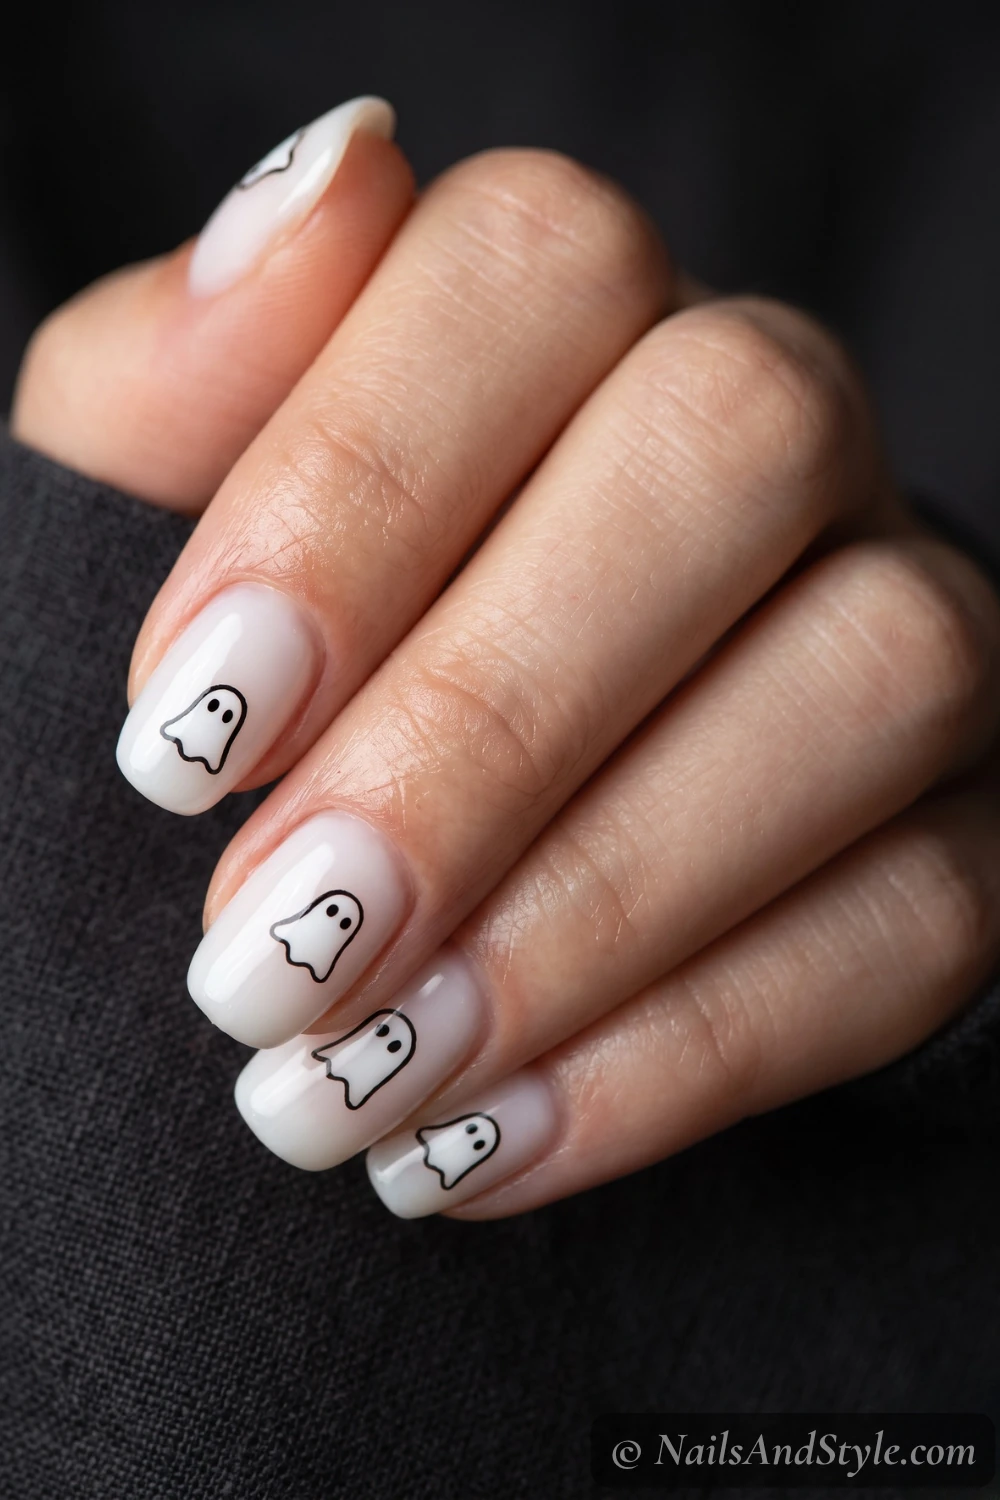
1. Cute Ghost Decals#
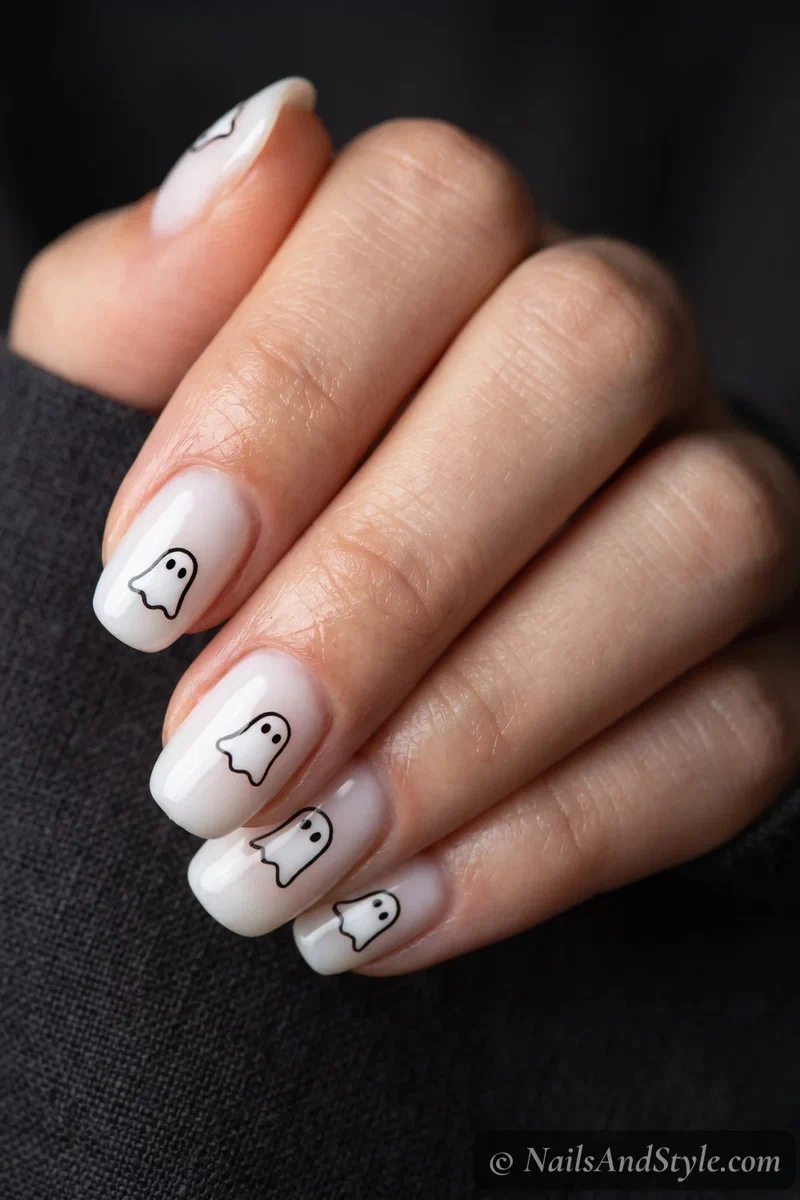
The friendliest look on the list. Over a milky white base, press one or two little cartoon-ghost decals onto each nail — some smiling, some mid-“boo.” Leave a couple nails plain white so it doesn’t get busy. A glossy top coat keeps the whole thing soft and sweet.
2. Spider Web French Tips#
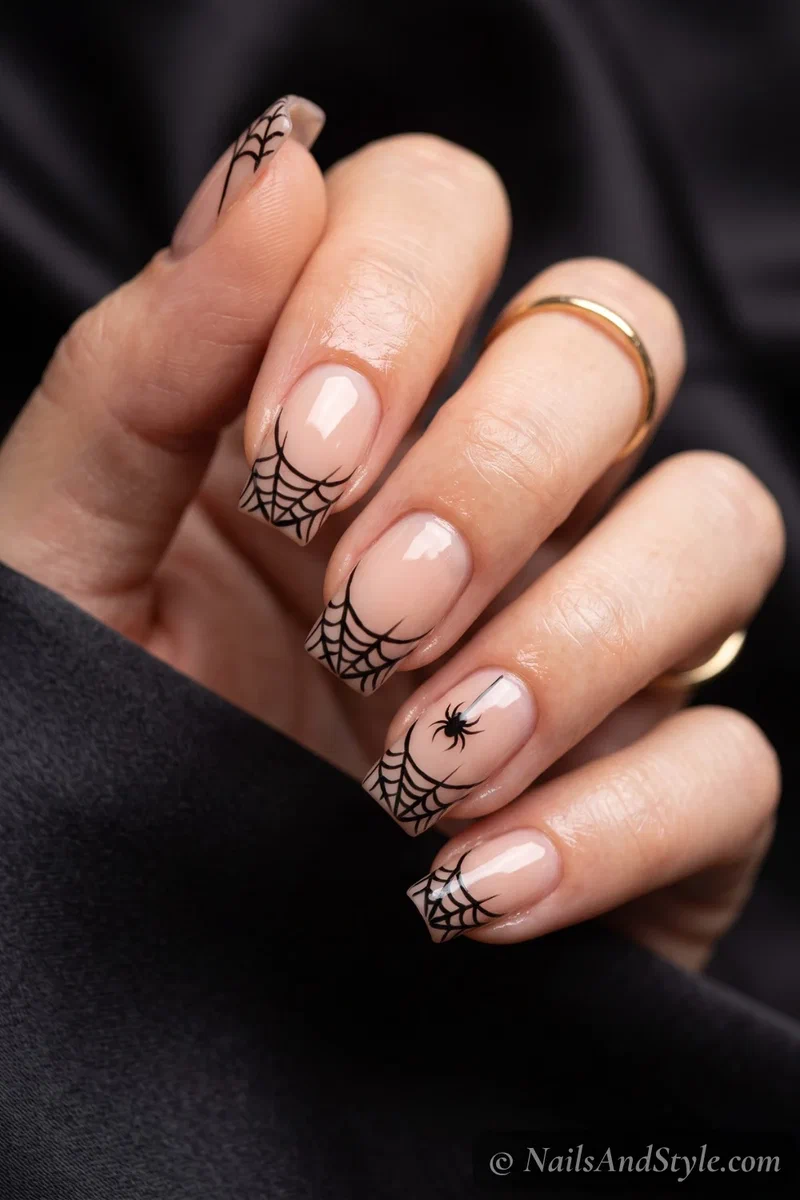
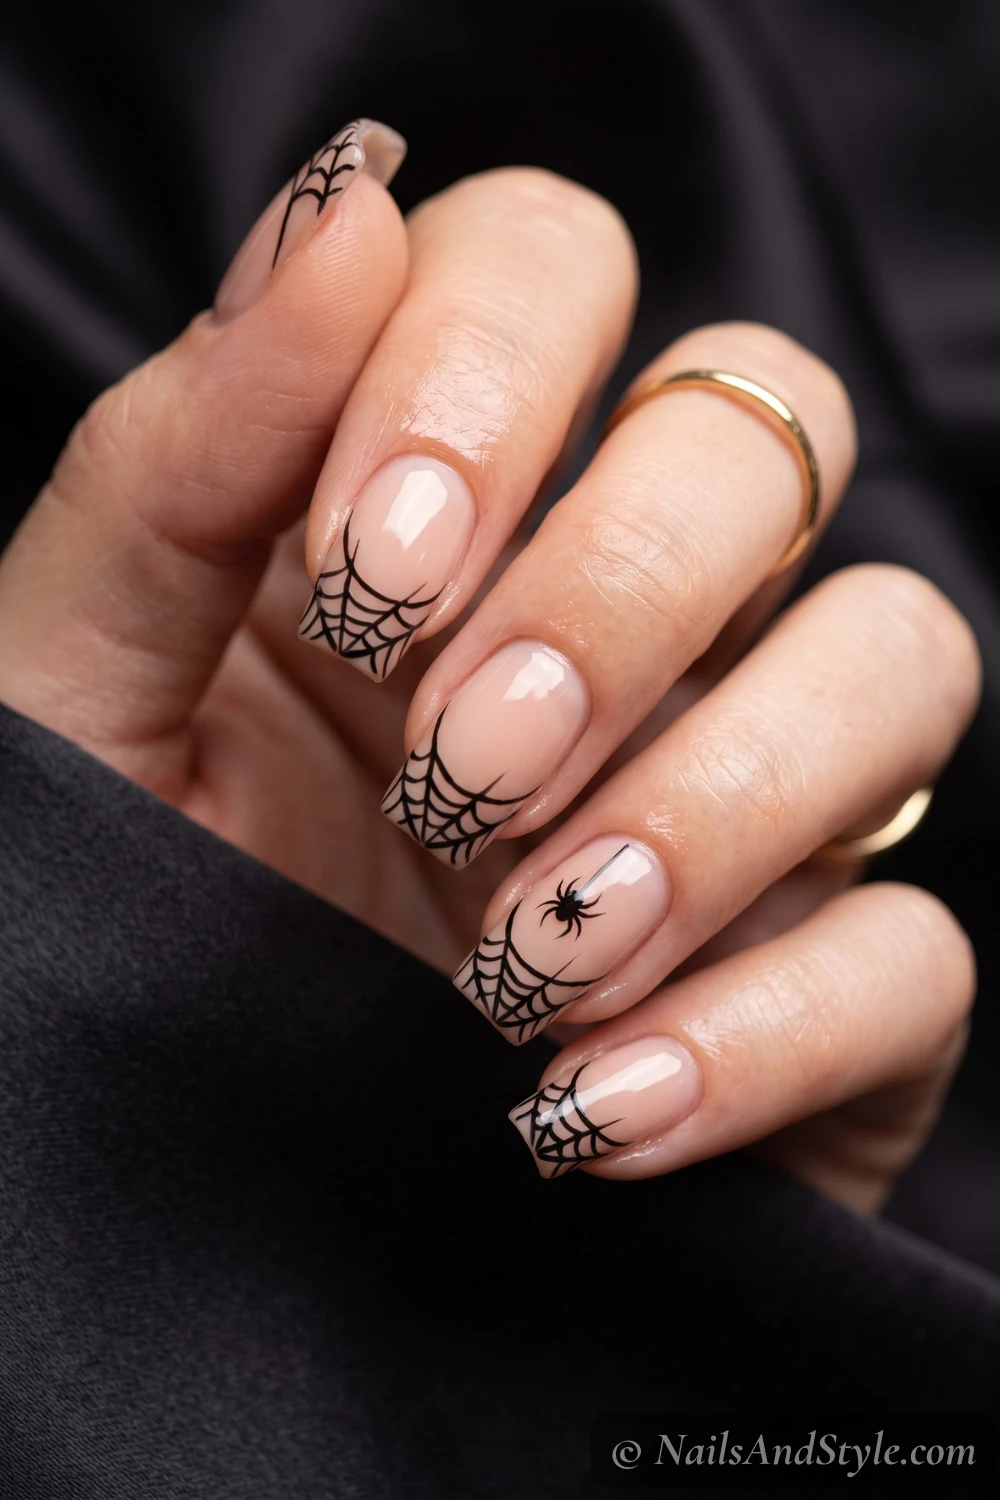
Freehand webs are a nightmare (pun intended), so let the decals do it. Line web-tip stickers right along the smile line of a sheer nude base, and drop one tiny spider sticker on a single accent nail. Instant elegance-meets-creepy.
3. Bat Flight Accents#
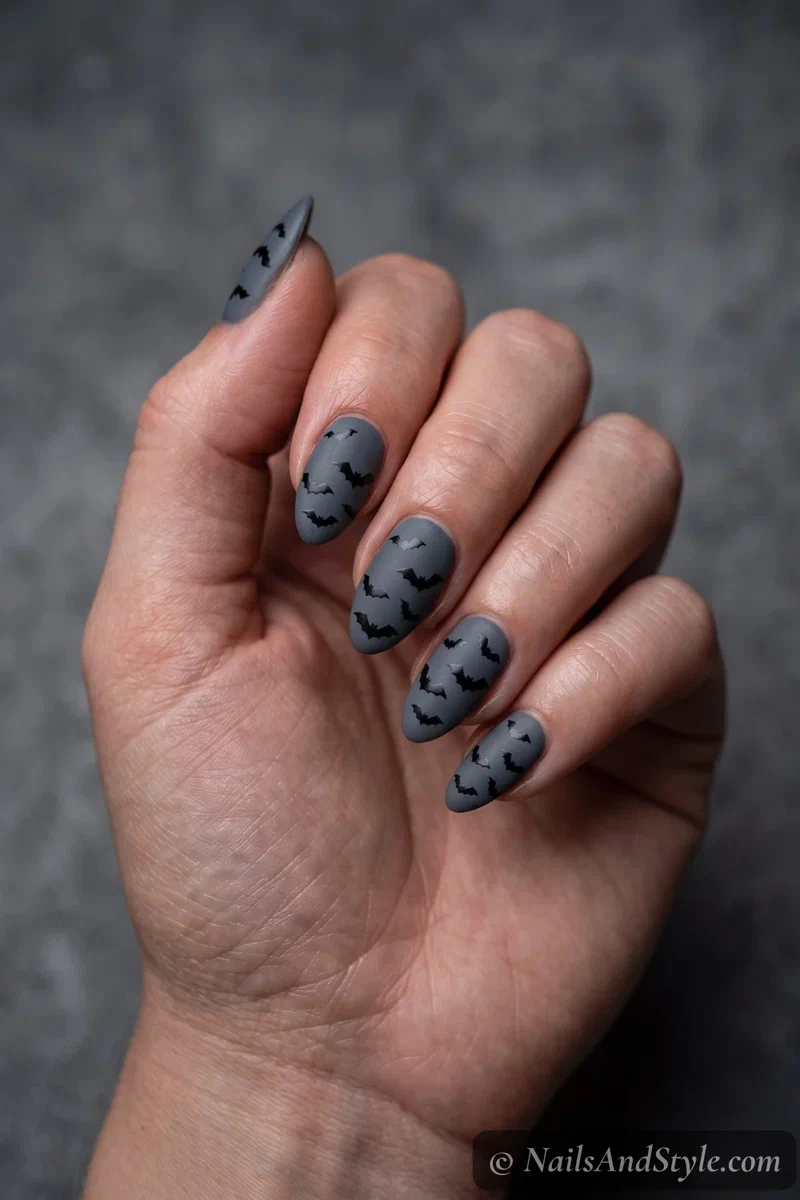
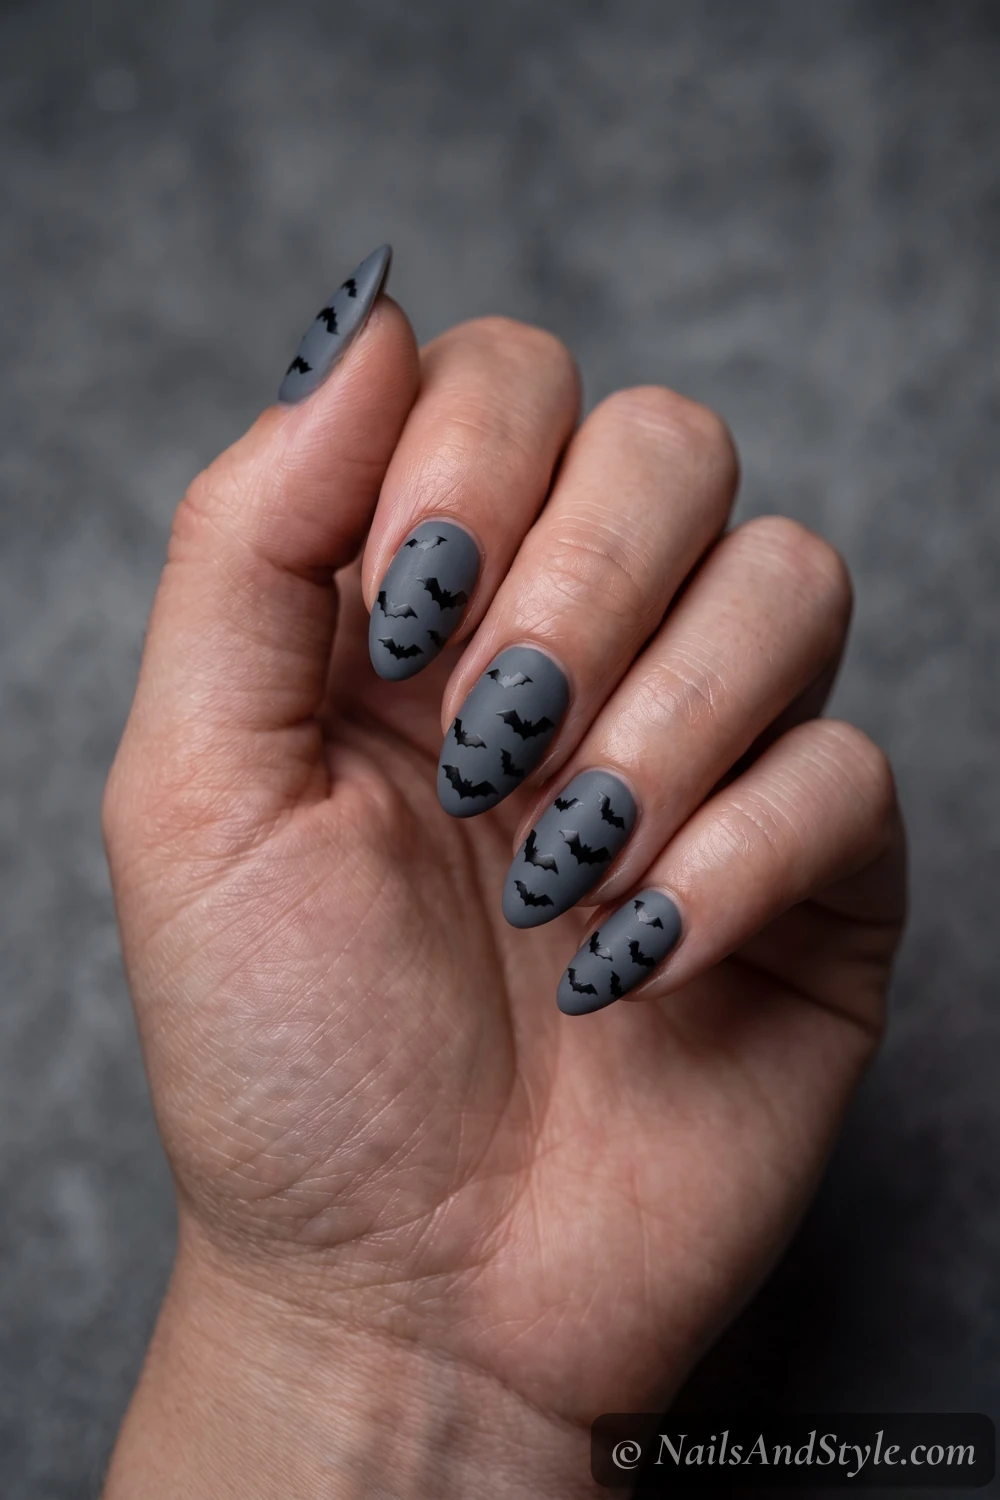
Here’s a fun trick — cluster black bat stickers near the tips and thin them out toward the cuticle, so they look like they’re flying off your nail. A soft grey base gives it that dusk-at-the-haunted-house feel, and a matte top coat seals the mood.
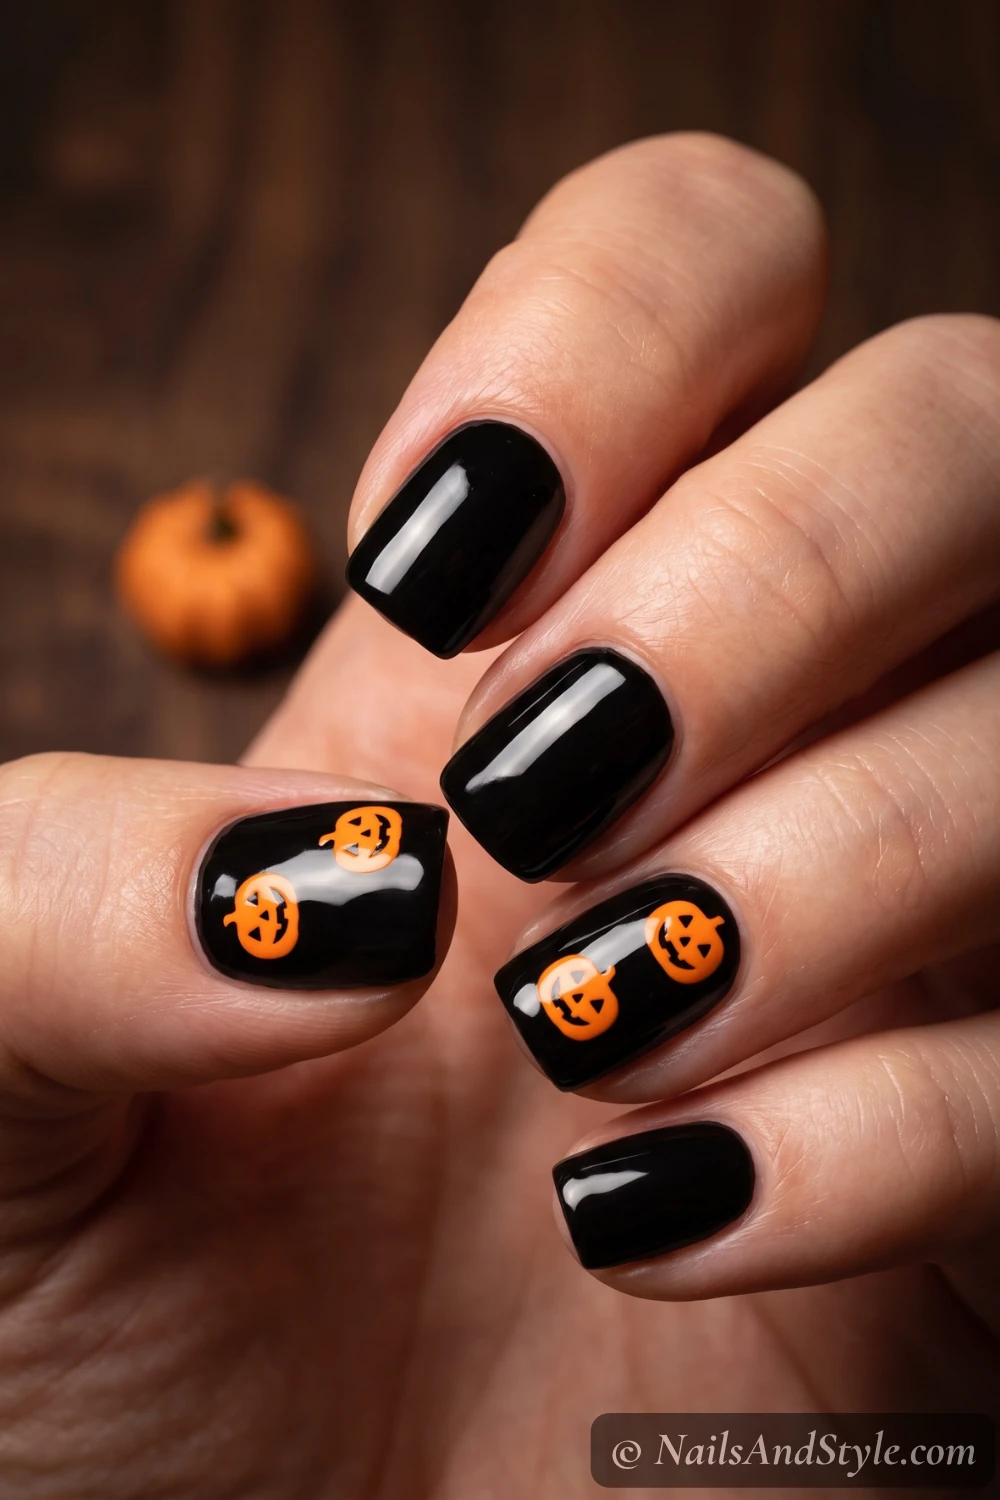
4. Jack-o’-Lantern Pumpkins#
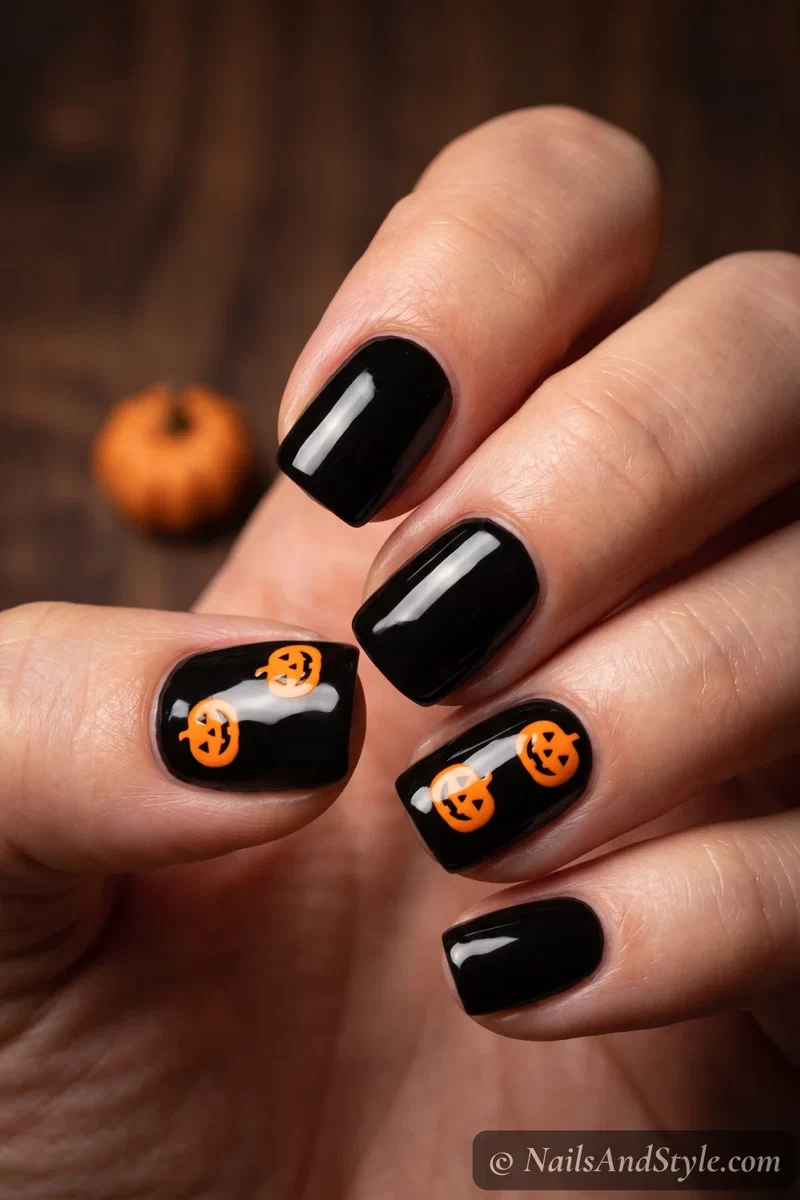
You can’t do Halloween without a little orange. Black base, glossy, then press bright pumpkin decals onto two or three nails. The contrast is about as Halloween as it gets, and it takes maybe five minutes.
5. Skeleton Bones#
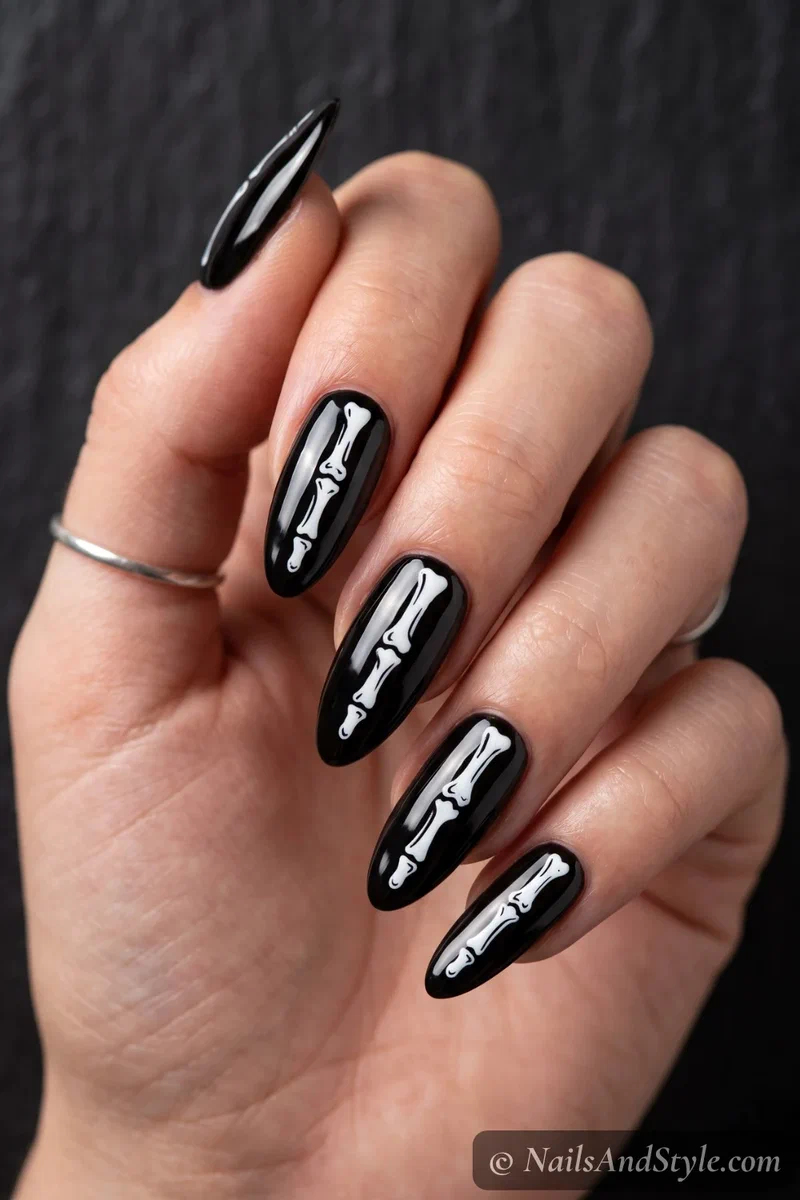
Deeply satisfying and weirdly chic. On a black base, run white skeleton-finger or bone decals down the length of each nail so your hand looks a little X-ray’d. Best on medium or long nails where the bones have room to stretch.
6. Black Cat Silhouettes#
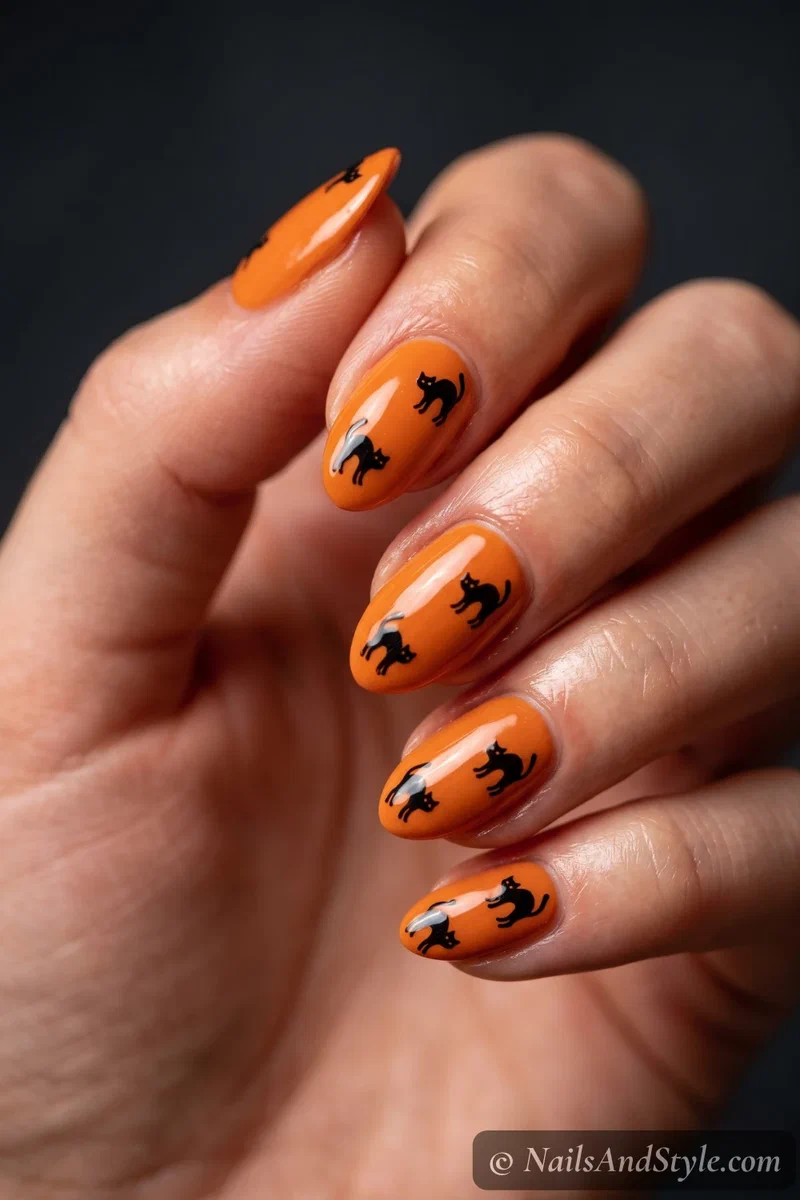
So retro-cute. A vintage-orange base with little black-cat stickers — the arched-back, spooked-kitty kind — sprinkled across your nails. It’s got a real 1960s Halloween-card charm to it. Glossy finish, obviously.
7. Cobweb Overlay#
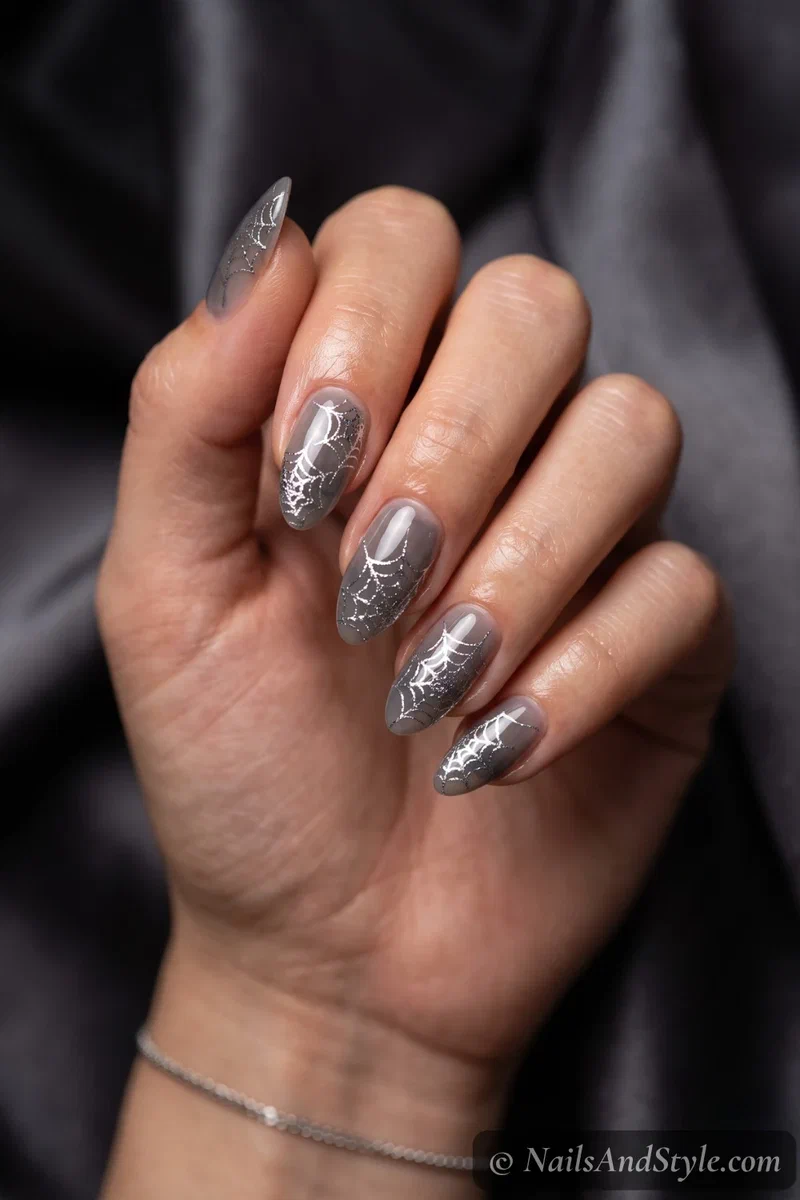
Want spooky but make it fancy? Over a sheer smoke-grey base, drape delicate silver-foil cobweb decals corner to corner. The foil catches the light every time you move your hand, which is honestly mesmerizing. This one reads more “haunted glam” than “kids’ party.”
8. Candy Corn Tips#
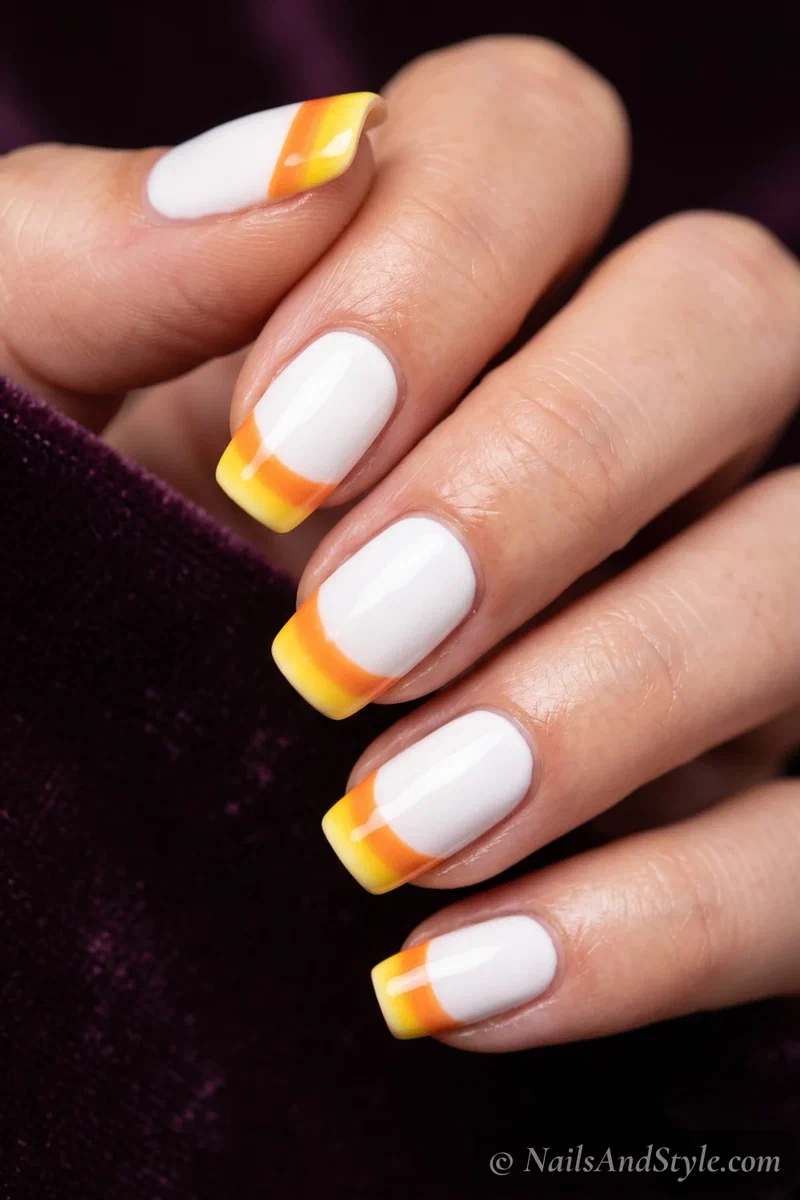
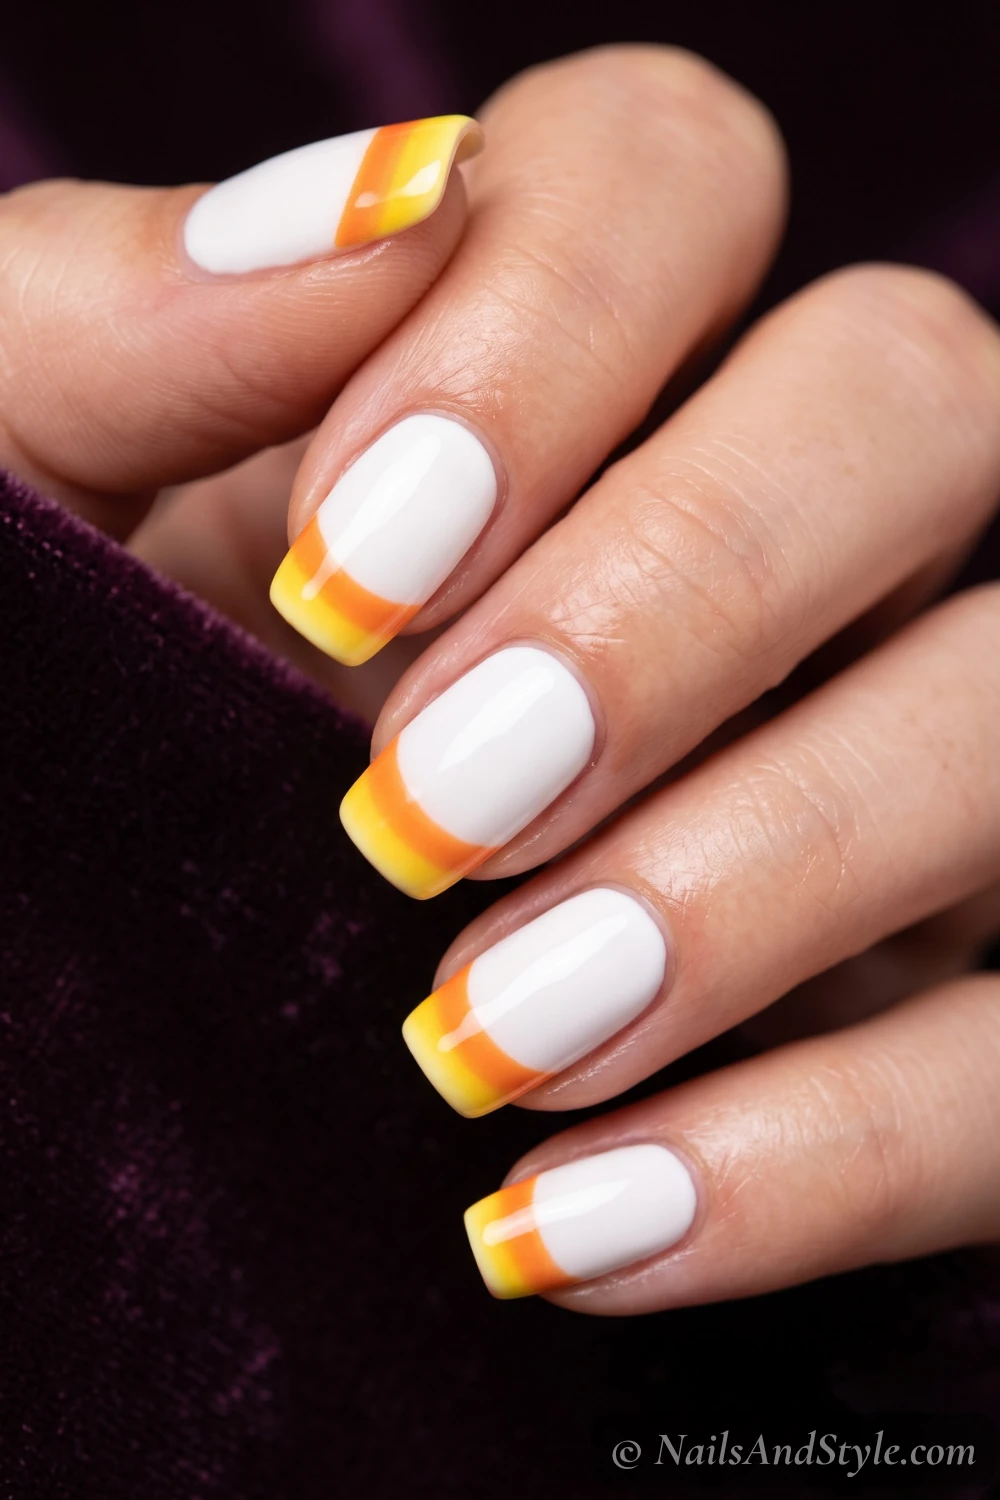
For the team-cute crowd. Start with a white base, then add candy-corn striped tip stickers — that yellow-to-orange-to-white gradient we all pretend we don’t eat by the handful. It’s especially adorable on short nails.
9. Blood Drip Decals#
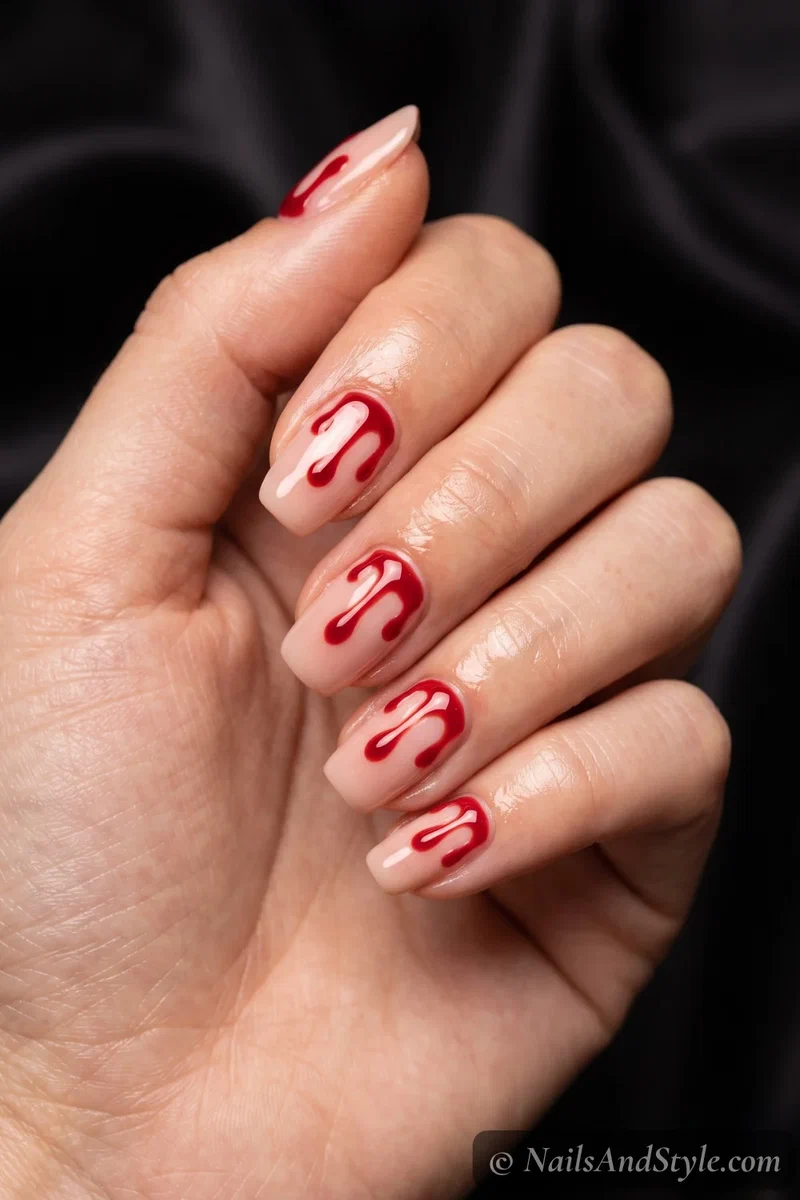
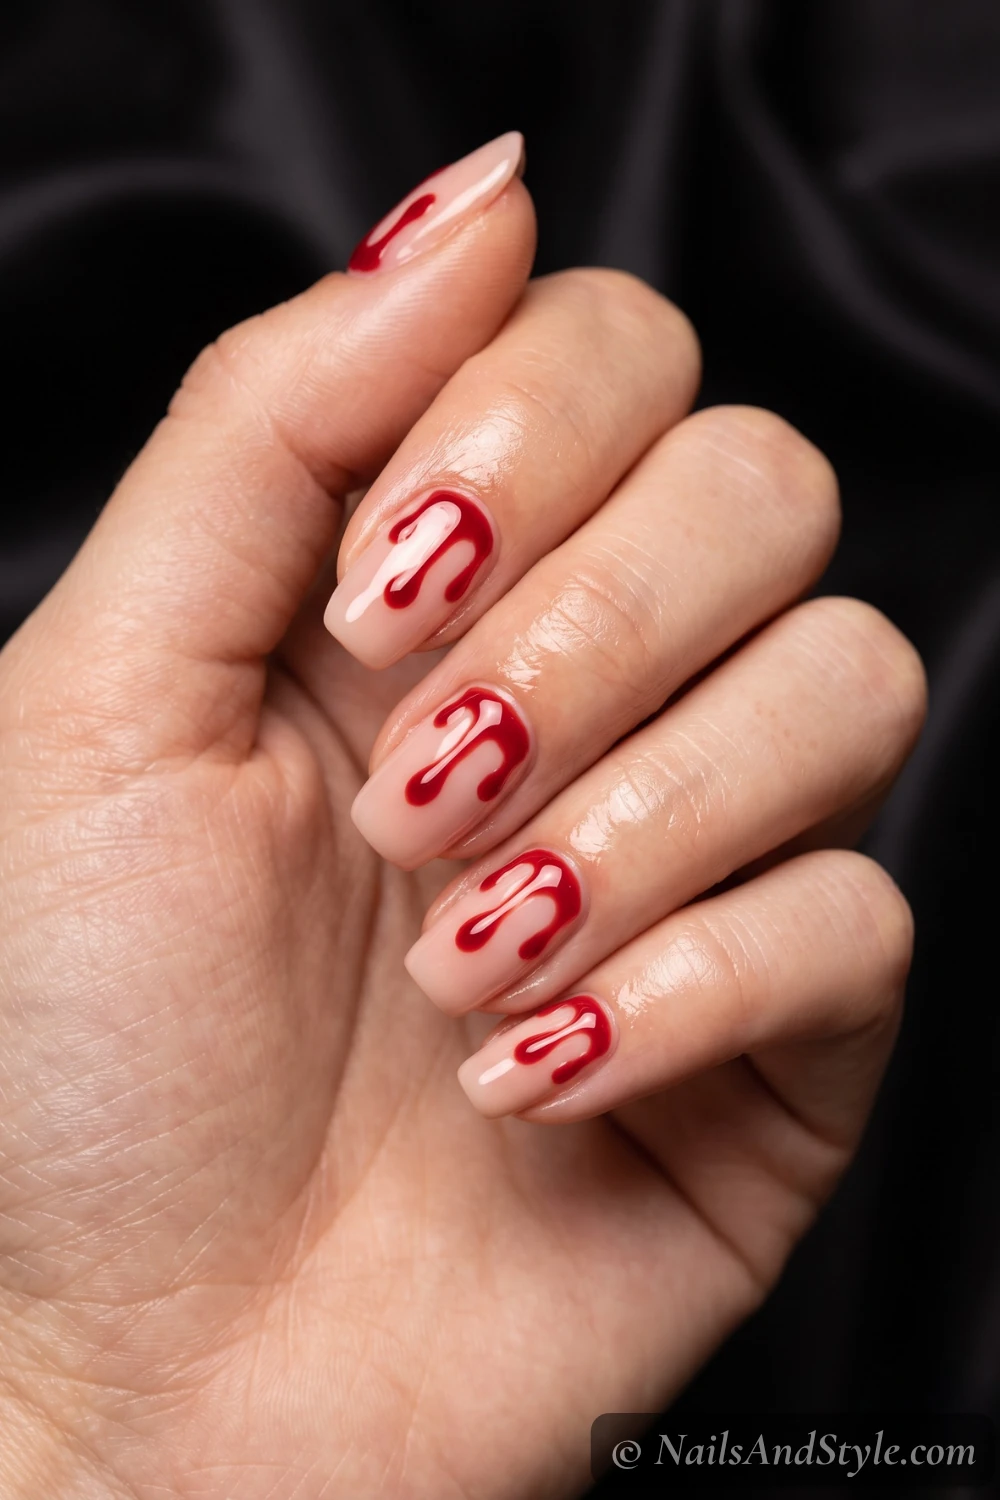
Okay, now we’re getting scary. On a clear or nude base, apply red drip decals from the cuticle so they look like they’re oozing down (or from the tips up — both work). Seal with a super glossy top coat so the “blood” looks wet. Not for the faint of heart.
10. Witchy Moon & Stars#
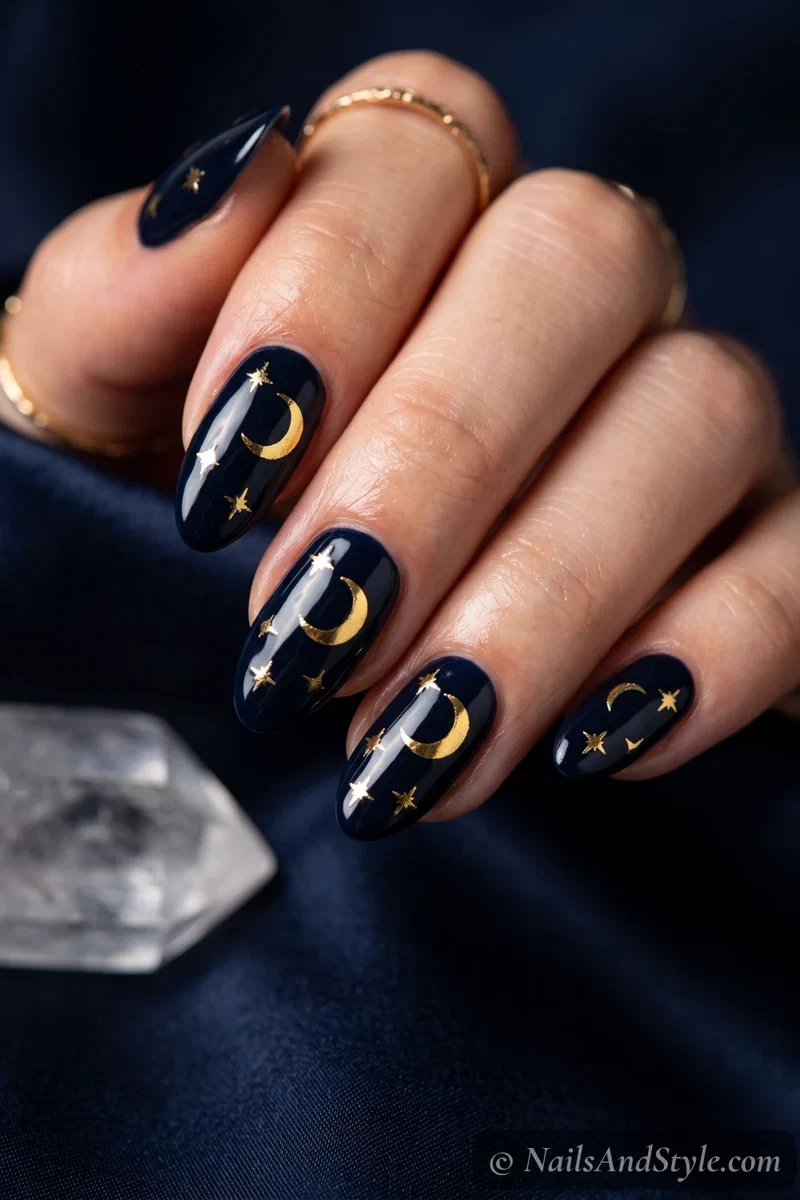
My personal favorite. A deep navy base with gold-foil moon and star decals scattered like a little midnight sky. It’s spooky in a mystical, tarot-card way rather than a gory way — and it lasts way past October if you ask me. Love this kind of shimmer? Cat-eye nails give a similar moody glow.
11. Mummy Wrap#
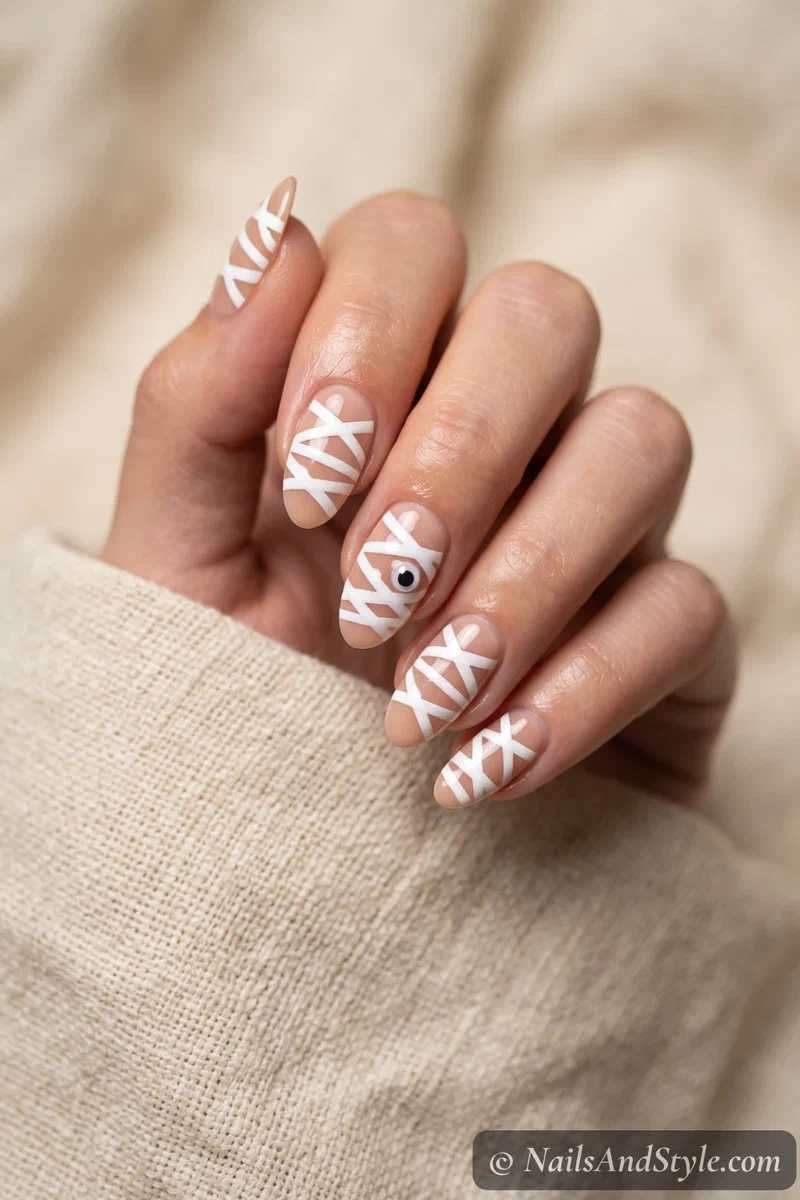
Silly in the best way. Over a warm nude base, crisscross thin white wrap or stripe decals so each nail looks bandaged, then tuck one tiny googly-eye sticker peeking through the gaps. People will do a double-take. Guaranteed.
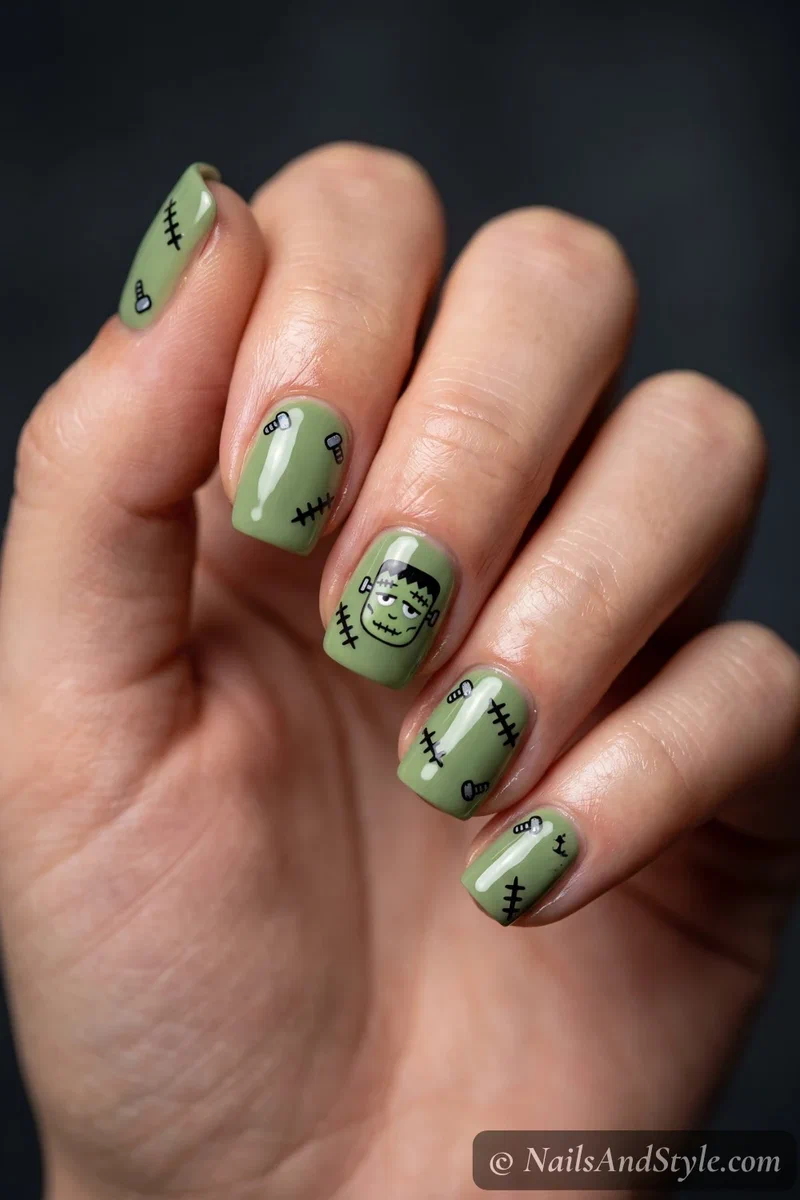
12. Frankenstein Faces#
Cartoonish and grinning. A slime-green base sets the scene, then black stitch and bolt decals plus a little Frankenstein-face sticker on an accent nail bring him to life. It’s playful, not scary — great if you’ve got kids doing their nails alongside you.
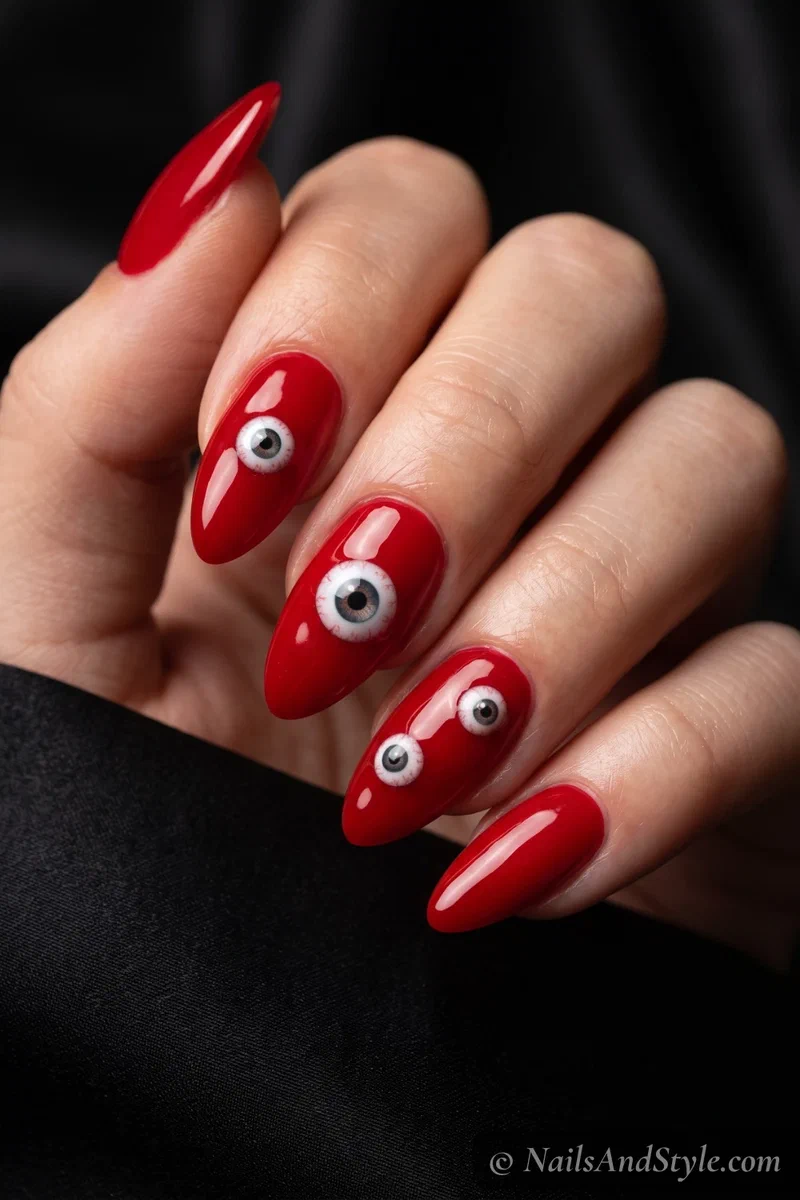
13. Spooky Eyeballs#
We’ll end on genuinely unsettling. Blood-red or black base, then eyeball stickers staring out from a few nails — bonus points for mismatched sizes so they feel extra wrong. A glossy top coat makes them look wet and watchful. Shudder.
These Looks for Short Nails#
Good news if you keep your nails short — Halloween stickers might actually work better for you. Small motifs like a single ghost, one spider, or a web tip fit a short nail perfectly, where a big painted scene would feel crammed.
The trick is scale. Choose the smaller decals in the sheet, and stick to one or two per nail so nothing overlaps the edges. A short almond or square shape gives you a nice flat canvas to press onto.
A Few More Short Nail-Specific Ideas#
- Single ghost accent — one ghost on each nail, tons of negative space, endlessly cute.
- Web-corner only — a web tucked into just one corner reads clean and doesn’t crowd a short nail.
- Tiny bat trio — three small bats climbing one accent nail keeps it playful but tidy.
- Candy-corn tips — the striped tip visually lengthens a short nail (bonus).
- One spooky eye — a single eyeball on an accent nail is more effective than ten fighting for space.
Simple Step-by-Step: How to Apply Halloween Nail Stickers at Home#
- Prep your nails. Clean them, push back cuticles, trim and file to shape, and give the surface a light buff so everything grips.
- Apply a base coat and let it dry fully — this protects your natural nail and helps dark polish come off cleanly later.
- Paint your base color (black, white, orange — whatever the design calls for) and let it dry completely. Wet polish and stickers do not mix.
- Peel each sticker with tweezers if you can, so you don’t lose the stickiness with fingerprints. Place it gently before committing.
- Press from the center outward with a wooden stick to chase out any air bubbles, working the edges down flat.
- Trim or file any overhang at the tip — press down and file in one direction for a clean edge.
- Seal with two coats of top coat, wrapping right over the free edge. This is the step that decides whether your mani lasts two days or two weeks.
Prefer a longer-lasting, full-coverage option? Semi-cured gel versions exist too — here’s how to apply semi-cured gel nail strips if you want gel-level wear.
How to Ask Your Nail Tech for Halloween Sticker Nails#
Not doing them yourself? Totally fair. Here’s how to get exactly what you want in the chair:
- Bring 2-3 reference photos. Sticker looks vary a lot — show whether you want cute (ghosts, pumpkins) or gory (drips, eyeballs).
- Ask about decals vs hand-painted. Many techs use professional water-slide decals for crisp Halloween motifs; say if you specifically want stickers over freehand.
- Specify the finish. Glossy for wet-looking blood and pumpkins; matte for a moody bat or cobweb look.
- Talk shape and length. Short almond or square holds small decals best; mention it if you want the design centered.
- Go gel if you want it to last. Ask for gel polish base and a gel top coat over the decals so it survives past the party.
Tips to Make Your Halloween Nails Last Longer#
- Seal the free edge with top coat — capping the tip is the number-one anti-peel move.
- Let each layer dry fully before adding the next, especially before stickers go on.
- Skip water for an hour or two after finishing so everything cures hard.
- Wear gloves for dishes and cleaning — hot water lifts sticker edges fast.
- Re-swipe top coat every few days to re-seal any edges that start to lift.
- A little cuticle oil daily keeps the whole mani looking fresh (just avoid flooding the sticker edges).
- Don’t use your nails as tools — no peeling labels or scratching stuff, or the stickers go first.
Quick FAQ#
Are Halloween nail stickers hard to apply?#
Nope — they’re one of the easiest ways to get festive nails. You press them onto a dry base color, smooth out the bubbles, and seal with top coat. No painting skill required at all. If you’ve ever used a bandage, you’re overqualified.
What base color should I use for Halloween stickers?#
Black and milky white are the two you’ll reach for most — black for pumpkins, bats, and skeletons, white for ghosts and candy corn. A vintage orange, a smoky grey, and a deep navy round out just about every look in this post.
Can I reuse Halloween nail stickers?#
Usually not — most lose their stick once they’ve been pressed down and sealed. That said, they’re cheap and a single sheet typically has way more than ten motifs, so you’ll have plenty of spares to redo a nail or share with a friend.
Final Thoughts#
Halloween nail stickers are proof you don’t need artist-level skills to have the most festive nails at the party. Peel, press, seal — that’s the whole game, and the payoff looks like you tried way harder than you did.
Save the looks that gave you a little thrill and pin them for your October mani night. Then mix and match — friendly ghosts one week, staring eyeballs the next. However spooky you want to go, there’s a sticker for it.
Shop the Look#
Everything you need to recreate these Halloween sticker looks at home (grab your favorite sticker sheet, then these do the rest):
 BaseBase CoatA smooth base so stickers grip and dark polish won't stain
 BlackBlack Nail PolishThe essential base for pumpkins, bats & skeletons
 WhiteMilky White PolishPerfect ghost and candy-corn backdrop
 Seal itGlossy Top CoatLocks stickers down and stops peeling — wrap the tips
 PressCuticle StickTo press decals flat and tuck the edges down
 ShapeNail FileFile off any sticker overhang at the tips