Chrome nails look expensive. Like, salon-in-a-fancy-neighborhood expensive. But here’s the thing — the actual chrome powder costs a few hundred rupees, and you only need a tiny amount per manicure. Seriously. That mirror-smooth, metallic, almost sci-fi finish you keep seeing on Pinterest? It’s just ultra-fine pigment powder buffed onto your nails. That’s it.
This is your full guide to how to do chrome nails at home — what chrome powder actually is, the 3-4 tools you’ll need, the full step-by-step application method, and how to get that mirror effect even without gel polish. I’ll also walk you through rose gold and holographic variations, common mistakes that mess up the finish, and 15 chrome designs you can try at home on short and medium nails.
Whether you’ve never touched chrome powder or you tried it once and it came out patchy — stick around. It’s about to click.
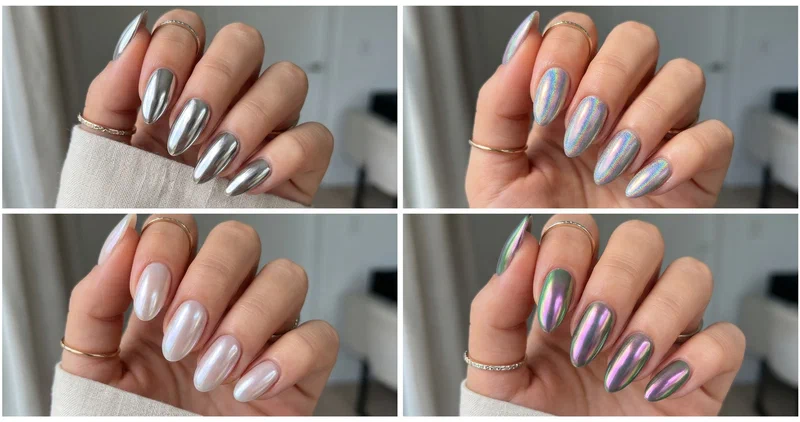
What Is Chrome Powder?#
Chrome powder is an ultra-fine metallic pigment — way finer than glitter, almost like a soft, silky dust. You rub it onto a cured gel surface using a small applicator, and the friction + the smoothness of the base creates that liquid-mirror reflection. It’s not a polish. It’s not a paint. It’s a powder that bonds to the nail surface and reflects light like actual metal.
And that’s the key difference between chrome powder and regular glitter. Glitter sits on top of your nail as individual sparkle particles — you can see each little fleck. Chrome powder? Zero texture. It melts into the surface and creates a continuous mirror plane. No chunks, no grit, just pure reflection.
The “science” behind it is pretty simple — the pigment particles are so tiny and uniform that they align flat against the nail, bouncing light back at the same angle instead of scattering it. Same principle as a real mirror, just on a much smaller scale.
Can you use chrome nail powder without gel? You can — and I’ve got a full section on that below. But heads up: the mirror effect is noticeably softer without a proper gel base. Gel gives chrome powder the smooth, hard surface it needs to really shine. Regular polish works for a metallic sheen, just not that full liquid-metal look.
Tools and Materials You’ll Need#
The chrome nail art tools needed are honestly minimal. Here’s the full list:
- Chrome powder pigment — silver, rose gold, or holo — one tiny jar lasts ages
- Gel base coat + no-wipe gel top coat — the no-wipe part is critical (more in the steps)
- UV or LED nail lamp — LED cures in 30–60 seconds vs. 2–3 min for UV
- Eyeshadow applicator or silicone finger tool — for buffing the powder onto the nail
- Gel color polish — black gives the most intense mirror; nude for a softer glow
- Nail buffer (180 grit) — to smooth the surface first
- Cuticle pusher
- Lint-free wipes + rubbing alcohol — for a squeaky-clean nail plate
- Small fluffy brush — to dust off excess powder
That’s it. No fancy equipment. The chrome powder itself is the star and it’s surprisingly cheap — most jars cost less than a coffee.
Not sure which lamp or gel to pick? My gel nails at home complete guide covers lamp types, gel brands, and the full setup you need to get started.
How to Choose Your Chrome Color#
Not all chrome powders look the same. Here’s a quick comparison of the four most popular types:
| Chrome Type | Finish | Best For |
|---|---|---|
| Silver Mirror | High-shine liquid metal | Bold, editorial, statement looks |
| Rose Gold | Warm metallic pink-gold | Everyday glam, dates, weddings |
| Holographic | Rainbow color-shift | Festivals, parties, maximalist vibes |
| Black Chrome | Dark mirror, smoky metallic | Edgy, gothic, moody aesthetics |
Silver is the easiest to start with — it shows up strong over any dark base and the mirror effect is the most forgiving. If you want something softer for daily wear, rose gold chrome nails are hard to beat. And if you want people to stop and stare? Holographic chrome nail art shifts between rainbow colors every time you move your hand. Wild.
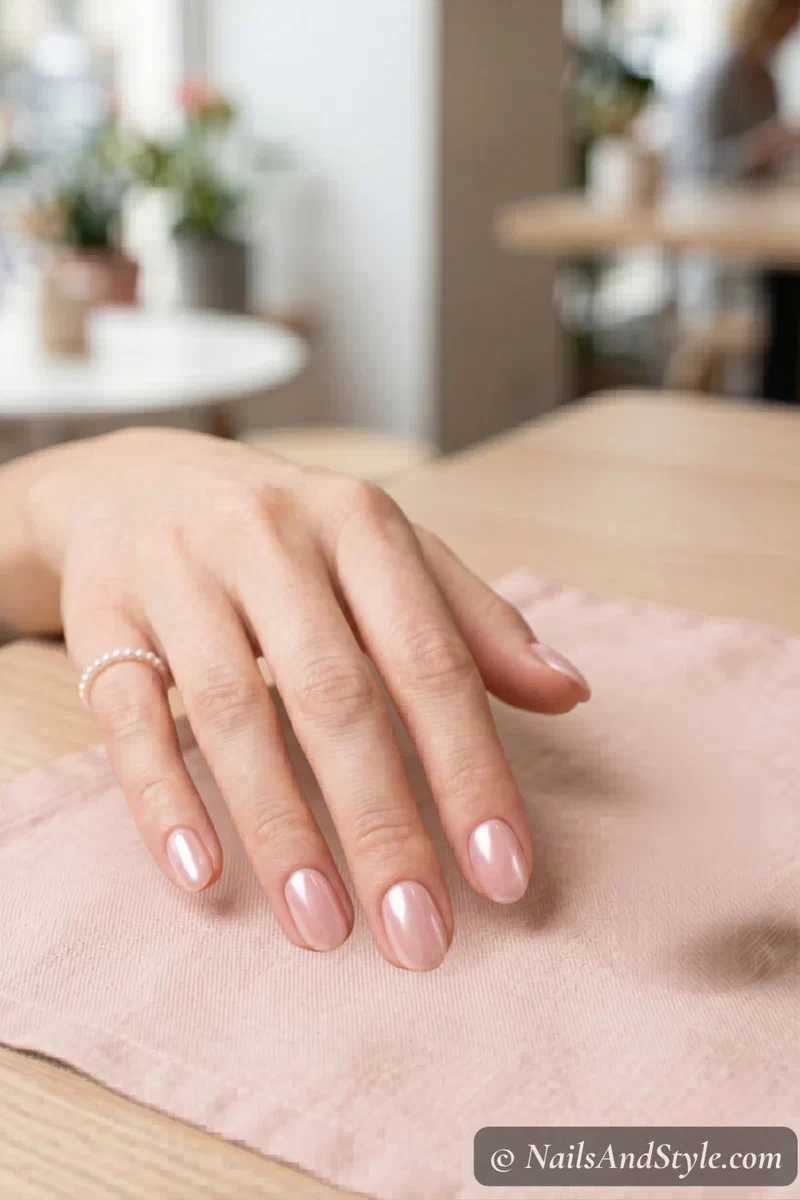
Step-by-Step: How to Apply Chrome Powder on Nails#
This is the core method. Seven steps, nothing complicated — but each one matters. Skip a step and you’ll get patchy chrome instead of a mirror.
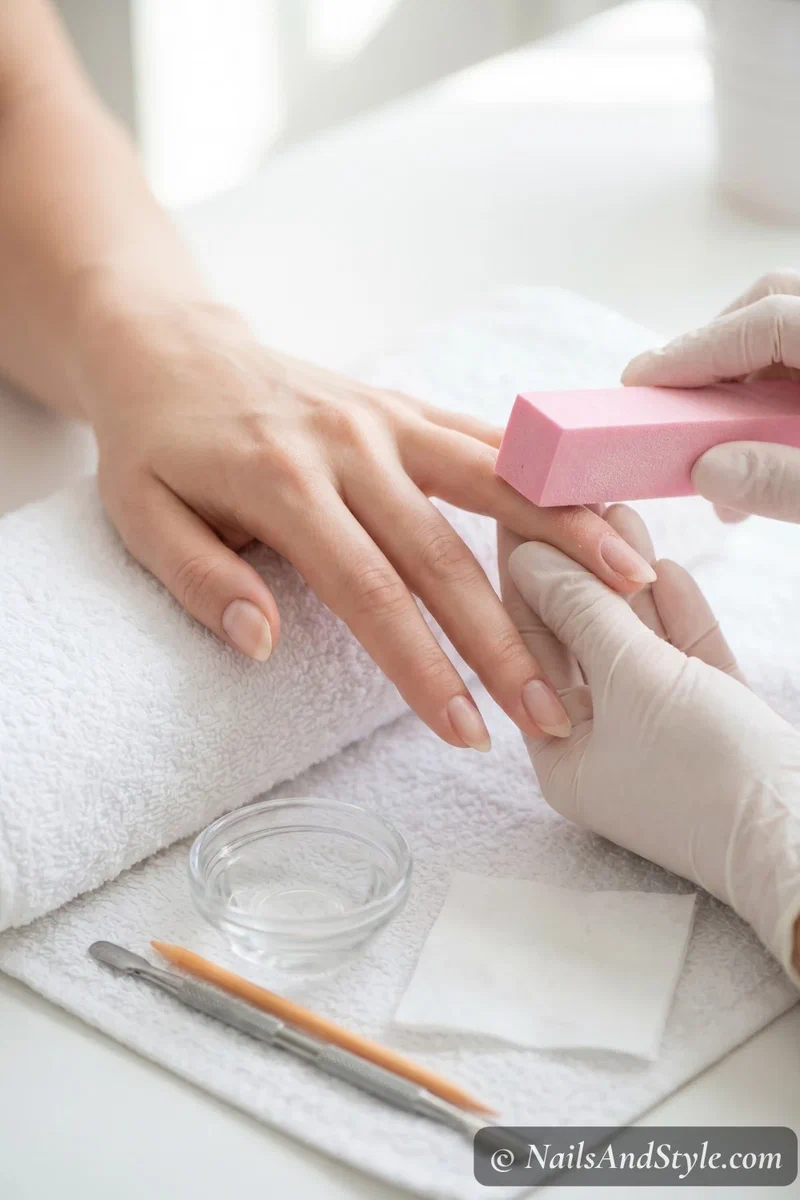
Step 1: Prep Your Nails#
File your nails into shape, push back cuticles, and buff the nail surface lightly with a 180-grit buffer. Then wipe each nail with rubbing alcohol on a lint-free pad. The surface needs to be completely smooth and oil-free — any ridge, any tiny bump, chrome magnifies it like a spotlight.
Step 2: Apply Gel Base Coat and Cure#
Brush on a thin layer of gel base coat and cure under your UV or LED lamp — 60 seconds for LED, 2 minutes for UV. This gives the gel color something to grip onto.
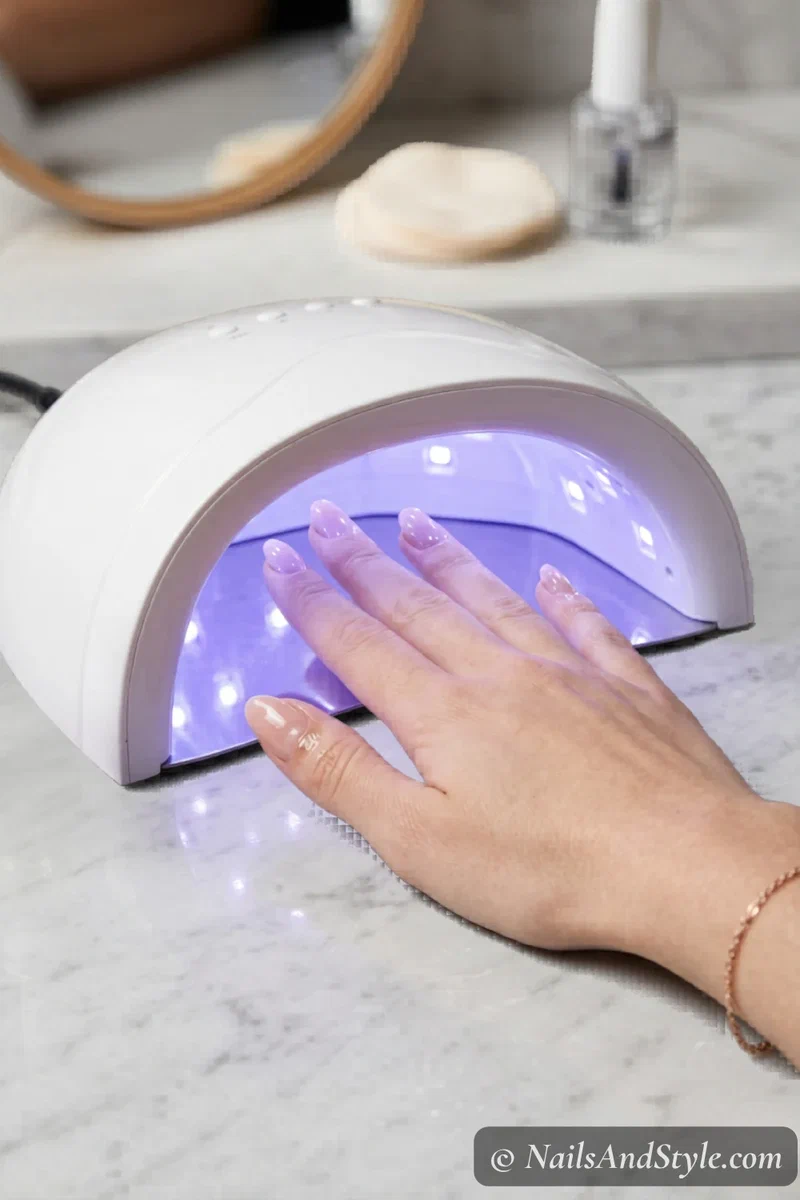
Step 3: Apply Gel Color Coat#
Two thin coats of your chosen gel color, curing after each one. Black gives the most intense, liquid-metal silver mirror. Nude pink gives a softer glazed glow. White creates a pearlier chrome. Pick based on the look you want — your base color changes everything.
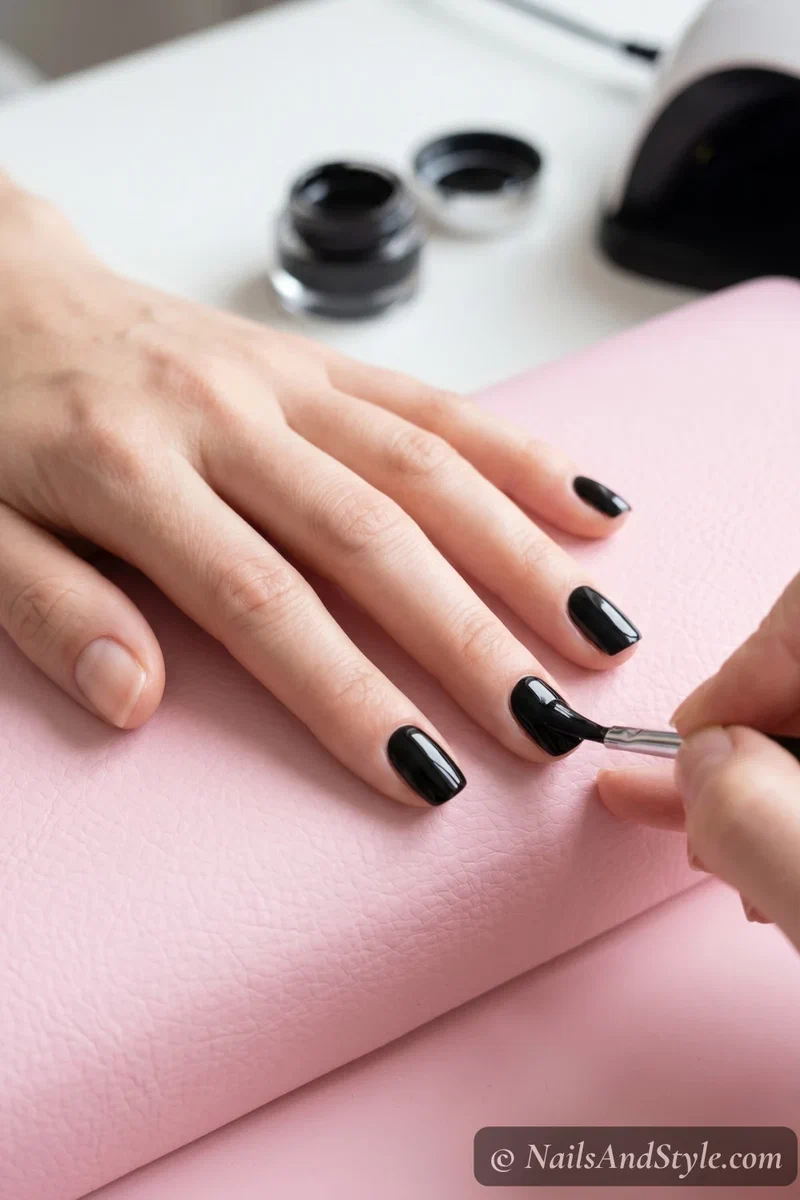
Step 4: Apply No-Wipe Gel Top Coat — Cure for Only 30 Seconds#
Here’s where people mess up. Apply a thin layer of no-wipe gel top coat and cure for only 30 seconds — not the full 60. You want to leave a very slight tacky layer on the surface. This tackiness is literally what makes chrome powder stick. Cure it completely and the powder has nothing to bond to.
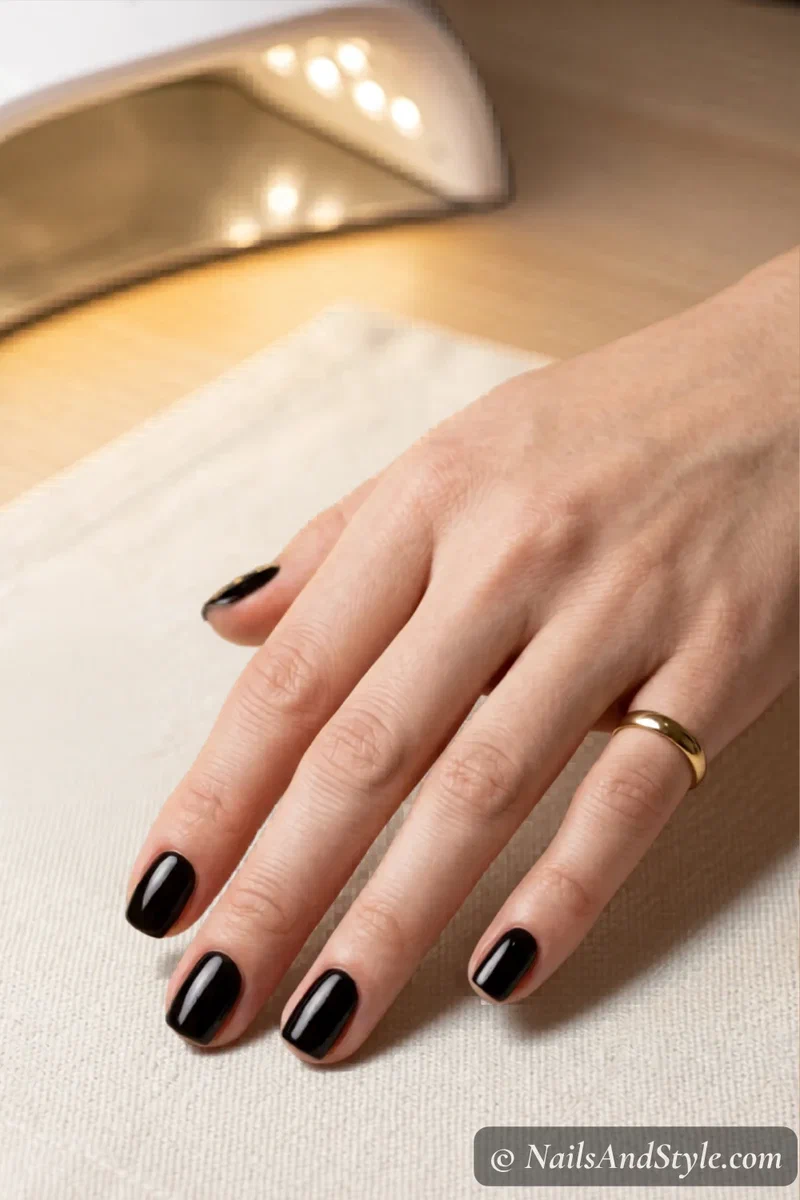
Step 5: Rub Chrome Powder onto the Tacky Layer#
Pick up a small amount of chrome powder with your eyeshadow applicator or silicone tool. Press it onto the nail and rub in small circular motions, pressing firmly. The mirror finish starts appearing almost immediately — it’s genuinely one of the most satisfying things in nail art.
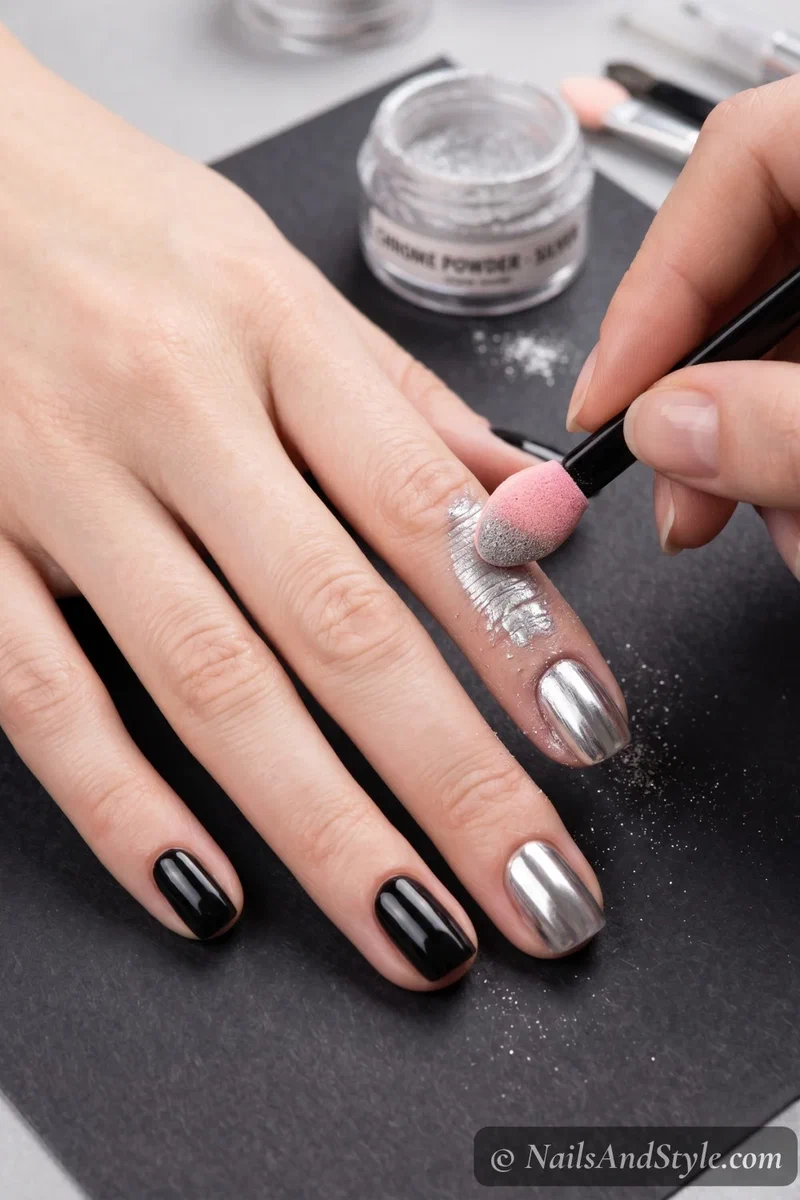
Step 6: Buff Until the Mirror Finish Appears#
Keep buffing gently until the entire nail surface is smooth, reflective, and streak-free. Then dust off the excess powder with a clean fluffy brush. Don’t blow on it — the moisture from your breath can dull the finish. A dry brush works way better.
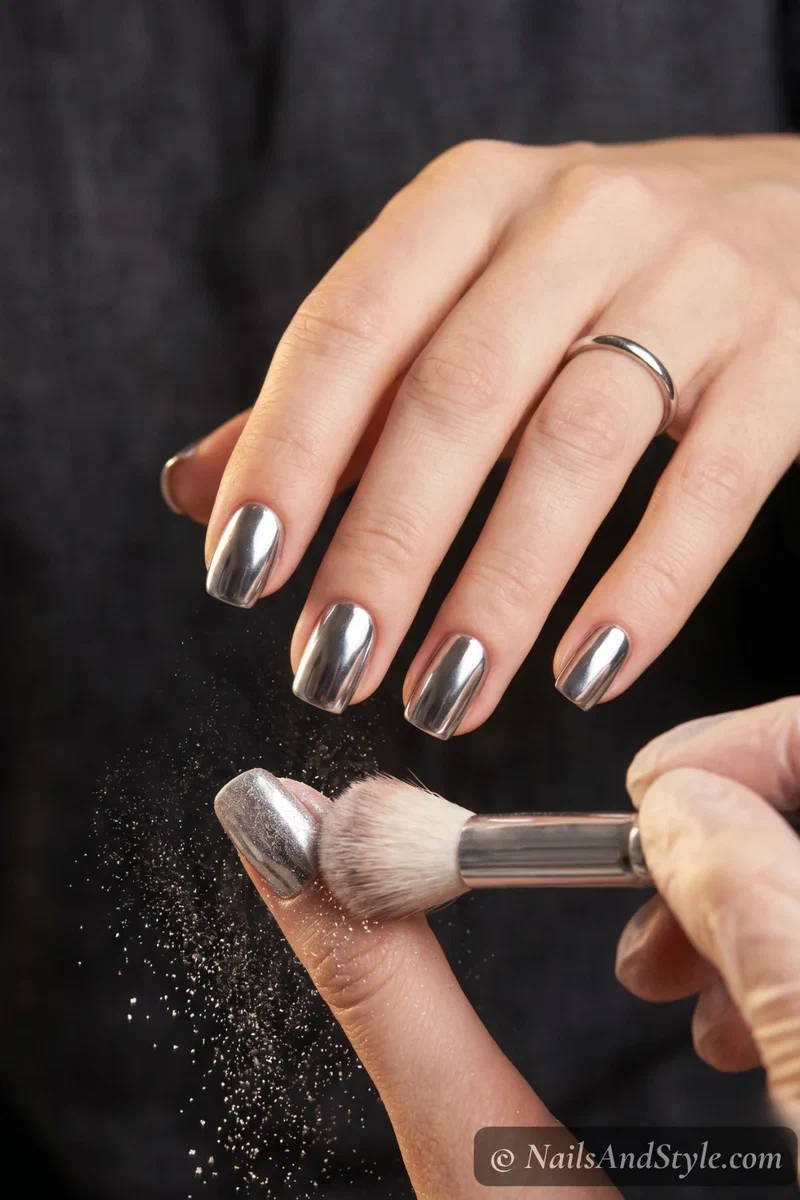
Step 7: Seal with No-Wipe Top Coat and Cure Fully#
Apply a generous layer of no-wipe gel top coat — this time cure it for the full 60 seconds. This seals the chrome powder in and protects it from rubbing off, chipping, or dulling. Some people apply two sealing coats. I think that’s smart, especially if you’re hard on your nails.
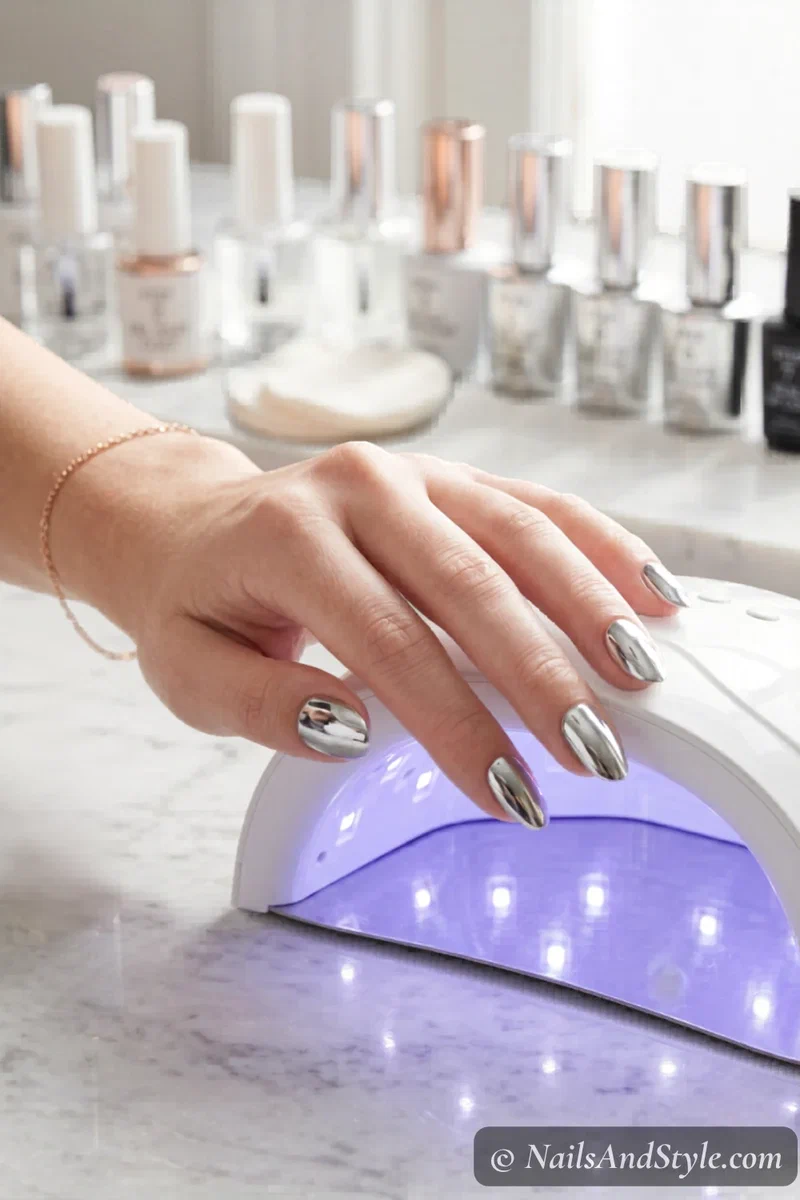
Key tip: The tacky layer from the no-wipe top coat is what makes chrome powder stick — never fully cure before applying powder. This is the single biggest reason chrome comes out patchy for beginners.
How to Do Chrome Nails Without Gel#
Don’t have a UV lamp? No gel kit? You can still get a chrome nails with regular polish look — it just won’t be as mirror-intense as the gel method. Here’s how:
- Apply a regular base coat and let it dry fully
- Apply 2 coats of a dark, high-shine regular polish (black works best) — let it dry completely
- Apply a fast-drying, high-shine top coat — and here’s the trick — rub the chrome powder on while the top coat is still slightly tacky, not fully dry
- Buff with your applicator the same way as the gel method
- Seal with another layer of top coat once you’re happy with the finish
Be honest with yourself though: the results are more of a metallic shimmer than a true mirror. Still looks really cool — especially rose gold and holographic powders, which are more forgiving than silver. But if you want that full liquid-metal reflection, a basic gel kit is worth picking up eventually.
Rose Gold Chrome Nails Tutorial#
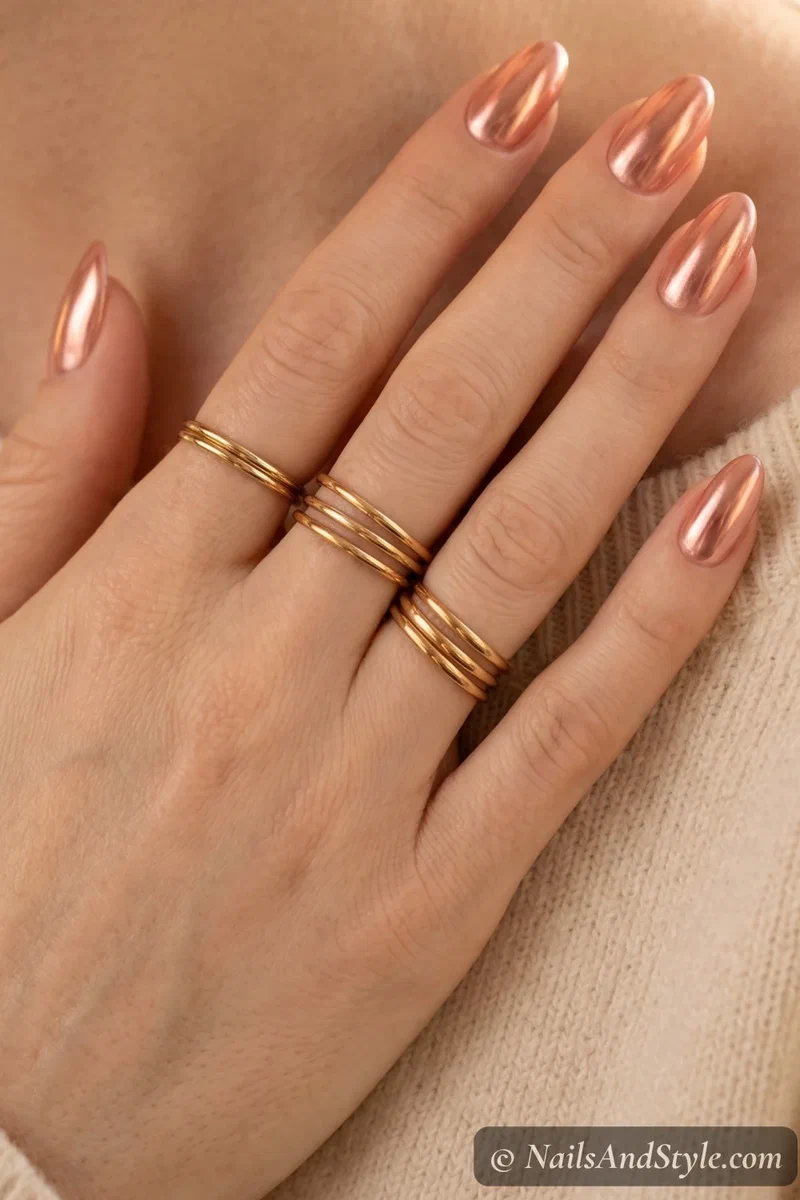
Rose gold chrome deserves its own section because it’s the most beginner-friendly, most wearable, and honestly the one I reach for the most. The rose gold chrome nails tutorial is the same seven steps above with a few tweaks.
For the base color, go with a nude pink or warm beige gel polish — not black. The warmth of the base shows through the rose gold powder and gives it that signature candlelit, rosy shimmer. Buff the rose gold powder on with slightly less pressure than you’d use for silver — you want a glow, not a harsh reflection.
The finish is softer than silver mirror. More warm glow than liquid metal. It works for literally everything — brunches, weddings, everyday errands, date nights. If you’re only going to buy one chrome powder to start with, honestly rose gold might be the smartest pick after silver.
Holographic Chrome Nail Art#
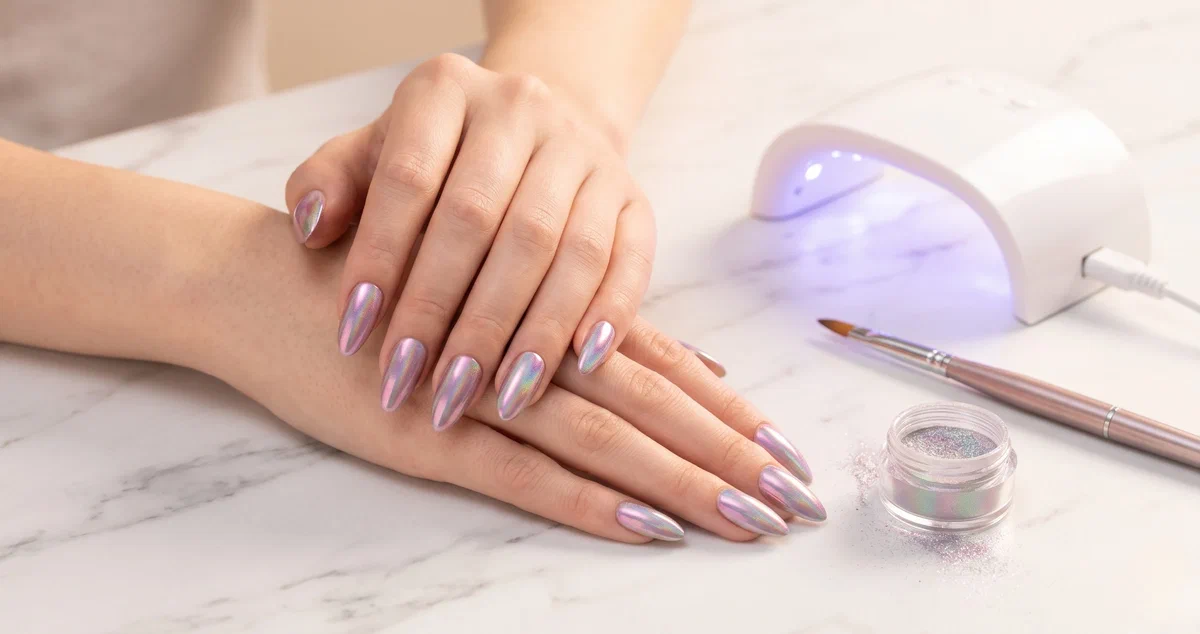
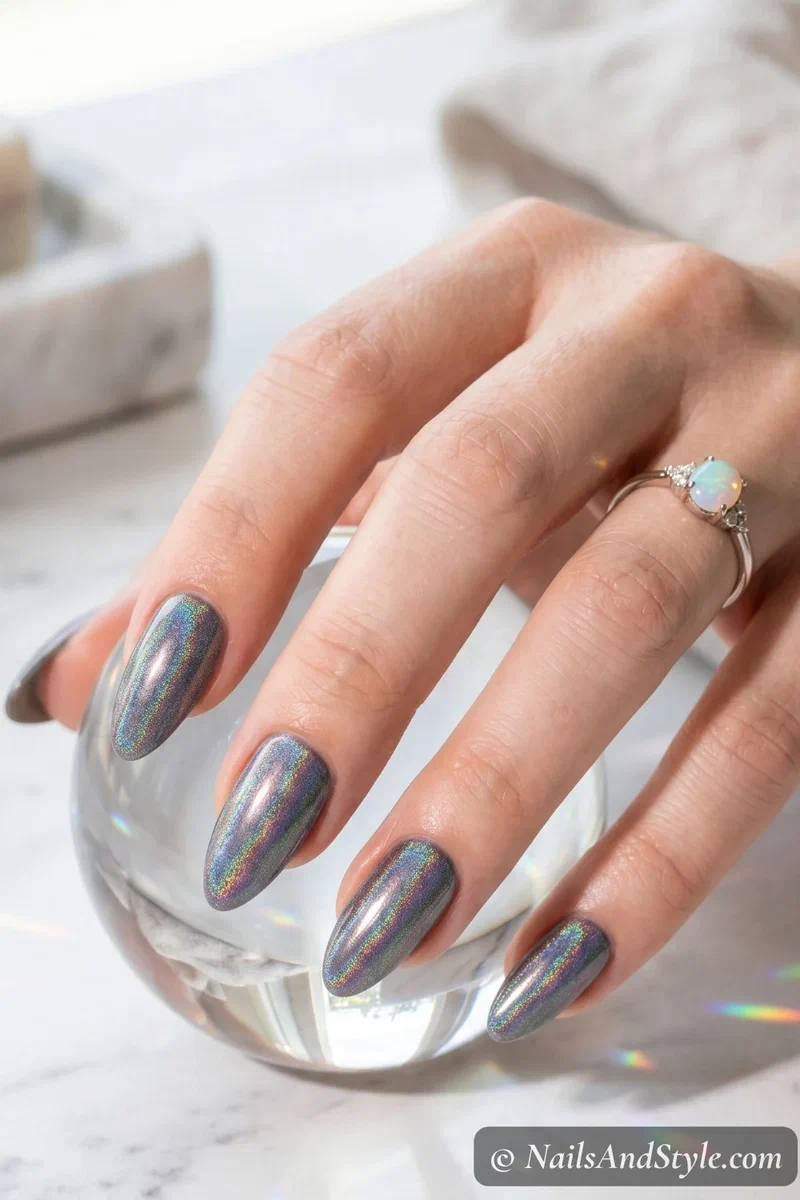
Holographic chrome nail art is where chrome goes from beautiful to absolutely bonkers. Holographic powder contains color-shifting pigment that doesn’t just reflect light — it splits it into a rainbow spectrum. Greens, purples, pinks, blues — all shifting and swirling depending on the angle.
The difference between holographic and regular chrome is that regular chrome reflects a single color (silver, gold, etc.) while holographic creates a rainbow shift. It’s the difference between a mirror and a prism.
Pro tip: apply holographic chrome over a dark base — black or deep charcoal — for maximum rainbow intensity. Over a light base, the color shift is subtle and almost pearly. Over black? Every finger is a tiny disco ball. Festival nails, party nails, “I just want to stare at my hands for an hour” nails.
15 Chrome Powder Nail Art Designs to Try This Summer#
1. Classic Silver Mirror#
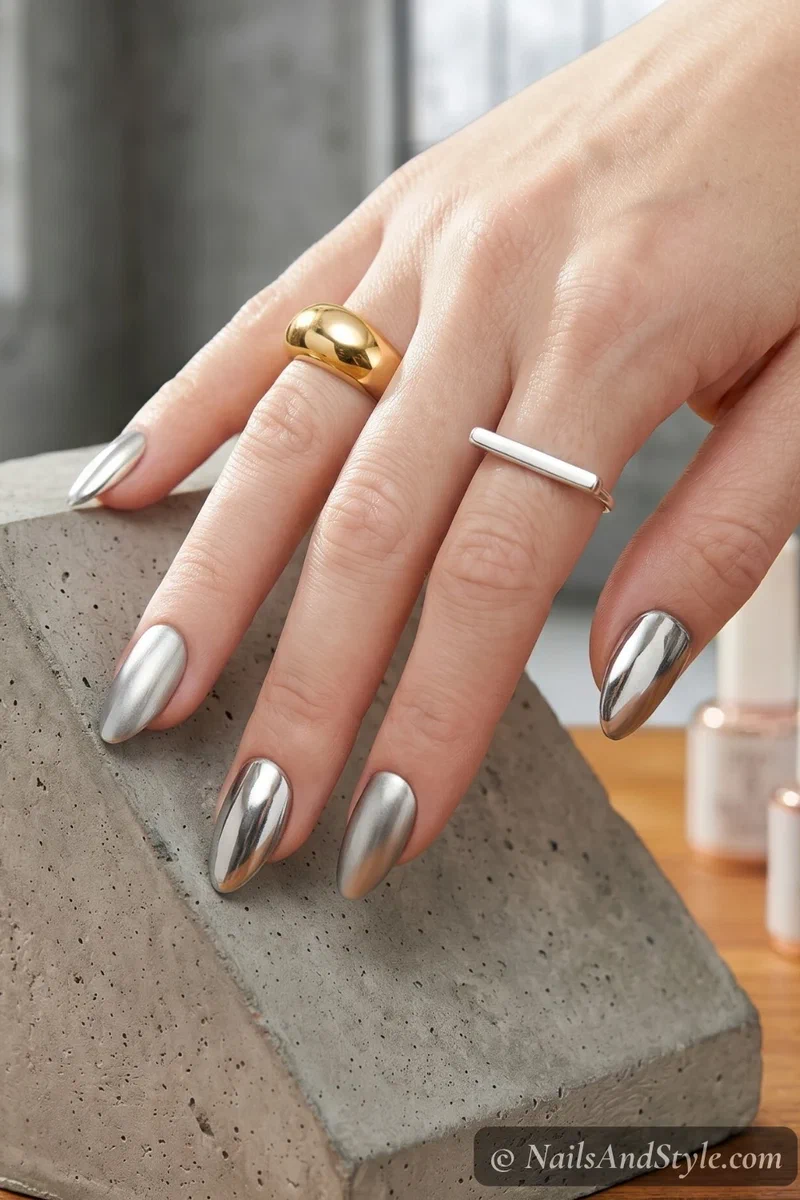
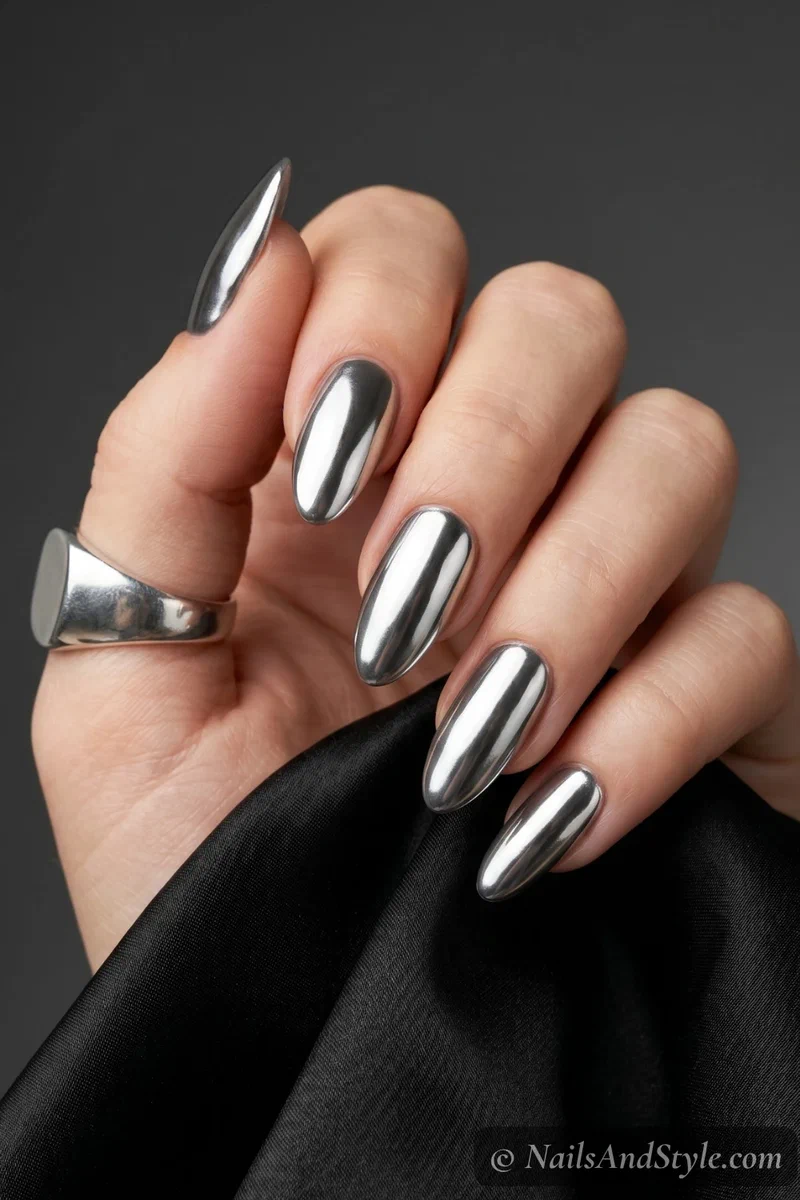
The one that started it all. Black gel base, silver chrome powder buffed until your nails are literally reflective. This is pure liquid metal energy — minimal, bold, and absolutely impossible to ignore. Glossy gel seal keeps the mirror effect sharp.
2. Glazed Donut Chrome#
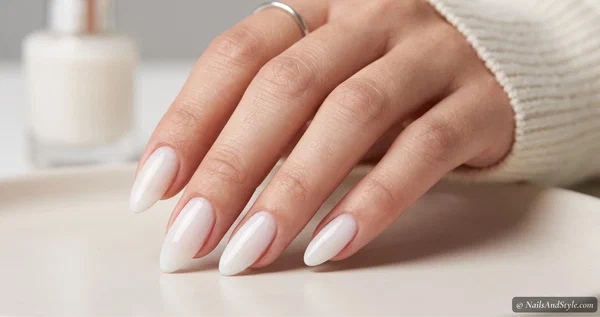
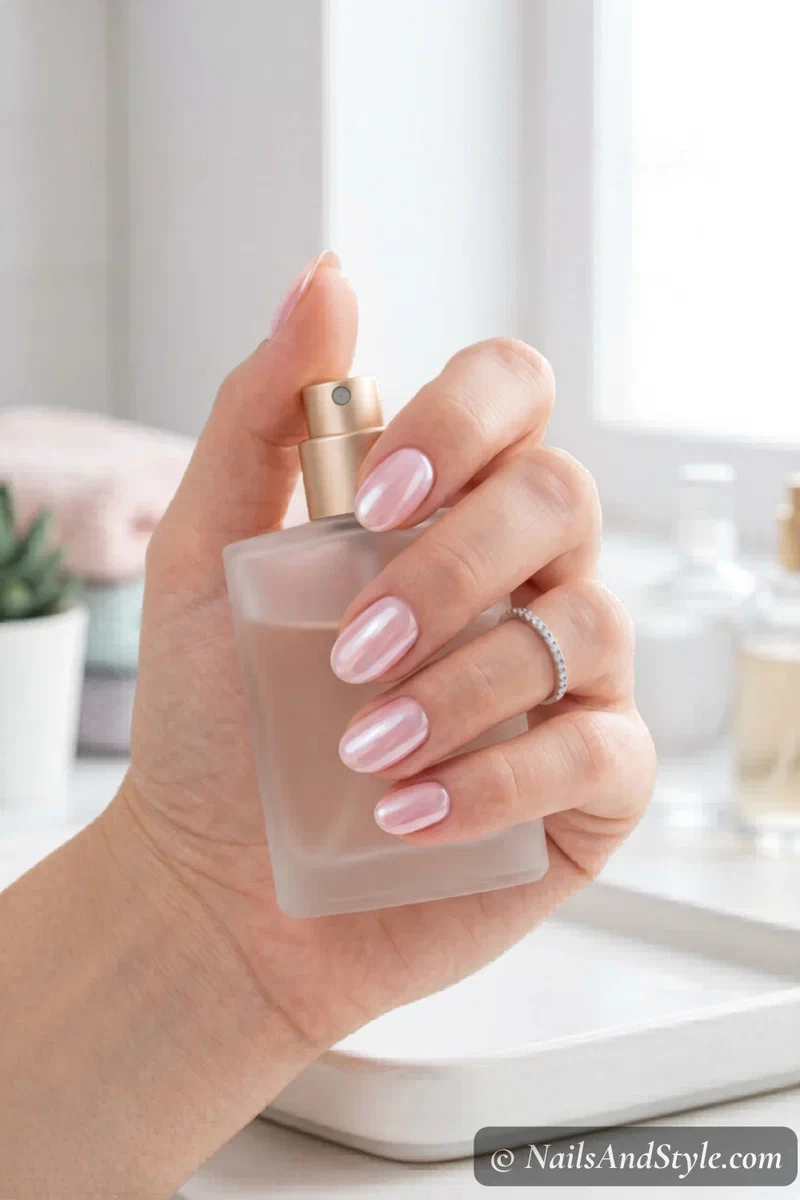
The Hailey Bieber effect, and honestly it’s not going anywhere. Sheer milky pink gel base, pearl chrome powder buffed lightly — not pressed hard. You want that soft, glazed, almost translucent glow rather than a full mirror. Pearly finish. So pretty for everyday.
3. Chrome French Tips#
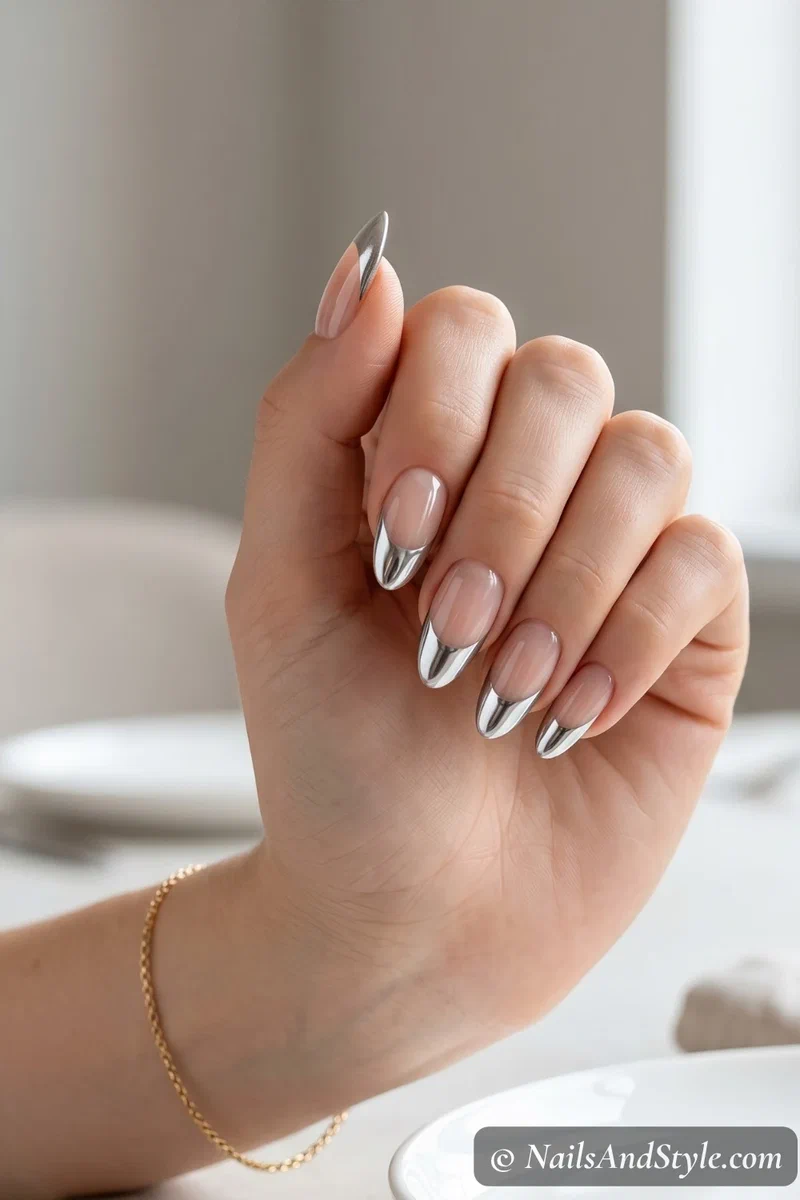
Here’s where it gets creative. Paint a regular French manicure with white gel tips, cure, then buff chrome powder only on the tips. The contrast between matte nude base and mirror chrome tips? Chef’s kiss. Use striping tape for clean lines if you don’t trust your freehand.
4. Blue Ice Chrome#
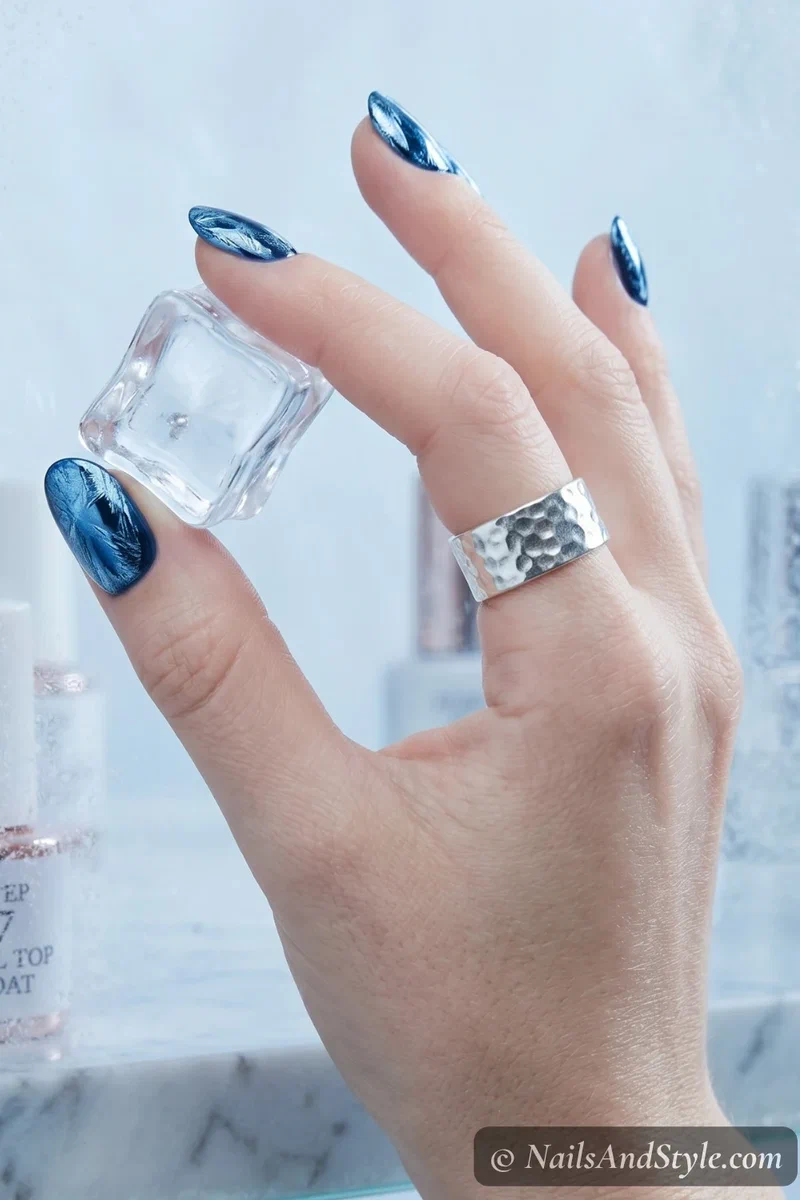
Cool-toned and absolutely stunning. A blue chrome pigment over a navy or dark blue gel base creates this frozen, icy metallic that looks like it belongs on a mermaid. It’s bold for sure, but on short nails it feels modern rather than over the top.
For more chrome design inspiration, my chrome nails for summer post has 15 seasonal looks from glazed donut to blue ice.
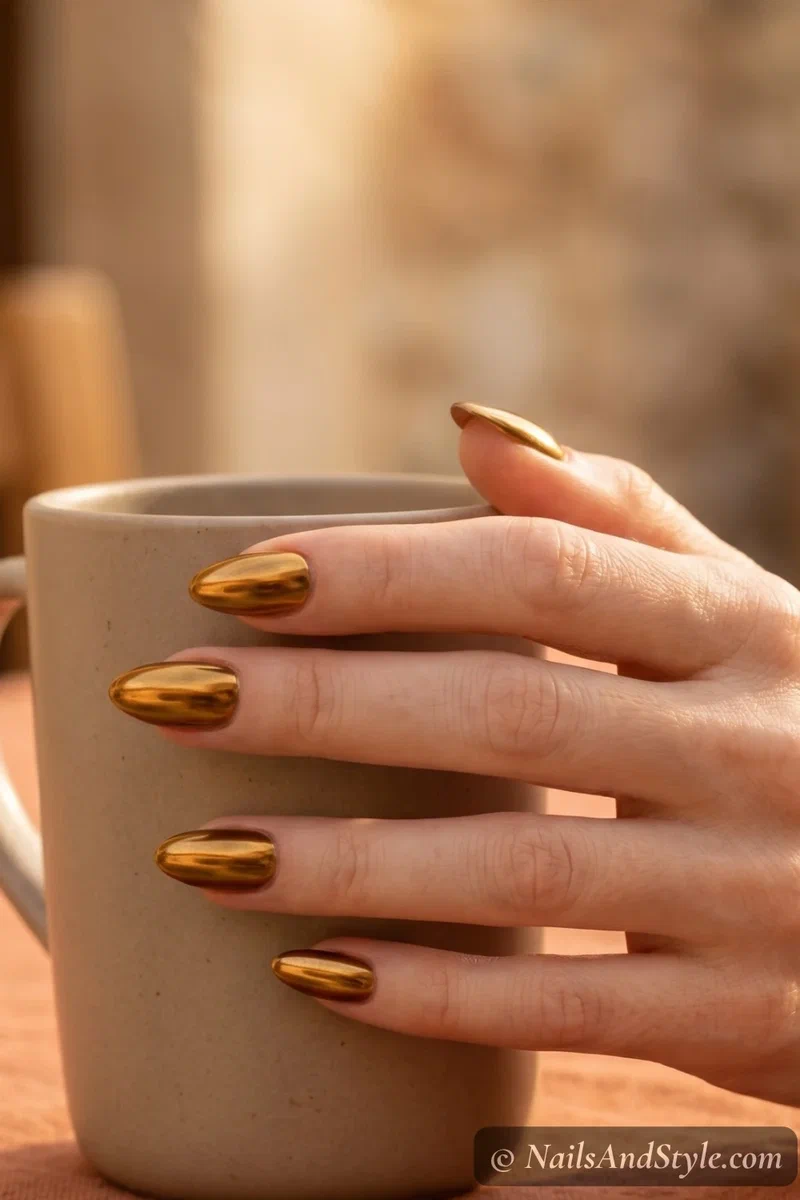
5. Gold Chrome Luxe#
Skip the warm rose gold and go full gold. Dark amber gel base with gold chrome powder gives you this deep, antique gold that looks outrageously expensive. Beach vacations, summer dinners, festivals — it’s giving main character. Glossy seal, always.
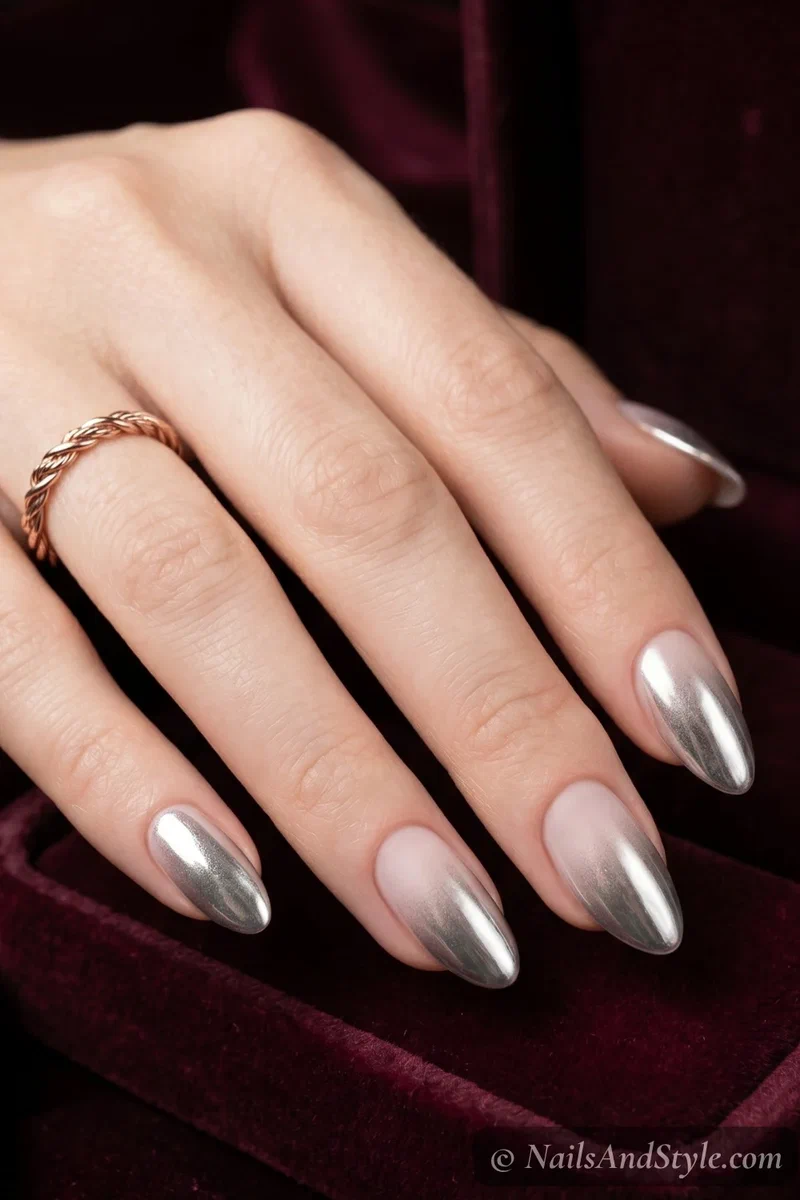
6. Chrome Ombre Fade#
Apply chrome powder more heavily at the tips and lighter toward the cuticle. The result is a mirror-to-matte gradient that’s seriously cool. You need a steady hand and a light touch with the applicator — build up gradually from the tips. Works over any gel base color.
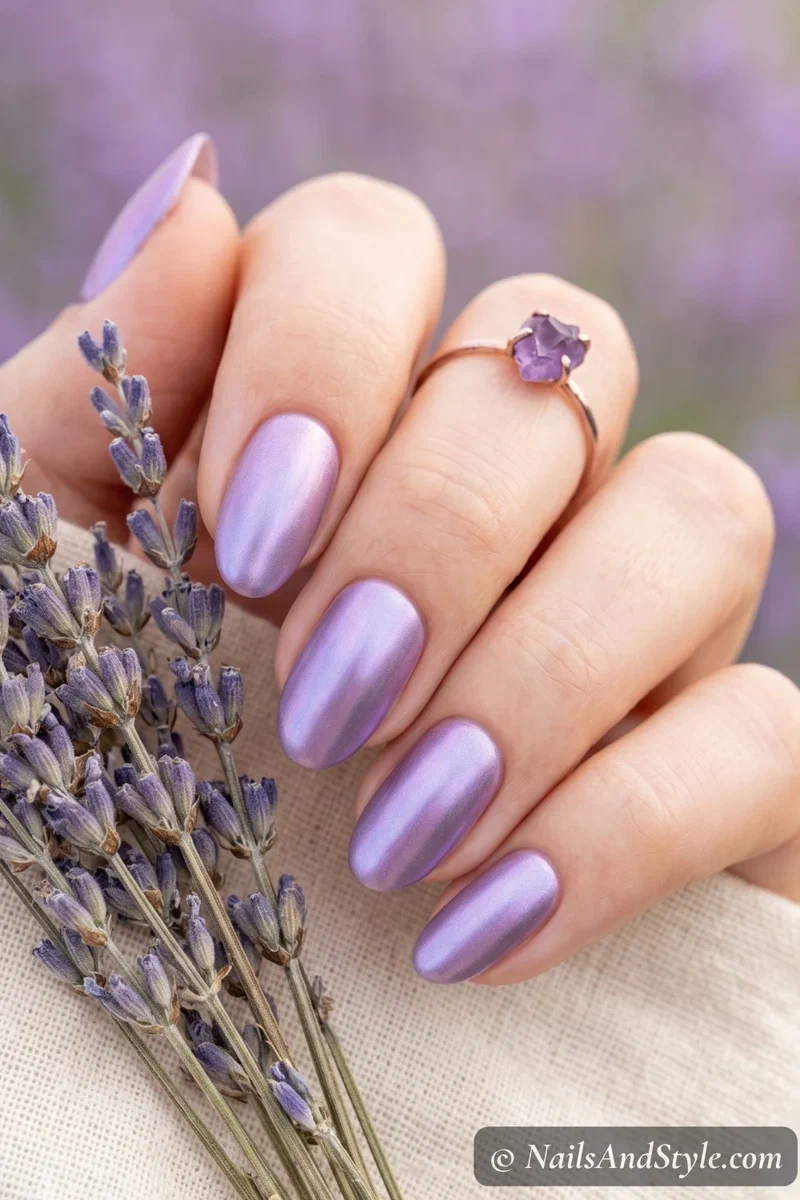
7. Lavender Dream Chrome#
Lavender chrome powder over a pale lilac gel base. It’s soft, it’s dreamy, it’s giving fairy-tale energy without being childish. The purple shift in certain lights is gorgeous. Matte top coat on this one is actually stunning too — try both and see which vibe you prefer.
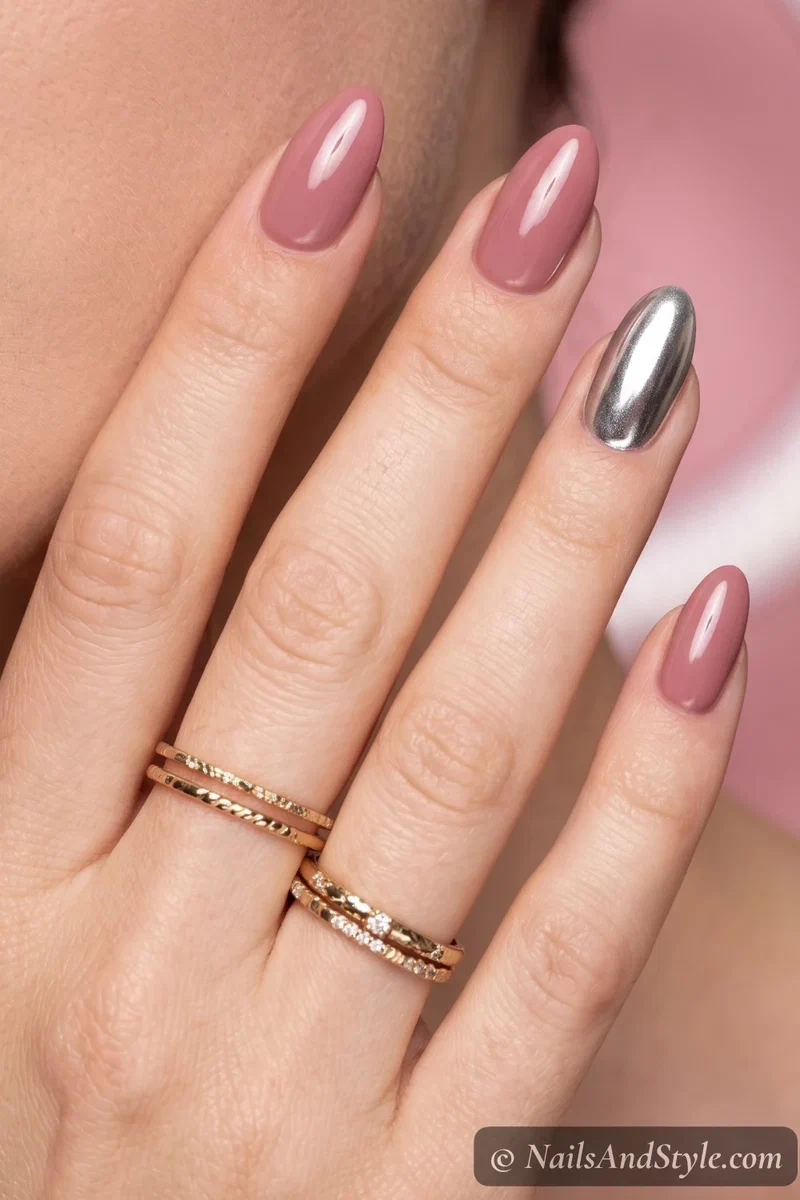
8. Chrome Accent Nail#
Not ready for full chrome on all ten fingers? Totally fair. Do four nails in a solid gel color — dusty rose, black, white, whatever — and chrome just the ring finger. It’s a statement without being a commitment.
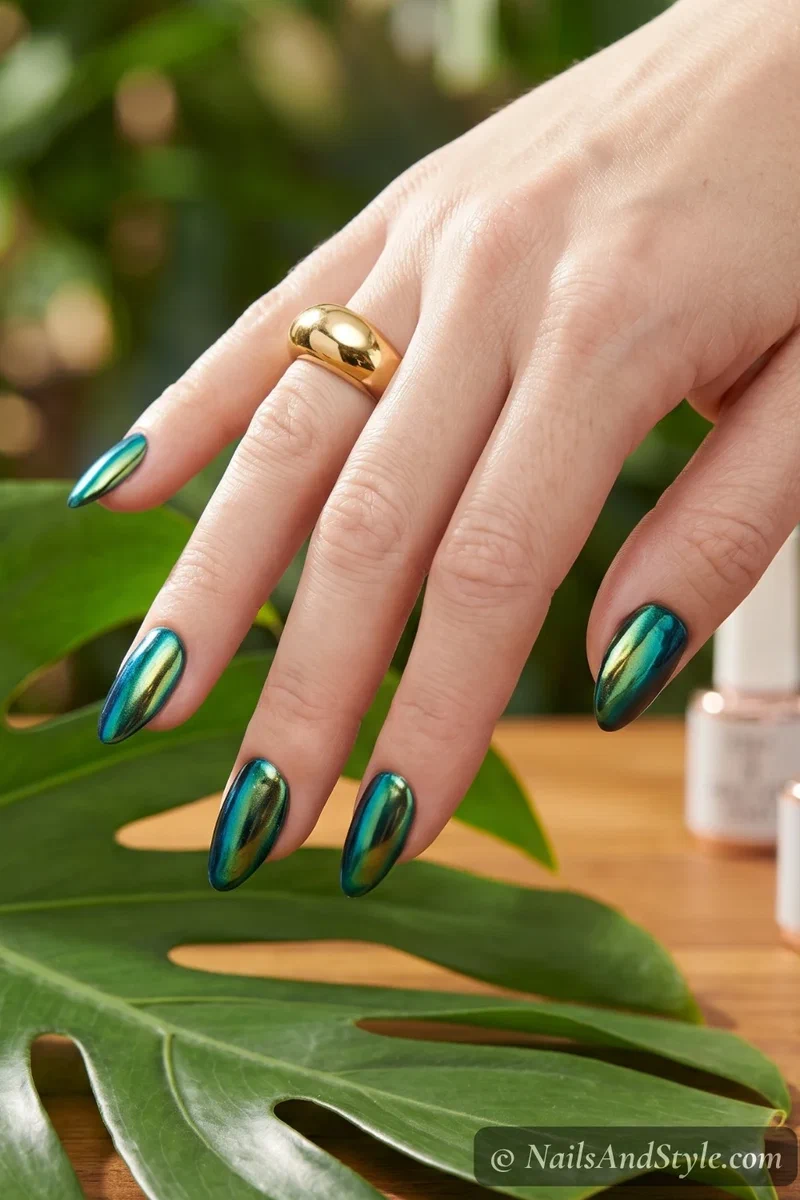
9. Green Beetle Chrome#
Dark emerald gel base, green chrome powder, and suddenly your nails look like iridescent beetle wings. The color shifts between green, teal, and gold depending on the angle. This one gets the most compliments from strangers, in my experience. Not subtle. Not trying to be.
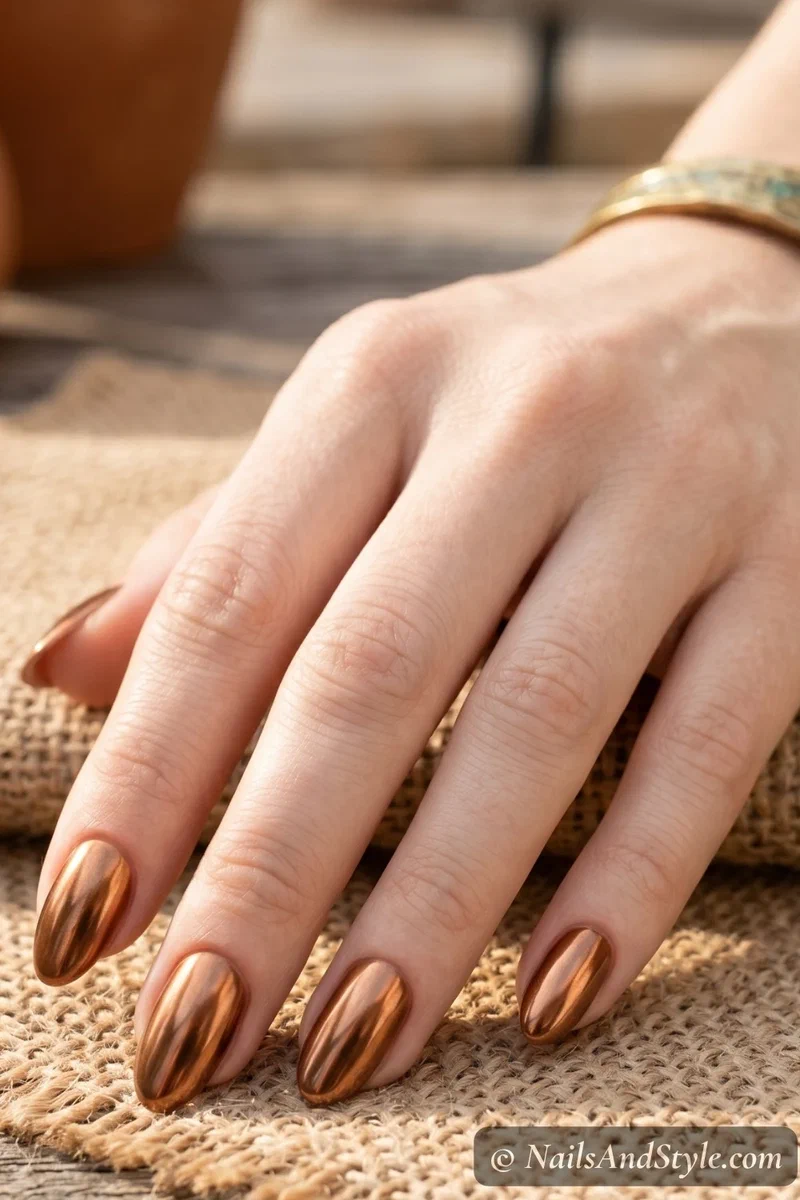
10. Copper Penny Chrome#
Warm, earthy, underrated. Copper chrome over a warm brown or terracotta gel base gives this rich, autumnal metallic that actually looks incredible in summer too — especially against tanned skin. Glossy finish keeps it looking fresh rather than vintage.
Copper pairs surprisingly well with softer shades too — my pastel summer nails post has warm-toned pastels that complement earthy metallics perfectly.
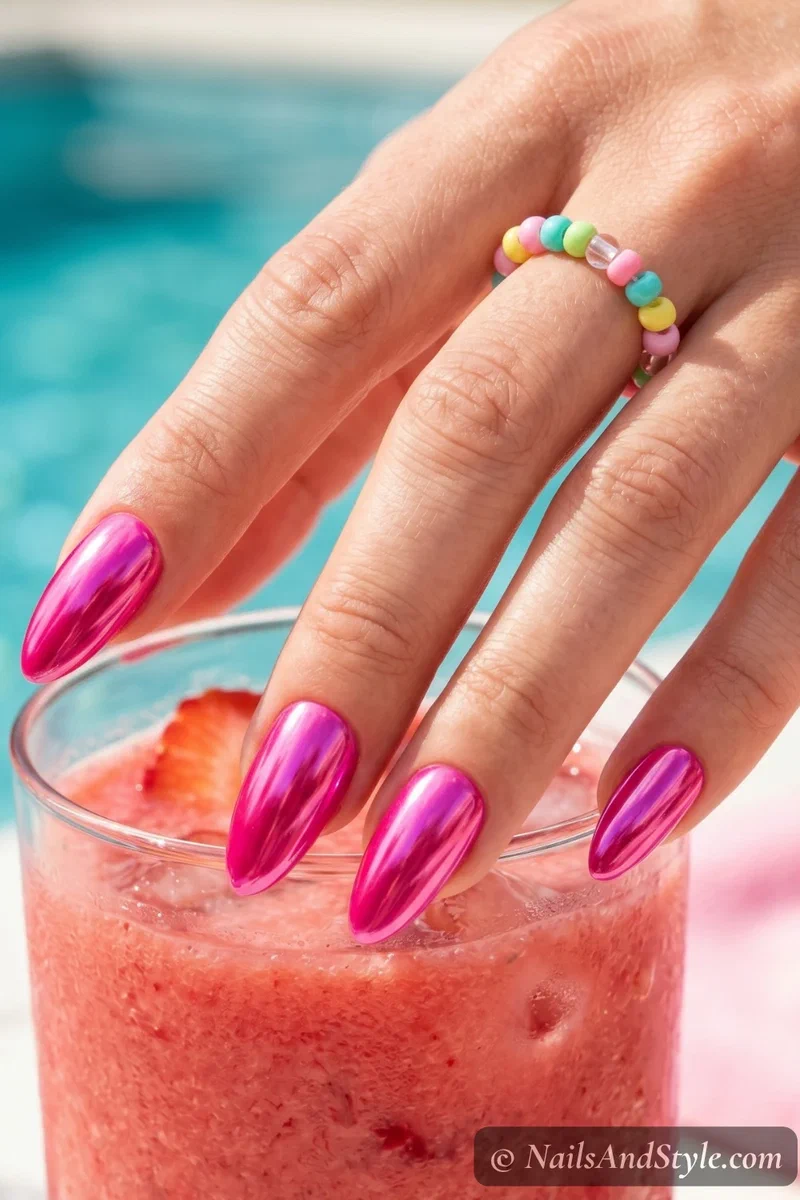
11. Pink Barbie Chrome#
Hot pink gel base with pink chrome powder. It’s loud, it’s fun, it’s unapologetically girly. The chrome takes that Barbie pink from regular bright to full-on metallic which makes it look way more intentional than just a neon pink. Pool parties, brunches, anytime you want your nails to start conversations.
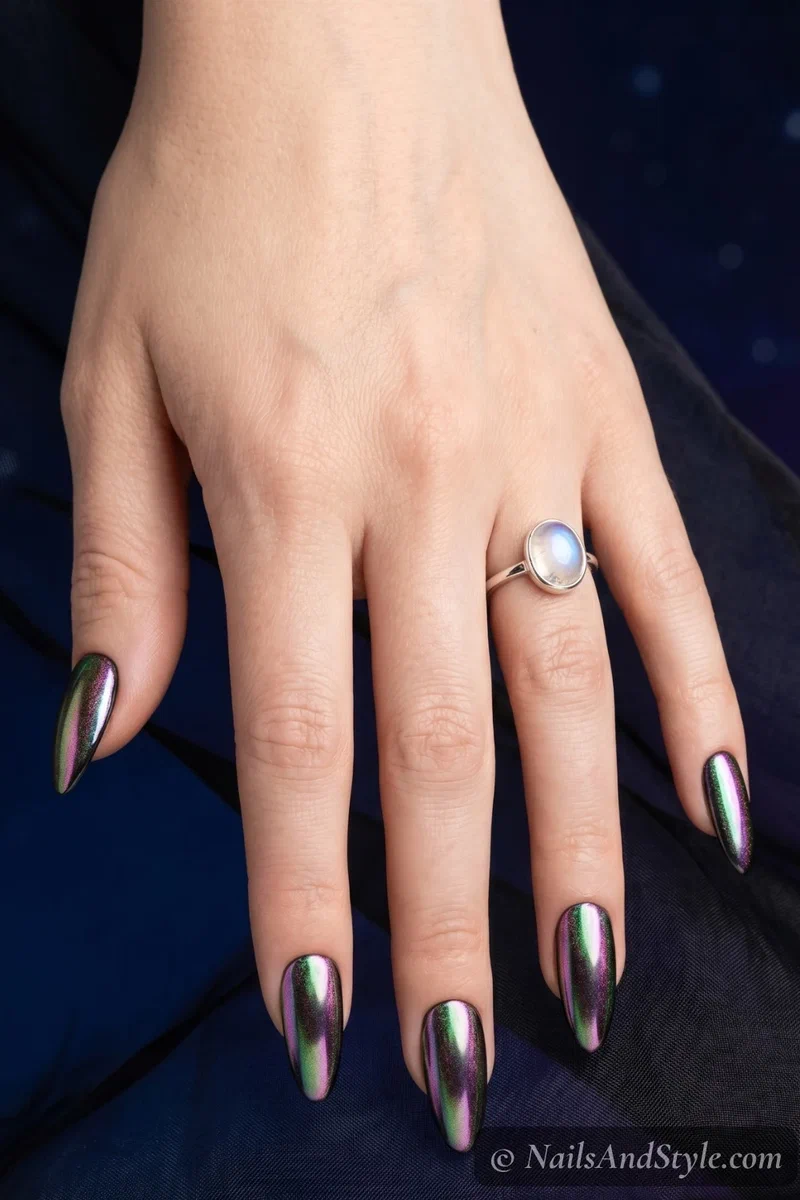
12. Aurora Chrome Shift#
This is the fancy one. Aurora chrome powder shifts between green, purple, and pink — like northern lights on your nails. It’s best over a black gel base where the color shift is most dramatic. Every single nail catches light differently. Genuinely mesmerizing.
13. Chrome with Matte Contrast#
Full chrome on every nail, sealed and cured — then go back and paint matte top coat on alternating nails. The shiny-matte-shiny pattern creates this cool textural contrast that makes people look twice. Such a simple twist but it completely changes the feel.
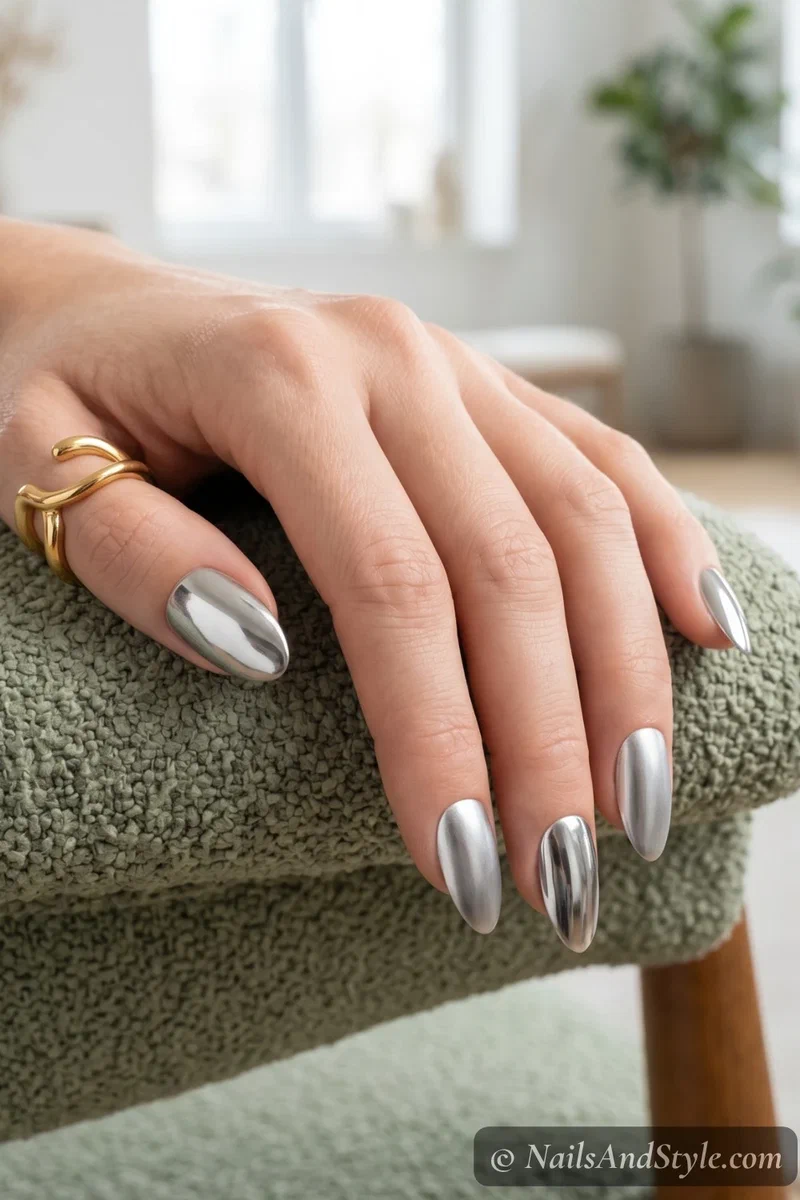
14. Black Chrome Smoky Mirror#
Black gel base with a special dark chrome pigment that gives this smoky, tinted mirror effect — not full silver, not black polish, something in between. It’s moody, it’s editorial, and it looks incredible on short nails. Perfect for anyone who wants chrome without the bling.
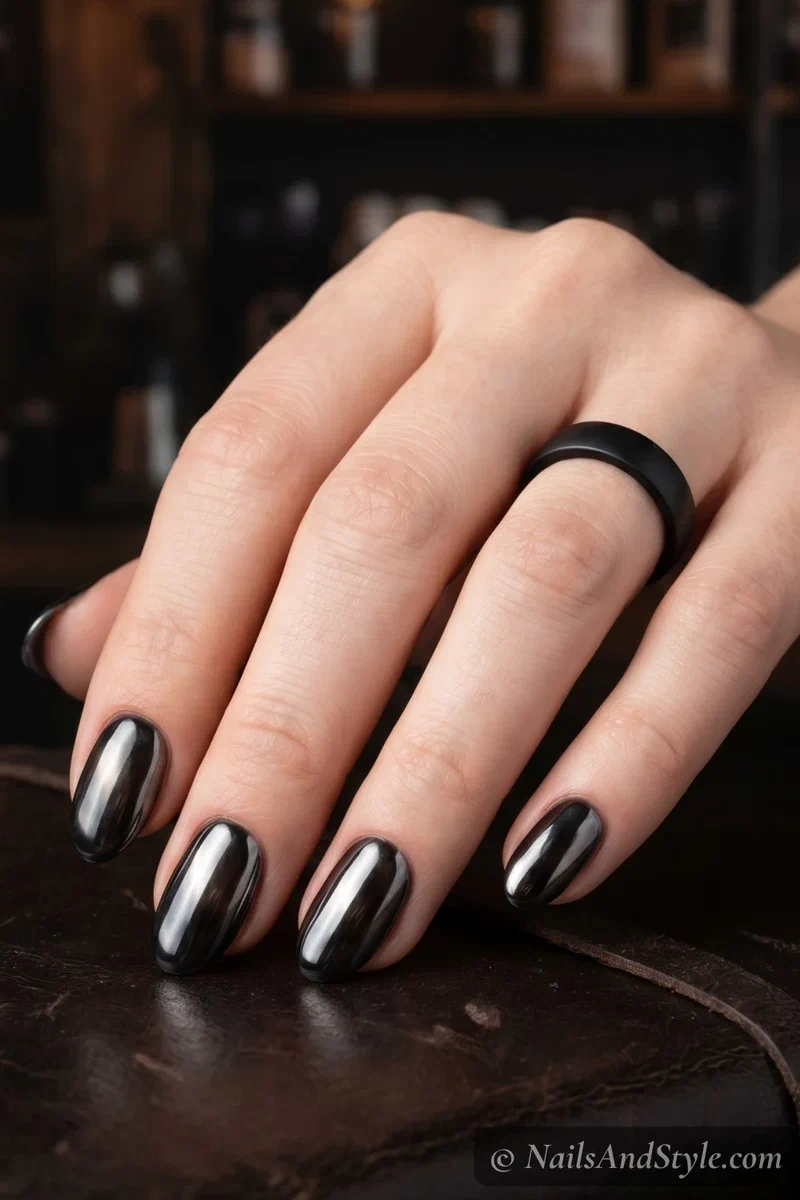
15. Pearl White Chrome#
White gel base with pearl chrome powder buffed on softly. It’s not quite glazed donut — it’s brighter, more icy, almost like a white opal. Gorgeous on its own and also works as the base for adding tiny chrome French tips or a single gem accent. Clean and fresh.
How to Make Chrome Nails Last Longer#
Chrome nails can last 2-3 weeks with proper care. Here’s how to stretch that wear time:
- Seal with two layers of no-wipe top coat — double sealing is the single best thing you can do for chrome longevity
- Avoid acetone-based removers on your chrome nails — acetone breaks down the chrome layer fast. Use non-acetone remover if you need to clean up edges
- Don’t soak your hands in water right after — wait at least an hour. Hot tubs and pools are especially harsh on fresh chrome
- Wear gloves for dishes and cleaning — chemicals eat through top coat faster than you’d think
- Reapply a thin layer of gel top coat every 3-4 days — this freshens up the shine and adds protection
- Use cuticle oil daily — hydrated cuticles keep the gel sealed to your nail plate longer
- Don’t use your nails as tools — opening cans with mirror chrome nails is a crime against nail art. Just don’t.
Good products make a difference too — my best nail polish brands for 2026 round-up covers gel top coats and base coats that actually extend wear time.
Common Chrome Powder Mistakes to Avoid#
These are the mistakes I see beginners make most often — and all of them are easy to fix once you know what’s going wrong:
- Using a wipe-off top coat instead of no-wipe — this is the biggest one. Regular gel top coat leaves a sticky inhibition layer that you need to wipe off with alcohol. That wipe removes the smooth surface chrome needs. Always use no-wipe.
- Fully curing the top coat before applying powder — the powder needs that slight tacky layer from an under-cured no-wipe top coat to bond properly. Cure for 30 seconds, not the full 60, before rubbing powder on.
- Rubbing too hard and removing the gel layer — firm pressure is good, but there’s a limit. If you see the gel base peeling or streaking, ease up. Let the applicator do the work.
- Skipping the dark base coat — chrome over bare nails or light gel looks washed out and uneven. A dark base (especially black) gives the powder something to reflect against.
- Blowing off excess powder with your mouth — the moisture from your breath dulls the finish. Always use a dry brush instead.
New to nail art in general? My nail art with a toothpick for beginners guide covers the basics of working with DIY tools — great for building confidence before jumping into chrome.
FAQ#
How do you do chrome nails at home?#
Four moves: paint your base color and seal it with a no-wipe top coat, cure it (or let a regular top coat get tacky), buff ultra-fine chrome powder over the surface with a soft applicator until it turns mirror-shiny, then lock it in with another top coat. A black base plus gel gives the most intense mirror, but you can do a softer version with regular polish and no lamp.
Can you apply chrome powder without a UV lamp?#
You can use the regular polish method I described above — apply chrome powder over tacky regular top coat instead of gel. The results are more of a soft metallic sheen than a true mirror, but it still looks great. Holographic and rose gold powders actually work better than silver with this method.
What base color works best under chrome powder?#
Black gives you the most intense, high-shine mirror finish — especially for silver and holographic chrome. Nude pink is best for glazed donut and rose gold looks. Dark colors in general (navy, deep purple, emerald) give chrome more depth. Light or sheer bases create softer, pearlier results.
How long do chrome nails last?#
With proper gel application and two sealing top coats, chrome nails typically last 2-3 weeks before you notice any dulling or lifting. Reapplying gel top coat every 3-4 days extends the mirror finish even further. Without gel (regular polish method), expect about 5-7 days.
Is chrome powder the same as mirror powder?#
Pretty much, yeah. “Chrome powder” and “mirror powder” are used interchangeably — they’re the same ultra-fine metallic pigment. Some brands market them differently, but the product and application method are identical. If a product says “mirror powder” or “chrome pigment,” it’s the same thing.
Can chrome powder be used on acrylic nails?#
Absolutely. The process is the same — you just apply gel base coat over the acrylic, cure, then proceed with the chrome powder steps as normal. The acrylic provides a hard, smooth surface that chrome actually loves. Just make sure the acrylic is fully filed and buffed smooth before you start the gel layers.
Final Thoughts#
So that’s how to do chrome nails at home with chrome powder — from what the powder actually is, to the exact seven-step method, to handling it without gel, to 15 designs worth trying this summer. Chrome powder is one of those products that looks intimidating in the jar but becomes addictive the second you see it transform your nails.
Start with silver over black if you want instant gratification. Try rose gold for everyday warmth. And if you’re feeling bold, that aurora shift or holographic rainbow is next-level gorgeous.
Grab a jar, set aside an afternoon, and give it a shot. Your nails are about to look like they cost ten times what they actually did.