You found the cutest set, pressed them on, admired your nails for one glorious evening — and by morning the corners were lifting. Been there. Honestly, we’ve all been there. Learning how to apply nail stickers the right way is the whole difference between a manicure that quits by lunch and one that hangs on for two-plus weeks.
Here’s the reassuring bit: it’s almost never the stickers’ fault. It’s prep and sealing. Both take about five minutes, cost basically nothing, and once the routine clicks you’ll never go back to peel-and-pray.
So let’s fix it for good. I’ll walk you through why they lift, the exact application method, a few tweaks depending on the type of sticker you’ve got, and the little habits that squeeze out even more wear. Short nails, medium nails, zero experience. You’re set.
What You’ll Need#
Barely a haul. Most of it you probably own already, and the stickers do the heavy lifting:
- Nail stickers, decals or wraps — whatever look you love — just grab a set with a few sizes so you can match every nail
- Alcohol prep pads — the single most important thing here — they strip the oil that makes stickers lift
- Base coat — a thin, smooth layer for the sticker to grab onto
- Glossy top coat — you'll seal the edges and the whole nail with this — the make-or-break step
- Wooden cuticle stick — to smooth stickers flat and chase out air bubbles
- Nail file — to buff the shine off first and trim wraps clean at the tip
- Cuticle oil — for daily upkeep once they're on (work it into the skin, not the sticker)
New to stickers in general? Our complete nail stickers guide covers the types and where each one shines — worth a skim before you start.
First — Why Do Nail Stickers Peel So Fast?#
Because most of us skip the boring parts. And I get it, you want to see the pretty design, not wipe your nails down. But nearly every early peel traces back to one of these:
- Oily nails. Natural oils (and any leftover lotion or cuticle oil) sit between the sticker and your nail like a slip layer. Adhesive can’t grip through it.
- A sticker sized too big. If it touches your skin or bumps the cuticle, that edge lifts within hours and drags the rest up with it.
- Unsealed edges. Water and daily wear sneak in from the free edge and the sides first. Leave those exposed and it’s game over.
- Water too soon. A long shower or a sink full of dishes right after applying loosens everything before it’s had a chance to set.
Fix those four and you’ve basically won. Here’s what that looks like in practice.
How to Apply Nail Stickers So They Last, Step by Step#
Take your time on the first hand. By the second you’ll have the rhythm, and the whole thing runs about fifteen minutes.
- Prep dry, oil-free nails. Wash your hands, push back your cuticles, and lightly buff the shine off the nail. Then wipe each one with an alcohol prep pad until it squeaks. This is the step that matters most — no shortcuts.
- Lay a smooth base. A thin coat of clear base (or a base color, if the sticker calls for one) gives the adhesive a clean surface to hold. Let it dry completely — tacky polish traps stickers crooked.
- Size before you stick. Hold each sticker against the nail and pick, or trim, one that’s a hair smaller than your nail bed. A tiny gap on every side is exactly right. Touching skin is the enemy.
- Peel gently. Lift the sticker with tweezers or the wooden stick and try not to touch the sticky side — fingerprints leave oil, and you know how oil ends this story.
- Place with a gap at the cuticle. Line it up leaving a sliver of space near the cuticle, then set it down. Don’t crowd the skin.
- Smooth from the center out. Press from the middle toward the edges with the wooden stick, chasing every air bubble to the sides. Work it down the sides and right over the free edge. Smooth equals long-lasting.
- Trim wraps at the tip. For full wraps, fold the excess down over the tip and file downward in one direction until it separates cleanly. A neat, sealed tip stops peeling before it starts.
- Cap the free edge. Here’s the trick nobody tells you: swipe top coat right over the tip and tuck it under the edges. This “cap” seals the exact spot water attacks first.
- Top coat the whole nail. One or two thin layers over everything, and let it dry fully before you touch a thing. Thin beats thick — a gloopy coat stays soft and dents.
That’s the universal method for flat decals and wraps. Gel strips add a lamp-curing step instead of air-drying — the full semi-cured gel strip walkthrough covers that version.
A Few Tweaks by Sticker Type#
Not every sticker behaves the same, so here’s where a small adjustment pays off.
Peel-and-stick decals are the most forgiving — just make sure your base color is bone-dry before you place them, press firmly, and give them a double top coat since the decal edges are a touch thicker.
Full wraps and polish strips want a gentle stretch as you lay them, then a firm smooth and that downward file at the tip. If yours lift early no matter what, it might genuinely be a cheap set — a better wrap grips longer, and this roundup of the best nail stickers and wraps is a good place to shop up.
Semi-cured gel strips are the outlier: they’re real gel and need an LED lamp to cure hard, so air-drying won’t cut it. Same prep, different finish step.
Water decals are the delicate ones — seal them with a thin top coat before and after placing, because on their own they tear if you look at them wrong.
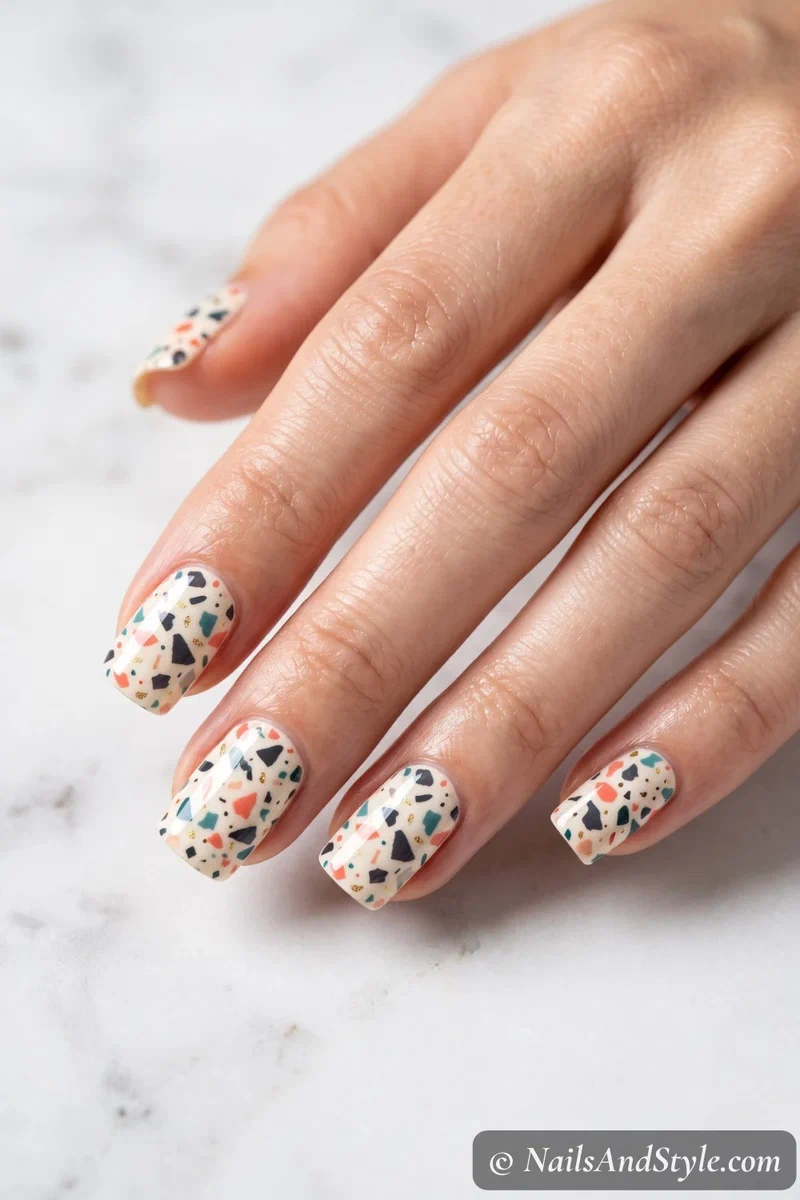
Applying Nail Stickers on Short Nails#
Short nails have a quiet advantage here: less surface means fewer edges to catch, so a well-sealed sticker often lasts longer on short nails than long ones. The trick is scale — a design sized for a long nail bunches up on a short one and lifts.
A Few Short-Nail Pointers#
- Trim the sticker to fit, don’t force a big one on — a snug, slightly-smaller cut lies flat and stays put.
- One accent nail reads clean and gives you way less edge to worry about.
- Skip the cuticle crowding — leave that gap; short nails show it more, and it lifts fast.
- Thin wraps over thick decals — a flush polish strip caps neatly at a short tip, no bulk.
Tips to Make Nail Stickers Last Even Longer#
Want to know how to make nail stickers last past the two-week mark? These small habits are the difference:
- Prep oil-free, every time. No hand cream right before. Alcohol wipe until they squeak.
- Re-cap the tips mid-wear. A fresh swipe of top coat over the edges around day five or six buys you extra days.
- Wear gloves for chores. Hot water and cleaning products loosen adhesive faster than anything.
- Keep water off early. Give it two hours before a shower, longer before a bath or pool.
- Oil the skin, not the sticker. Daily cuticle oil keeps your hands healthy without seeping under the design.
- Don’t pick. A lifted corner is begging to be peeled — resist, and press it back down with a dot of top coat instead.
Taking Them Off Later (Without Undoing Your Nails)#
When you’re ready for a change, please don’t peel. Peeling a sticker off dry takes a thin layer of your natural nail with it, which is where all the damage stories come from. Soak a cotton pad in acetone, press it on, wrap in foil for ten minutes, and the sticker slides off soft. The full gentle method lives in how to remove nail stickers without damage — worth reading before you reach for the remover.
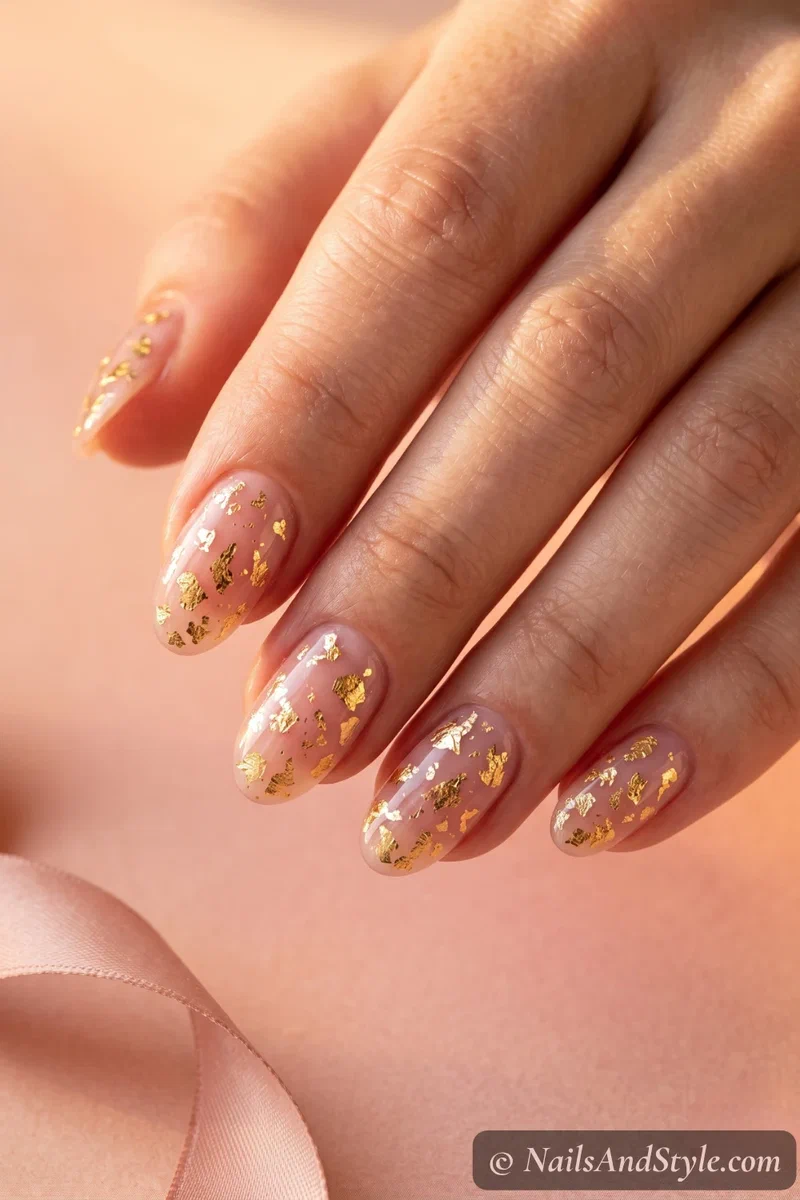
Feeling festive instead? These same steps make Halloween nail stickers the fastest spooky nails you’ll ever pull off.
Quick FAQ#
Do I really need a top coat over nail stickers?#
Yes — it’s not optional if you want them to last. The top coat seals the edges where lifting begins and protects the design from daily wear. Cap the free edge, then coat the whole nail. It’s the single biggest upgrade to your wear time.
Can I apply nail stickers over gel or regular polish?#
You can, as long as the layer underneath is fully set and dry. Over cured gel or completely dry regular polish, stickers grip beautifully. Over polish that’s still even slightly soft? They’ll slide and bubble. When in doubt, wait longer.
Why do my nail stickers keep bubbling?#
Trapped air, almost always. It happens when you press a sticker down flat from the top instead of smoothing it out. Start from the center and push toward the edges with a wooden stick — the bubbles have somewhere to escape that way. Warming the sticker slightly between your fingers first helps it mold, too.
Final Thoughts#
Once you know how to apply nail stickers with the prep and the seal dialed in, they stop being a one-day novelty and start being a genuine two-week manicure — the kind people assume you paid for. The stickers were never the problem. The routine was, and now you’ve got it.
Save this method for your next mani night, bookmark the guides linked through it, and give it a real go on clean, oil-free nails. First set that survives a full week of dishes? You’ll be a little smug about it. Deservedly.