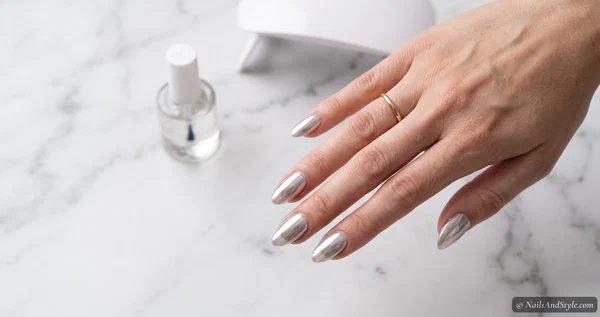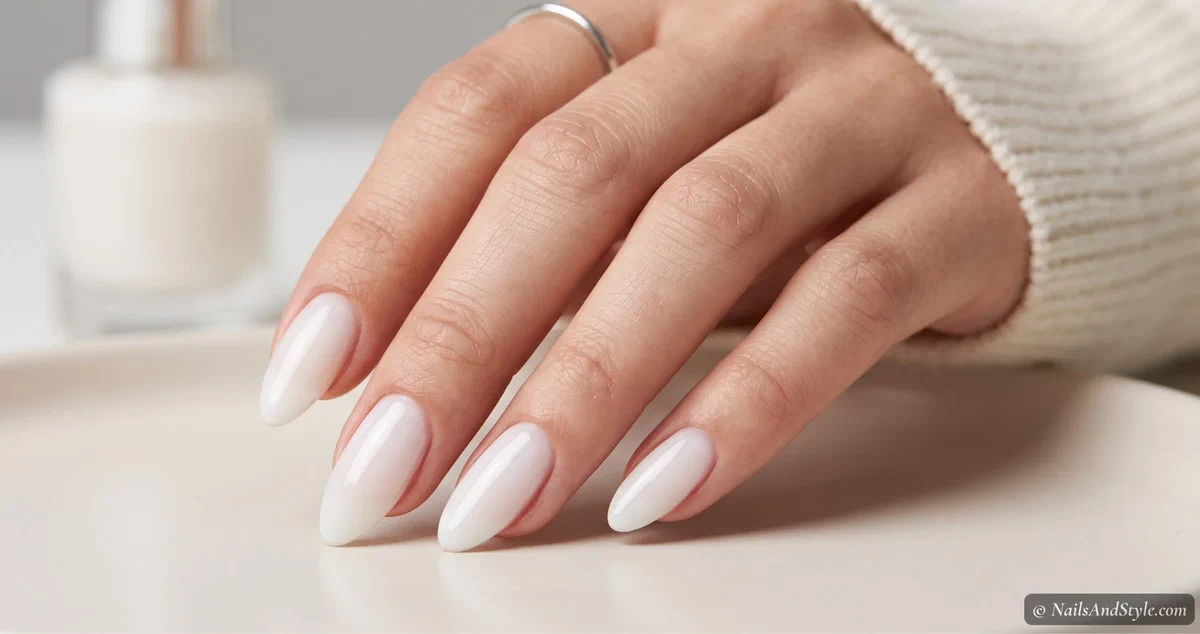
Semi-cured gel nail strips are having a real moment right now — and honestly? About time. They’re those stretchy little gel stickers you press onto your nails, cure under a lamp, and suddenly you’ve got a glossy gel manicure that looks like you actually booked an appointment. Except you didn’t. You did the whole thing on your couch.
Here’s what makes them different from the regular nail stickers you might’ve tried before. These are made from real gel that’s cured about halfway at the factory — so they arrive soft and bendy, mold perfectly to your nail, then harden all the way once you cure them at home. That’s the trick. That’s why they last when the peel-and-stick kind gives up by lunchtime.
I’ll walk you through all of it — what you need, how to put them on so they genuinely last, a few finishes worth trying, and how to get them off later without wrecking your nails. Short nails, medium nails, zero experience. You’re covered.
What You’ll Need#
Not much, actually. The strips do most of the work — the rest is just prep and sealing. Here’s the short list:
- Semi-cured gel nail strips — the star of the show — grab a set with a good size range so you can match every nail
- LED or UV lamp — even a mini one works; it's what actually cures the gel hard
- Alcohol prep pads — to wipe every last trace of oil off your nails first
- No-wipe gel top coat — cured over the edges to seal everything and add shine
- Wooden cuticle stick — to press the strip down and tuck the edges
- Nail file — to file off the excess at the tips
Most strip kits actually toss in a mini file and a wooden stick, so check your box before buying extras. The lamp is the one thing you can’t skip — I’ll explain why in a sec.
What Are Semi-Cured Gel Nail Strips, Exactly?#
Think of them as the middle ground between flimsy nail stickers and a full gel set. Regular nail stickers (and older nail wraps) are just polish printed on an adhesive backing — they stick, they look cute for a day, and then they lift at the edges and peel. No curing, no real staying power.
Semi-cured strips are the opposite. They’re actual gel, roughly 60% cured before they ever reach you. So they behave like gel: stretchy, glossy, and tough once you finish curing them. The half-cured state is what makes them so easy to work with — soft enough to hug the curve of your nail with zero bubbles, then rock-solid after 60 seconds under the lamp.
Brand new to gel in general? My gel nails at home guide covers the basics of lamps, curing, and safe removal if you want the full background before you start.
How to Apply Semi-Cured Gel Nail Strips at Home, Step by Step#
This is the part that matters. Get the prep right and these things hang on for two weeks. Rush it, and they’ll lift early. So don’t rush it.
- Prep like you mean it. Wash your hands, push back your cuticles, and lightly buff the shine off your nails. Then wipe every nail with an alcohol prep pad. Any oil left behind is the number one reason strips peel — this step is non-negotiable.
- Find your size. Hold each strip against your nail and pick one that’s slightly smaller than your nail bed. Too big and it’ll bump the skin and lift. A hair of a gap on each side is exactly what you want.
- Peel and place. Lift the strip with the little tab or tweezers (try not to touch the sticky side). Line it up leaving a tiny gap at the cuticle — don’t crowd it — then lay it down.
- Press from the middle out. Use the wooden stick or your finger to smooth the strip from the center toward the edges, chasing out any air. Really work it into the sides and down the free edge. Smooth = long-lasting.
- Trim and tuck the tip. File the excess off by pressing down at the very tip and filing downward in one direction. A clean, sealed tip is what stops peeling before it starts.
- Cure it. Pop your hand under the LED lamp and cure for the time your kit recommends (usually 30–60 seconds). This is the moment the soft gel turns hard. No lamp, no cure — they’ll just stay tacky. If you’re lamp-free and curious about your options, here’s the deal with gel looks without a UV light, though true semi-cured strips really do need that curing step.
- Seal with top gel and cure again. Brush a thin layer of no-wipe gel top coat over each nail, wrapping it right over the tip and edges. Cure once more. This locks the whole thing down and gives you that wet, glassy shine.
- File the edges smooth. One last gentle pass with the file to neaten any rough spots. Done.
The first hand always feels a little slow. By the second, you’ll have the rhythm — start to finish it’s maybe 20 minutes once you’re comfortable.
5 Semi-Cured Gel Looks Worth Trying#
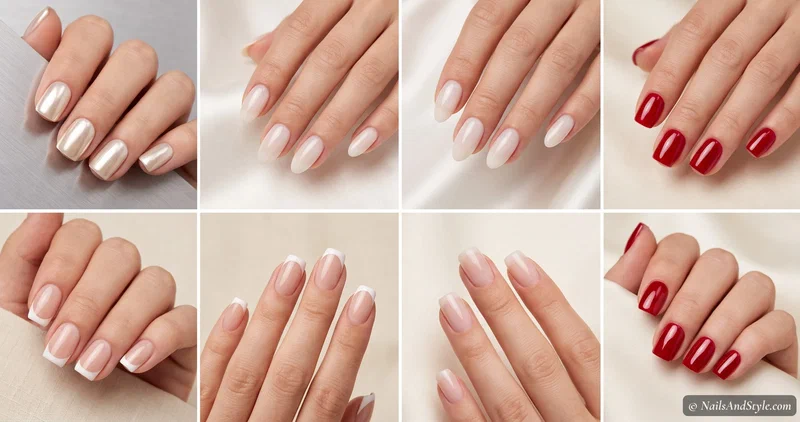
The finishes you can get with these are kind of ridiculous now — way past plain color. Here are five I keep coming back to.
Milky White Wash#
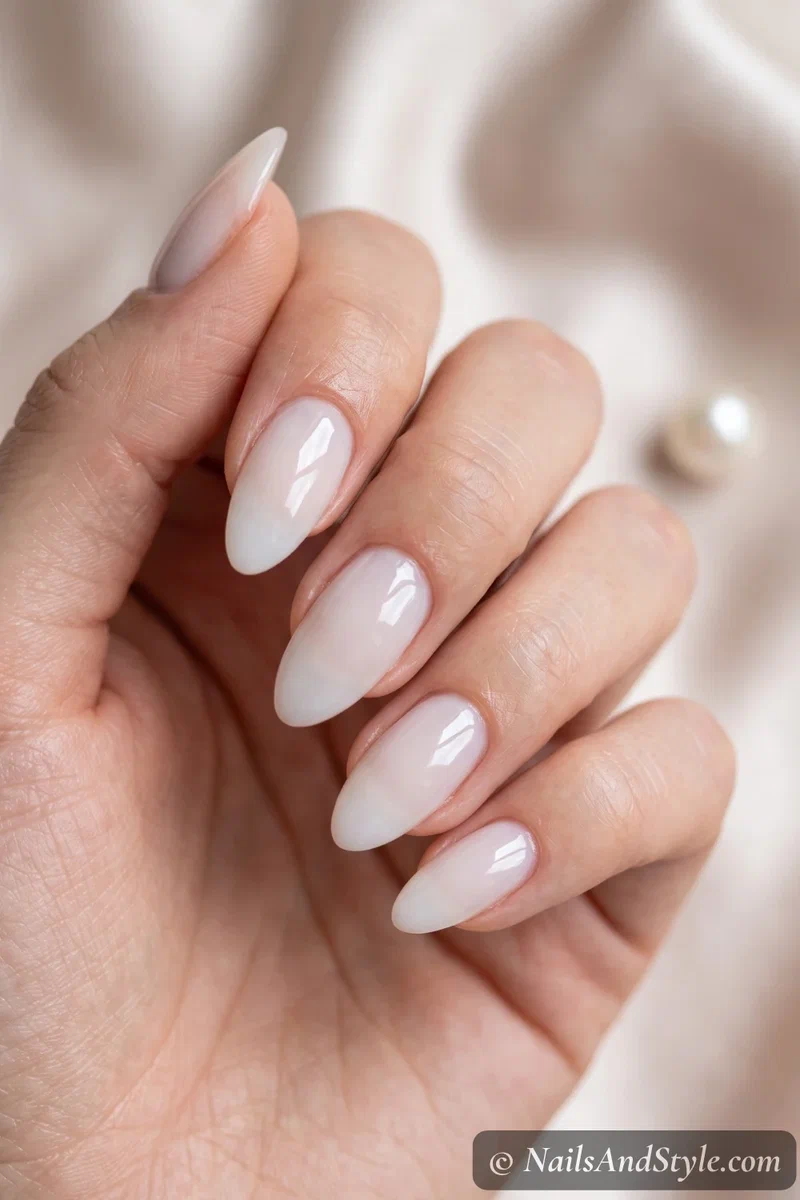
Sheer, soft, and low-key the most-requested look going right now. A milky white lets a bit of your natural nail peek through, so it reads clean instead of stark. Glossy top gel keeps it glassy.
Classic French Tip#
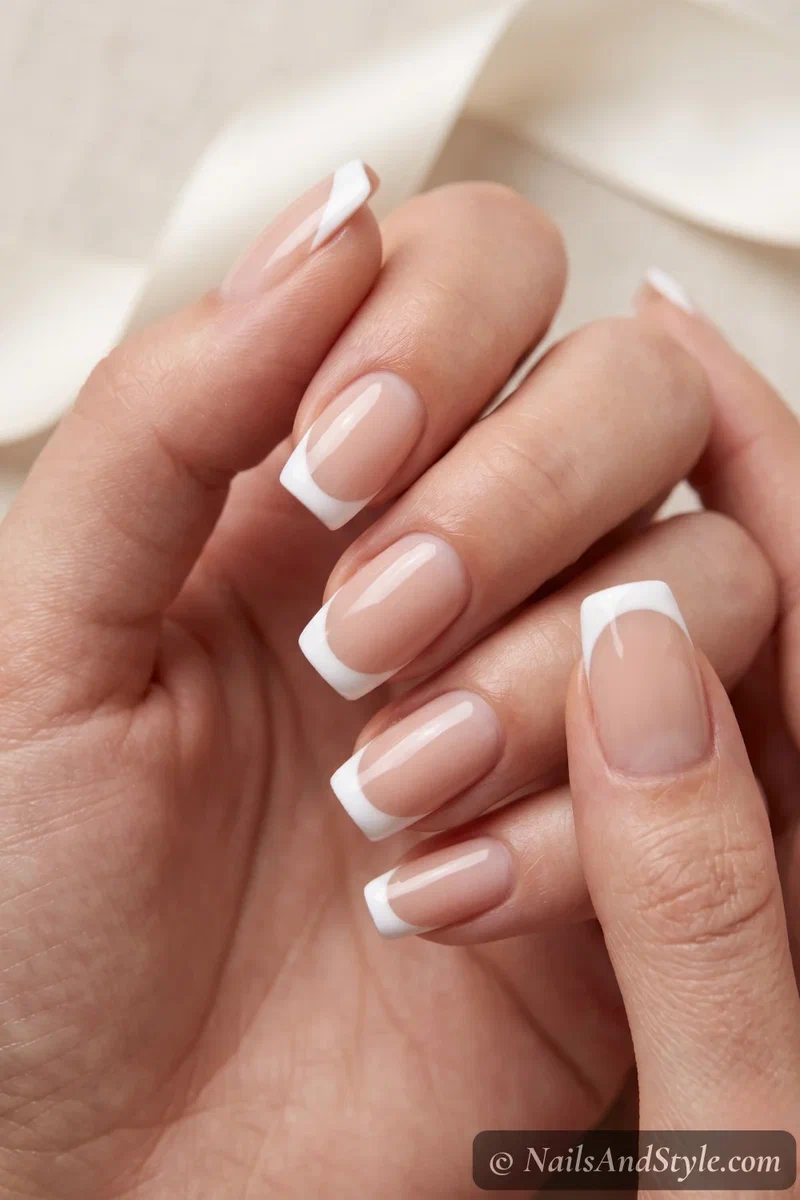
Some things just work. A nude base with crisp white tips, already printed on the strip so you skip the shaky freehand line entirely. It’s the look that goes with literally everything you own.
Glazed Chrome#
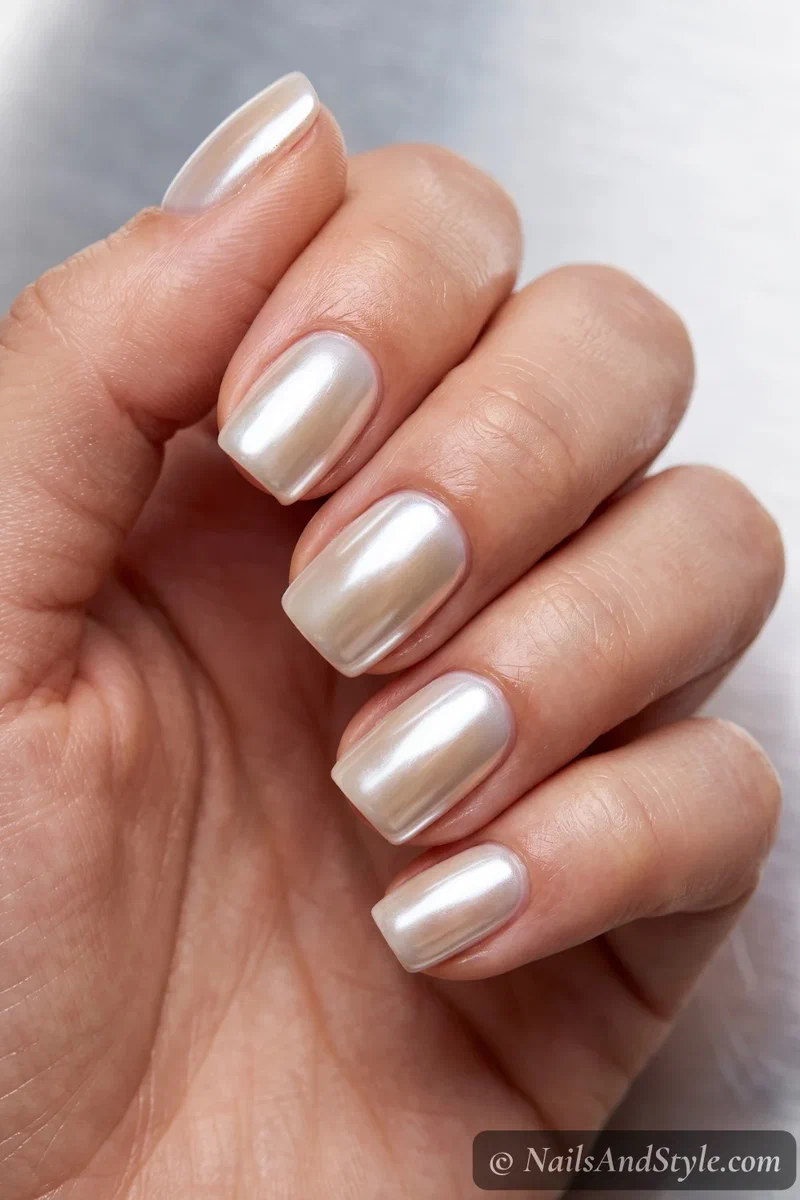
That pearly, glazed-donut shimmer everyone screenshots. On a strip it’s foolproof — no loose chrome powder, no eyeshadow-applicator mess. Love the powder version too? Here’s how to apply chrome powder on nails the manual way.
Cat-Eye Shimmer#
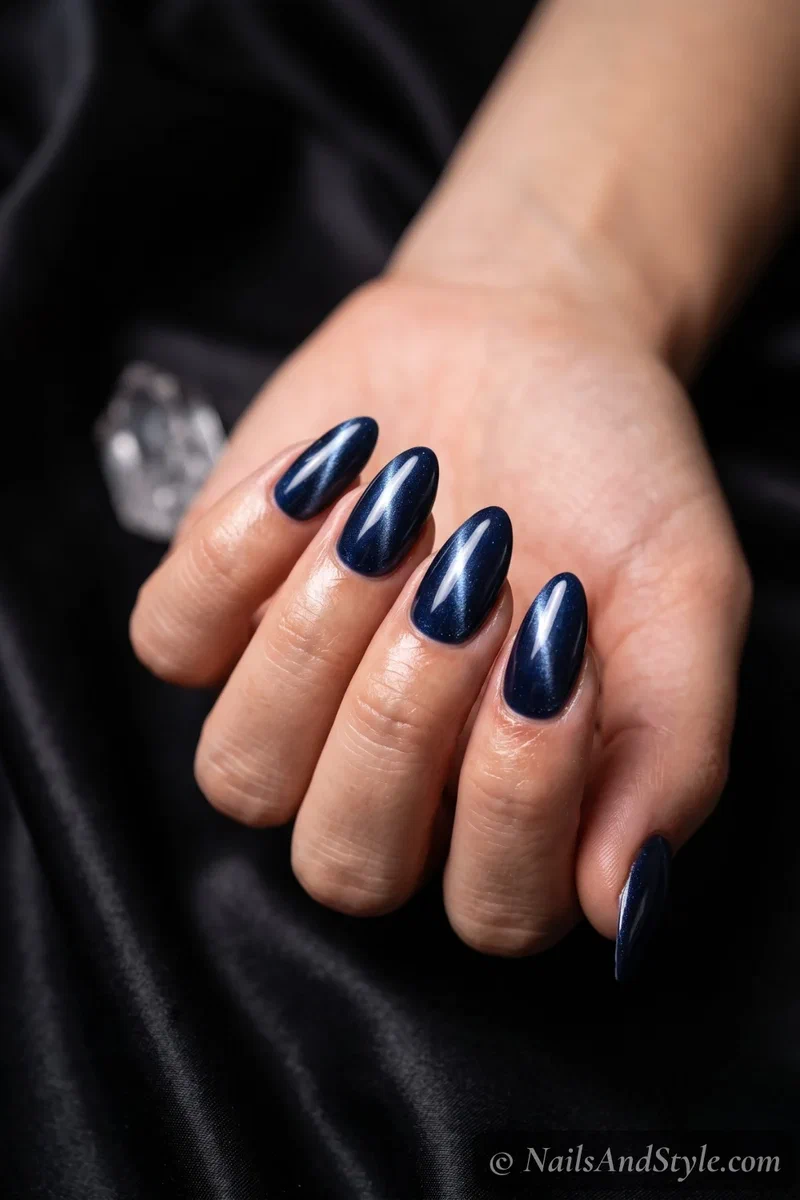
Moody and deep, with that magnetic streak of light running down the center. On strips the effect is baked right in, so you get the dimension without chasing it around with a magnet. If you like the effect, cat-eye nails done freehand are a fun next step.
Cherry Red Gloss#
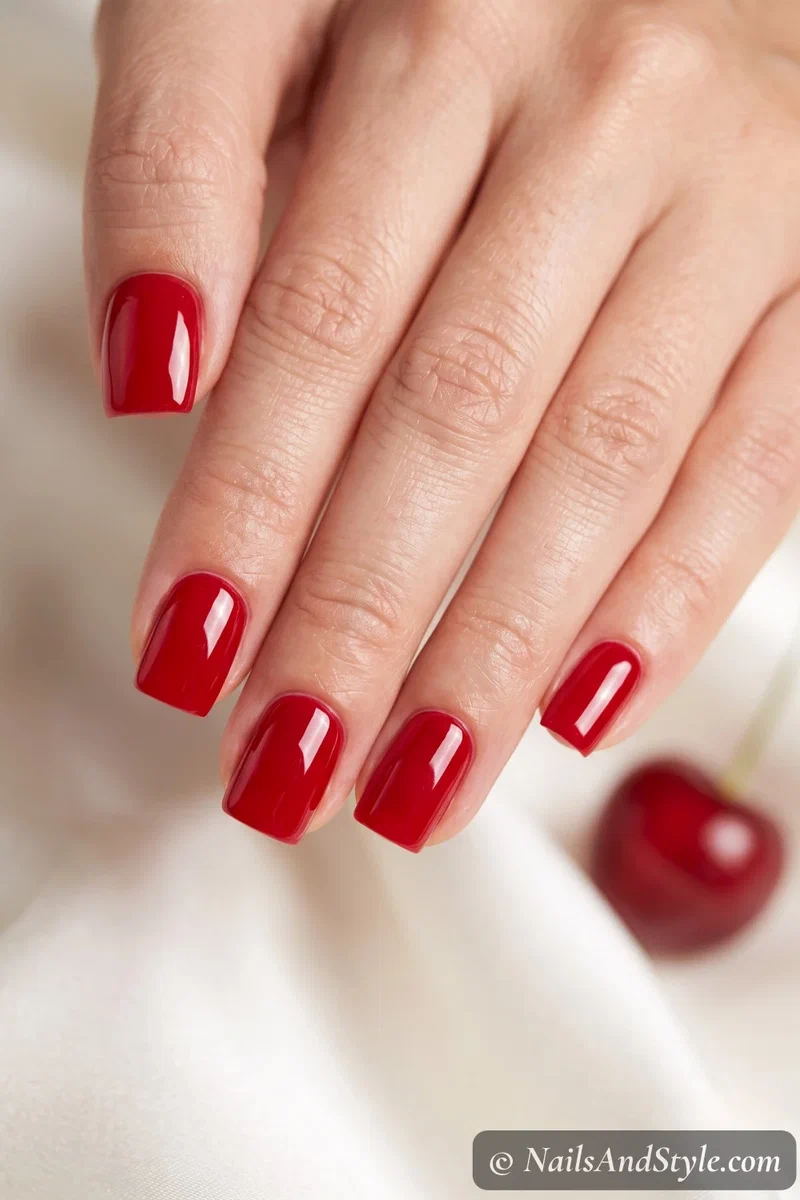
When in doubt, red. A rich cherry with glass-like shine feels expensive and takes about four minutes. Short square nails make it look extra sharp, but it’s gorgeous on any length.
Tips to Make Them Last Longer#
Want the full two-plus weeks? These little habits are what separate a mani that lasts from one that lifts on day three:
- Prep dry, oil-free nails. Say it with me — no lotion, no cuticle oil right before. Wipe with alcohol until they squeak.
- Cap the free edge. Wrap that top gel right over the tip. Water sneaks in from the edges first, so seal them.
- Size down, not up. A strip touching your skin will always lift sooner. Leave the tiny gap.
- Skip water for a couple hours. Give the gel time to settle before a shower or dishes.
- Wear gloves for chores. Hot water and cleaning products are gel’s worst enemies.
- Re-cap the tips mid-wear. A fresh swipe of top gel over the edges around day seven buys you extra days.
- Don’t use your nails as tools. You know the drill. No peeling stickers, no popping tabs.
How to Remove Them Without Damage#
Please don’t peel them off. I know it’s tempting when a corner lifts — but peeling takes a layer of your natural nail with it, and that’s where all the “gel wrecked my nails” horror stories come from.
Instead, gently buff the shine off the top, then soak a cotton pad in acetone, press it onto the nail, and wrap each finger in a little foil. Give it 10–15 minutes. The gel will go soft and slide off with a wooden stick — no force. Follow up with cuticle oil to rehydrate, because acetone is drying. That’s the whole gentle method, and your nails will thank you.
Quick FAQ#
Do I really need a lamp for semi-cured gel strips?#
Yep. The strips only arrive half-cured on purpose, so the lamp is what finishes hardening them. Skip it and they’ll stay slightly sticky and peel fast. A small, cheap LED lamp does the job fine.
How long do they actually last?#
Around two weeks for most people, sometimes closer to three if your prep is solid. The seal over the tips and truly oil-free nails matter way more than the brand you buy.
Can I put these on my natural nails safely?#
Totally. They go right onto clean natural nails — no glue, no drilling, nothing harsh. As long as you soak them off instead of peeling, your natural nails stay healthy underneath.
Final Thoughts#
Once you’ve done semi-cured gel nail strips even once, regular polish starts to feel like a lot of effort for a lot less payoff. You get salon-level shine and two weeks of wear from something you can do while a show plays in the background — no drying time, no smudged thumb five minutes later.
Save the looks that caught your eye and pin them for your next at-home mani night. Then play around — milky white one week, cherry red the next. That’s the fun of it: the salon result, entirely on your schedule.