Beach nails used to mean a quick trip to the salon and a forty-dollar bill. Not anymore. The whole DIY beach nails moment has taken over Pinterest and TikTok, and honestly, most of the cutest looks need three polishes and a steady hand. That’s it.
This post walks you through how to create beach nails at home from start to finish — supplies, prep, fifteen easy designs to copy, plus the step-by-step tutorial I wish I had when I started. Everything here was picked for short and medium nails, because most of us aren’t growing talons.
So grab your favorite polishes (even the ones you forgot about in the back of the drawer) and let’s get into it.
Why DIY Beach Nails Are Worth It This Summer#
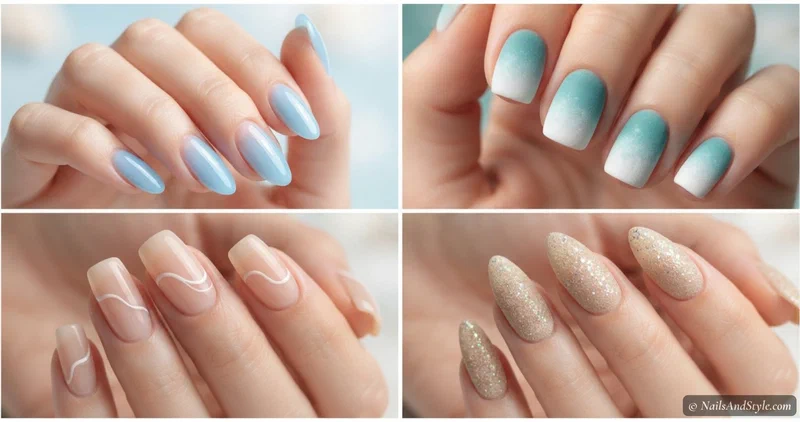
Beach nails have come a long way from the salon-only days. The whole style now leans softer — sheer jellies, sun-bleached pastels, sandy nudes, tiny seashell accents — and most of the trending looks are honestly easier than a full manicure. Beach vacations, brunch on a Saturday, a pool day, a music festival, even just running errands in flip-flops — beachy nails fit all of it.
A few things to think about before you pick your colors:
- Soft blues, sandy beiges, and coral pinks suit most skin tones — these are the safest beach palette
- Warm undertones love peach, terracotta, and cream; cool undertones glow in icy blue, lilac, and mint
- Short almond or squoval shapes hold beach designs really well — no need to grow them out
- Always use a base coat (it stops staining and keeps polish from peeling) and seal with a glossy or matte top coat depending on the vibe
Working with shorter nails? My cute short summer nails round-up has plenty of beach-friendly shapes and shades to borrow.
15 Easy Beach Nails at Home You Can Try Tonight#
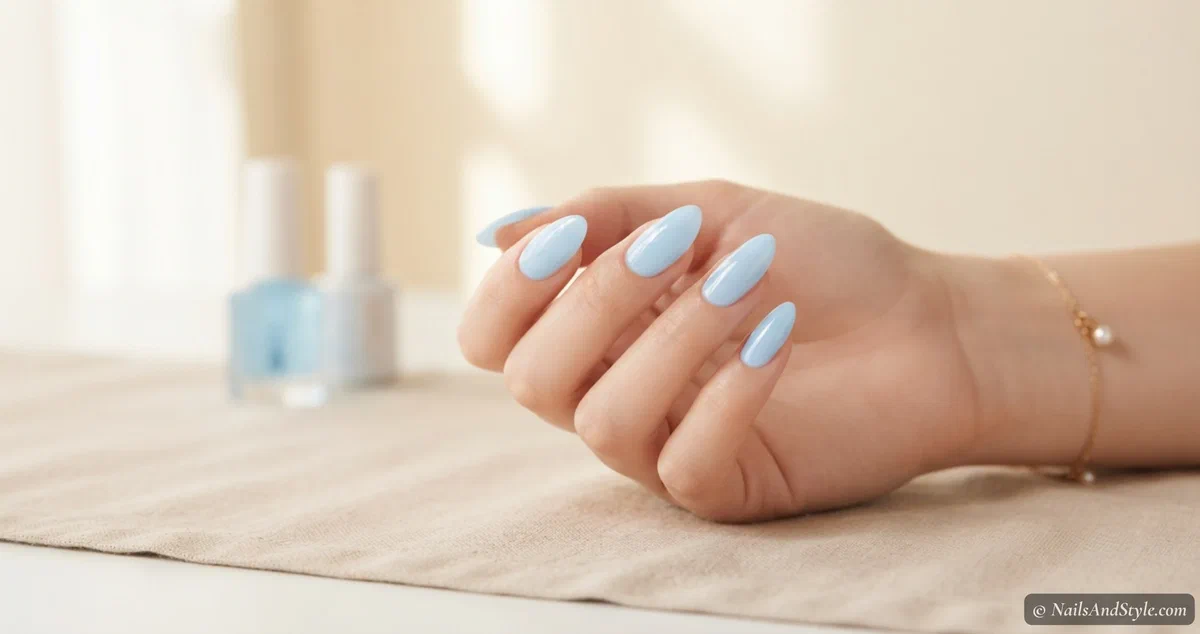
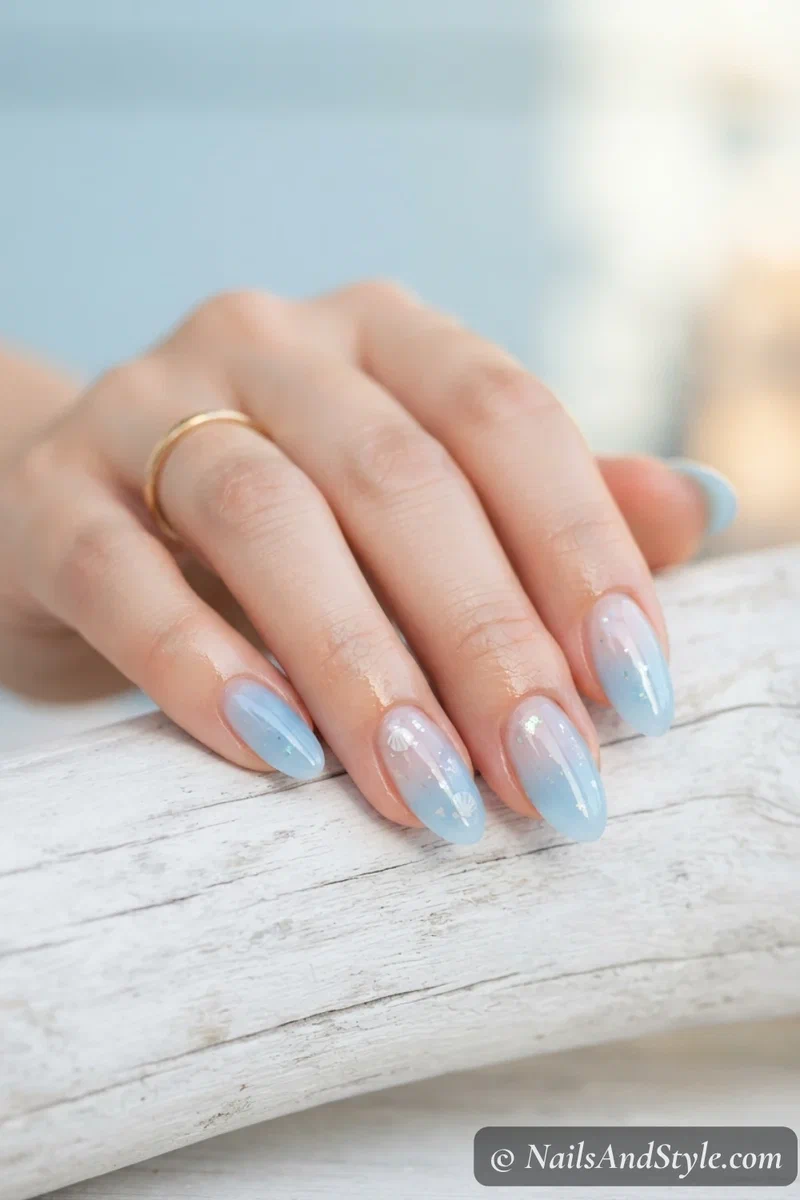
1. Sheer Sky Blue Jelly#
Probably the easiest beach look out there. Just two thin coats of sheer light-blue jelly polish over a clear base. The barely-there color reads like ocean water through a glass bottle — glossy and dreamy, no design needed.
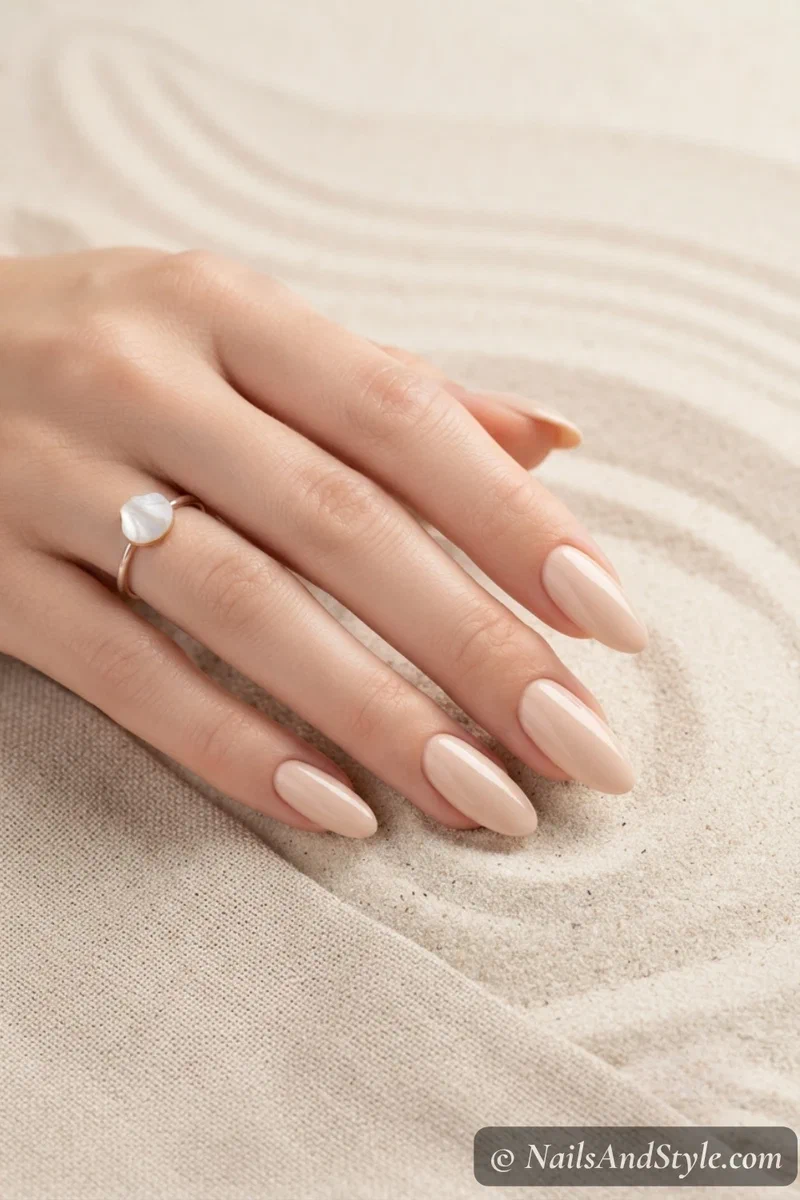
2. Sandy Beige Cream#
A single soft beige cream polish. That’s the whole design. It looks like dry sand right before sunset, and it goes with literally any swimsuit. Two coats, glossy top, done.
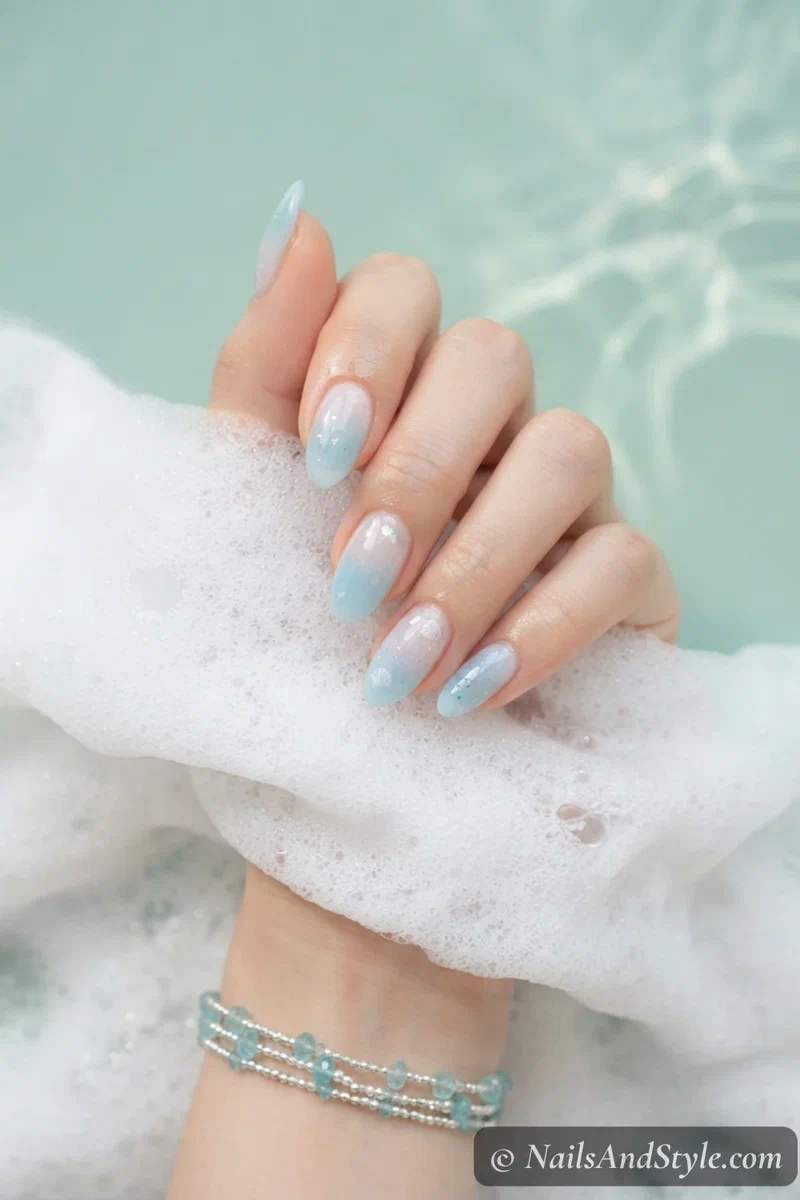
3. Sea Foam Ombré#
Take a slightly torn makeup sponge, dab pale aqua at the cuticle and white at the tip, then press gently across each nail. Don’t overthink the blend. Beachy ombré is supposed to look a little undone.
4. One White Wave#
Paint a nude base and let it dry. Then use a thin striping brush (or a toothpick) to draw a single curling white wave across each nail. One stroke, that’s it. So clean.
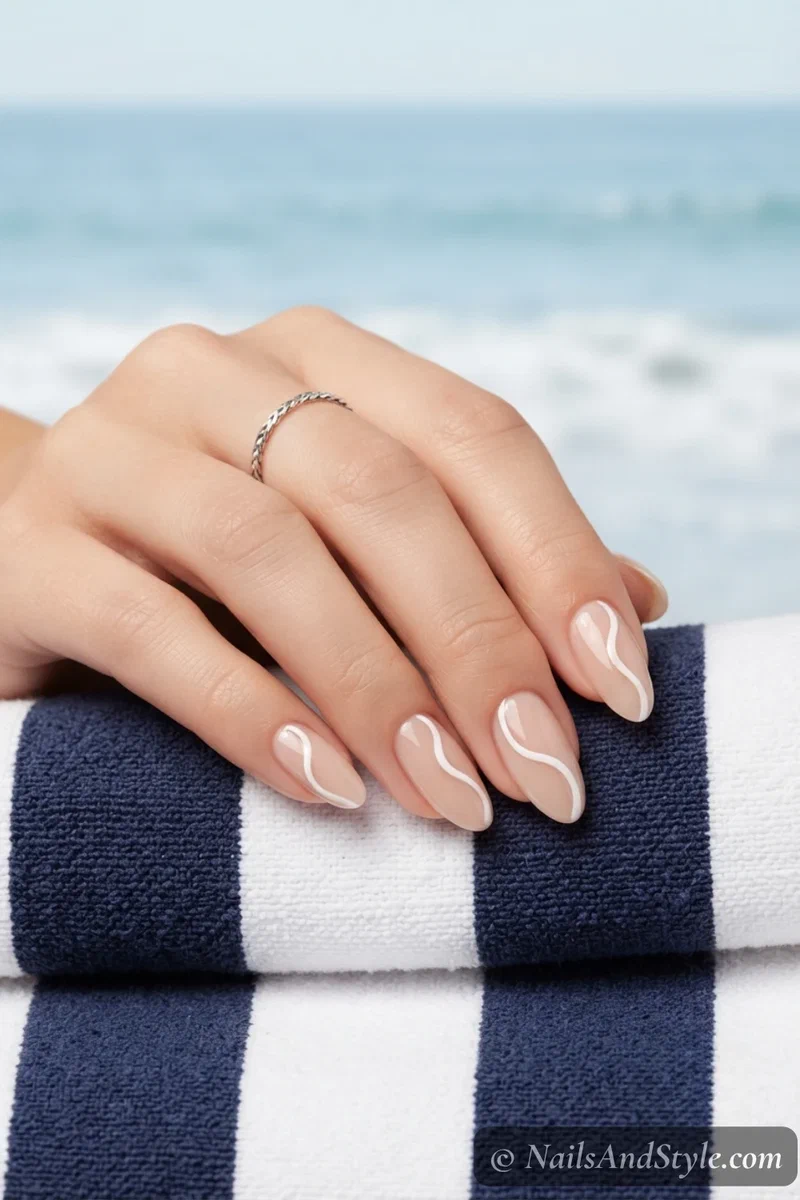
5. Tiny Seashell Accent#
Pick one accent nail. Paint a small white seashell shape with a tiny brush, then add three thin coral lines for the ridges. The rest of your nails stay nude. Cute, low effort, and surprisingly polished.
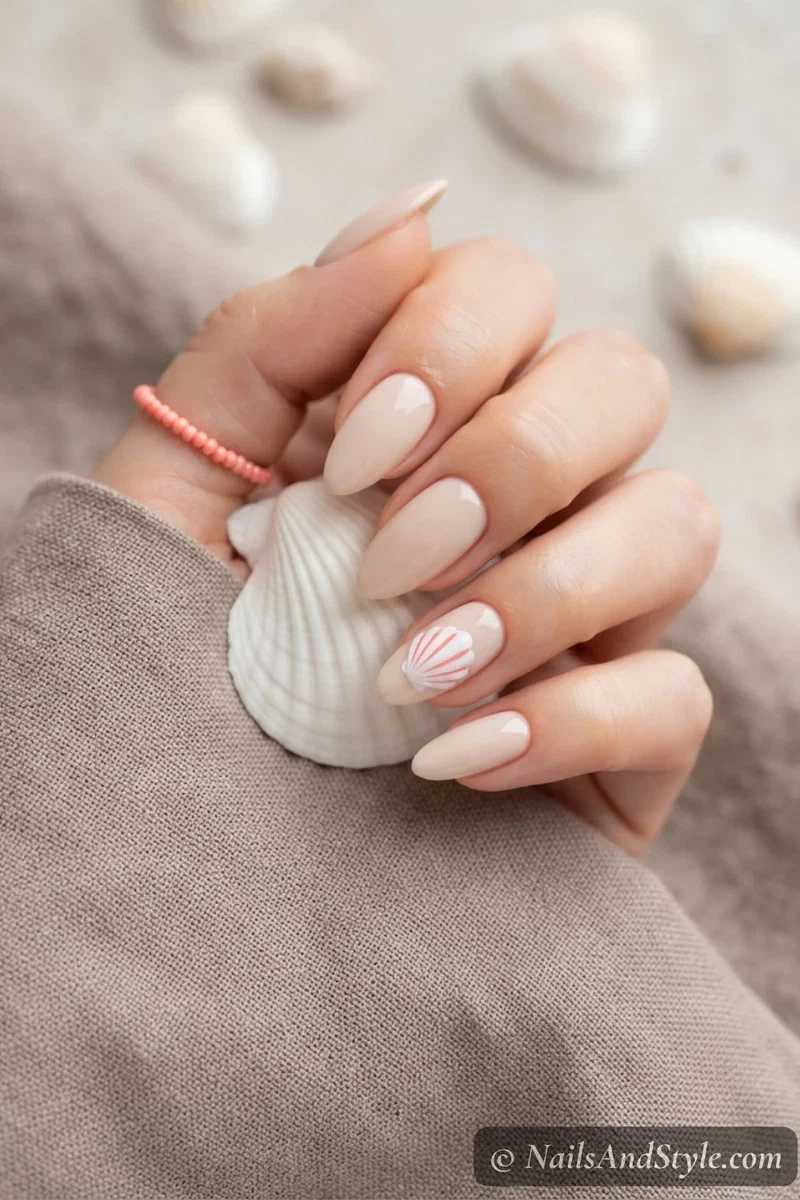
6. Sunset Coral Gradient#
Same sponge trick as the sea foam, but go with peach at the cuticle into bright coral at the tip. Best done in three light dabs. Looks like a beach sunset on your fingers.
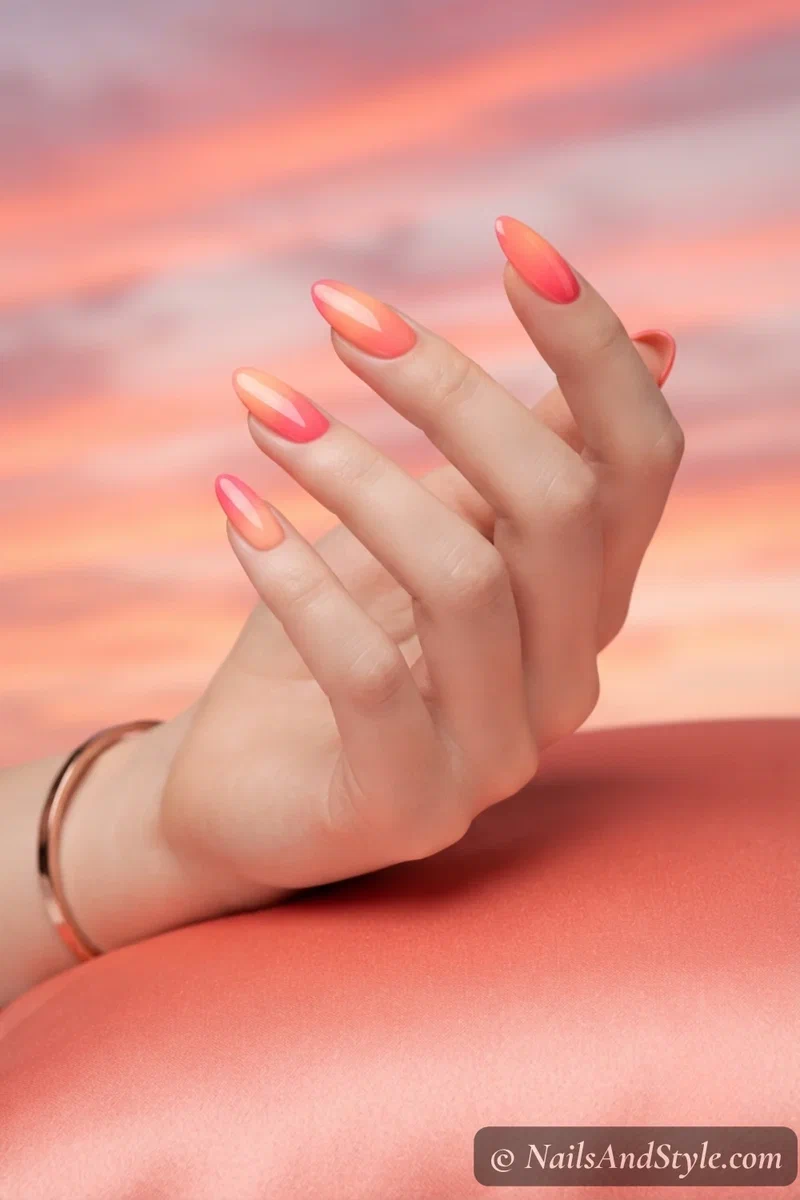
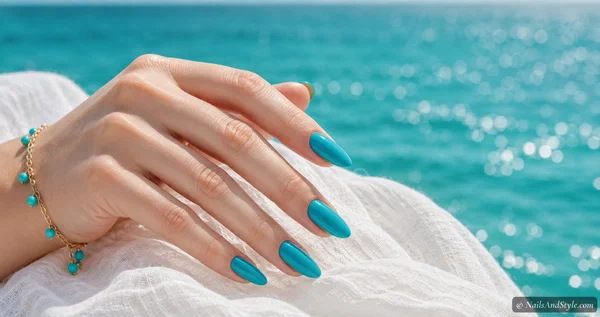
7. Aqua Jelly Squoval#
For your short-nail crowd. A sheer aqua jelly over a slightly tinted base reads like pool water, and the squoval shape keeps it clean and modern. Two coats and a high-shine top coat.
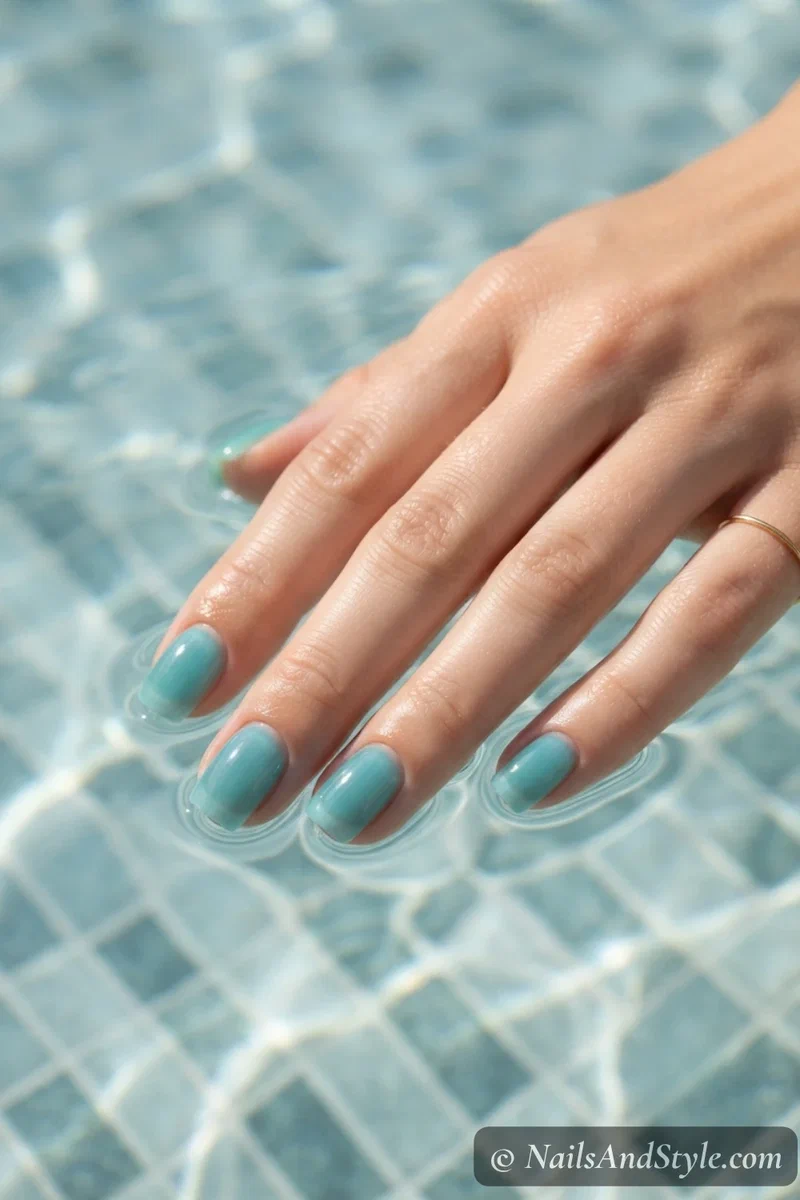
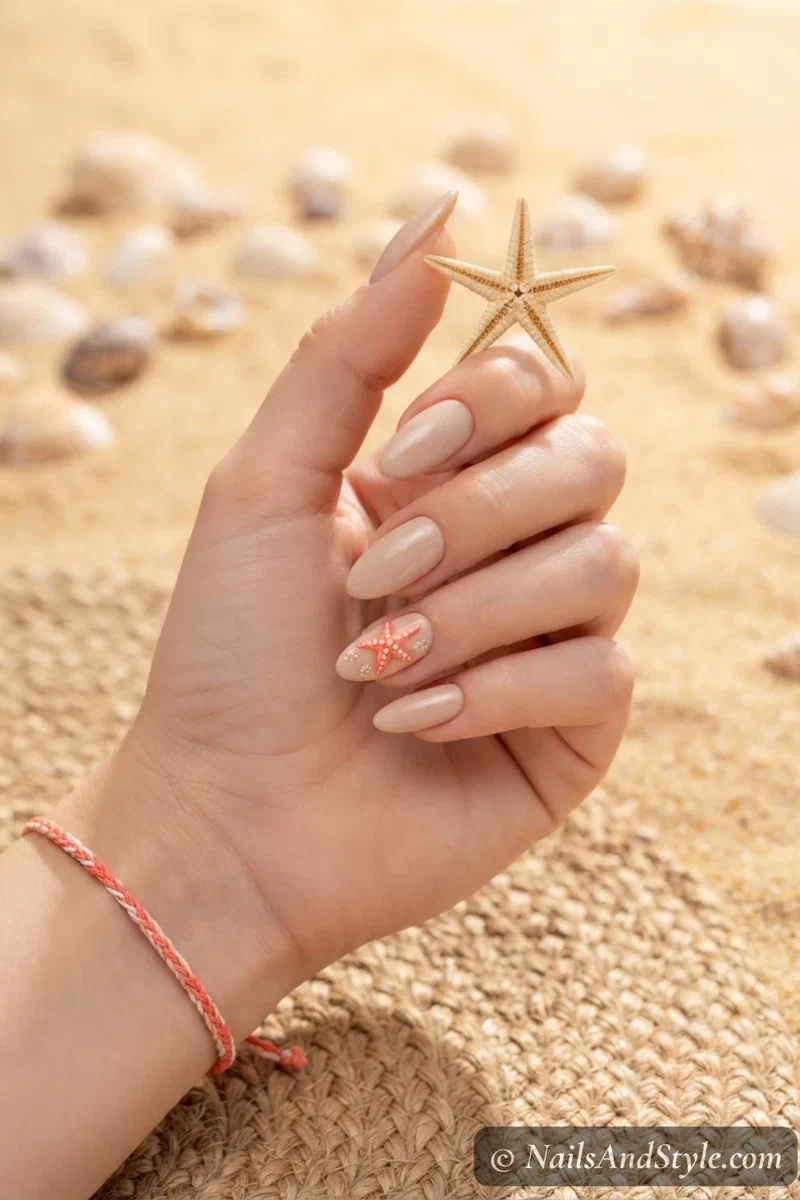
8. Mini Starfish Accent#
Honestly, this one looks harder than it is. Paint a five-point star in soft coral using a dotting tool (do five small dots in a circle, then drag them inward). Add white dots on top for texture. One accent nail does the work.
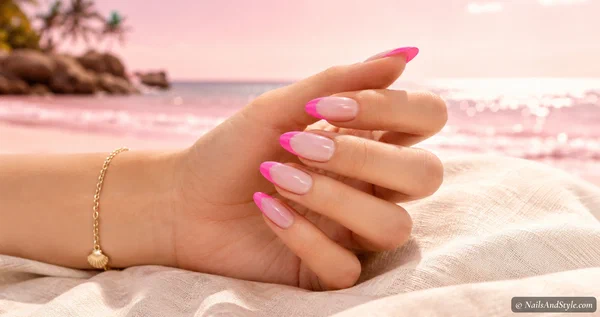
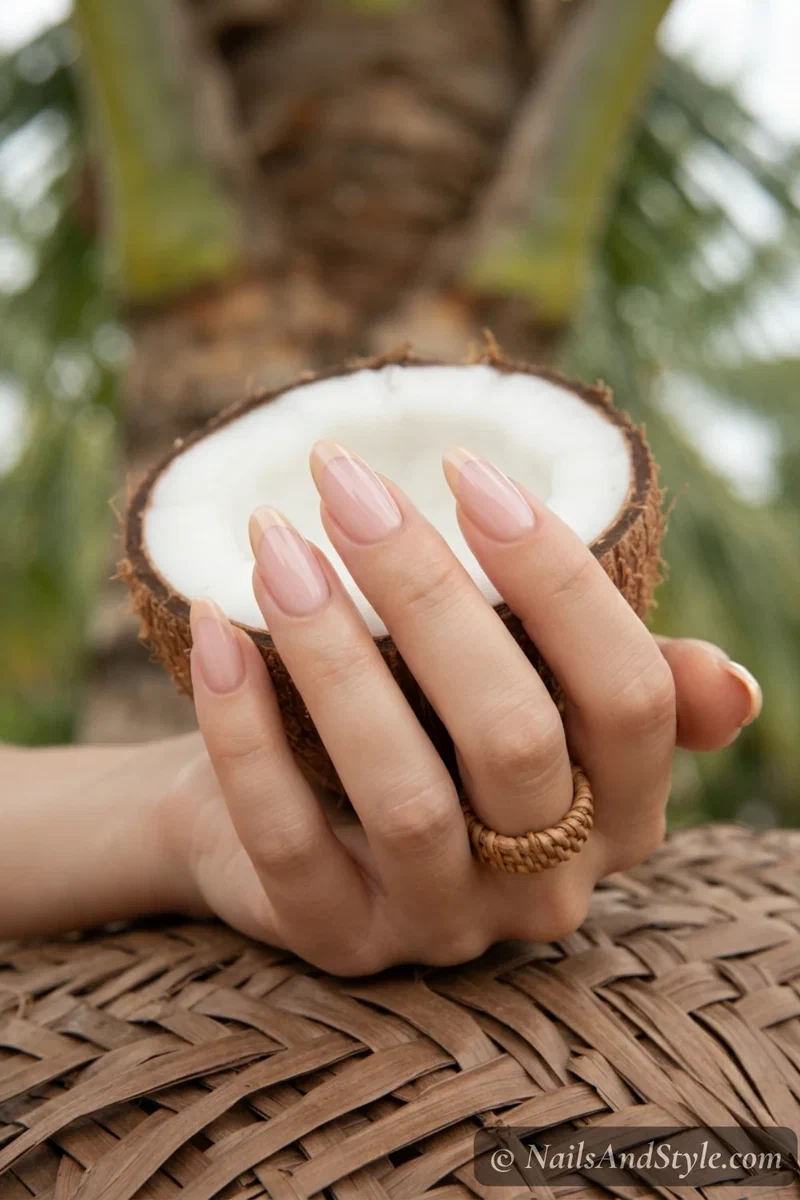
9. Coconut Cream French#
Picture a French tip, but the white tip is replaced with a warm creamy beige and the base is a slightly pink nude. The contrast is super soft — basically tropical instead of bridal. Use French guides if freehand feels scary.
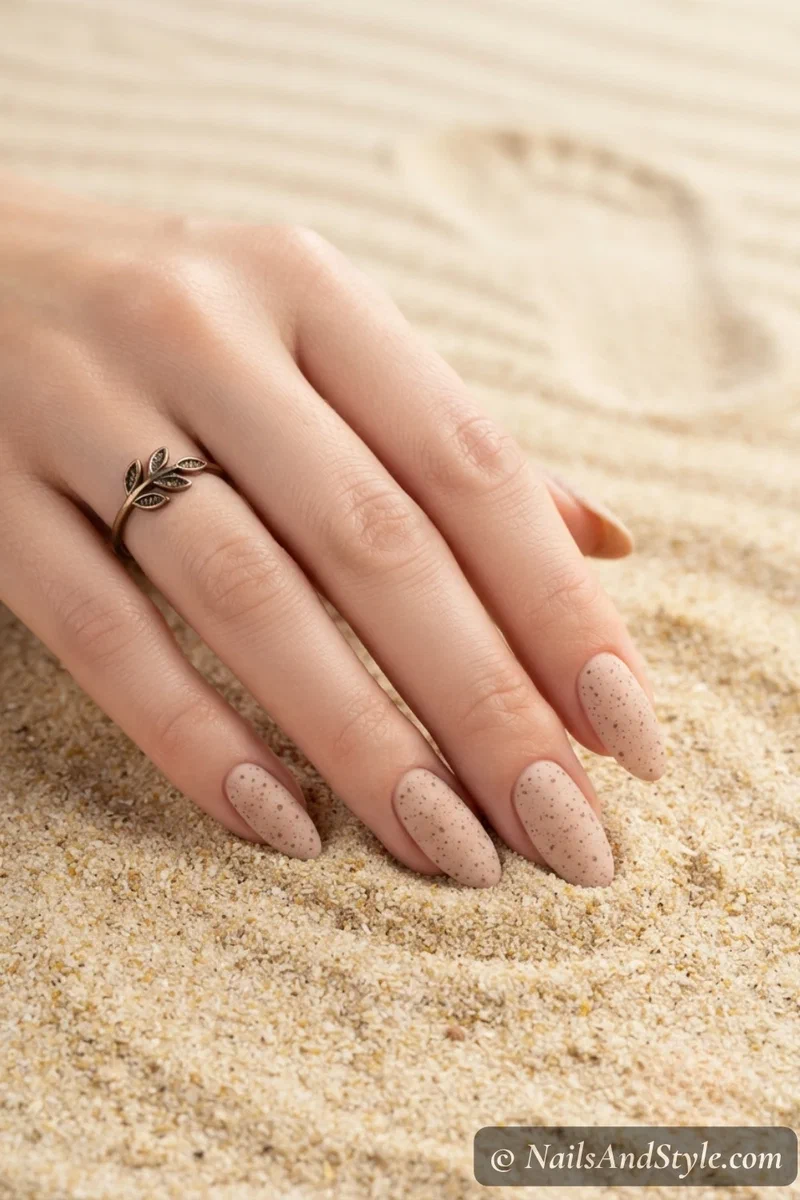
10. Sandy Dot Texture#
Paint a beige base. Once dry, dip a dotting tool in a slightly darker brown and tap tiny dots randomly across each nail to mimic grains of sand. Top with a matte sealer for the realistic texture.
No dotting tool on hand? My nail art with a toothpick for beginners guide gets you the same dots with things you already own.
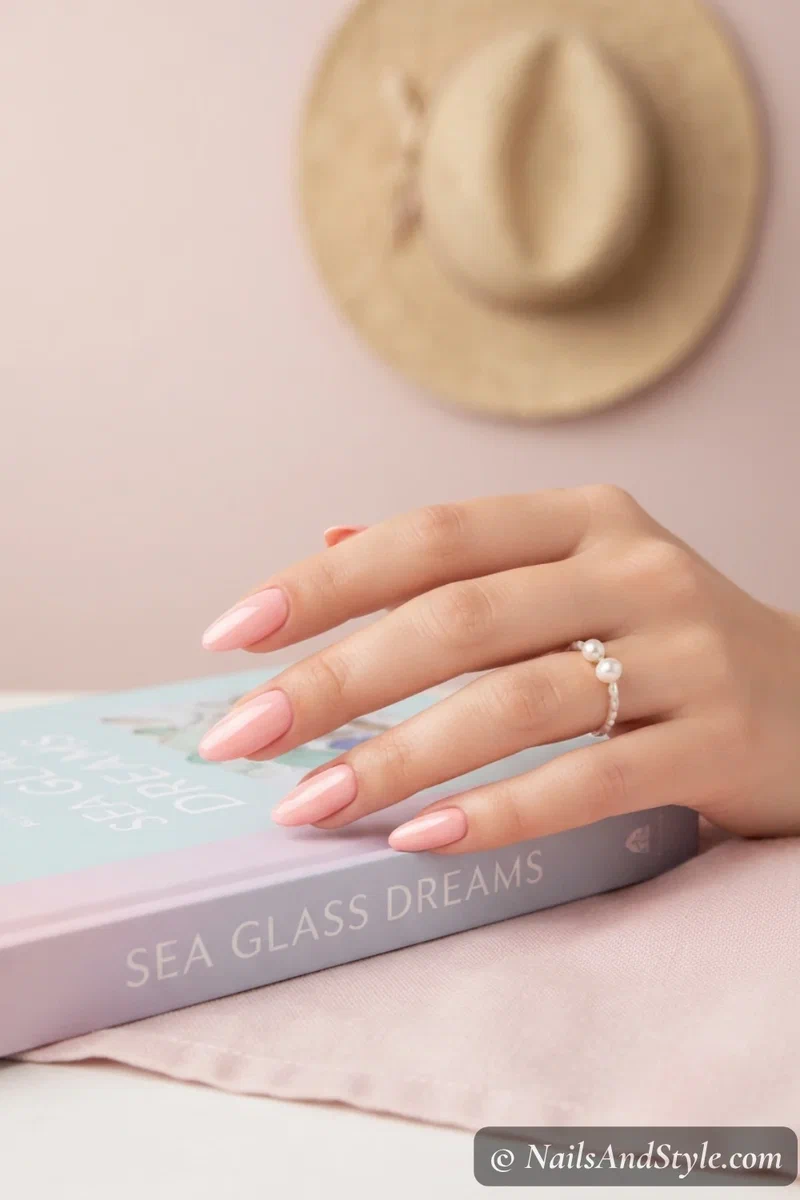
11. Soft Pink Beach Cream#
Sometimes the most beach-coded color is the simplest one. A creamy bubble-pink that reads like sun-bleached coral. Two thin coats, glossy top, beach-ready in ten minutes.
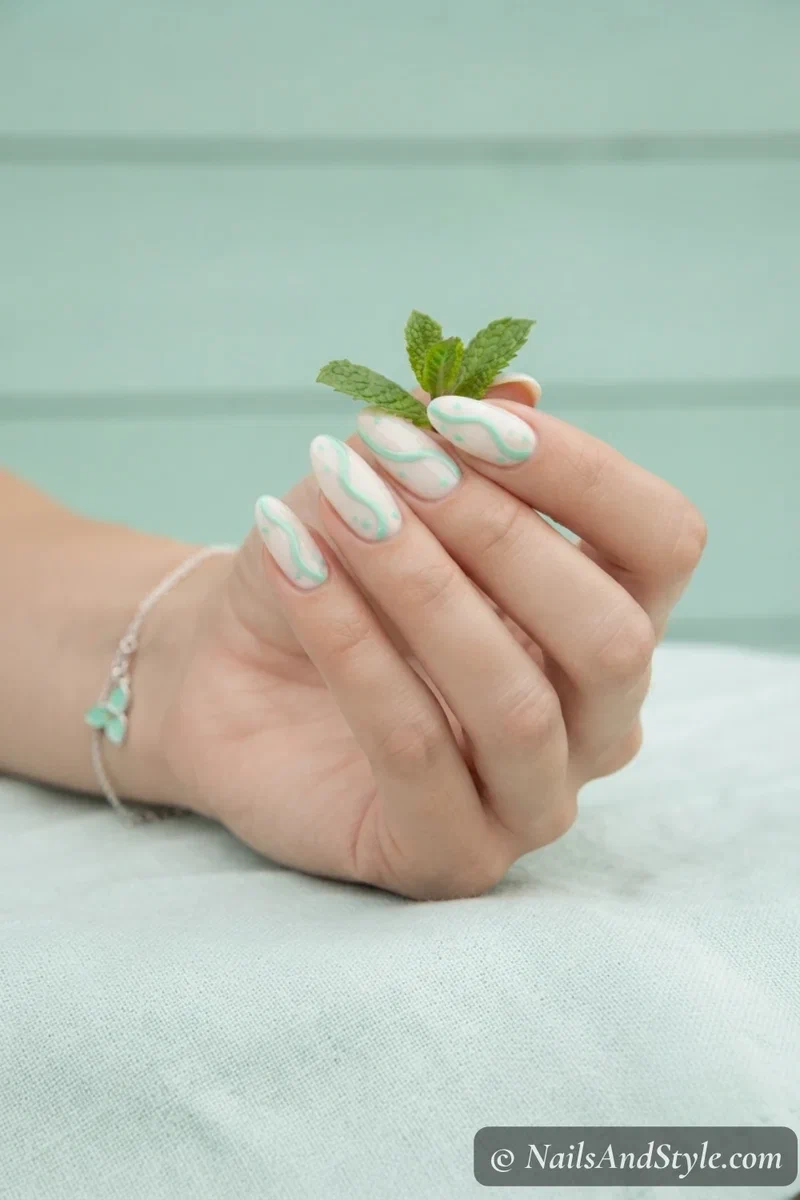
12. Mint Wave & Dots#
Paint a creamy white base. Then add a single mint wave across each nail with a striping brush, and dot tiny mint circles around the wave. Light, summery, kind of like wallpaper from a beach house.
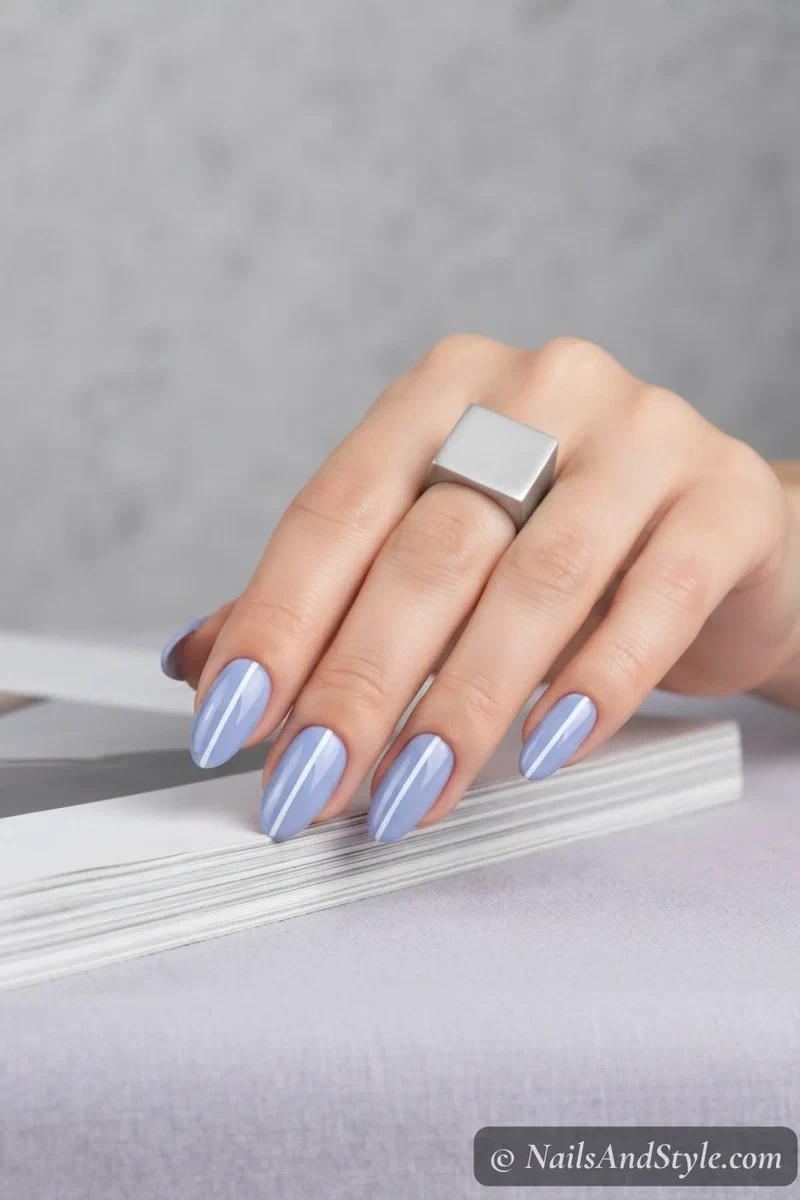
13. Periwinkle Single Stripe#
A soft periwinkle base with a single thin white stripe running down the center of each nail. Strip tape makes the line crisp. Modern, minimal, and weirdly chic for a beach day.
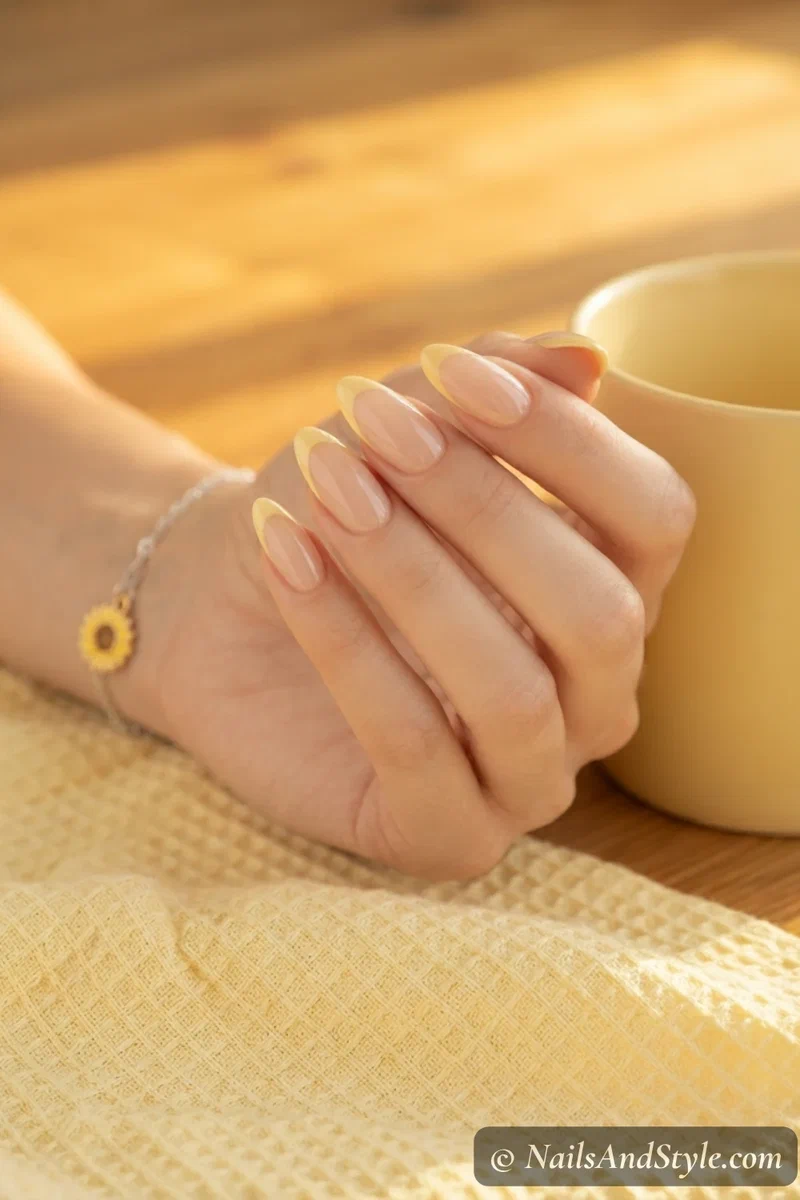
14. Sun-Kissed Yellow Tips#
Soft butter-yellow French tips on a sheer nude base. Use French guides if you want crisp lines, or freehand for a softer, more beachy version. Glossy finish keeps it juicy.
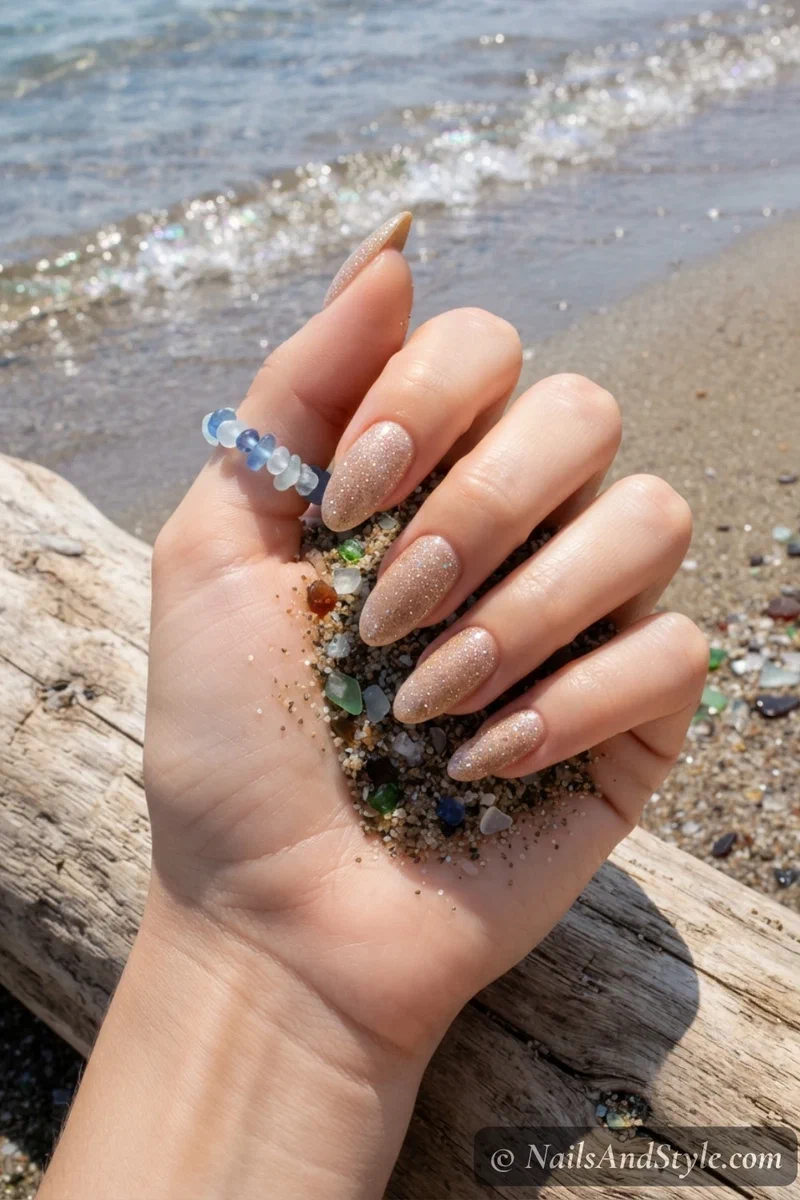
15. Glitter Sea Topper#
Last one, and it might be my favorite. Paint any beachy base (try the sky blue or the sandy beige), then top with a fine iridescent glitter polish that catches light like wet sand. Two coats of top coat to smooth everything out.
Beach Nails for Short Nails#
Short nails actually wear beachy designs really well. The colors are usually soft, the patterns are small, and the whole look is meant to feel effortless — none of which needs length. If anything, a single thin stripe or accent nail tricks the eye into thinking the nail is longer than it is.
A few of my picks for shorties:
- Sheer jelly polishes — no streaking issues, and the see-through tint stretches the nail visually
- One accent nail — a single seashell or star nail with the rest nude
- Thin French tip — a skinny white or coral smile line lengthens the nail bed
- Vertical center stripe — one thin line down each nail pulls the eye up
- Solid cream nude — clean, polished, and looks great no matter your length
What You’ll Need#
- Base coat — a smooth base to start
- Glossy top coat — seal in the beachy shine
- Beachy polishes — soft blues, sandy nudes, coral pinks
- Makeup sponge — for soft ombré fades and gradients
- Dotting tool — for shells, dots, and tiny details
- Fine glitter topper — for that wet-sand sparkle
Step-by-Step: How to Do Beach Nails at Home#
- Wash and dry your hands fully — any oil on the nail will mess with adhesion
- Trim and file into a soft almond or squoval shape; push back cuticles gently with a wooden stick
- Buff the surface lightly for grip (don’t overdo it, just enough to dull the shine)
- Apply a clear base coat and let it set for about a minute
- Brush on your base color — sheer nude, pale blue, beige, or whatever your design needs
- Add the design layer: stripes, dots, sponged ombré, accent details. Let each layer dry before adding the next
- Use a small angled brush dipped in remover to clean up around the cuticle and sidewalls
- Finish with a thick glossy top coat (or matte if your design calls for it) and let everything cure for at least 10–15 minutes before touching anything
Tips to Make Your Beach Mani Last#
- Keep every layer thin — thick coats peel off in chunks within days
- Drag the brush across the free edge of each nail to seal the tip
- Don’t wash dishes or shower for at least 30 minutes after painting
- Wear rubber gloves for chores and cleaning (sounds extra, makes a huge difference)
- Refresh the top coat every three to four days to keep the shine alive
- Massage cuticle oil into your nail beds every night — it actually keeps the polish flexible
- Don’t pick at chips. File and patch with the same color instead
And if one does chip mid-week, my tea bag nail repair trick patches it in minutes.
Quick FAQ#
Is beach nail art hard for total beginners?#
Not really. The whole beach aesthetic leans toward soft, imperfect, hand-painted looks — so wobbly lines and uneven dots actually fit the vibe. Start with single-color jellies and ombrés, then work up to detailed stuff like seashells.
What colors should I keep on hand for beach nails year-round?#
A sheer light blue, a creamy nude beige, a soft white, and a coral or peach. With those four, you can recreate almost any beach look you’ll see online. Add a fine glitter topper if you want extra options.
Can I do these designs on bare natural nails?#
Yes — base coat first, that part isn’t skippable. The base layer protects your natural nail from staining and gives the color something to grip. Skip it and you’ll regret it.
Final Thoughts#
Doing beach nails at home is honestly one of the easiest ways to bring that whole summer mood into your week — no booking, no commute, no awkward small talk with a stranger holding your hand. Just you, a few polishes, and twenty quiet minutes.
Save the looks you love, pin the tutorial, and start with whichever design feels least scary. Mix shades, swap accents, try the sponge if you’ve never used one. Worst case? It washes off. Best case? You catch yourself staring at your hands all weekend. See you on the sand.
Want even more looks to try? My beach nails ideas post is packed with them.