Acrylic nails are having a whole moment again, and not just in the long-coffin, super-dramatic way. Short squoval acrylics, nude almond sets, milky white shorts — the acrylic world has gotten a lot more wearable and way less intimidating. Even better? You don’t need a salon to pull this off. Your kitchen table works just fine.
This post is a full walkthrough of how to do acrylic nails at home, start to finish. The tools worth buying, the liquid-to-powder ratio that nobody explains properly, how to apply acrylic nail powder without it going lumpy, and 15 design ideas you can try once the basics click. Prefer gel instead? My gel nails at home complete guide covers that whole setup separately.
One thing upfront — acrylics are slower than painting polish. Your first set might take two hours. Your tenth? Under one. That’s just the learning curve. But once you get it, you’ve got stronger nails, longer wear, and a fraction of the salon bill. Worth every awkward first attempt.
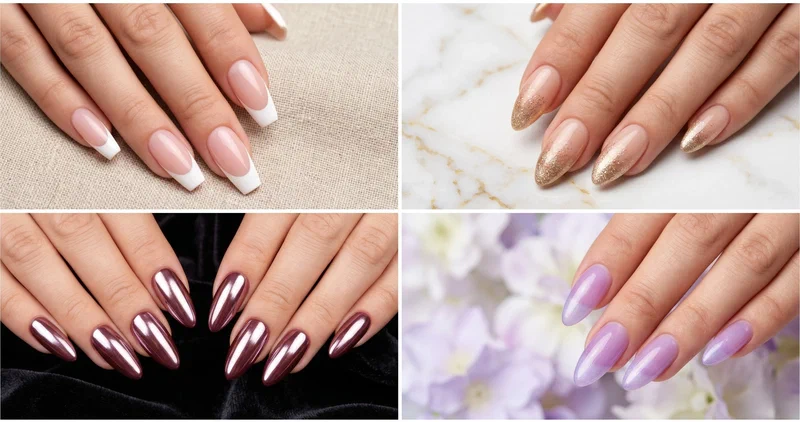
What You’ll Need — Acrylic Nail Kit for Beginners#
Here’s the basic setup. You can grab these individually or pick up a bundle — most acrylic nail kits for beginners come with almost everything listed below.
- Acrylic powder — clear, pink, white, or nude base + any color
- Acrylic liquid (monomer) — don't skimp — cheap monomer sets weird
- Dappen dish — glass only; plastic reacts with monomer
- Acrylic brush (size 8–10) — a kolinsky sable brush is worth it
- Nail tips or forms — tips are easier for beginners
- Primer + dehydrator — both matter for grip and longevity
- 100/180 file + buffer — coarse to shape, finer to smooth
- Nail glue — only if you're using tips
- Cuticle pusher — plus small scissors
- Top coat — gel or regular both work
Notice what’s not on this list? A UV lamp. Acrylics air-dry. More on that in a minute.
Acrylic Nail Tips vs Forms — Which Should Beginners Use?#
Quick breakdown because this is the part most first-timers get stuck on.
Nail tips are pre-made plastic nails you glue onto your natural nail, then coat with acrylic. Faster, easier, less precise brushwork needed. This is hands-down the way to go if you’re new.
Nail forms are stickers you attach under your nail that act as a little mold. You build the whole nail out of acrylic on top. More control over shape and thickness — way harder. Save forms for your third or fourth set.
So the acrylic nail tips vs forms question for beginners has a really easy answer. Tips. Always tips. You can still get any shape you want (coffin, almond, stiletto, squoval) by filing afterward.
The Liquid to Powder Ratio (This One Matters)#
The acrylic nail liquid to powder ratio is where most home attempts fall apart. Get this wrong and you’re looking at a lumpy, sticky, cracked mess.
Rough ratio: about 1.5 parts liquid to 1 part powder. You dip your brush in monomer, press it against the edge of the dish to release the excess, then drag the tip through powder to pick up a bead. That bead should look medium-matte — not soupy, not dry and crumbly. Think round and slightly wet.
Here’s the test. Count to three. Your bead should flatten slightly but still hold its shape on the brush. Flattens instantly? Too much liquid. Stays bumpy and won’t smooth? Too much powder. Adjust your next pickup. That’s really the whole trick.
Practice on one nail before you do a full set. Seriously. It’s like learning to whisk egg whites — you kind of just have to feel it out a few times.
How to Do Acrylic Nails at Home — DIY Acrylic Nails Step by Step#
Here’s the full DIY acrylic nails step by step walkthrough. Take your time on each one.
- Prep your natural nails. Remove old polish, push back cuticles, clip any length, and lightly buff the surface to kill the shine. Acrylic needs a matte nail to grip onto.
- Size your tips. Match each tip to the width of the nail — don’t force a tip that’s too narrow. File the contact edge if it needs adjusting.
- Glue the tips on. Small drop of glue in the well of the tip, press onto your natural nail at a 45-degree angle, hold for about 10 seconds. Let them fully set for a minute.
- Trim and shape. Cut tips to your preferred length, then file into coffin, almond, squoval, whatever you want. Blend the seam where tip meets natural nail with a buffer until it disappears.
- Apply dehydrator, then primer. One thin coat of each, letting each air-dry for about 30 seconds. This step gets skipped all the time and it’s why acrylics lift.
- Pick up your first bead. Dip brush in monomer, touch to powder, let it collect a medium bead. Place it at the base near your cuticle (but not touching the skin).
- Pat and sweep. Use the belly of the brush to pat the bead flat, then sweep outward toward the tip. Don’t scrub it. Pat, then sweep.
- Repeat nail by nail. Fresh bead for every finger. Acrylic starts setting within minutes, so work one nail at a time.
- Let it cure. No lamp needed. Acrylic fully hardens in 2-3 minutes of air exposure. Tap it with your brush handle — a sharp click means it’s set.
- File, buff, shape. Refine the shape and smooth any bumps with your 180 grit, then buff to a soft sheen.
- Top coat it. Two thin layers of glossy top coat. Done.
Sounds like a lot. It moves faster than it reads, promise.
Acrylic Nails Without UV Light — Yes, Really#
One of the biggest myths about home nails: that you always need a lamp. Nope. Acrylic nails without UV light isn’t just possible — it’s literally how classic acrylic works. Liquid monomer plus polymer powder hardens chemically through air exposure. No curing, no watts, no lamp required.
The confusion usually comes from mixing up acrylic with dip powder or poly gel. Dip uses activator drops. Poly gel needs a UV or LED lamp. Classic acrylic needs neither. Just liquid, powder, brush, and patience.
If you’ve been holding off on acrylics because you didn’t want to buy a lamp, you’re already set.
15 Acrylic Nail Designs to Try at Home#
Once the basics click, this is where the fun kicks in. Fifteen looks that work on short or medium acrylics — all beginner-doable.
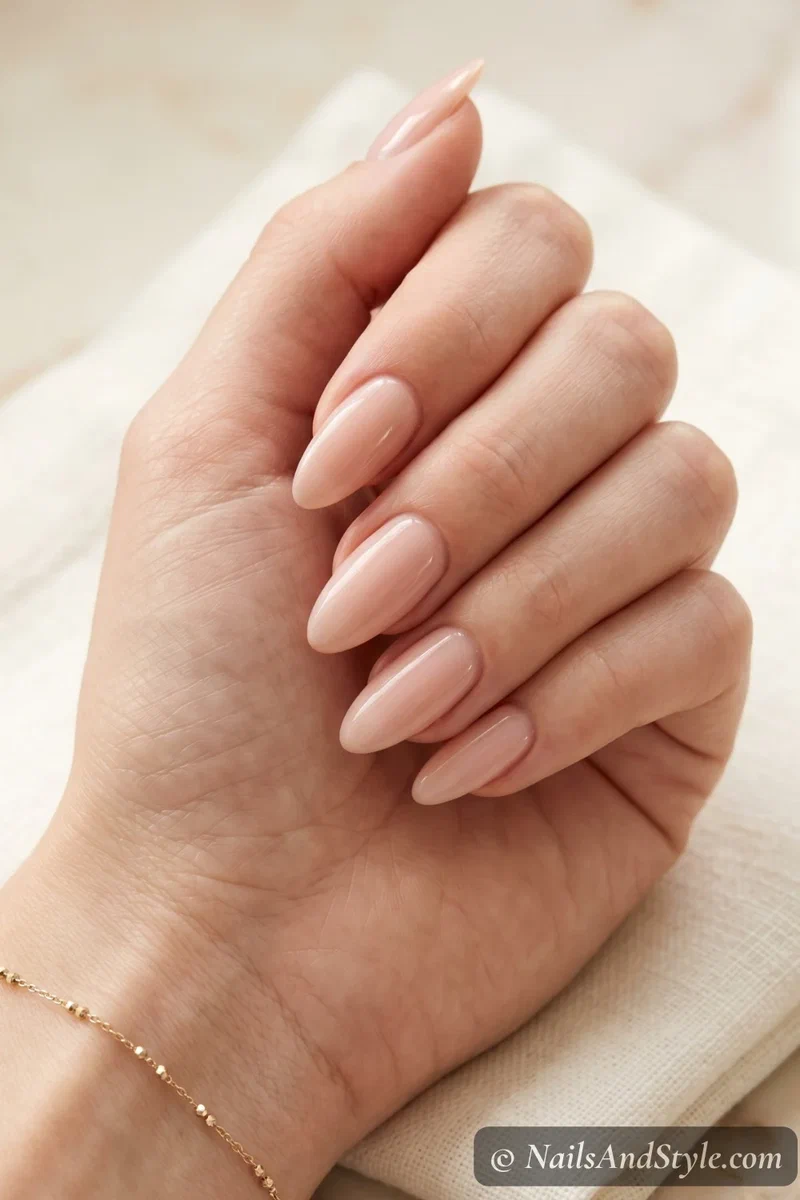
1. Nude Almond Acrylics#
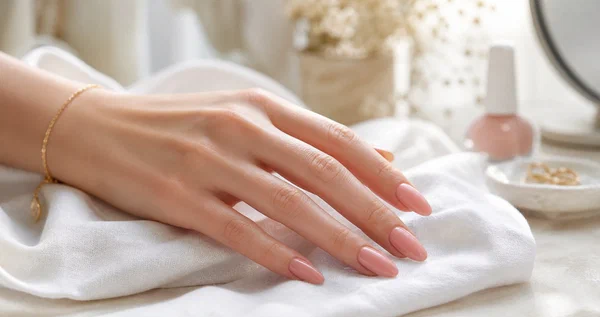
The forever go-to. Build a sheer nude or soft pink acrylic, file into a gentle almond, finish glossy. Looks expensive, goes with everything, nobody can tell you did them yourself. Honestly my most reached-for shape.
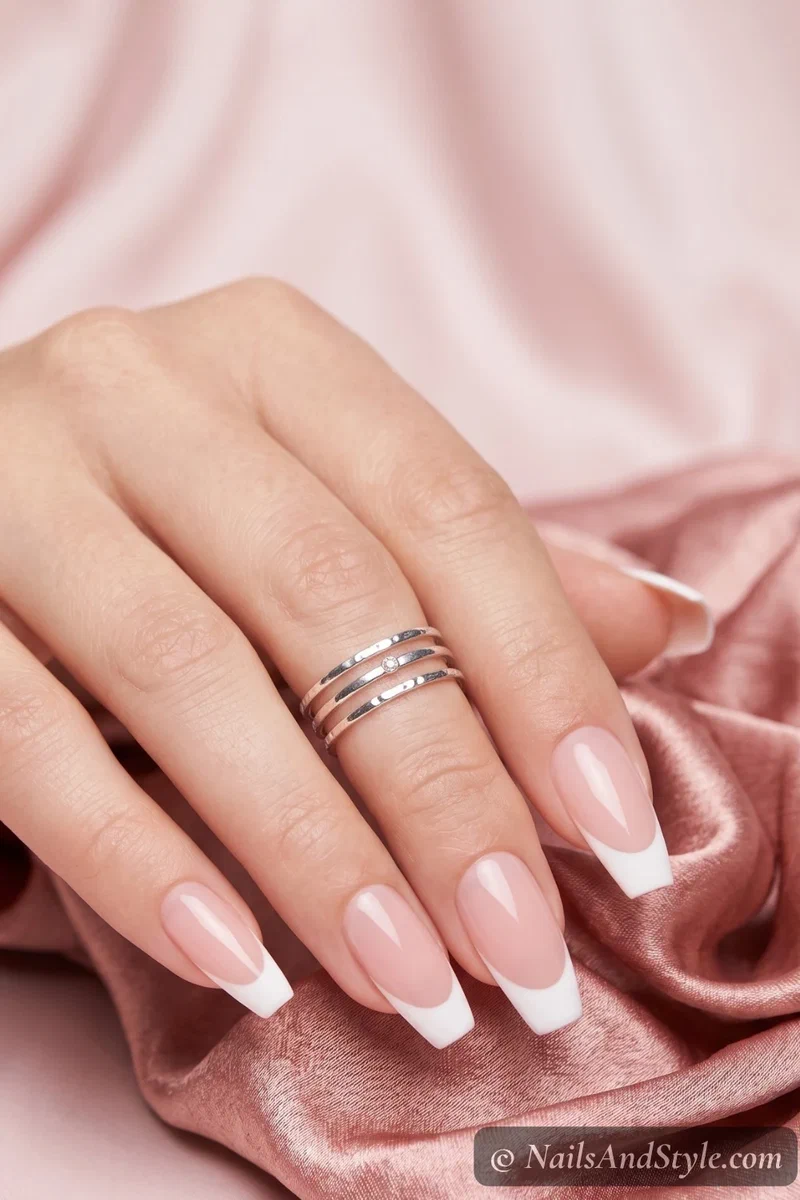
2. Classic French Tip Coffin#
White tips over a sheer pink base, filed into a coffin shape. You can freehand the smile line with a small striping brush or use French tip guide stickers — both work fine. For more french variations, my french tip nail art tutorial has five modern takes worth saving.
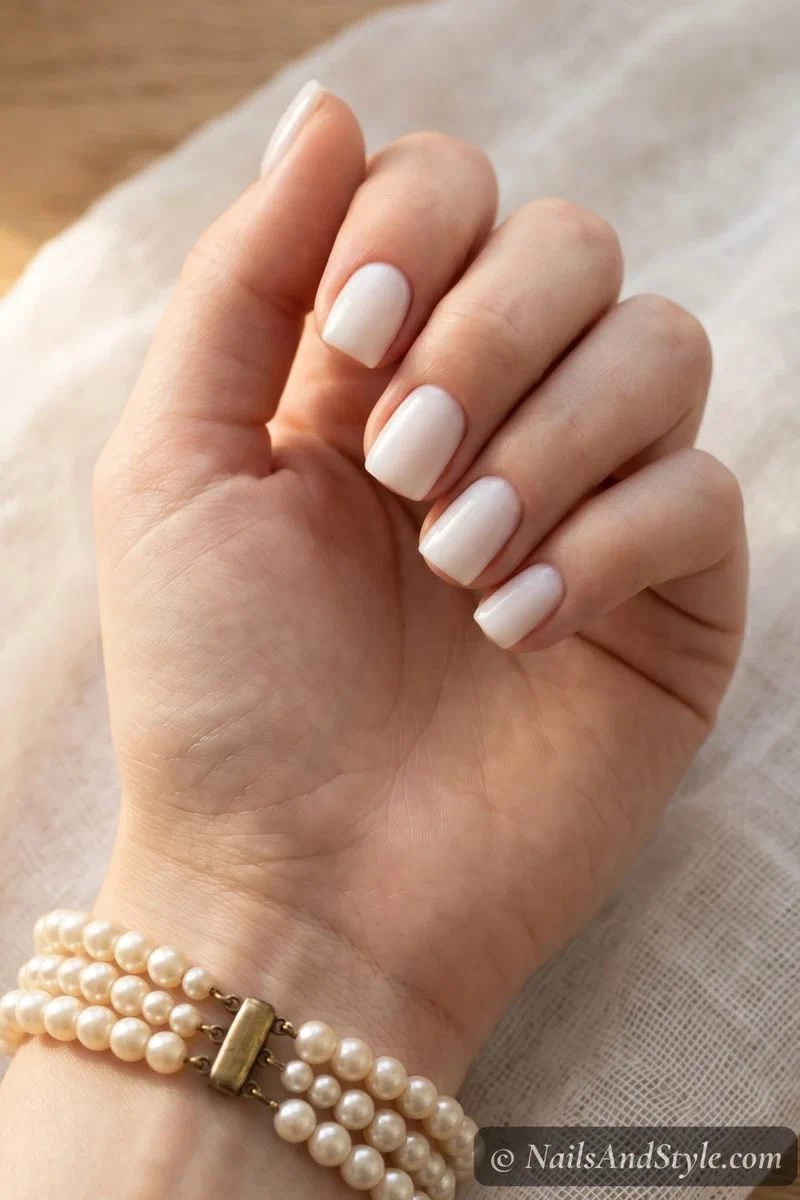
3. Milky White Short Set#
Short squoval acrylics in a semi-sheer milky white. So clean it almost hurts. Looks fresh even two weeks in, and it’s forgiving about regrowth because the shade is so soft.
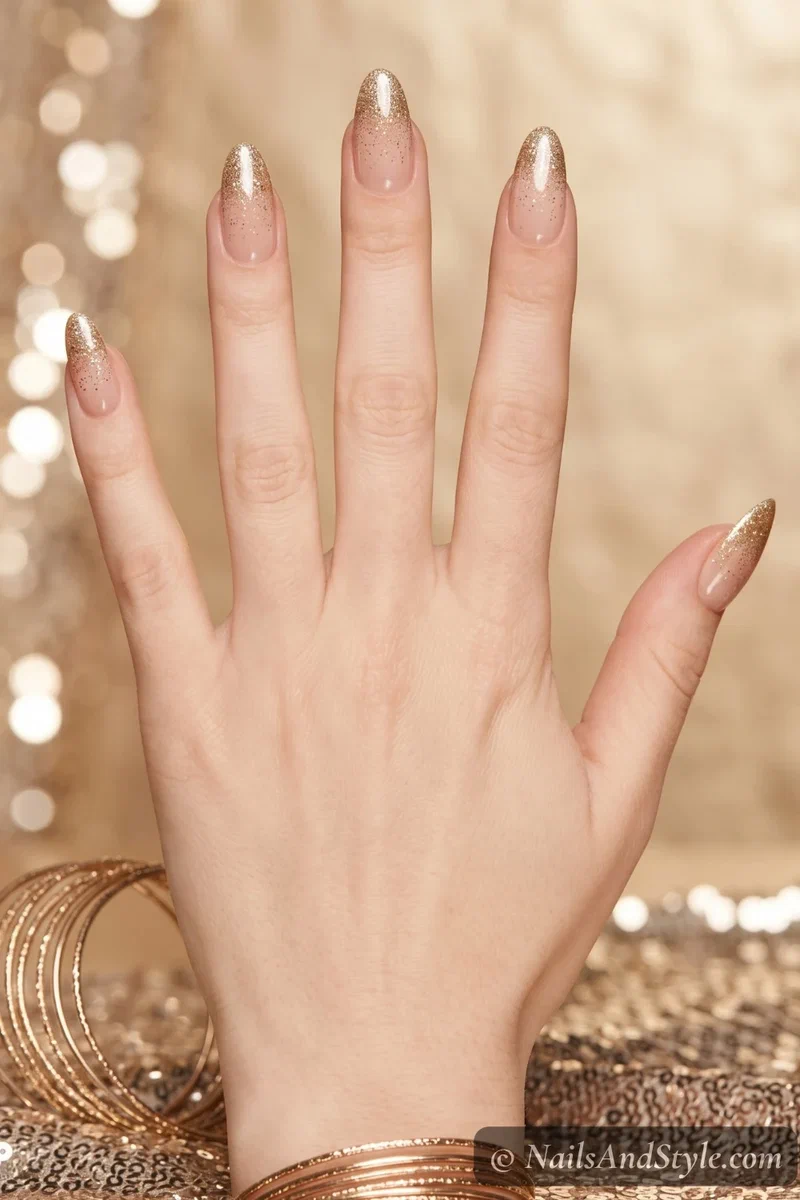
4. Glitter Ombre Tips#
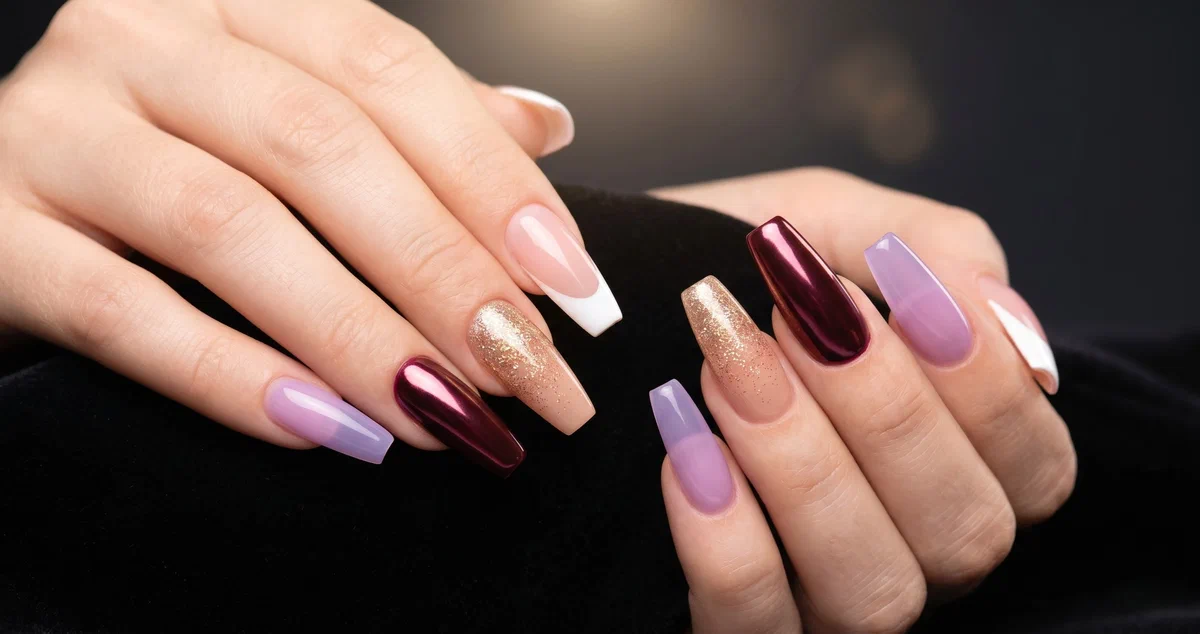
Nude acrylic base, then sponge fine gold glitter from the tips inward so it fades as it moves toward the cuticle. Catches every light. Dressy enough for a night out, chill enough for a Tuesday.
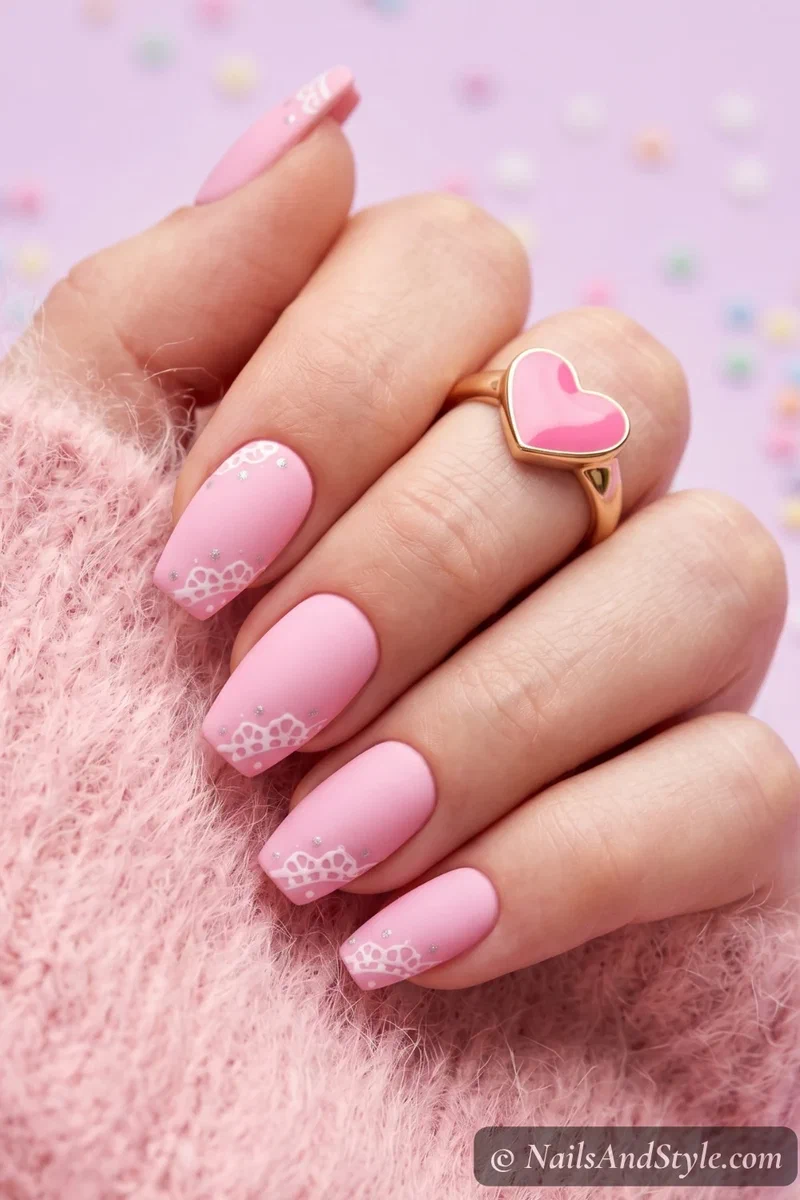
5. Coffin Pastel Pink#
Short coffin shape, bubblegum pink acrylic, matte top coat. Playful and modern without being over the top. Pairs especially well with summer outfits and iced coffee.
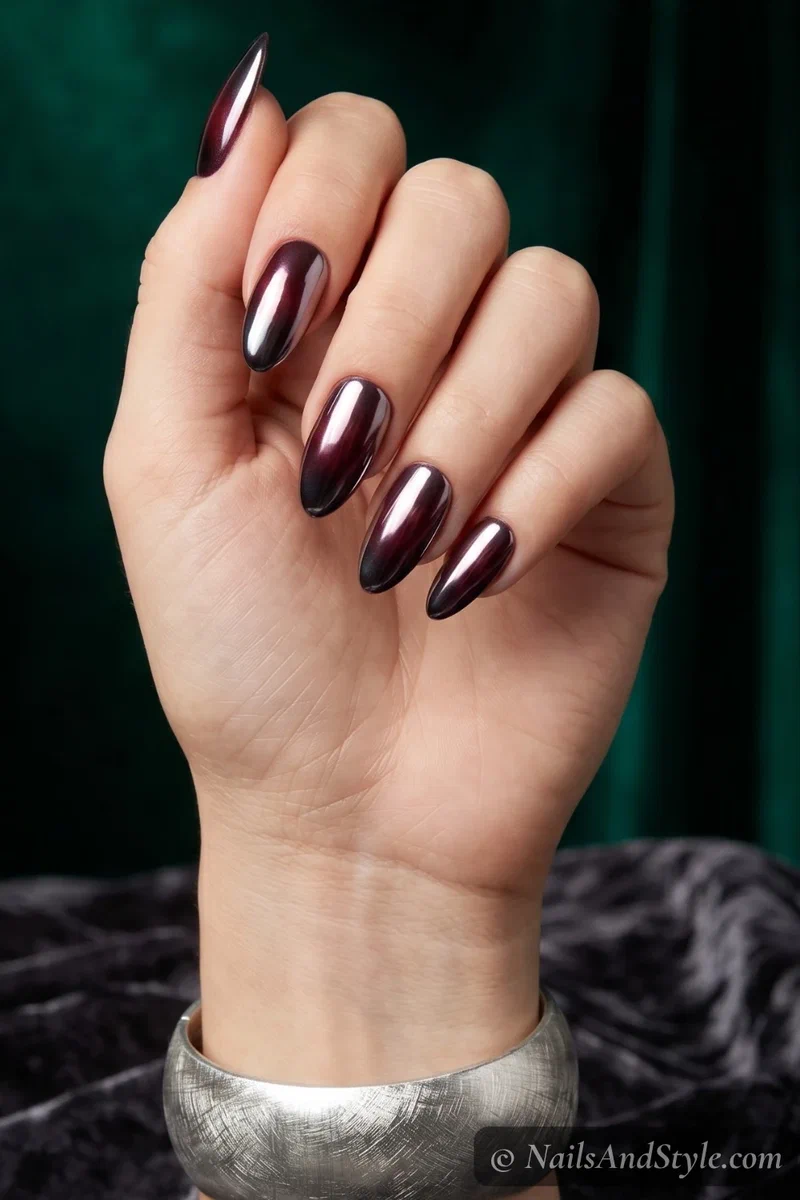
6. Chrome-Dusted Almond#
Paint a solid deep color first (burgundy, navy, or soft taupe all work), let it dry fully, then buff chrome powder over the whole nail with an eyeshadow applicator. The mirror-shift is unreal. If you haven’t chromed before, my chrome powder tutorial breaks it down step by step.
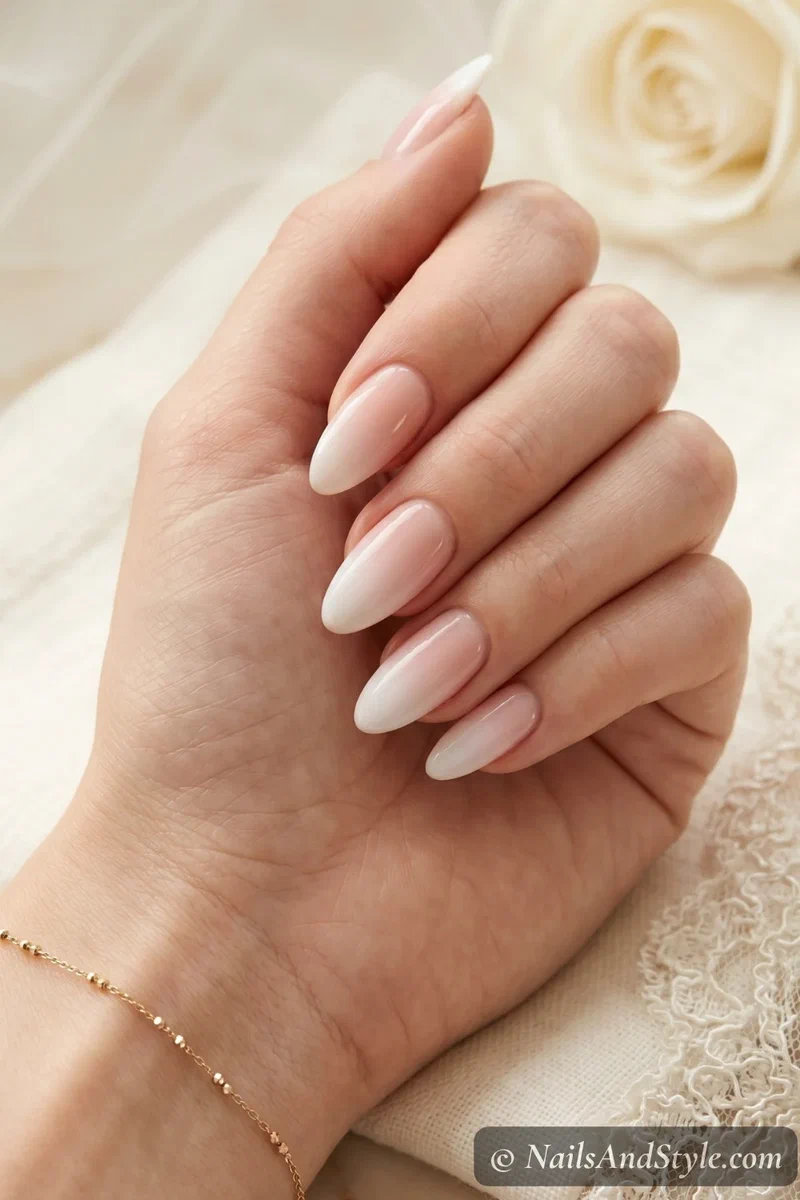
7. Baby Boomer Acrylics#
The ombre french. Sheer pink at the cuticle fading softly into white at the tips with no visible line. A little tricky to blend but absolutely timeless. Wedding nails, forever.
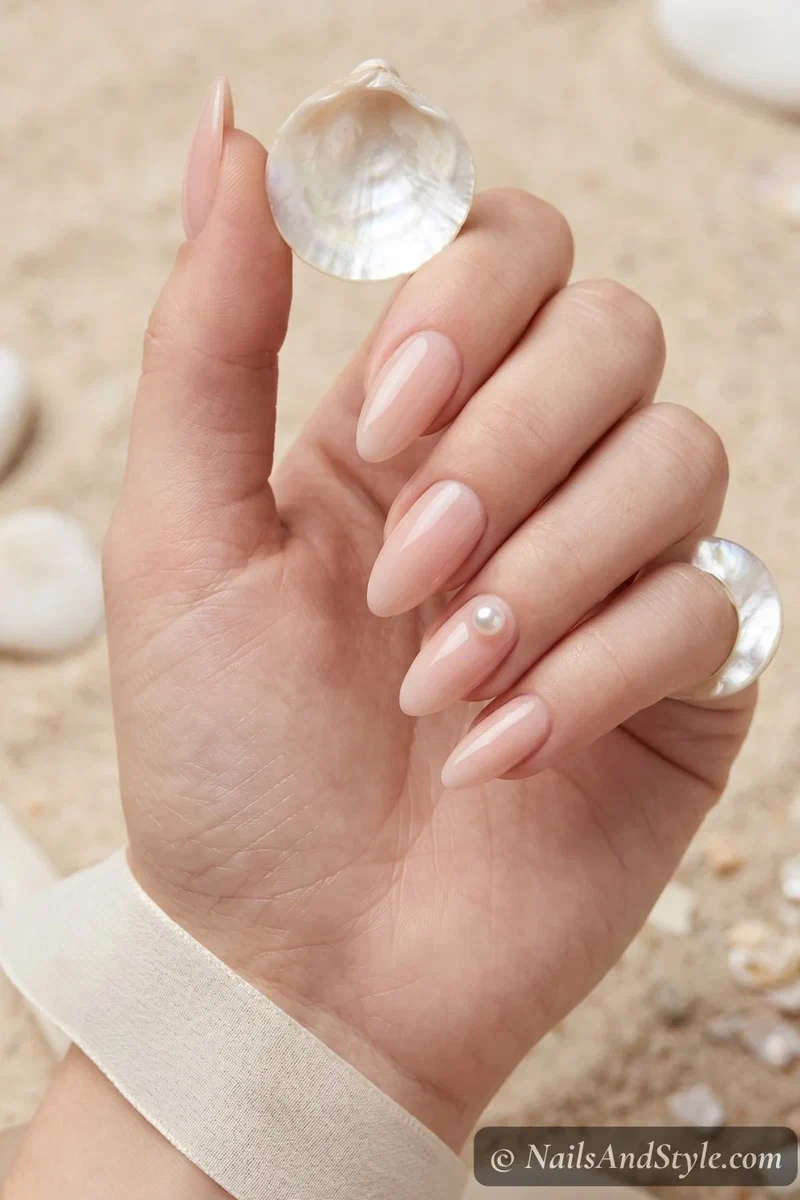
8. Pearl Accent Nails#
Solid nude or soft pink across every nail with a tiny pearl (or a small pearl cluster) glued onto each ring finger. Quiet luxury. The kind of detail people notice slowly.
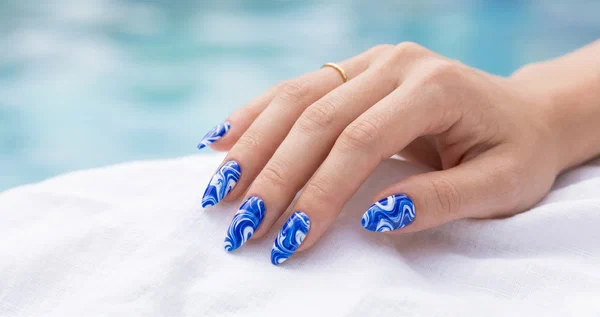
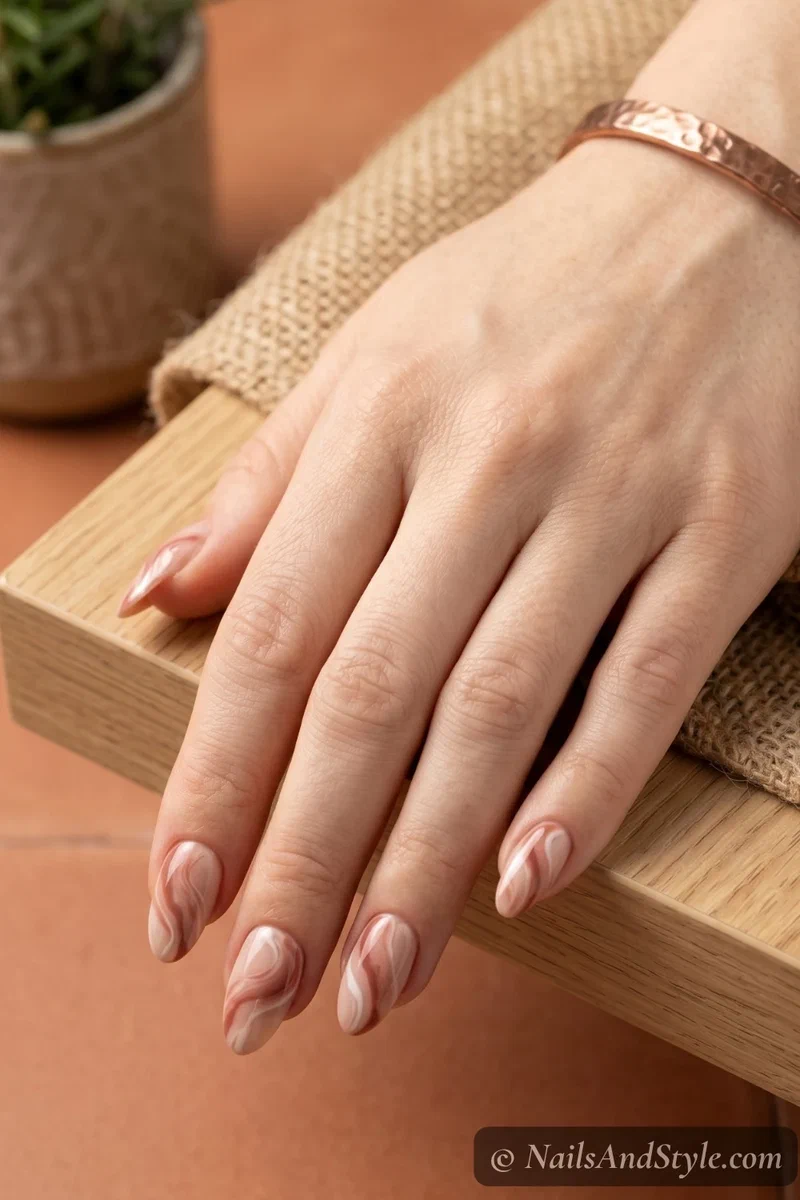
9. Marble Swirl Acrylics#
Swirl two or three polish colors onto a nude acrylic base using a toothpick dragged through wet drops. Every nail comes out a little different, and that’s kind of the point. No two are alike.
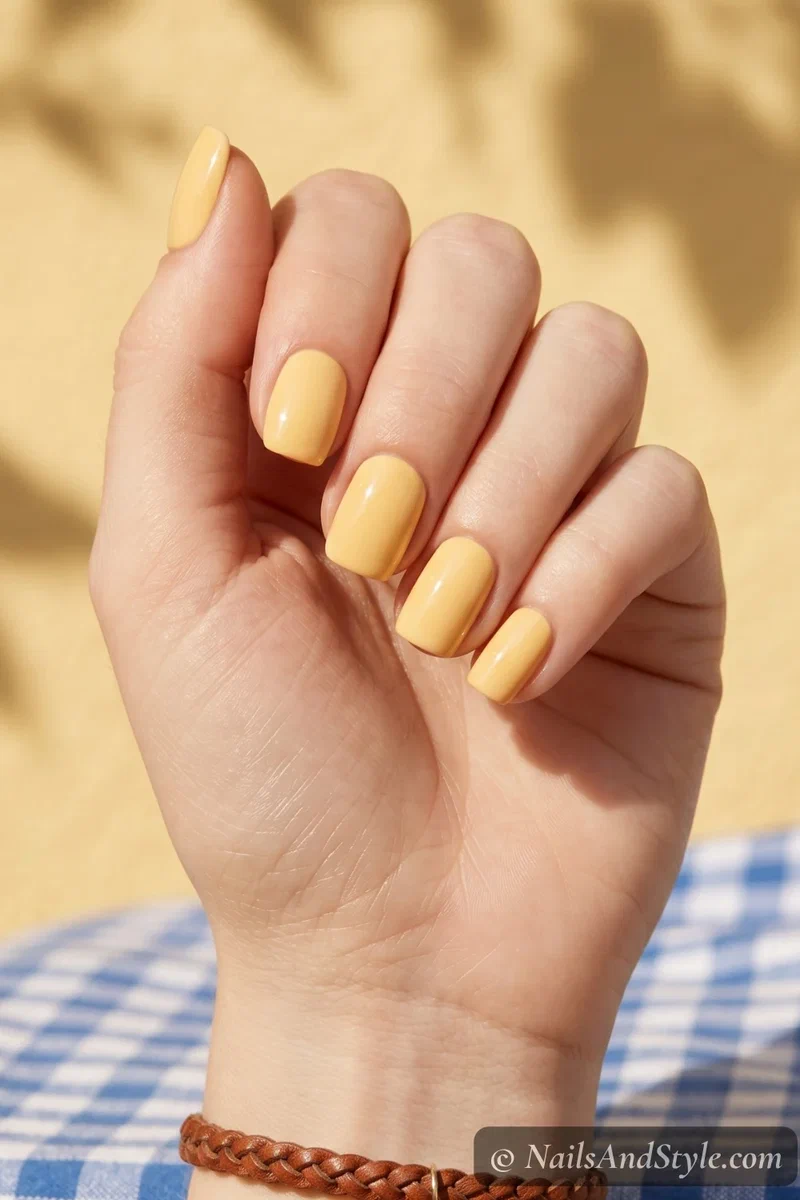
10. Butter Yellow Short Squoval#
Warm butter yellow on short squoval acrylics. So spring-into-summer and weirdly versatile — it goes with pastels and neutrals and denim. Soft matte or glossy both pull the color nicely. We break this shade down further in our butter yellow nails guide.
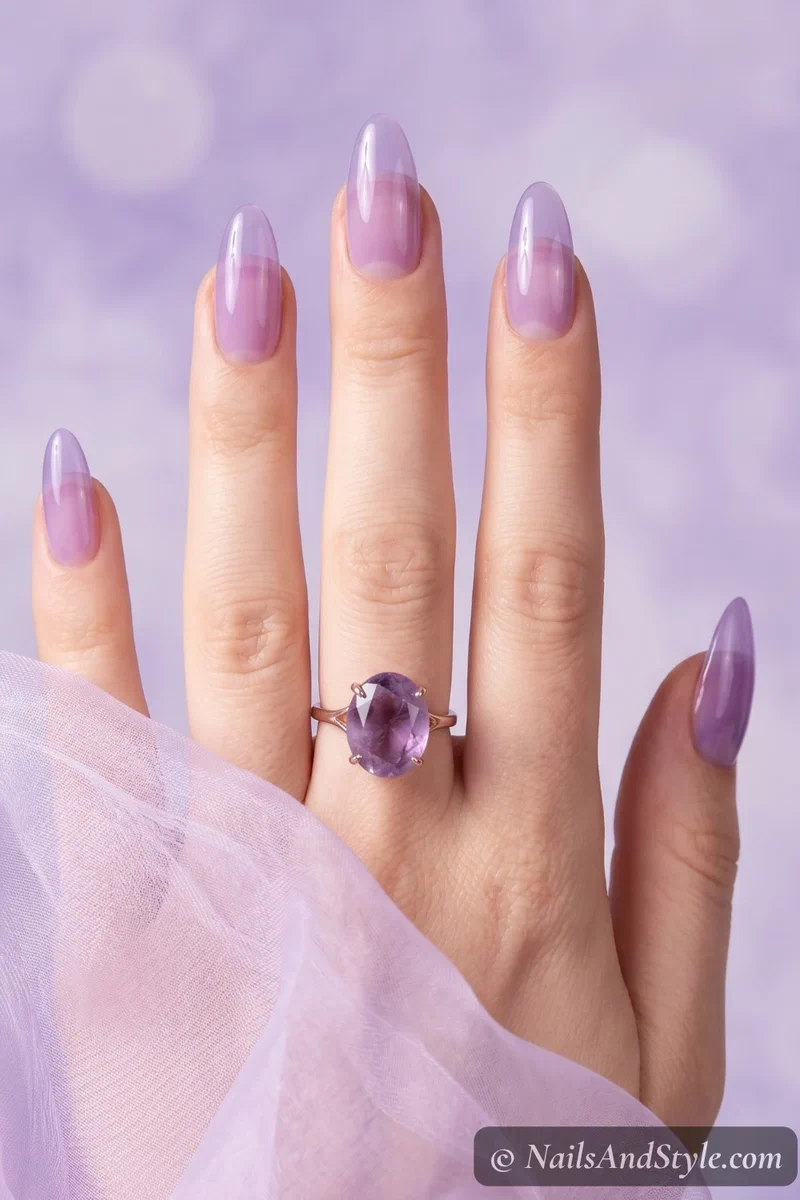
11. Lavender Jelly Almonds#
Thin, translucent lavender acrylic built so you can almost see through to your natural nail. Squishy, dreamy, kind of futuristic. If you’re into this soft aesthetic, pastel summer nails has a whole lineup worth pinning.
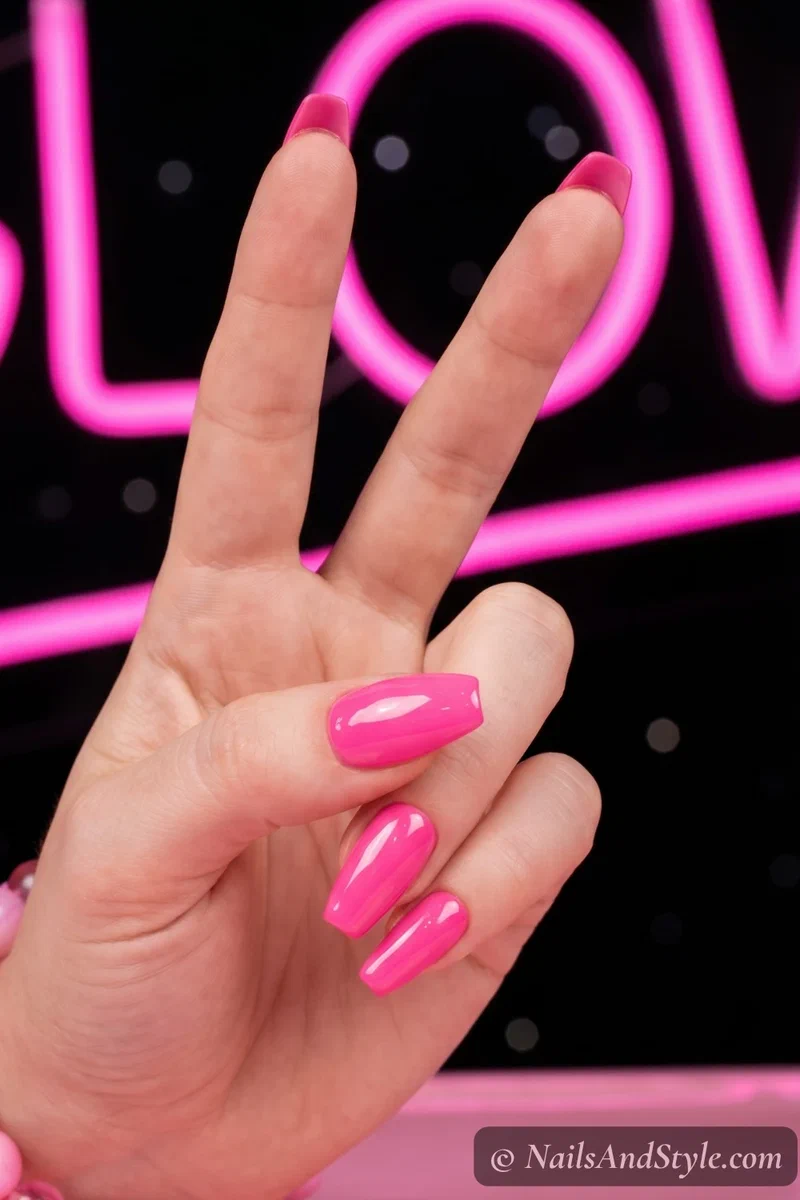
12. Candy Pink Short Coffin#
Bright hot pink, short coffin, ultra-glossy top coat. The kind of nails that make every photo pop. I’d call them loud but in the best possible way.
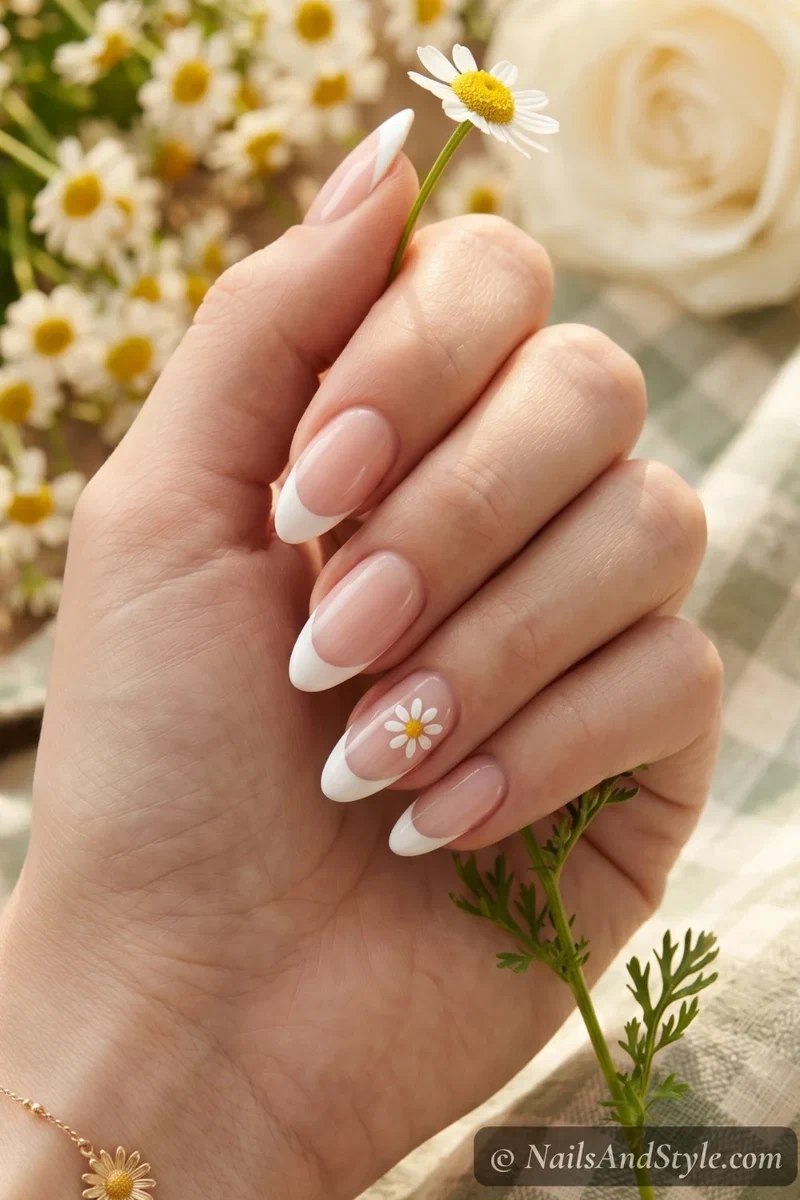
13. Flower-Tip French#
White french tips with one tiny daisy painted on each ring finger. A dotting tool handles the petals, a toothpick does the center dot. Cottagecore energy for anyone who grew up making daisy chains.
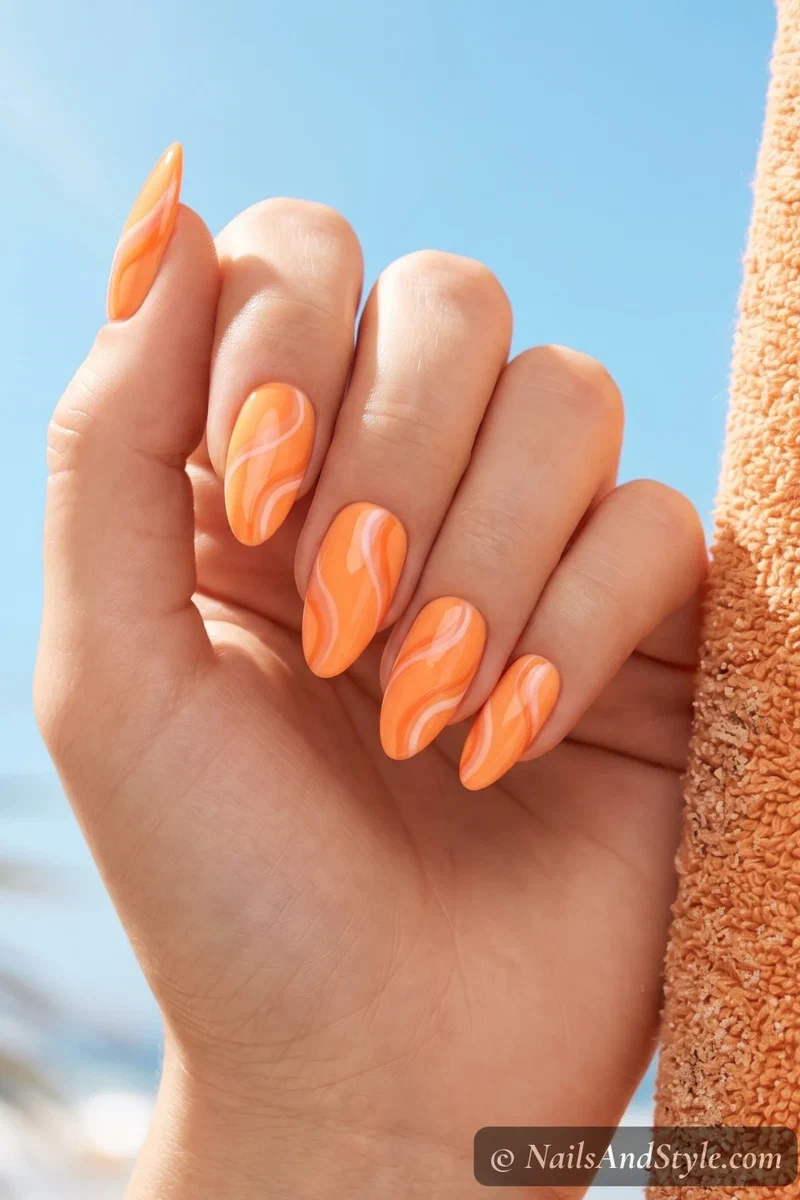
14. Soft Neon Tangerine#
Tangerine acrylic on almond-shaped nails, glossy. Not full neon — just a few notches brighter than coral. Absolutely made for beach days and sundresses.
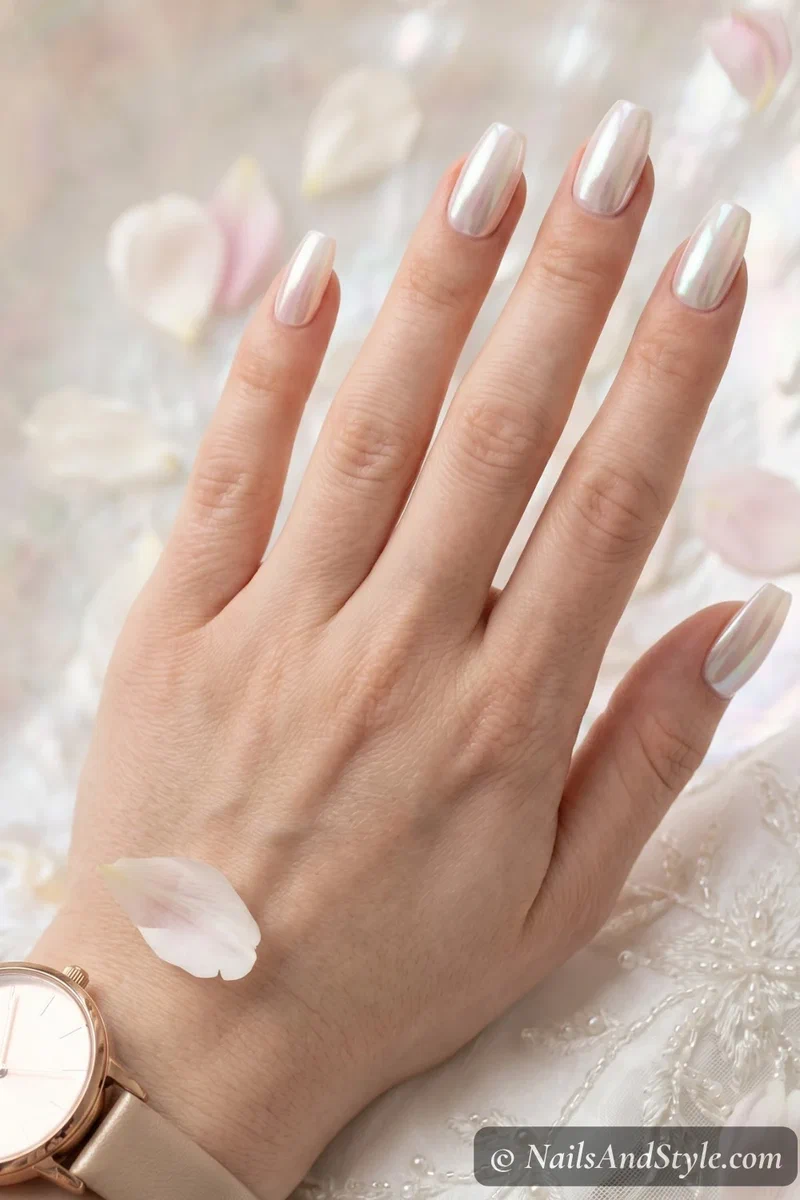
15. Pearly White Chrome Coffin#
White acrylic base with pearl chrome powder buffed over the top. The finish shifts between pearly and iridescent depending on how the light hits. Wedding-worthy. Also everyday-worthy if that’s your thing.
Short Acrylics Are Actually a Vibe#
There’s a whole thing right now for keeping acrylics short, and honestly I’m into it. Short acrylics last longer, break less, and feel way more practical for typing and picking things up without being a whole production.
A few ideas if you want to keep it short:
- Short squoval feels tailored and grown-up — the shape is flattering on almost every finger
- Short almond looks longer than it is thanks to the tapered tip, which is a nice illusion
- Short coffin with a soft taper reads playful but still polished
- Baby boomer in short softens the whole face of the nail and looks editorial
- Single-pearl accent short sets feel elevated without needing length
Short doesn’t mean boring. It just means your nails can survive a normal Tuesday.
How to Fill Acrylic Nails at Home#
After 2-3 weeks, you’ll start seeing regrowth — that little gap between your cuticle and where the acrylic starts. That’s your fill window. Learning how to fill acrylic nails at home is what lets you stretch a single set out for 6-8 weeks instead of redoing them monthly.
Quick rundown:
- File down any lifting and roughen the exposed regrowth area
- Apply dehydrator and primer to the new growth only
- Pick up a small bead and place it right in the gap, blending into the old acrylic
- Pat, sweep, let it cure
- File flush, buff, top coat
Fills take about half the time of a fresh set. Your future self will thank you.
How to Remove Acrylic Nails Safely#
Please don’t rip them off. I know. It’s tempting. Don’t.
How to remove acrylic nails safely comes down to soaking, not peeling. Here’s the move:
- File down the top shine with a coarse file so the acetone can actually penetrate
- Soak cotton balls in pure acetone, press one onto each nail
- Wrap each fingertip in foil to trap the acetone so it doesn’t evaporate
- Wait 20-25 minutes (longer for thicker builds)
- Gently push the softened acrylic off with a cuticle pusher. It should slide, not scrape
- Buff any residue lightly and load up on cuticle oil and hand cream
If anything resists, soak another 10 minutes. Forcing it damages your natural nail, and that takes weeks to grow back.
Tips to Make Your Acrylics Last Longer#
- Don’t use your nails as tools. Opening cans, peeling stickers, scratching labels — one sharp hit pops a tip.
- Wear gloves for chores. Dishes, cleaning, gardening, all of it. Acetone in cleaning products eats acrylic.
- Reapply top coat every 4-5 days to refresh the shine and reseal the edges.
- Cuticle oil daily. Keeps the natural nail underneath healthy and prevents lifting at the base.
- Skip hot water for 12 hours after application. Acrylic fully hardens over several hours, not minutes.
- Don’t file the base of a fresh set for at least a day — touch-ups come later.
Quick FAQ#
Are acrylic nails hard for beginners?#
The first set? A little, yeah. The bead pickup and brush control take practice. By set three or four it clicks. Watch a couple of application videos, give yourself a quiet afternoon, and lower your expectations for attempt one. You’ll be fine.
Can you do acrylic nails on short natural nails?#
Yep. Tips work on almost any length underneath as long as there’s enough surface to grip. Short natural nails actually work well because there’s less risk of the tip popping off during filing.
What’s the best acrylic nail color for beginners?#
Sheer pink or nude. Mistakes don’t show as much, application is more forgiving, and you can layer polish over the top if you want something different. Bright whites and deep colors are a step up once you’ve got the technique down.
Final Thoughts#
Getting the hang of how to do acrylic nails at home takes a few tries, but it’s genuinely one of the most rewarding nail skills to learn. Once the ratio clicks and your brushwork settles in, you save a small fortune and get the exact shape, length, and color you want every single time.
Save the designs that caught your eye, pick one to try first, and don’t compare your first set to a salon’s thousandth. A good Sunday afternoon, some patience, and your kitchen table — that’s really the whole setup.