French tips are the one manicure that never really leaves. Weddings, work, a random Tuesday — they just work. And figuring out how to do French tips at home used to feel like this impossible salon-only skill, but honestly? It’s not. You just need the right method for your hands.
Here’s the thing nobody tells beginners: there isn’t one “correct” way to do them. There are like five. Some use tape, one uses a makeup sponge, one is basically cheating (in the best way), and one is pure freehand for when you’re feeling brave.
I’ll walk you through all of them. Every method here works on short and medium nails, uses stuff you probably already own, and doesn’t need gel or a UV lamp unless you want it.
What You’ll Need#
- Base coat — helps everything grip and last
- Sheer nude or pink polish — your base color
- White polish — or any color for the tip
- French tip guide stickers — curved stencils for clean lines
- Thin detail brush — for freehand tips and cleanup
- A small makeup sponge — for the soft ombre version
- Glossy top coat — seals the tip and adds shine
Why French Tips Are Worth Learning#
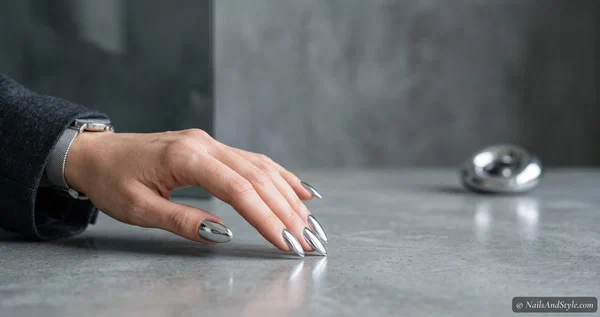
Once you can do a French tip, you can do about fifty variations of it. Swap the white for cherry red, chrome, sage green, black — same technique, totally different vibe. It’s genuinely the best beginner skill to have in your back pocket.
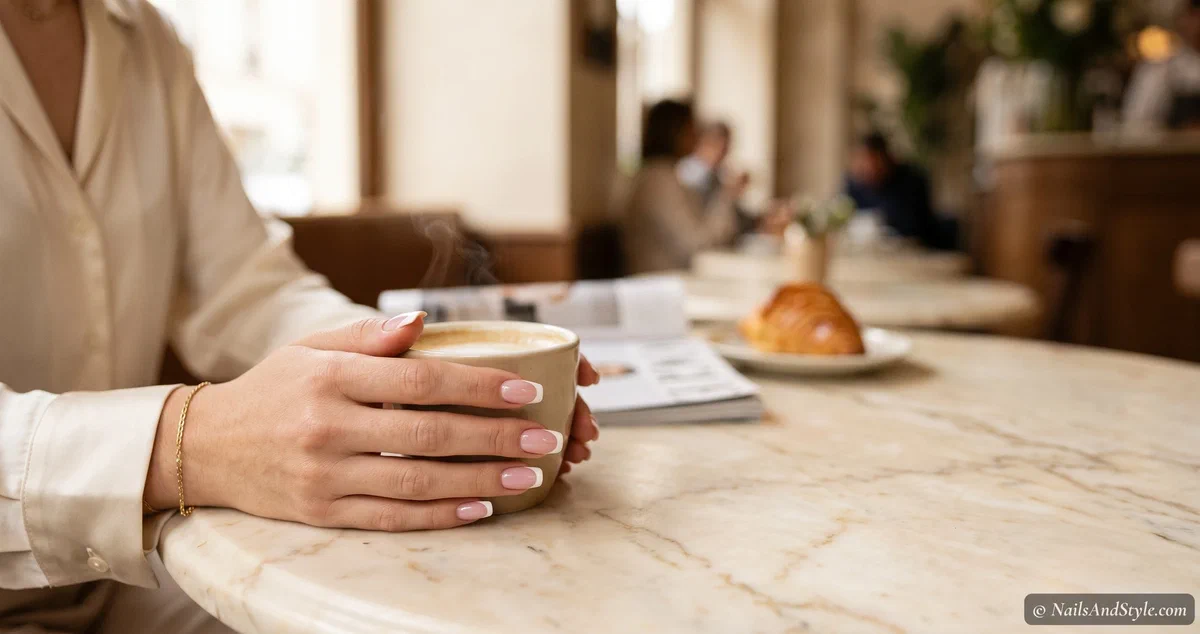
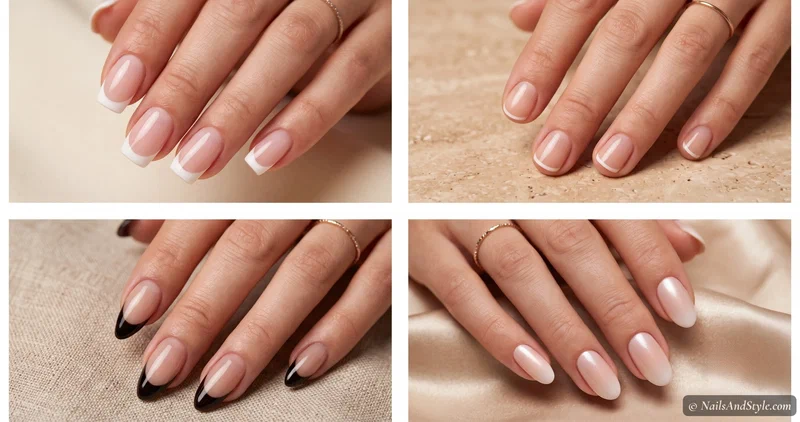
They also flatter almost everyone. A thin tip makes short nails look longer, a soft nude version reads polished without trying too hard, and the classic white-on-pink still looks expensive in a way that’s hard to explain. If you want to see where this can go, my roundup of 30 French tip nail designs is a good rabbit hole.
A Few Things to Keep in Mind Before You Start#
- Thin beats thick. A skinny “micro” tip elongates the nail. A chunky white strip does the opposite and can look dated.
- Match your base to your skin tone for that seamless, natural look — a shade or two off is what makes it read premium.
- Square and squoval shapes hold a classic French best; almond and coffin make the tip look longer.
- Never skip base and top coat. The base stops staining, the top coat seals the line so it doesn’t chip off first.
How to Do French Tips at Home: 5 Easy Methods#
Pick the one that matches your patience level today. No judgment.
The Tape and Guide Method#
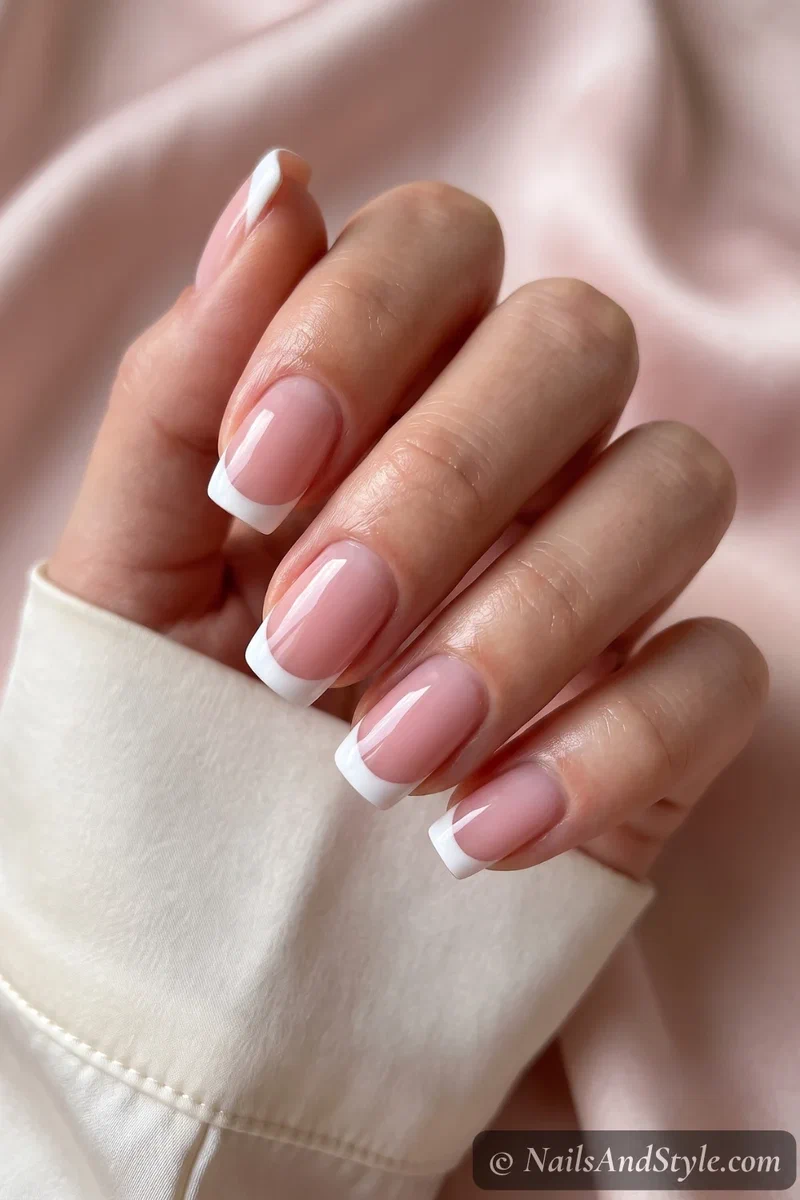
This is the beginner favorite for a reason — the guide does all the hard work. Let your base color dry completely (this matters, or the tape pulls it up), then lay a French tip guide sticker or a small strip of tape just below where you want the line. Paint the exposed tip white, peel the guide away while the polish is still slightly wet, and seal it once it’s dry.
The result is a crisp, even smile line without any freehand pressure. If your base is even a little tacky, walk away for ten more minutes before you tape.
The Makeup Sponge Gradient Hack#
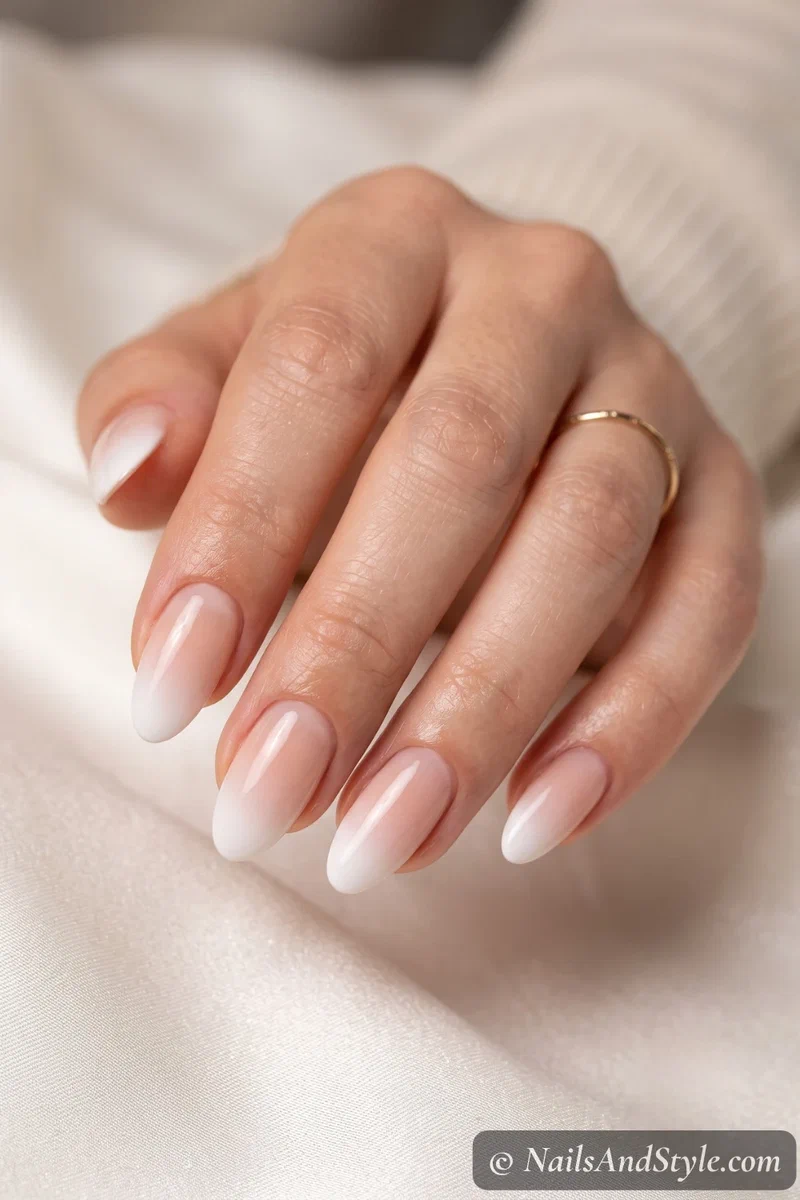
Want a soft, faded French instead of a hard line? Grab a makeup sponge. Dab a little white polish onto the very edge of the sponge, then press the sponge gently against your nail tip and roll it slightly. The sponge blends the white into a soft ombré as it lifts away.
It’s a bit messy the first go, so use a small amount of polish and test the pressure on one nail before committing. This one hides shaky hands beautifully — the whole point is that it’s soft, not sharp.
The Cleanup Method (Freehand + Remover)#
Here’s the freehand method that forgives everything. Paint a rough white line across your tip — it does not need to be neat. Then dip a thin detail brush (or an angled brush) in polish remover and carve the smile line clean, wiping away the excess until the curve looks sharp.
Because you’re subtracting, not adding, you don’t need a perfect first stroke. This is how a lot of pros actually get their lines crisp, and it’s weirdly satisfying. A steady surface to rest your hand on helps more than you’d think.
The Clear Jelly Stamper Trick#
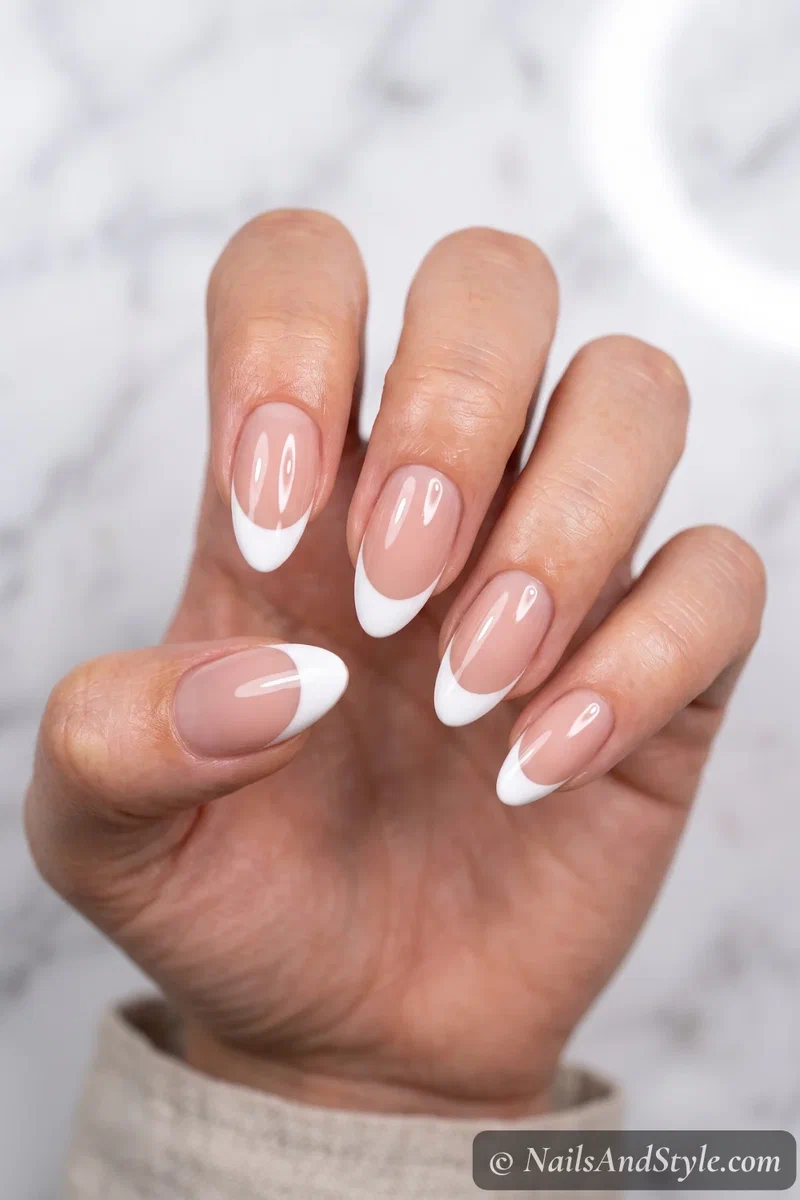
If you own a clear silicone stamper (or a jelly stamper), French tips get almost too easy. Paint a thin curved line of white onto the flat edge of the stamper, then gently press your nail tip into it at a slight angle. Lift, and the curve transfers straight onto your nail.
It gives you a repeatable, even tip on every finger — genuinely hard to achieve freehand. This method also shines for reverse French nail ideas where the line sits at the cuticle instead.
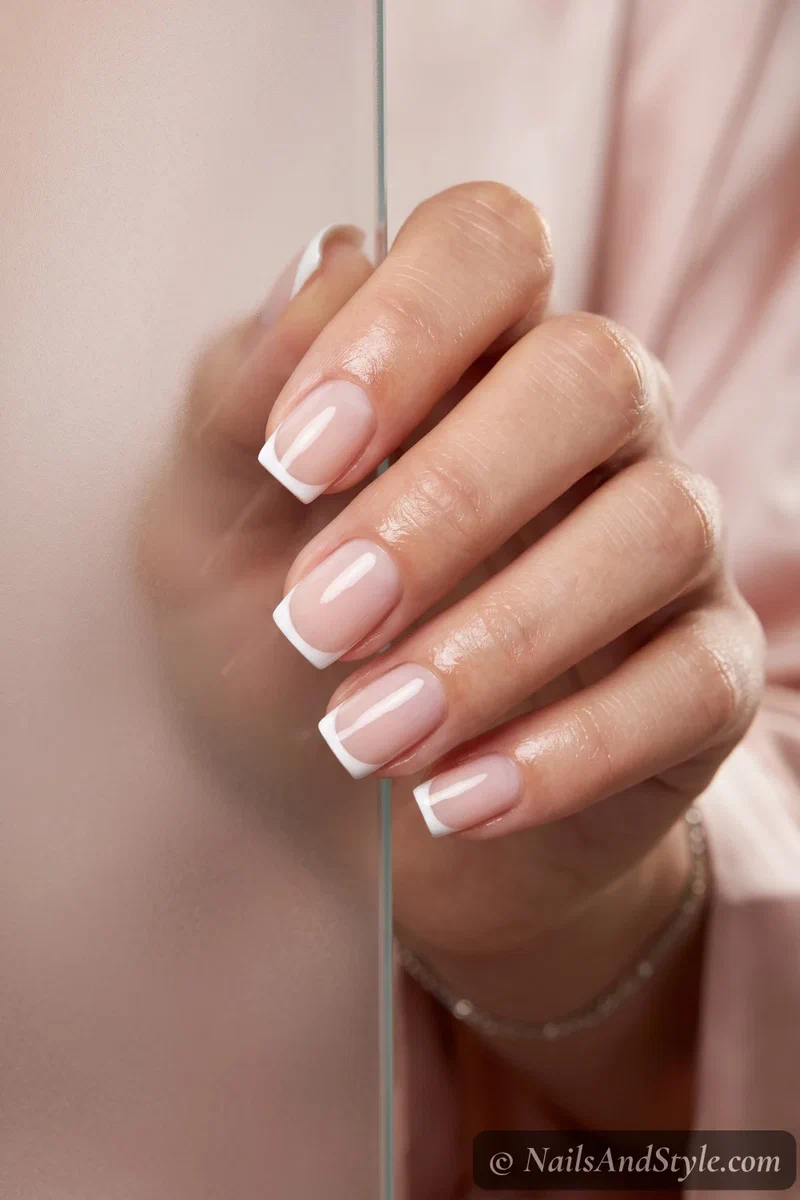
The No-Tool Way With Regular Polish#
No tape, no sponge, no stamper — just you and a bottle of polish. Hold the brush sideways against your nail tip and gently roll your finger while keeping the brush steady. The rolling motion does the curving for you, so you’re not fighting to drag a clean arc across the nail.
Regular polish is actually great for beginners here because it wipes off easily when you mess up. Thin coats, take your time, and clean the edges after. Simple as that.
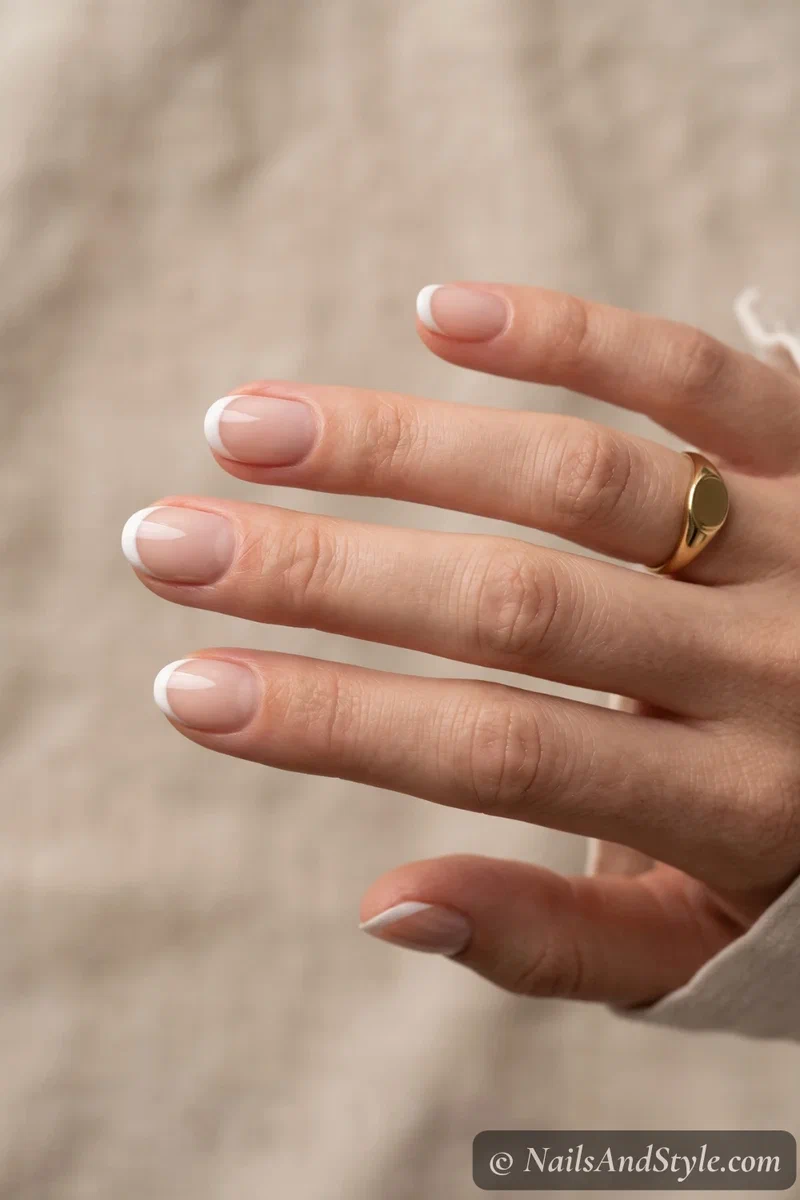
Gel vs Regular Polish — Which Should You Use?#
Quick honest breakdown, because it genuinely changes your results.
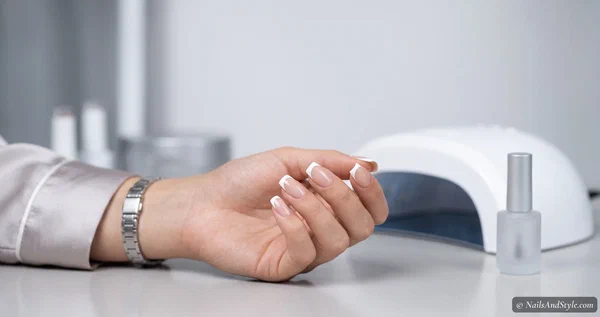
Gel stays wet until you cure it under a lamp, which means unlimited time to perfect your smile line before it sets. You can wipe away mistakes with alcohol right up until you cure. The line comes out sharper, and it wears for two-plus weeks without chipping. The catch: you need a lamp and it’s a bigger commitment to remove.
Regular polish is faster to start, cheaper, removes in seconds, and is very forgiving for practicing. The trade-off is you have to work a little quicker and more precisely before it dries, and it won’t last as long. For learning? Regular polish every time. Once you love the look, gel is worth it. If you want the modern colored and chrome takes, my French tip nail art tutorial covers those.
French Tips on Short Nails#
Short nails and French tips are honestly a great match — better than most people expect. The trick is keeping that tip thin. A delicate micro-line near the very edge tricks the eye into seeing a longer nail bed, while a thick band just chops the length off visually.
Keep your base color close to your skin tone too. That seamless blend is what makes short nails look elongated instead of stubby.
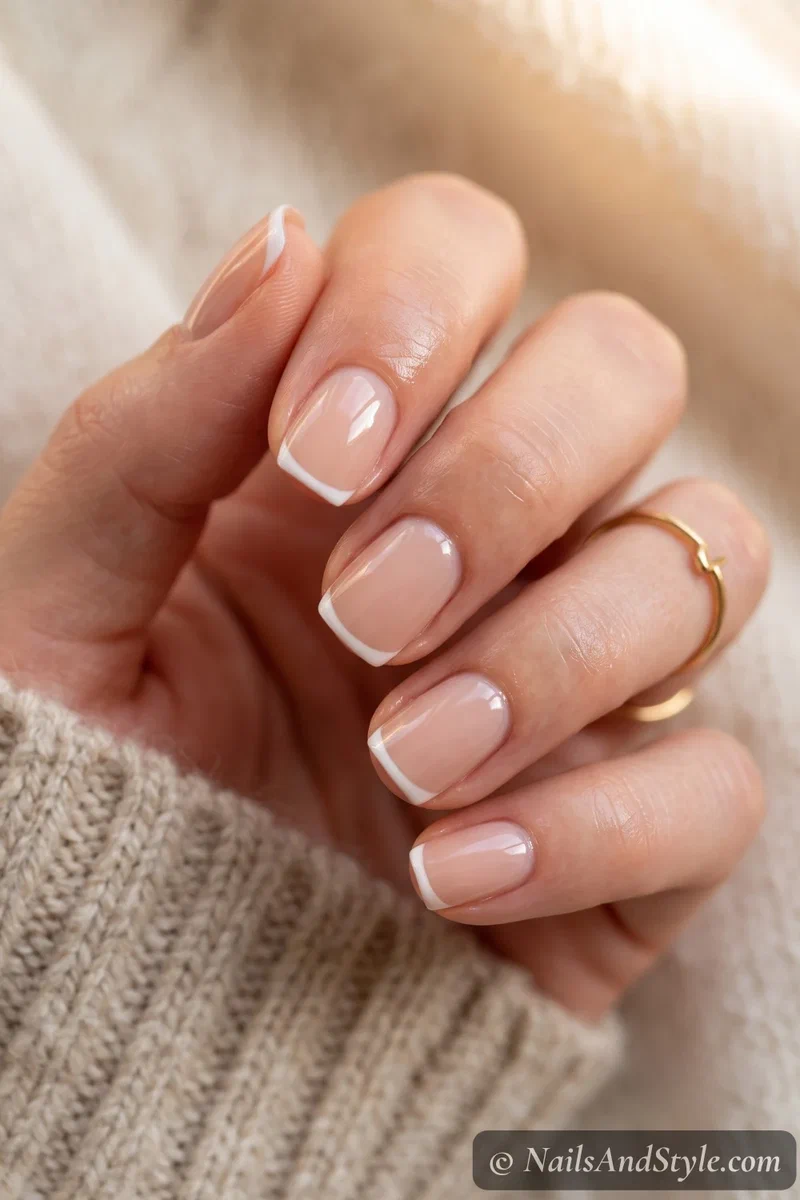
A Few More Short-Nail Ideas#
- Micro French — the thinnest possible white line; nothing makes short nails look daintier.
- Colored tips — swap white for lavender or baby blue for a soft, modern twist that still reads clean.
- Skip-tip French — leave a tiny sliver of bare nail above the smile line for an editorial look.
- Glazed nude French — a pearly top coat over a subtle tip; low effort, very expensive-looking.
Simple Step-by-Step: How to Do French Tips at Home#
Whichever method you picked, this is the order to follow:
- Prep. Wash hands, push back cuticles (don’t cut them), trim and file in one direction.
- Buff lightly. Just enough texture for polish to grip. Don’t overdo it.
- Base coat. One thin layer, edge to edge.
- Base color. Sheer nude or pink — two thin coats beat one thick one. Let it dry fully.
- Make the tip. Use your method of choice: tape, sponge, brush, or stamper.
- Add details if you want — a thin metallic outline, a tiny heart, a dusting of chrome.
- Clean the edges. A small brush dipped in remover erases any polish on your skin.
- Top coat. Seal the free edge by running the brush along the very tip, then let everything dry longer than you think you need to.
How to Ask Your Nail Artist for French Tips#
Going to a salon instead? A little clarity gets you exactly what’s on your inspo board. Here’s what to spell out.
- Bring 2-3 reference photos. Show the exact tip thickness and color you want — a classic white reads very differently from a thin colored micro tip.
- Name the finish. Glossy is the classic; ask specifically if you want matte, chrome, or a glazed pearl top.
- Suggest a shape. Square and squoval hold a traditional French; almond and coffin stretch the tip longer.
- Ask about the technique. A skilled tech freehanding the smile line gets the crispest curve — but say so if you’d rather they use guides.
- Talk gel vs regular. Gel gives a sharper line and two-plus weeks of wear; regular is better if you change your color often.
Tips to Make Your French Tips Last Longer#
- Keep every layer thin — thick polish chips and lifts faster.
- Always seal the free edge with top coat; that’s where chips start.
- Skip hot water and dishes for a couple hours after painting.
- Wear gloves for cleaning and washing up.
- Swipe a fresh layer of top coat every 3 days to refresh the shine.
- Massage in cuticle oil daily — flexible nails snap and chip less.
- Don’t use your nails as tools. You know who you are.
Quick FAQ#
How do I get a straight French tip line?#
Use a guide or tape as a stencil, or paint a rough line and carve it clean with a remover-dipped brush. Almost nobody gets a perfect freehand smile line on the first few attempts, so lean on a tool while you learn.
How long does it take to do French tips at home?#
Around 30 to 45 minutes with regular polish, mostly waiting for coats to dry. Gel is quicker to actually work with since you cure each layer and nothing smudges — closer to 20 minutes once you’ve got the hang of it.
What’s the easiest method if I’ve never done this before?#
The tape-and-guide method or the sponge gradient hack. Both take the pressure off your hands — the guide handles the precision, and the sponge blends any wobble into a soft fade. Get comfortable there, then graduate to freehand.
Can I do French tips on my natural nails?#
Totally. Every method here works on natural nails with regular polish — no gel, no acrylic, no lamp required. A good base coat and thin, patient layers do all the heavy lifting. For colored versions, spring French tip nails has easy shade ideas.
Final Thoughts#
So that’s how to do French tips at home — five ways, zero salon appointments, and plenty of room to make them your own. Start with whichever method matches your patience today, mess up a nail or two (everyone does), and it’ll click faster than you expect.
Save the method that looks easiest to you, then play with it — a colored tip here, a soft gradient there, maybe a tiny chrome line when you’re feeling extra. The classic French is just the starting point. Where you take it is the fun part.