Ombre nails are that smooth color gradient where one shade melts into another — darker at one end, lighter at the other, with zero harsh lines. And in 2026? They’re everywhere. Pink fades on brunch Instagram posts, sunset blends all over Pinterest, chrome ombre looks going viral on TikTok every other week. The style keeps evolving and it’s honestly never been more fun.
Here’s the best part though — you don’t need a fancy brush, a steady hand, or a salon appointment. The sponge method is the most beginner-friendly way to how to do ombre nails at home, and it works with polish you probably already own. A cheap makeup sponge does all the blending for you.
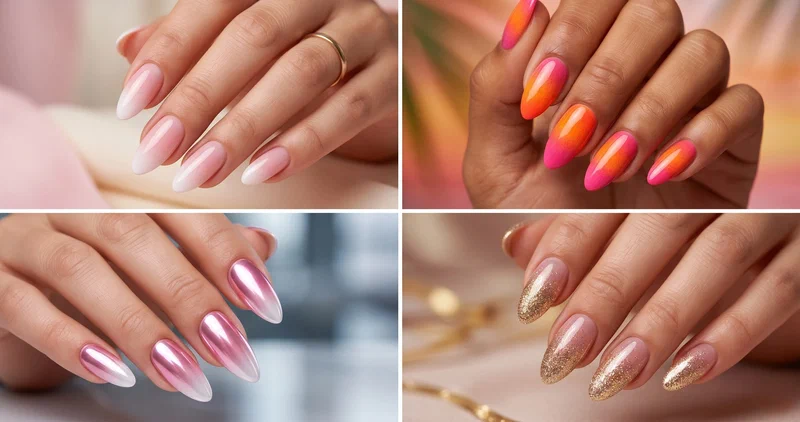
This post covers everything: what tools you need, how to pick your colors, the full sponge method step by step, and 15 gorgeous ombre designs you can recreate on short and medium nails. Let’s get into it.
What You’ll Need — Tools and Materials#
You don’t need much. That’s the whole appeal. Here’s your supply list:
- Makeup or nail-art sponge — the triangular drugstore ones work great
- 2–3 nail polishes — shades that blend nicely together
- Base coat — stops bright colors from staining
- Top coat — glossy or matte — seals the blend
- Tape or liquid latex — around the cuticles for easy cleanup
- Remover + cotton buds — to tidy the edges after
That’s it. Seriously. No special brushes, no UV lamp, no gradient tool you’d need to order online.
How to Choose Your Ombre Color Combinations#
Picking the right colors makes or breaks an ombre manicure. The trick is sticking with shades that sit close on the color wheel — they blend naturally instead of turning muddy.
Some combos that always work:
- Pink to white — the classic pink ombre nails tutorial starting point. Soft, clean, hard to mess up.
- Nude to coral — warm, summery, looks gorgeous on everyone. Low-key obsessed with this one for everyday wear.
- Blue to purple — bolder, moodier, statement-making. Great if you want something that stands out.
- Orange to pink to yellow — the sunset ombre nail art look that’s been trending nonstop. Three colors on the sponge at once, one smooth dab.
If you’re doing a two color ombre nails tutorial for the first time, stick to two shades. Adding a third color is easy once you’ve got the basic dab down. And warm shades (pinks, corals, peaches) tend to blend more smoothly than cooler tones — just something I’ve noticed.
Step-by-Step: Sponge Ombre Nails Method#
This is the core technique. Once you nail this (pun intended), every design in this post becomes doable. Here’s the sponge ombre nails step by step breakdown:
- Prep your nails. Clean, trim, file them into shape, and push back cuticles. A smooth surface = a smoother gradient.
- Apply base coat and let it dry fully. Don’t rush this step — base coat keeps your nails from picking up pigment stains, and it gives polish something to grip onto.
- Apply liquid latex or tape around your cuticles. This is optional but honestly? It saves you so much cleanup time. The sponge gets messy. That’s just how it works.
- Paint your 2–3 colors side by side on the sponge. Overlap them slightly in the middle where you want them to blend. Don’t be stingy with the polish here.
- Dab the sponge onto your nail with a light pressing motion. Don’t drag it — just press, lift, press, lift. You want a bouncing motion, almost like you’re stamping.
- Repeat 2–3 times, reloading and rotating the sponge slightly each time. Each round builds the color and smooths the gradient. Two dabs looks okay. Three looks great.
- Peel off the latex or clean up edges with a cotton bud dipped in nail polish remover. This is where the look goes from “DIY experiment” to “salon quality.”
- Apply two layers of glossy top coat. The top coat blends any remaining texture from the sponge and makes everything look smooth and finished. Two thin coats, not one thick one.
And that’s it. The whole process takes maybe 20-25 minutes once you get comfortable with it.
How to Do Ombre Nails at Home — 15 Looks You’ll Love#
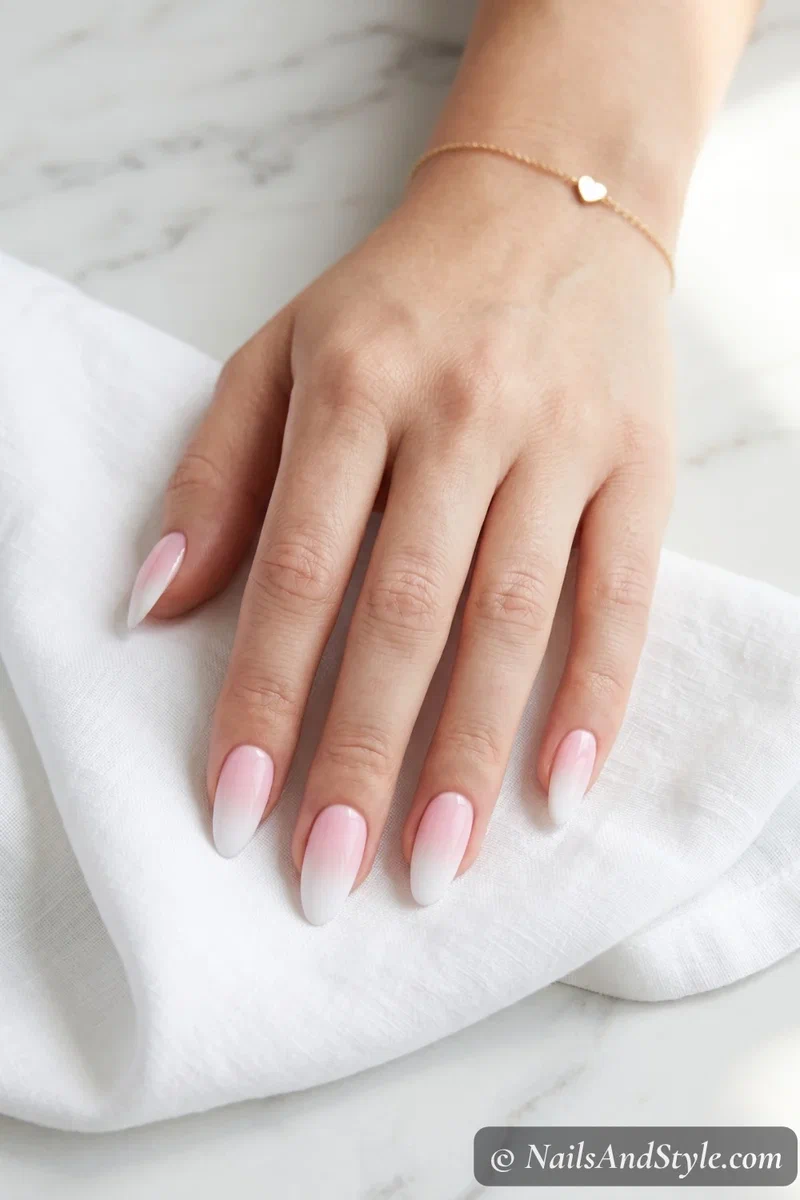
1. Classic Pink to White Fade#
The one everyone starts with. Paint your nails white, sponge light pink from the cuticle halfway down, and dab twice for a smooth blend. Glossy top coat makes this look polished without trying.
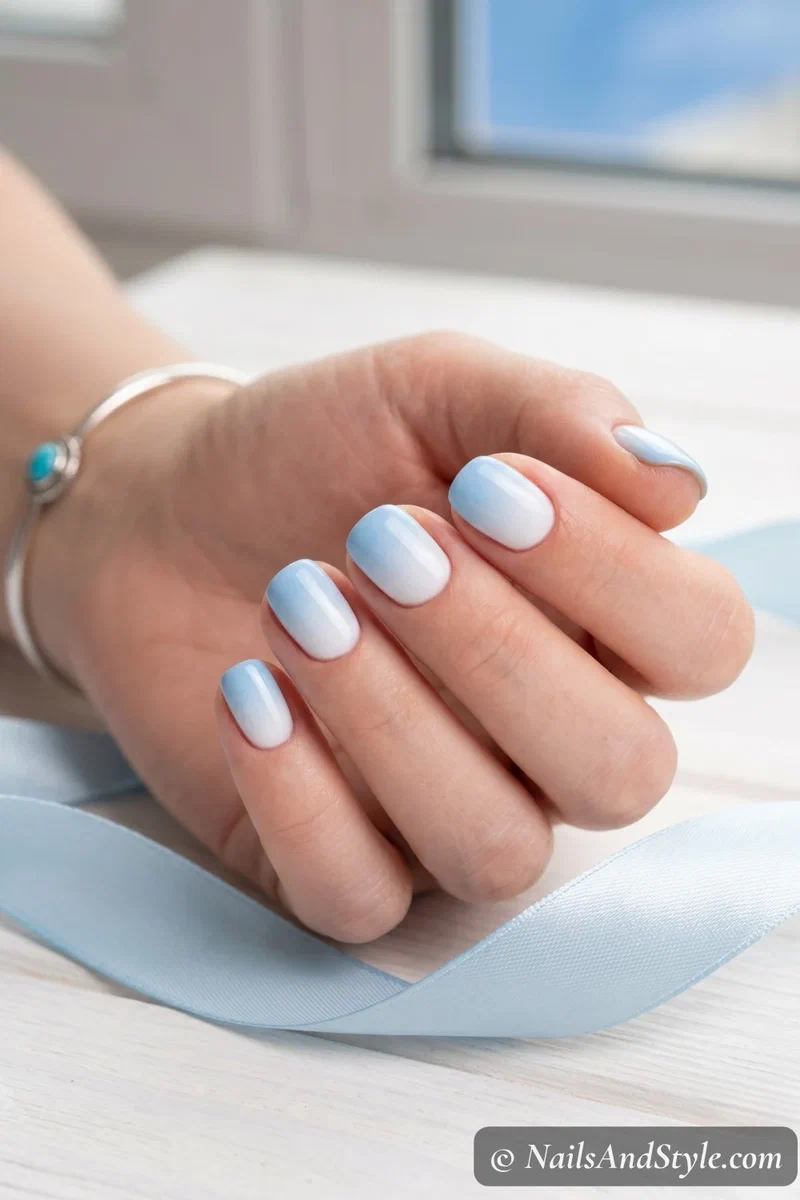
2. Baby Blue Sponge Fade#
White base, baby blue sponged from the tips inward. The result is this airy, sky-washed look that screams pool day. Short round nails make it feel effortless.
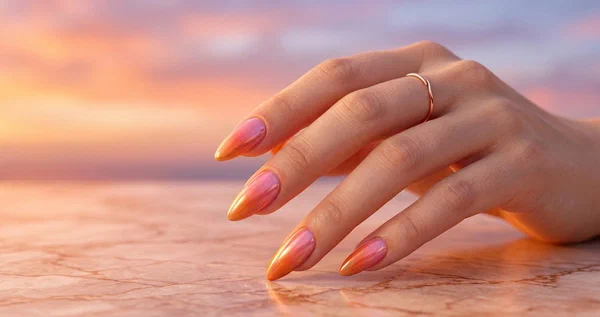
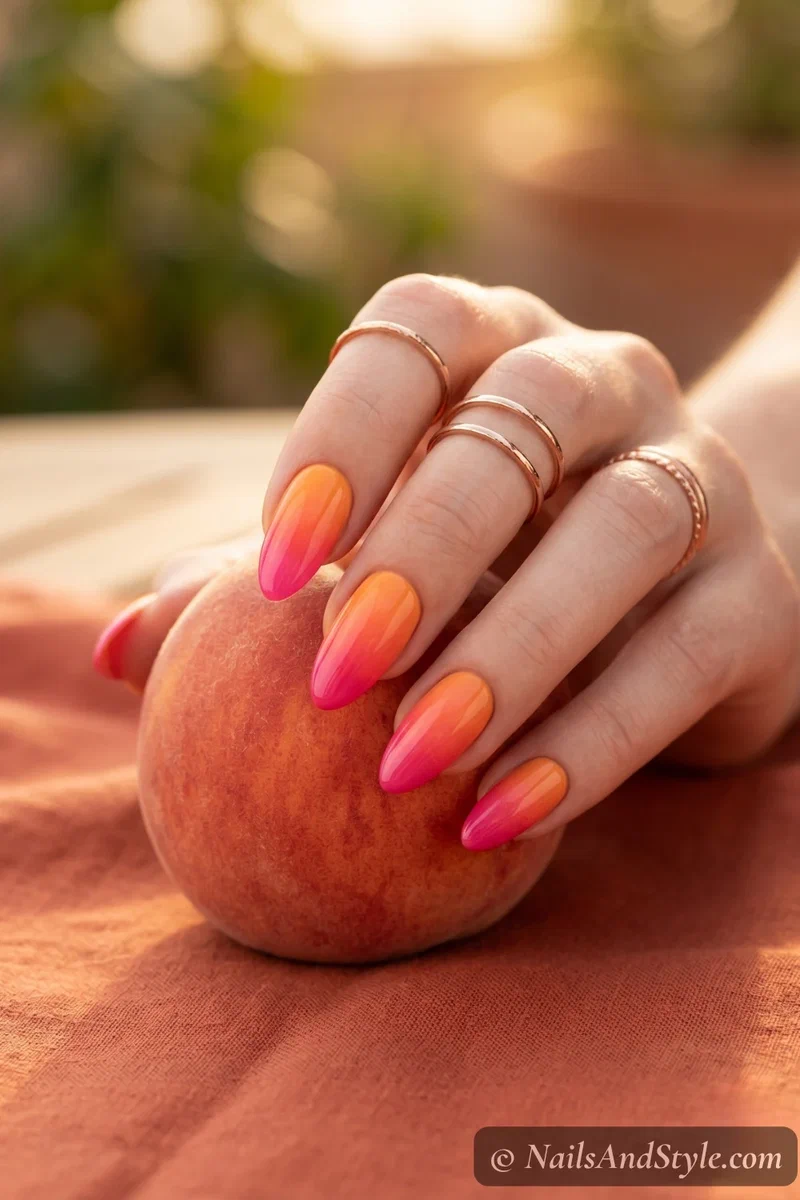
3. Sunset Two-Tone Blend#
Sponge orange at the cuticle, hot pink at the tips, let them overlap in the middle. That coral blend happens naturally and it’s gorgeous. If you’re into sunset gradient nails, this is the easiest version to start with.
4. French Ombre (Baby Boomer)#
The bridal classic. White at the tips, sheer pink at the base, blended so softly there’s no visible line. Three light sponge layers build the smoothest transition. Looks expensive. Isn’t.
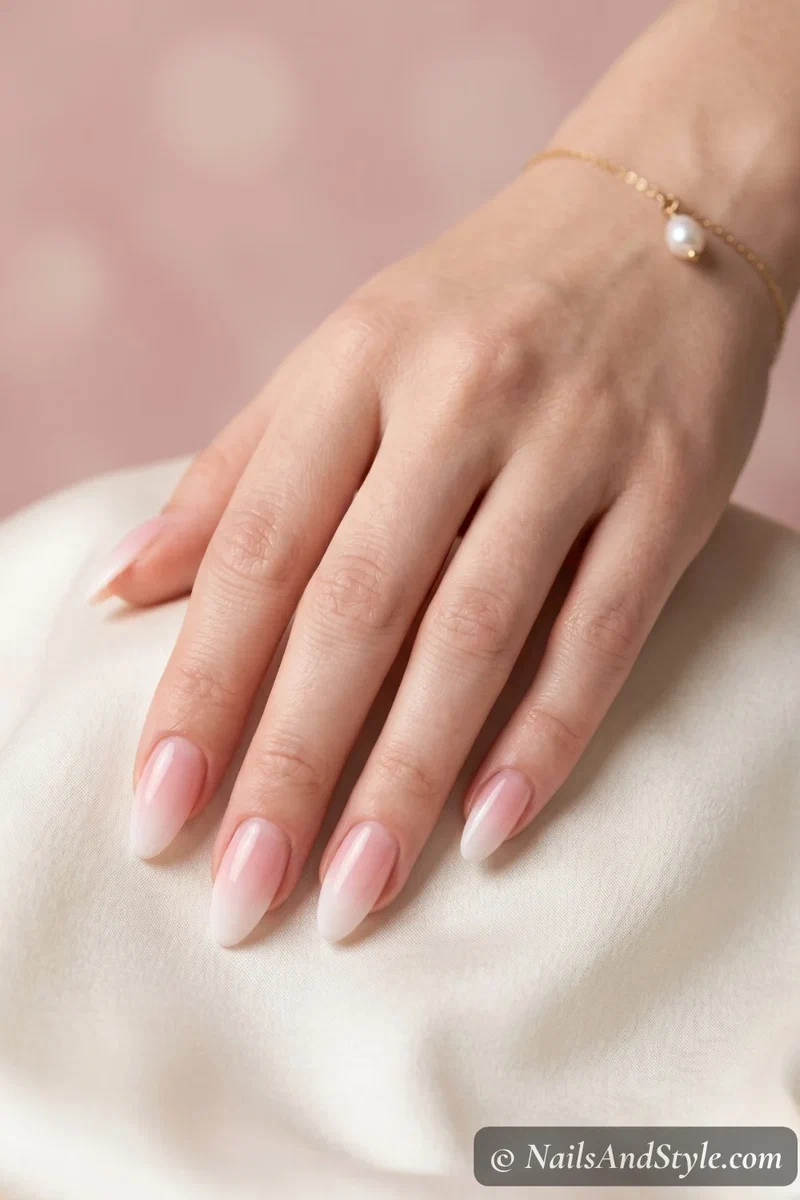
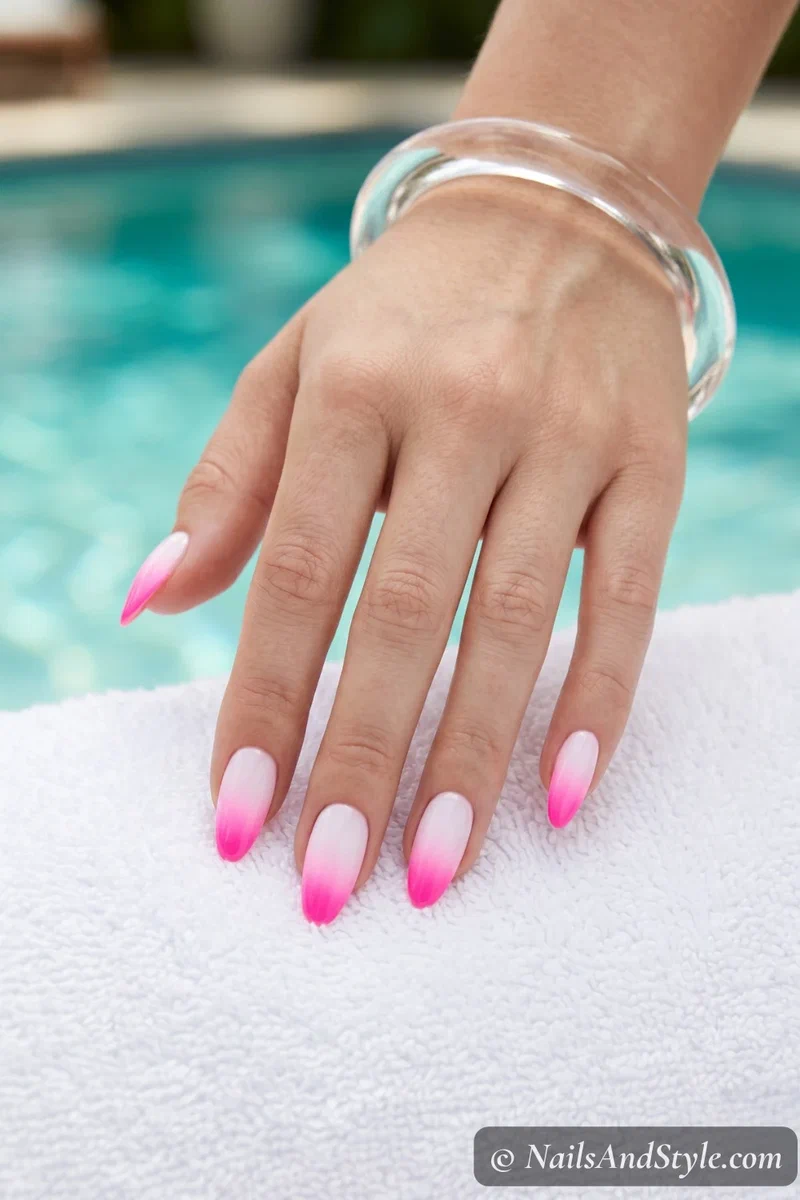
5. Neon Gradient Tips#
Here’s where it gets fun. White base, then sponge a bright neon from the tips upward — electric pink, lime, tangerine, whatever calls to you. The fade into white creates a glow that’s made for festivals and beach days.
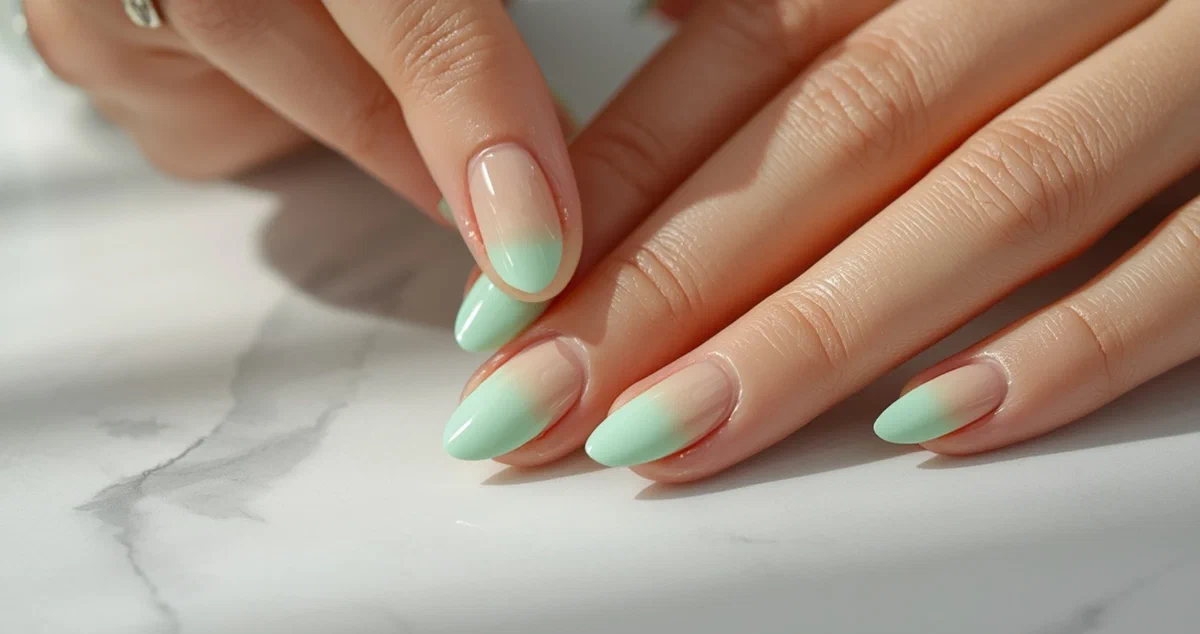
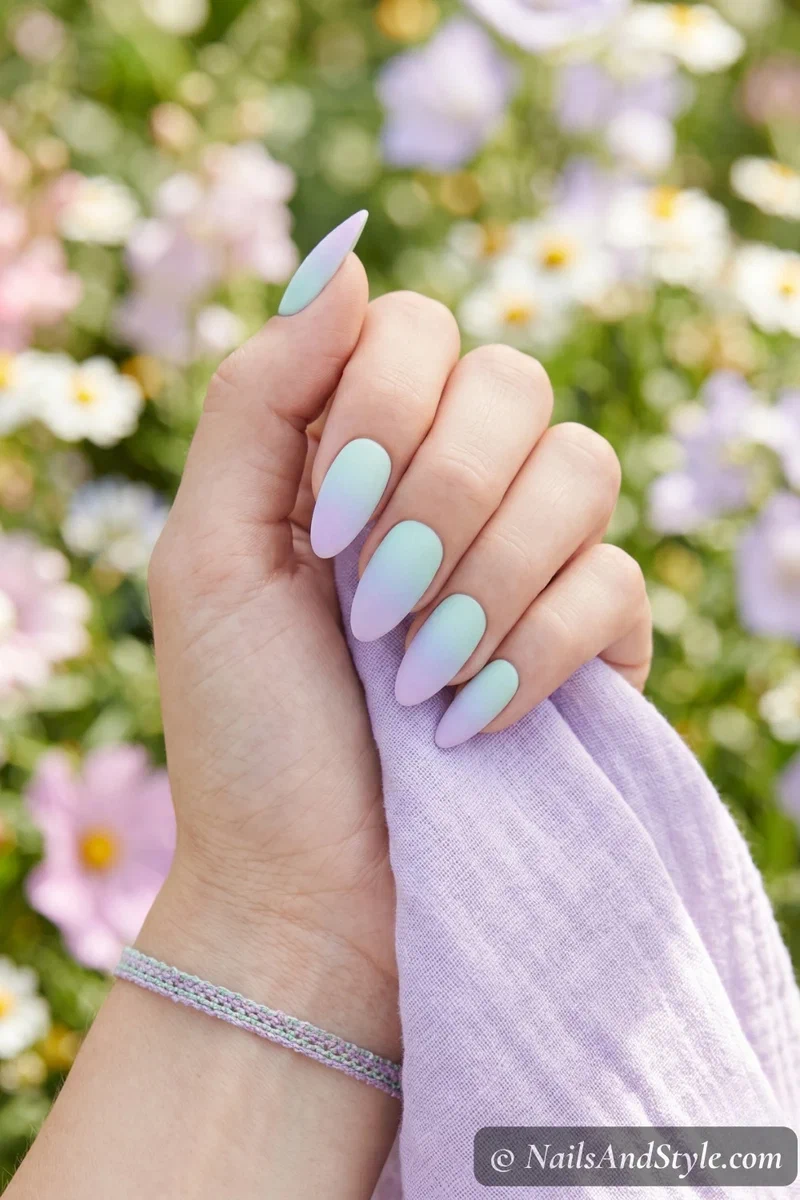
6. Pastel Mint to Lilac#
Two pastels on the sponge at once — mint on one side, lilac on the other. Press and dab. They meet in the middle as this soft periwinkle that’s honestly dreamy. Matte top coat takes it somewhere special. Check out pastel summer nails for more soft-toned ideas.
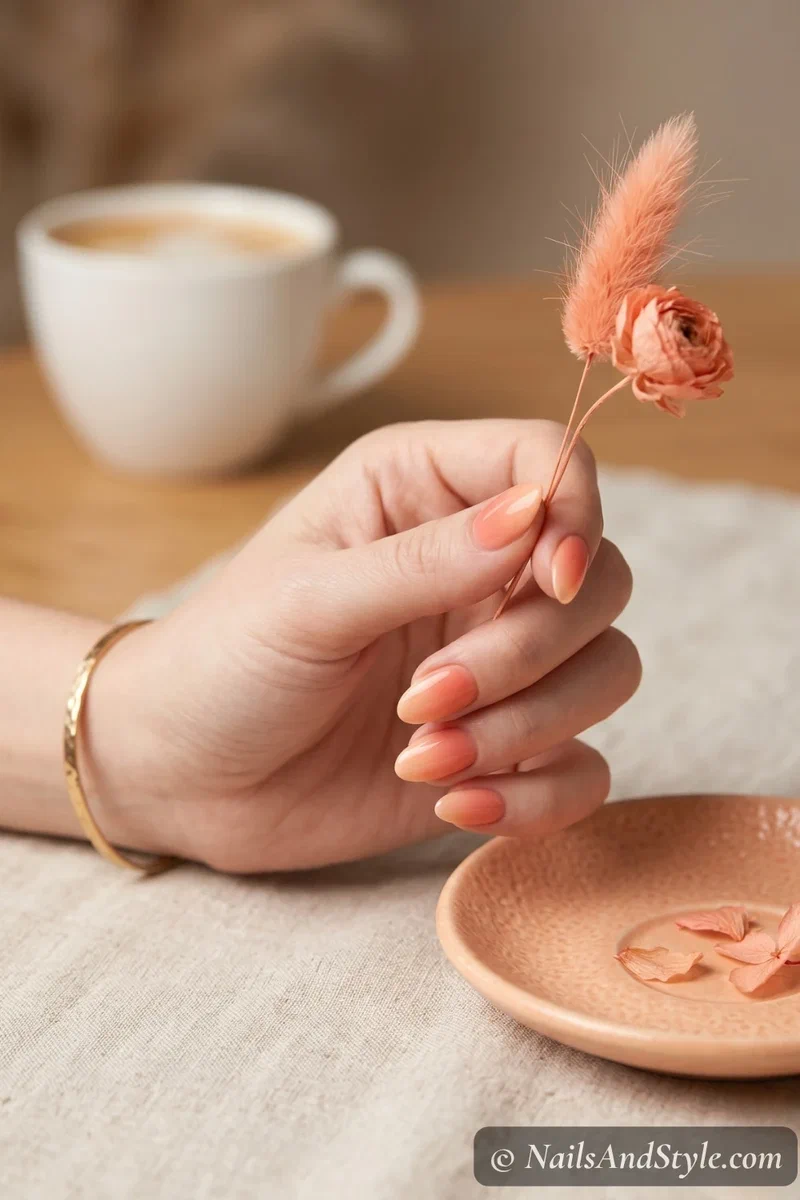
7. Coral to Peach Soft Blend#
So subtle it almost looks like one color until the light hits it right. Coral at the base, peach at the tips, blended until it’s barely there. This is the one for people who want ombre without it being obvious.
8. Glitter Ombre Fade#
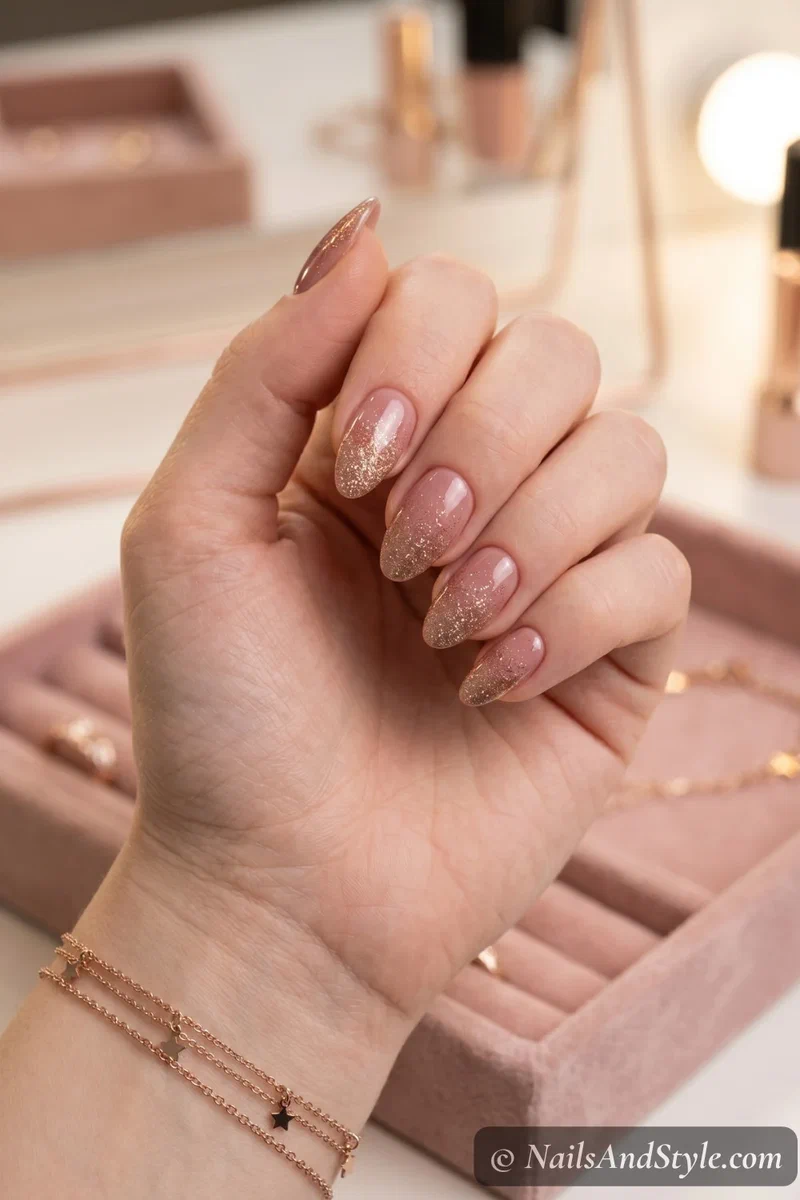
Apply a solid color base — dusty rose is so pretty for this — then sponge fine glitter polish from the tips down, fading as you go. The sparkle concentrates at the tips and scatters toward the base. Party nails, minimal effort.
9. Nude to Mauve Gradient#
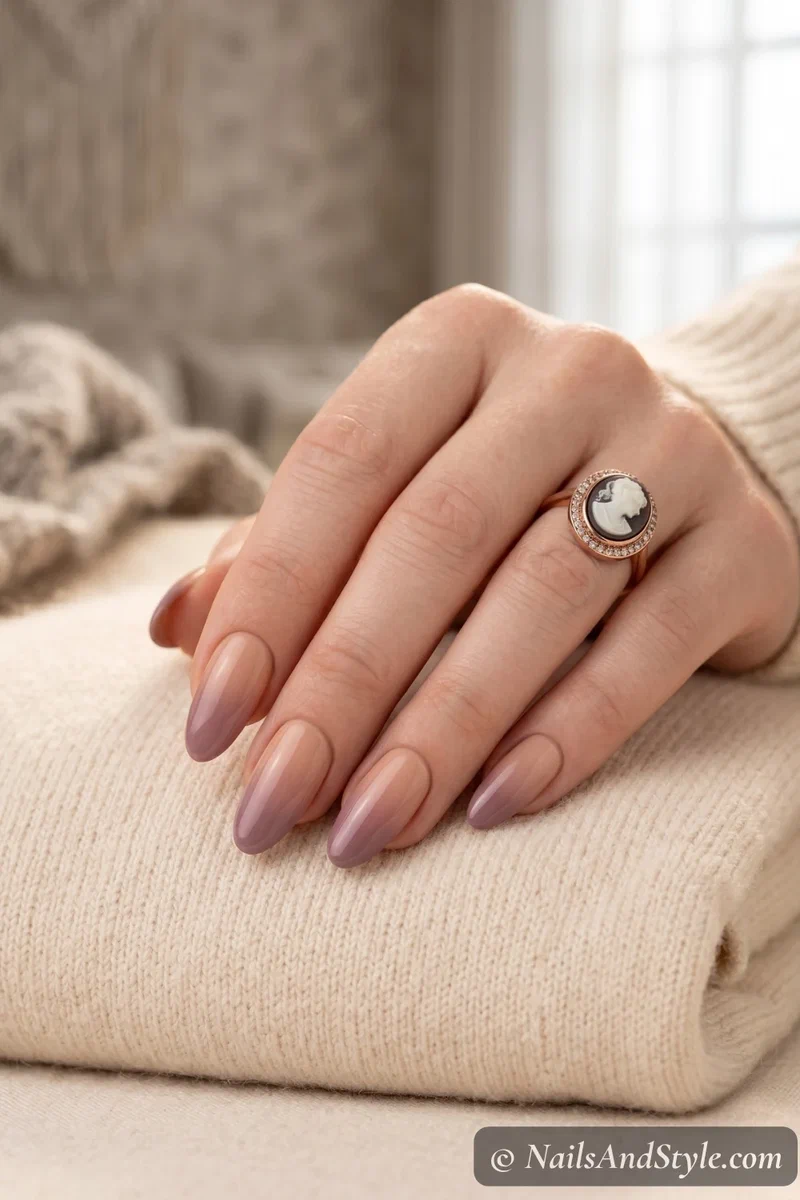
Warm nude at the cuticle, dusty mauve at the tips. The kind of look that just makes your hands look put-together — brunches, everyday wear, anywhere you want polished nails without the volume.
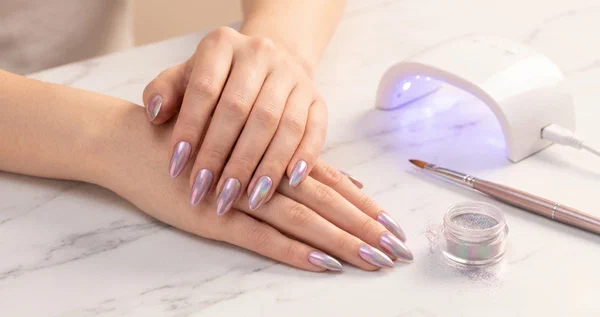
10. Chrome Ombre#
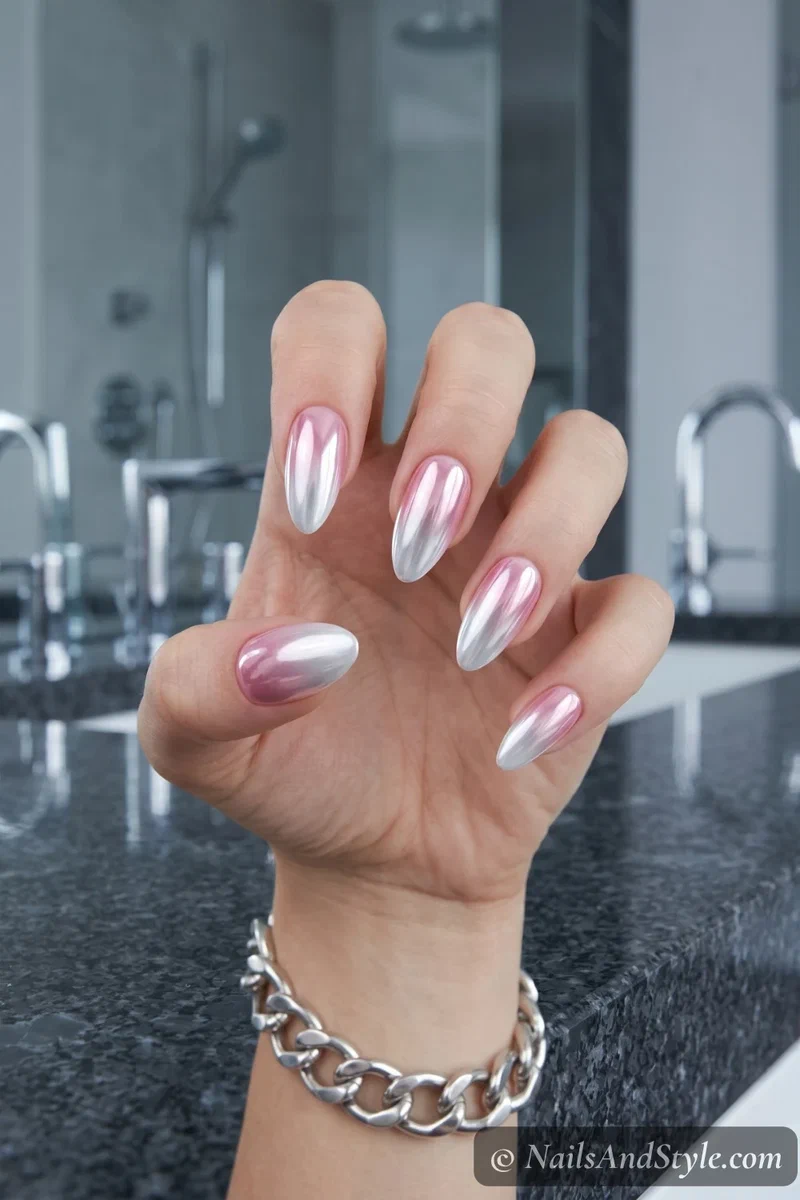
Do a white-to-pink sponge ombre, let it dry fully, then buff chrome powder over the top with an eyeshadow applicator. The chrome follows the gradient and creates this metallic shift that looks unreal. Worth the extra step. No joke.
11. Jelly Ombre#
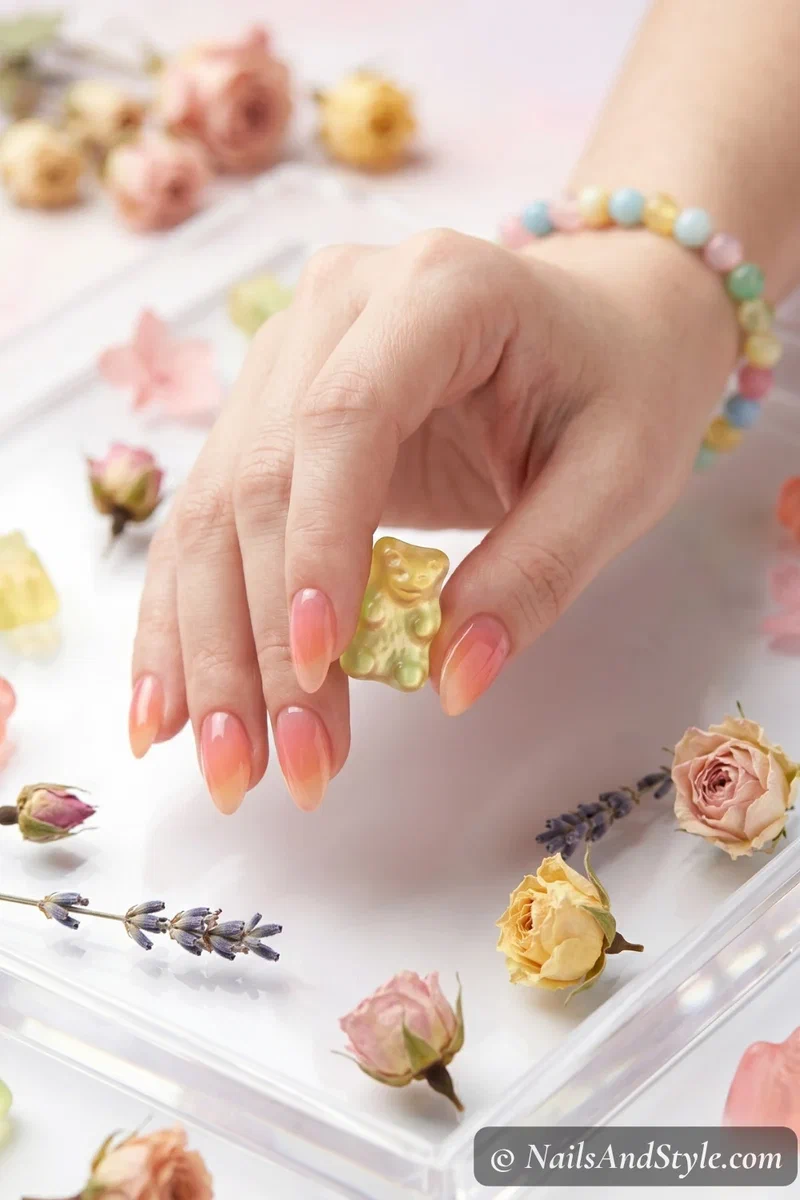
Use jelly-finish polish for a translucent, gummy candy vibe. Jelly peach fading into jelly pink is especially pretty — you can see through to the nail and it makes the gradient look almost 3D. So good. If you haven’t tried jelly nails yet, start here.
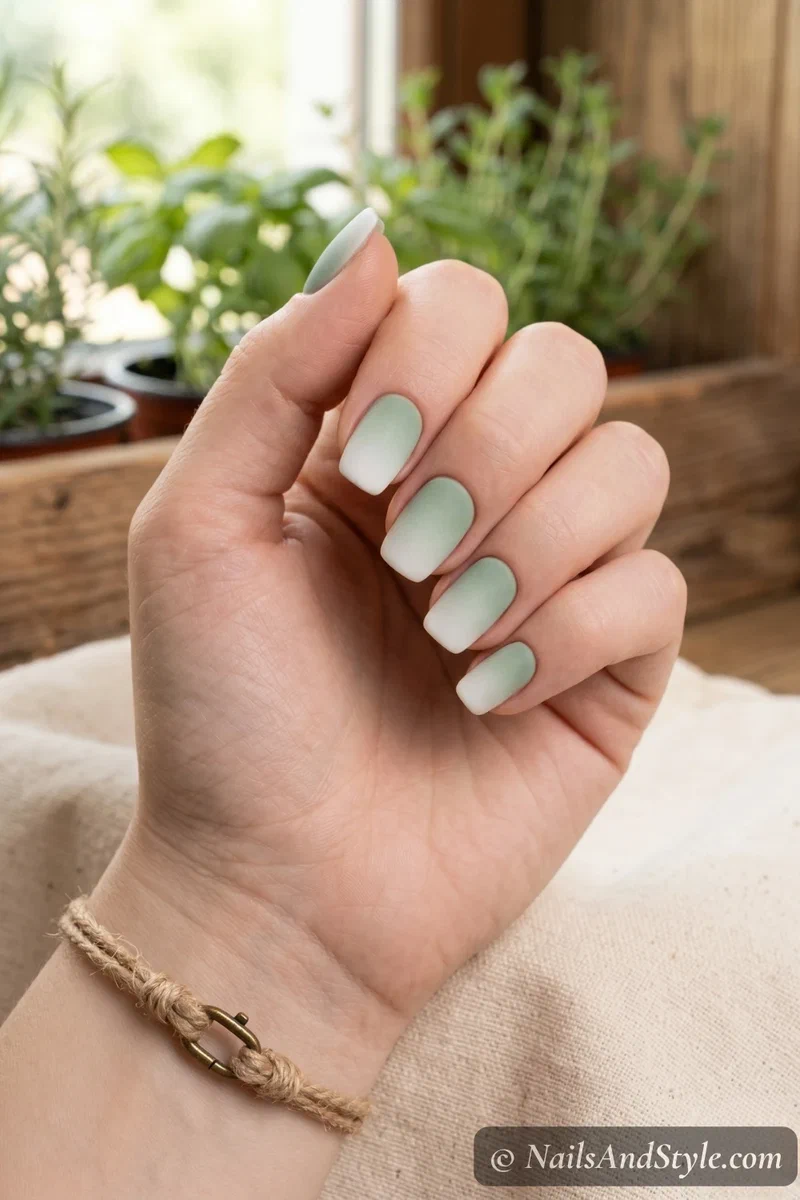
12. Matte Sage and White#
Any two-color ombre finished with matte top coat instead of glossy. The matte kills the shine and makes the blend look velvet-smooth. Sage green and white is my current favorite — earthy and fresh at the same time.
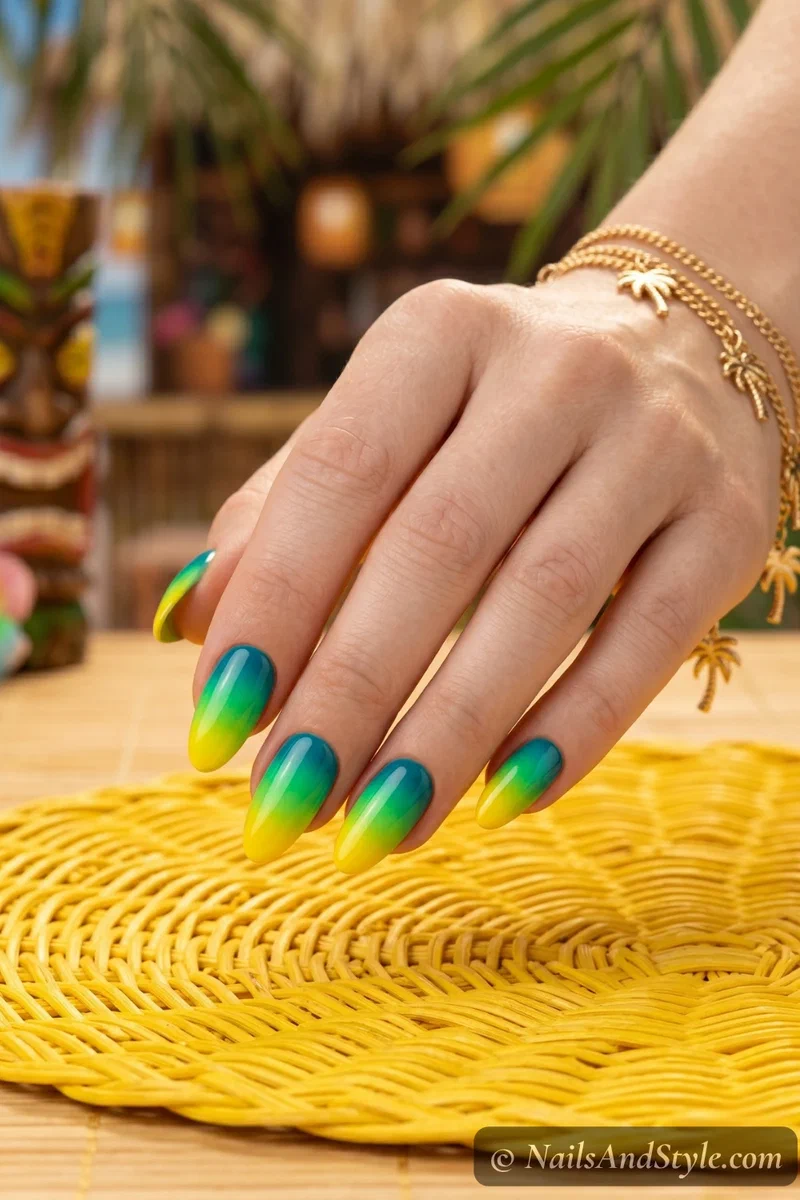
13. Tropical Teal to Yellow#
Bold and loud. Teal at the cuticle, sunny yellow at the tips, blending into this electric green in between. Not subtle at all and that’s the whole point. Vacation nails. Festival nails.
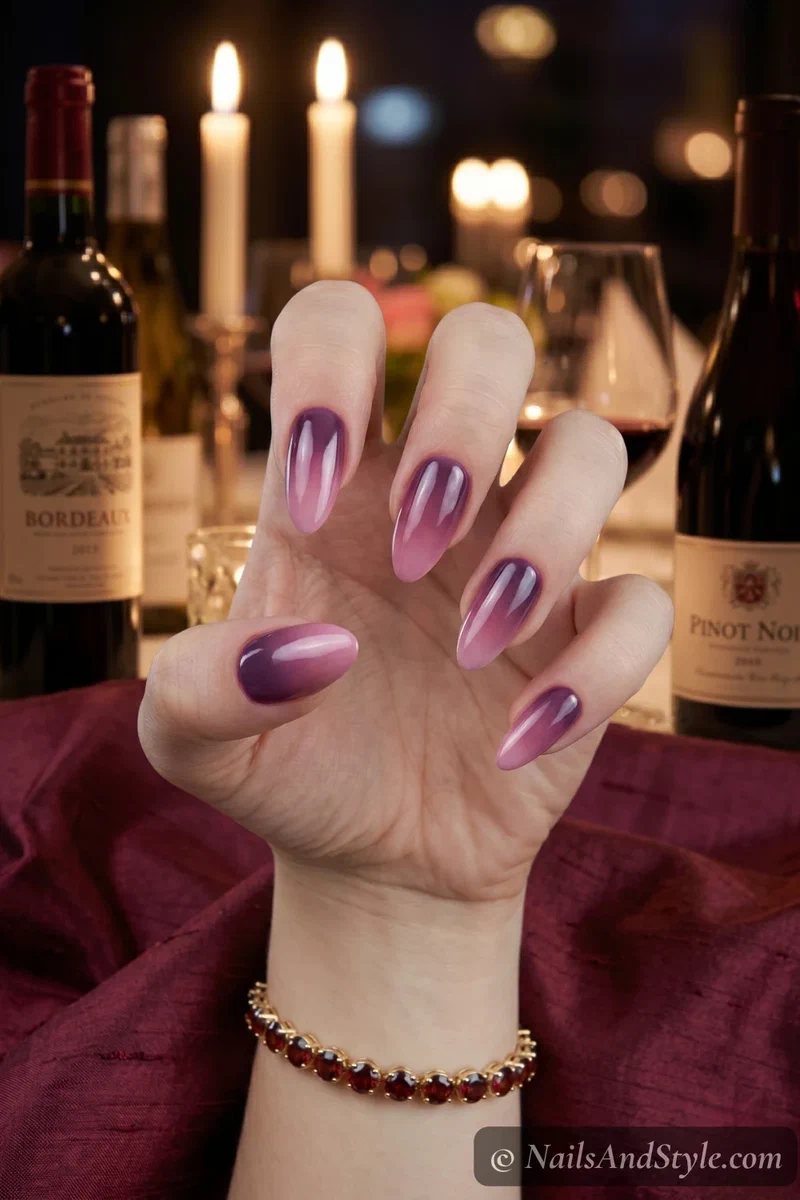
14. Berry to Rose Gradient#
Deep berry at the cuticle fading to soft rose at the tips. The contrast is dramatic but the sponge keeps everything smooth. Transitions straight from daytime to a night out without changing a thing.
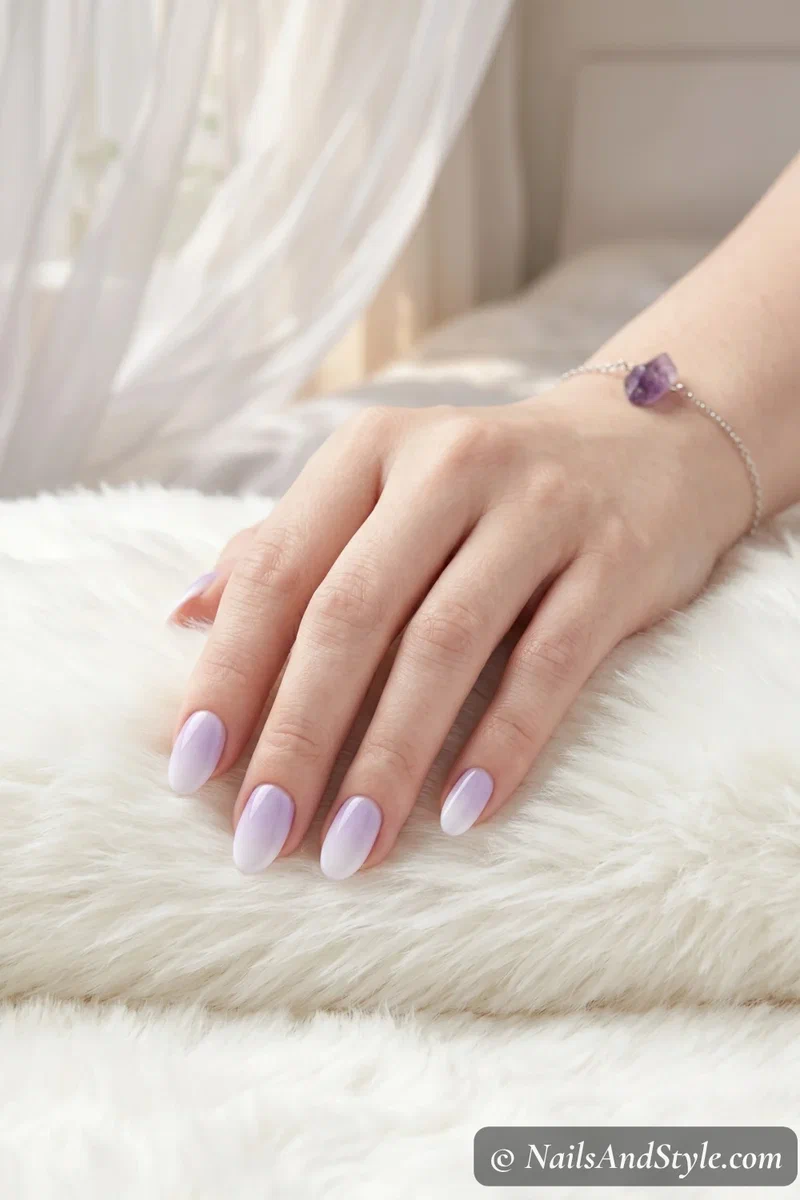
15. Lavender to White Cloud#
Soft lavender at the cuticle disappearing into white at the tips. Barely there. Cloud-like. This is the ombre version of a deep breath. Glossy or matte — both work.
How to Do Gel Ombre Nails at Home#
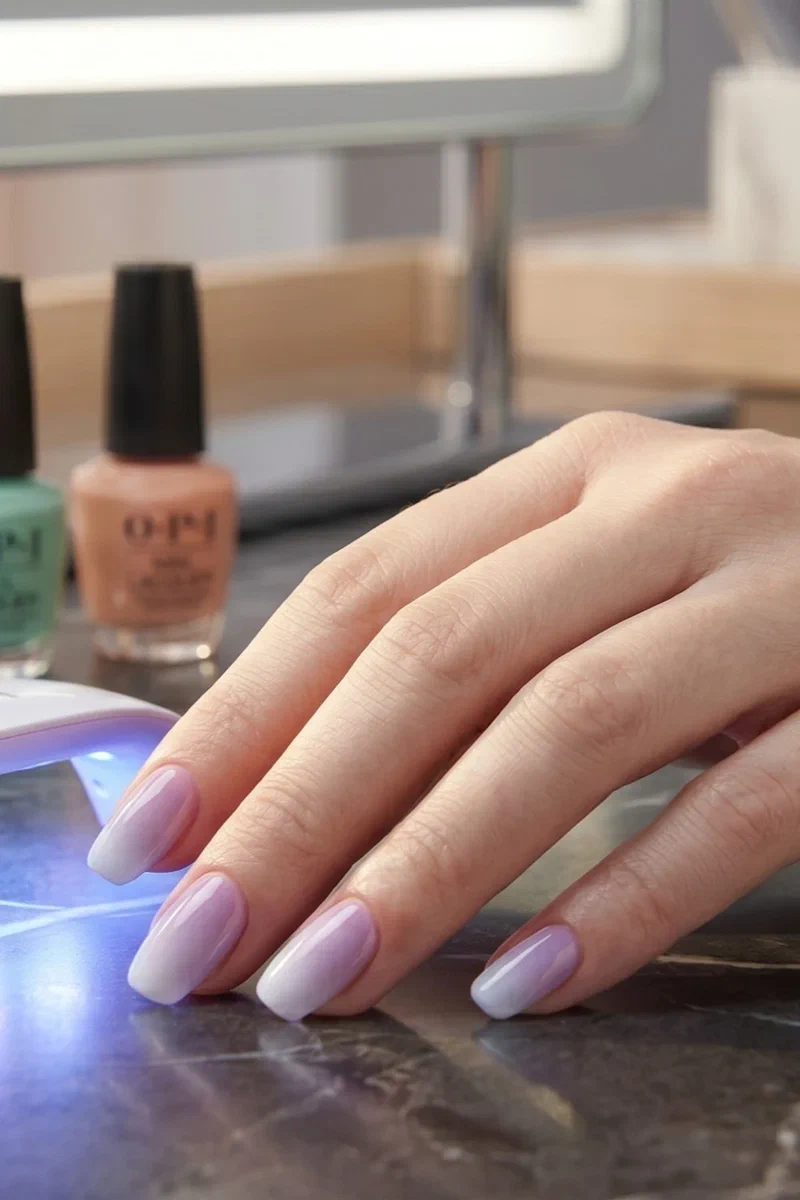
Everything above works with regular polish, but if you want your ombre to last two weeks or more, gel ombre nails at home is the move. The technique is almost identical — same sponge, same dabbing motion — but with gel polish and a UV or LED lamp.
The main difference: you cure each sponge layer under the lamp for 30-60 seconds before adding the next. This gives you way more control because the polish isn’t drying on its own timeline. You can keep blending until it looks right, then lock it in. The finish is also harder and shinier than regular polish.
You will need a lamp though — no way around that. If you’re thinking about getting into gel nails, I’ve got a whole gel nails at home beginner’s guide that covers setup, removal, and everything in between.
How to Do Ombre Nails with Regular Polish#
Don’t have a lamp? Don’t want one? Totally fine. Ombre nails with regular polish works great — you just need to work a little faster.
Regular polish starts drying the moment it hits air, so the key is speed. Paint your colors on the sponge and dab right away — don’t let it sit. Keep your coats thin so each layer dries quickly before you add the next. And use a fast-dry top coat if you have one. It makes a real difference.
One more thing — regular polish ombre tends to look slightly more textured from the sponge than gel does. Two coats of top coat smooths that right out. Pretty much unnoticeable once it’s sealed.
How to Blend Nail Polish for a Smooth Ombre#
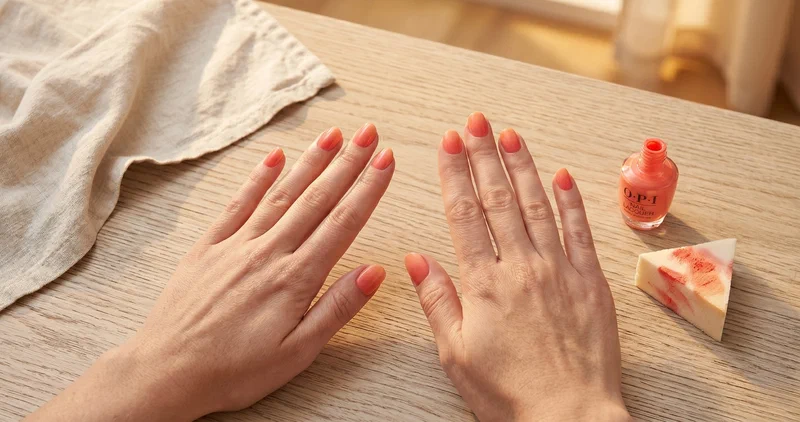
Getting a smooth gradient is the part most people worry about. But here’s a trick that changed everything for me: dampen your sponge before you start.
A dry sponge absorbs way too much polish. Run it under water, squeeze it out, and let it be slightly damp — not wet, just not bone dry. The polish sits on top of the sponge instead of soaking in, which means more color transfers to your nail with each dab.
Also — don’t let the polish dry on the sponge between dabs. If you see it going tacky, reload. Tacky polish drags instead of blending, and that’s when you get streaks. Fresh polish, quick dabs, damp sponge. That’s the whole secret to learning how to blend nail polish for ombre that actually looks smooth.
Common Ombre Nail Mistakes to Avoid#
Even the sponge method has a few pitfalls. Here’s what trips people up the most:
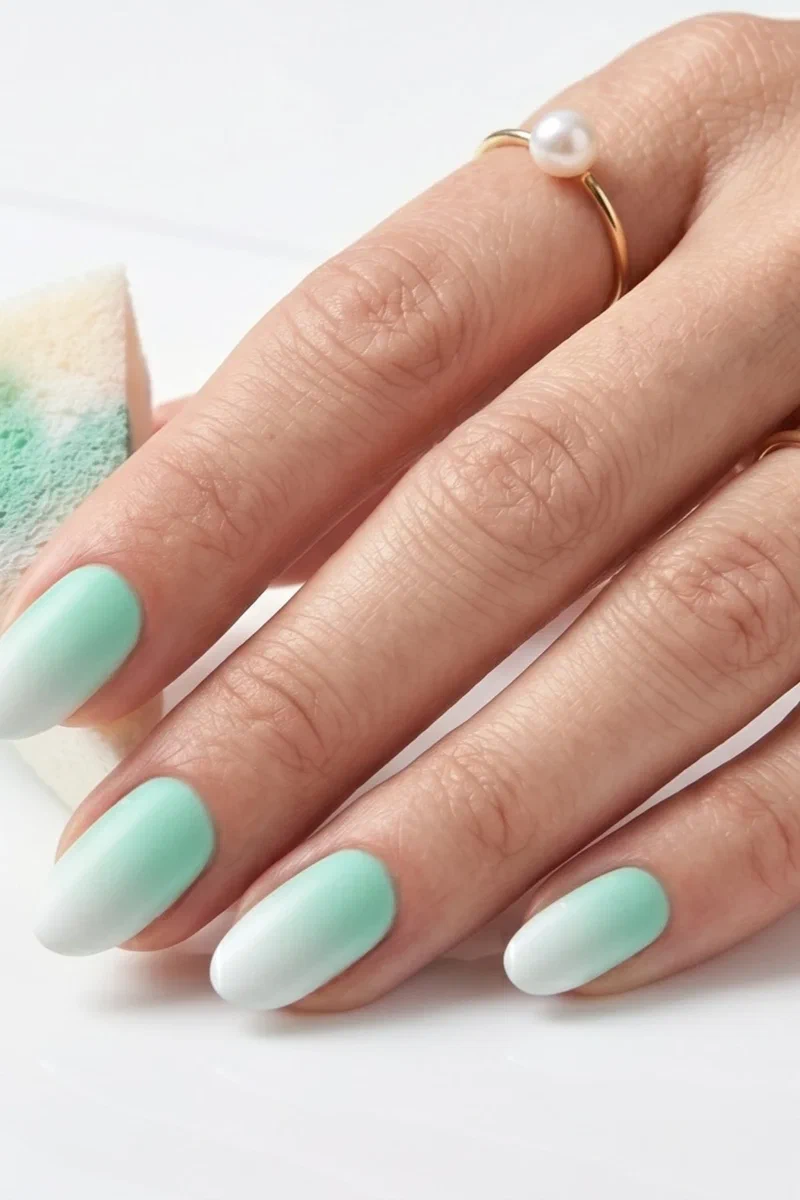
- Letting polish dry on the sponge before dabbing. This is the number one reason ombre looks streaky instead of smooth. Reload and dab fast.
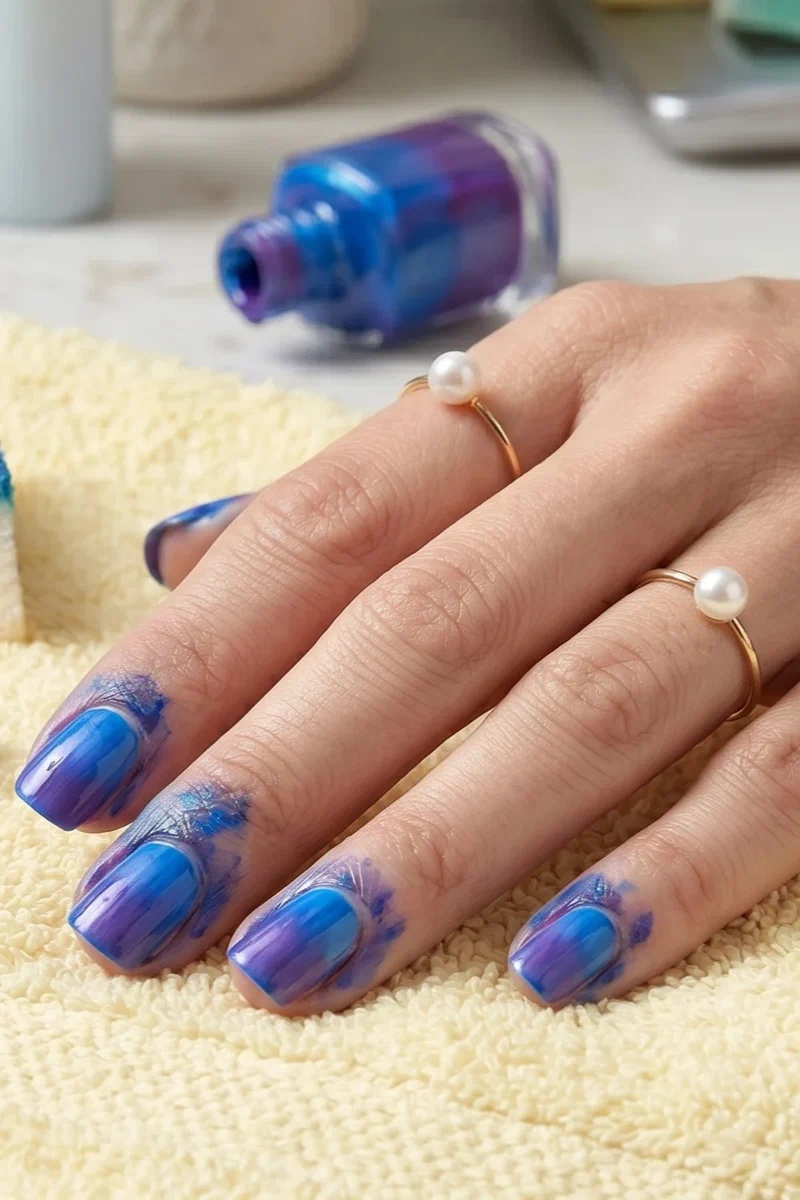
- Skipping liquid latex or tape. The sponge gets polish everywhere — your cuticles, your skin, the side of your finger. Cleanup takes forever without protection. Just use it.
- Using too many colors at once. Three is the max for a clean gradient. Four or more almost always turns into a muddy mess, especially for beginners. Start with two.
- Pressing too hard. Light bouncing dabs, not smashing the sponge down. Pressing hard smudges instead of blending.
- Thick polish layers. They take forever to dry and they bubble. Thin layers, multiple dabs. Always.
FAQ#
Can I do ombre nails without a sponge?#
You can, but the sponge is by far the easiest method. Some people use a fluffy eyeshadow brush or even a silicone blending tool. I’ve seen the plastic bag method floating around too — you basically blend polish in a bag and press it on. But honestly, the sponge gives the most consistent results and it’s what I’d recommend for beginners.
How long do ombre nails last?#
With regular polish and a good top coat, about 5-7 days before you notice chipping. Gel ombre lasts around two weeks, sometimes longer if you’re careful. Reapplying top coat every few days helps either version last longer.
Is ombre nail art hard for beginners?#
Nope. The sponge does the blending — that’s the whole point. Your first attempt might not be flawless, but it’ll still look good. Ombre is very forgiving because the whole point is a soft, imperfect gradient. It’s honestly one of the best DIY ombre nail art for beginners techniques to start with.
What is the easiest ombre nail color combination?#
Pink to white. Every time. The colors are close enough in tone that the blend happens almost automatically. You really can’t mess it up. Nude to light pink is another safe bet if you want something even more subtle.
Do I need a UV lamp for ombre nails?#
Only if you’re using gel polish. Regular nail polish works perfectly fine with the sponge method — no lamp needed at all. The results look just as pretty, they just won’t last as long as gel.
Final Thoughts#
Once you know how to do ombre nails at home with a sponge, it kind of opens up everything. Every color combo, every finish, every vibe — all doable at your kitchen table on a lazy Sunday. The technique takes maybe 20 minutes to learn and honestly gets better every time you try it.
Save whichever designs caught your eye, pin them for later, and just start experimenting. Tag us on Pinterest if you try any of these — I genuinely love seeing how people put their own spin on these looks. Your next great manicure is already in your polish drawer.