Watermelon nails are having a moment — pink, green, a sprinkle of seeds, and instant summer mood. But not all of us own a striping brush or a dotting tool kit. So if you’ve been scrolling through nail inspo at 2am wondering how to do watermelon nails without nail art tools, this one’s for you.
I’ve put together 10 cute watermelon designs you can actually paint at home using stuff already sitting in your bathroom drawer. Toothpicks, bobby pins, tape, a makeup sponge — that’s pretty much the whole shopping list. All designs work on short and medium nails, and none of them need a fancy kit.
I’ll walk you through exactly how to do each look — the household item, the technique, the finish. Let’s get into it.
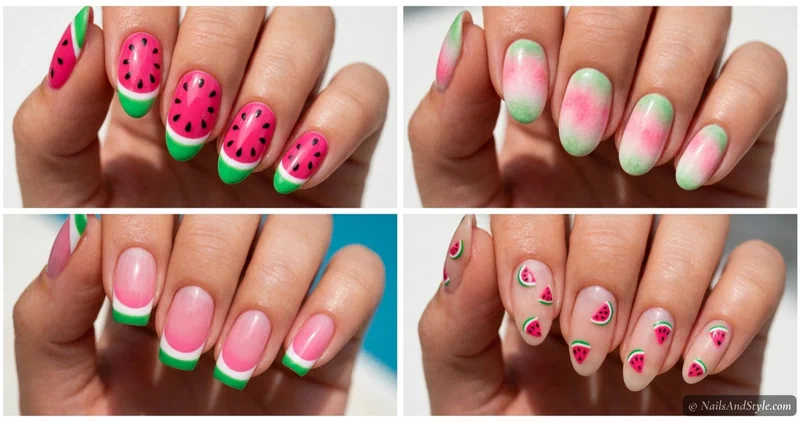
Why This Look Is Perfect for Summer#
Watermelon nails just feel like summer in polish form. They photograph beautifully at the beach, suit every brunch outfit, and have that retro fruit-stand energy that makes people smile. And the colour palette? Forgiving on basically every skin tone.
A few quick pointers before you start:
- Hot pink suits warm undertones; baby pink and coral flatter cool undertones.
- Short almond and oval shapes show watermelon designs best — they don’t crowd.
- Household items beat fancy tools for beginners (less pressure, less spending).
- Base coat and top coat — every time. They’re the difference between “cute mani” and “cute mani that lasts more than a day.”
If you want the full guide on classic watermelon styles, my how to do watermelon nails post covers ten full-coverage versions.
How to Do Watermelon Nails Without Nail Art Tools: 10 Cute Designs#
Each design below tells you exactly which household item you’ll need and how to use it. I’ve sorted them roughly from easiest to slightly trickier — start with the toothpick seed version if you’re new to this.
1. Toothpick Seed Classic Watermelon#
The starter design. If you only try one, make it this one.
What you need: A wooden toothpick.
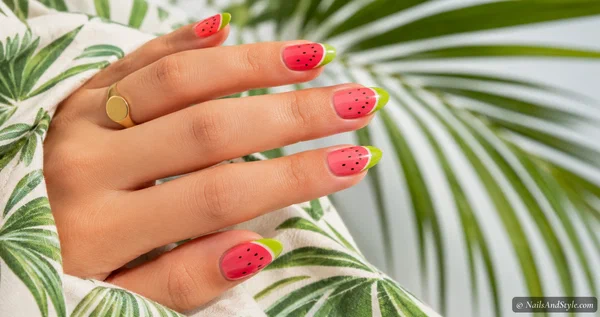
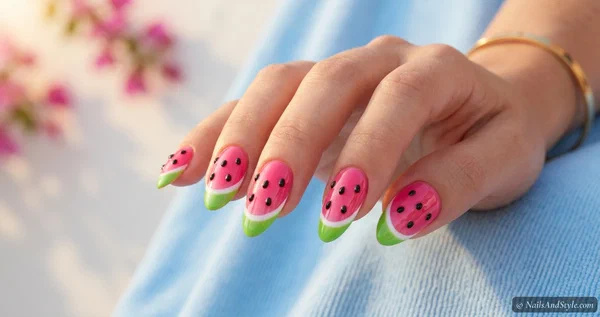
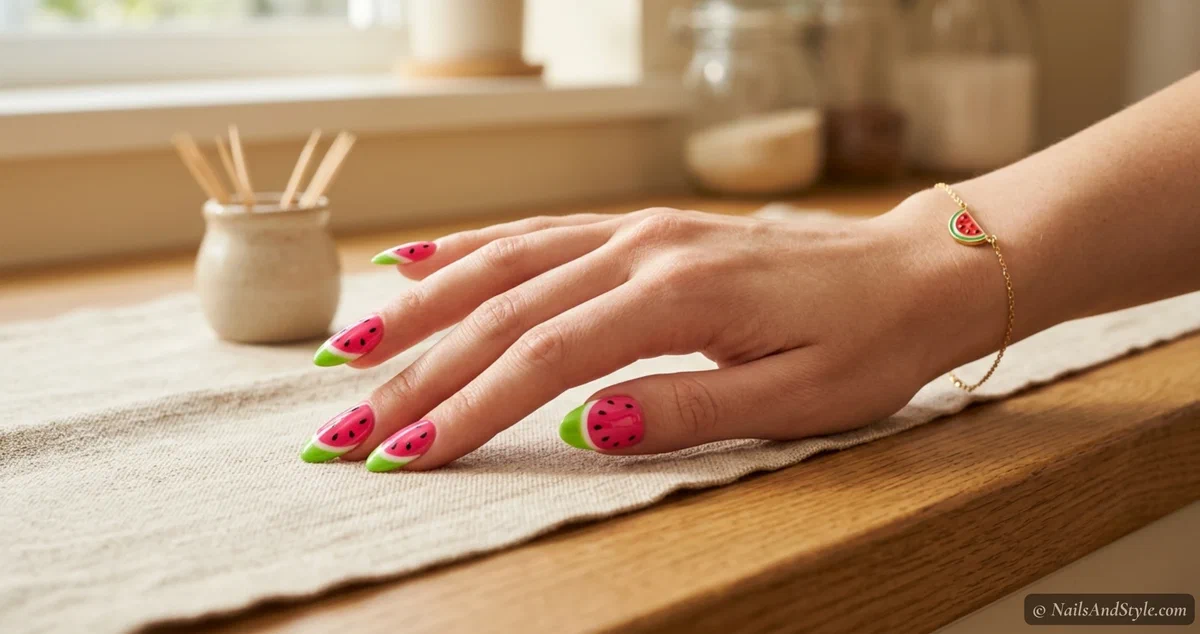
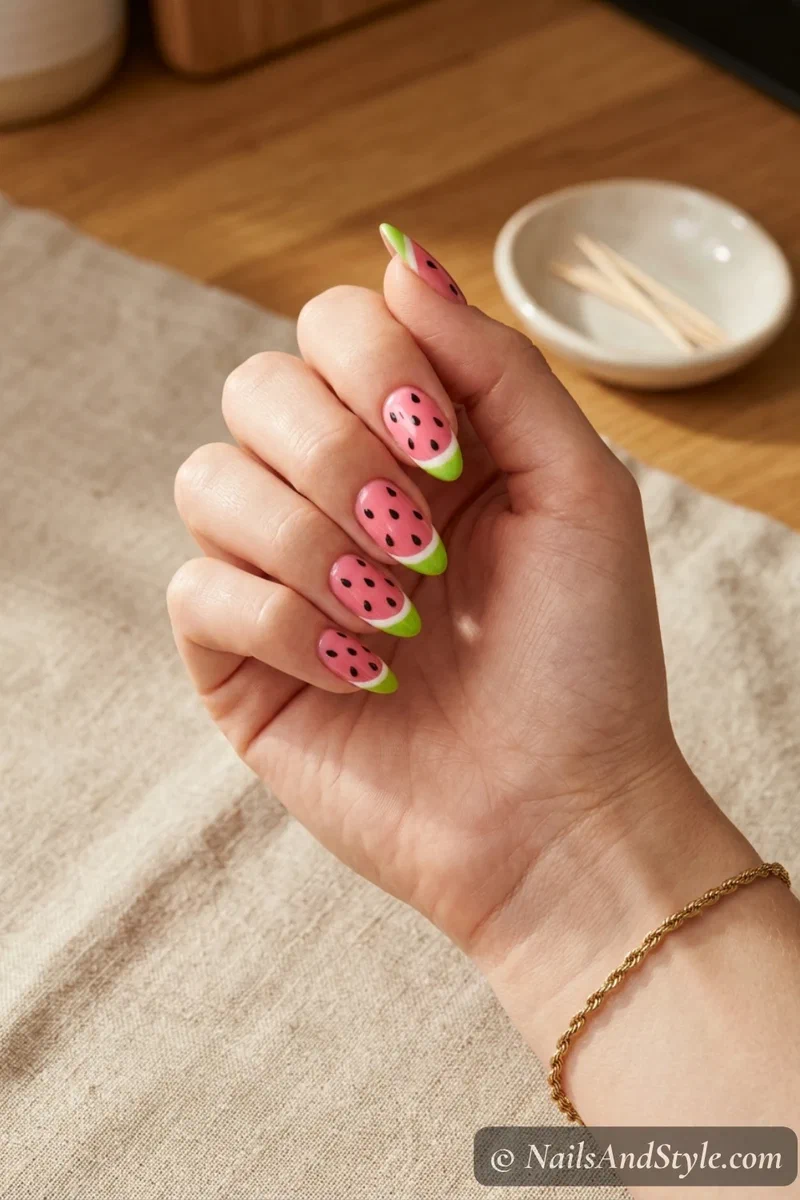
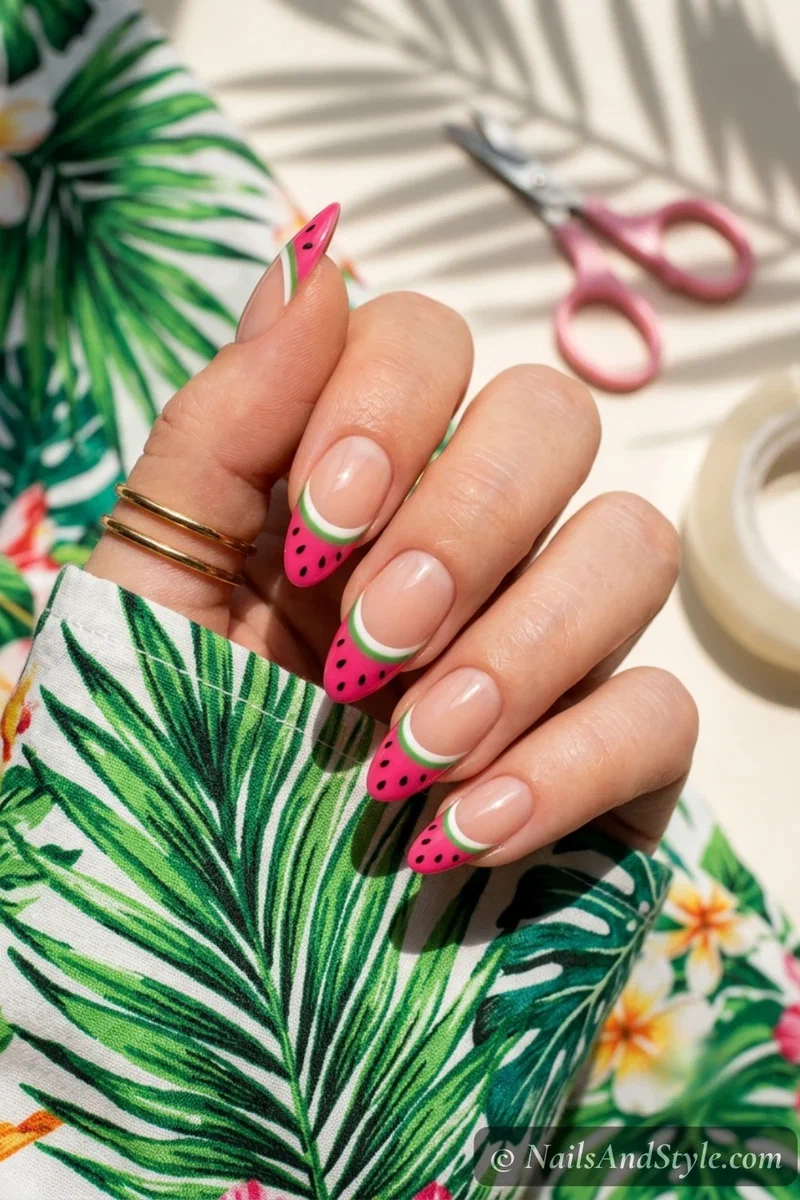
How to do it: Paint two coats of hot pink polish. Once dry, use your regular polish brush to paint a bright green tip across each nail and a thin white line just below it (slow, steady strokes). Dip the pointed end of a toothpick into black polish and dot tiny seeds across the pink. Top coat to seal. So simple.
2. Bobby Pin Dot Watermelon#
The rounded end of a bobby pin makes the most perfect dots, no joke. Try it once and you’ll never go back.
What you need: A clean bobby pin.
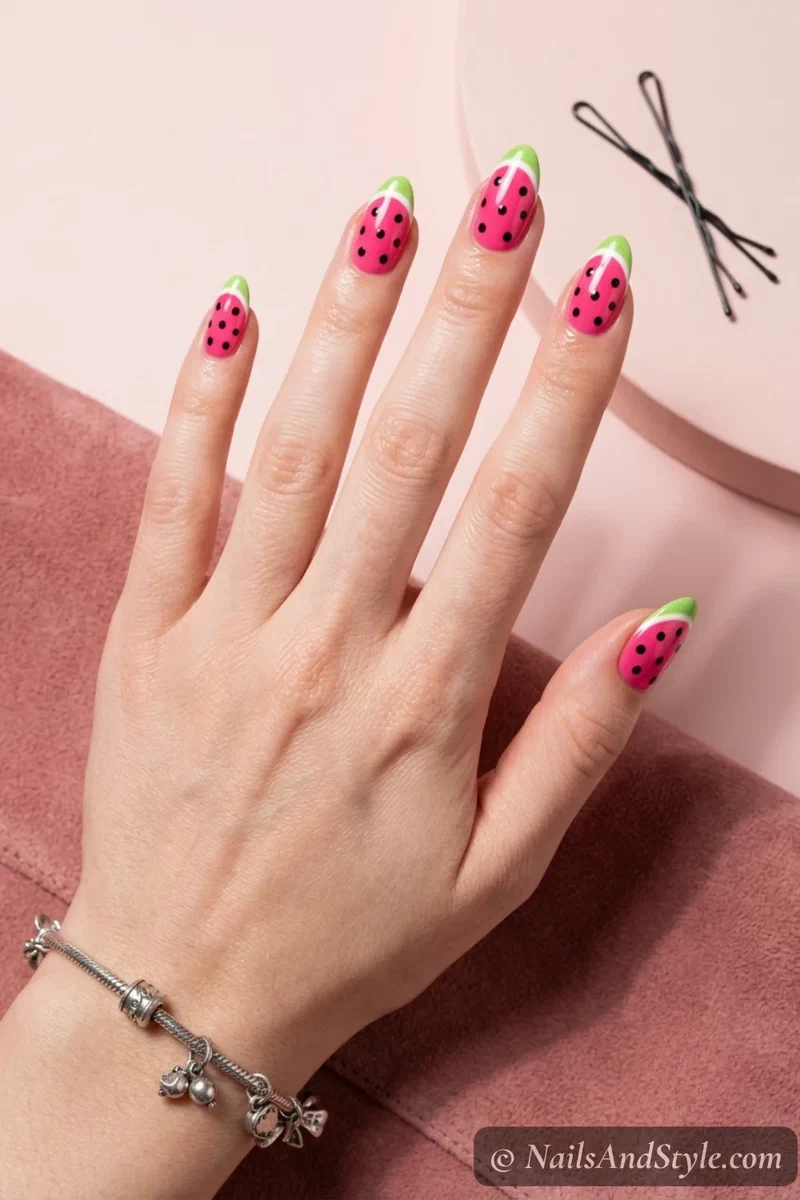
How to do it: Start with a hot pink base. Add a green tip with your polish brush and a slim white line between. Dip the rounded ball end of the bobby pin into black polish, then press straight down on the pink to make seeds — they come out almost identical every time. Glossy top coat. The dots are honestly cleaner than what most dotting tools give you.
3. Sponge Ombre Watermelon#
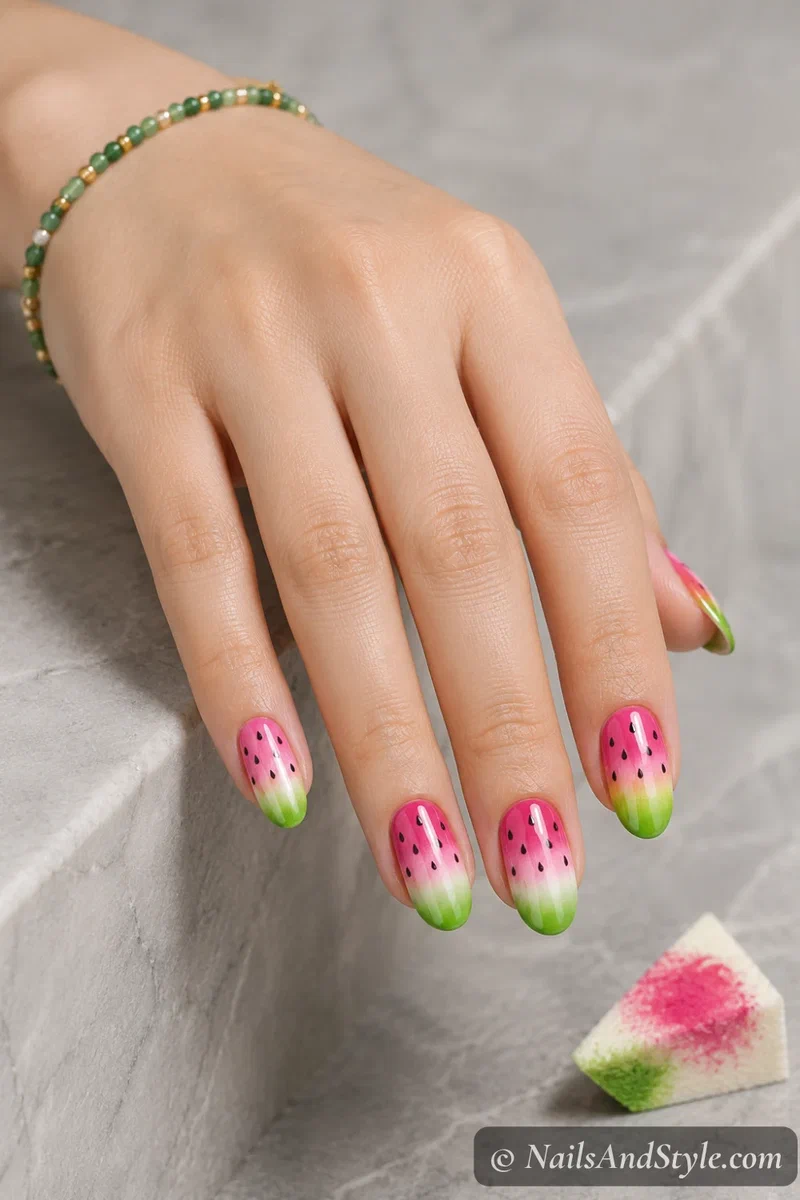
For when you want that soft, blended look without a single brush stroke.
What you need: A clean makeup sponge (a small wedge or even a kitchen sponge cut small).
How to do it: Paint stripes of hot pink, a thin band of white, and bright green directly onto the sponge, side by side. Dab the sponge onto each nail, building the gradient with two or three taps. Once dry, dot a few seeds onto the pink with — yep — a toothpick. The sponge texture hides imperfect blending too, which is a win. My ombre nails at home guide has more sponge technique tips if you need a refresher.
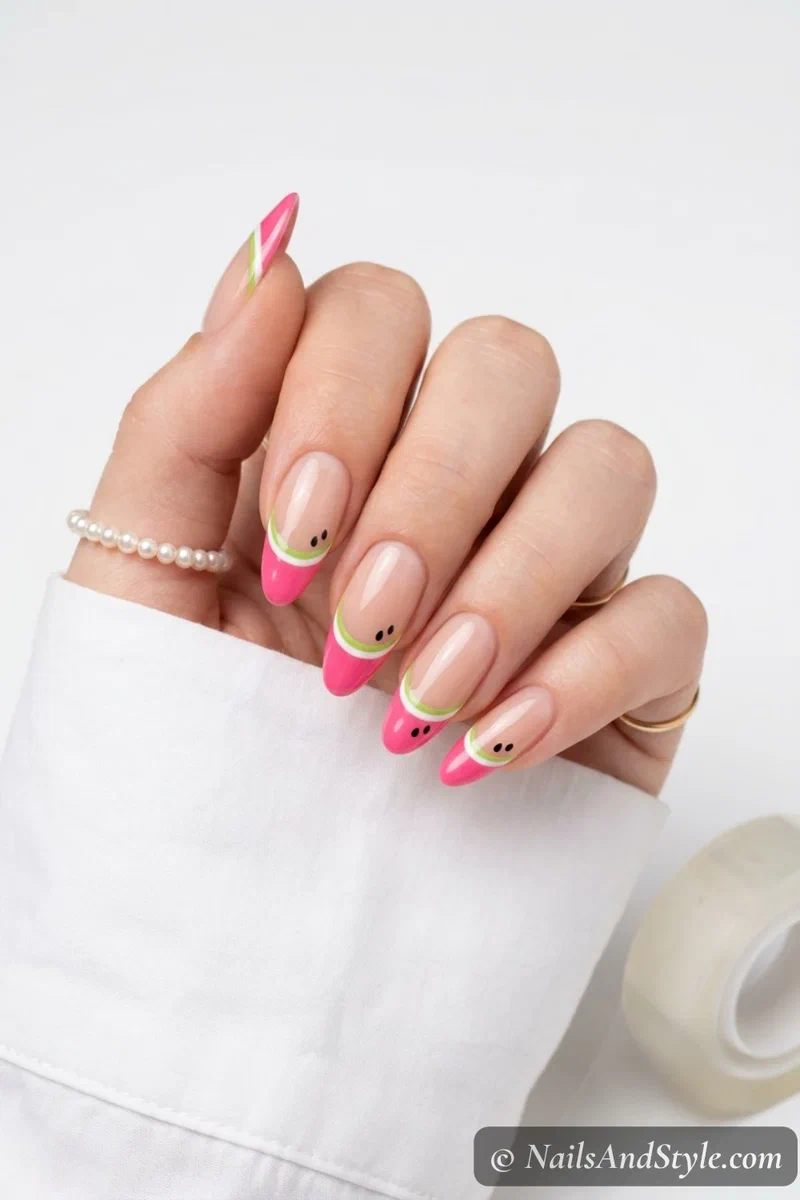
4. Scotch Tape French Tip Watermelon#
Tape is the cheat code for crisp lines. Whoever discovered this was a genius.
What you need: A small strip of Scotch tape (or regular sellotape).
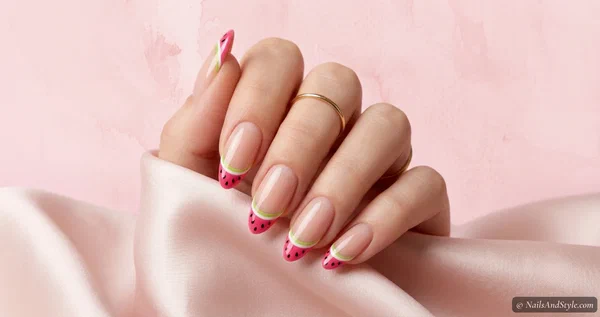
How to do it: Paint a sheer nude base and let it dry fully. Cut a thin strip of tape and stick it across each nail where you want the tip to start — keep the line straight. Paint hot pink above the tape, peel it off while wet, then add a thin white line and slim green stripe just above. Dot a few seeds with a toothpick. Tape gives you a tip line so sharp it looks salon-done.
5. Q-Tip Smudge Pastel Watermelon#
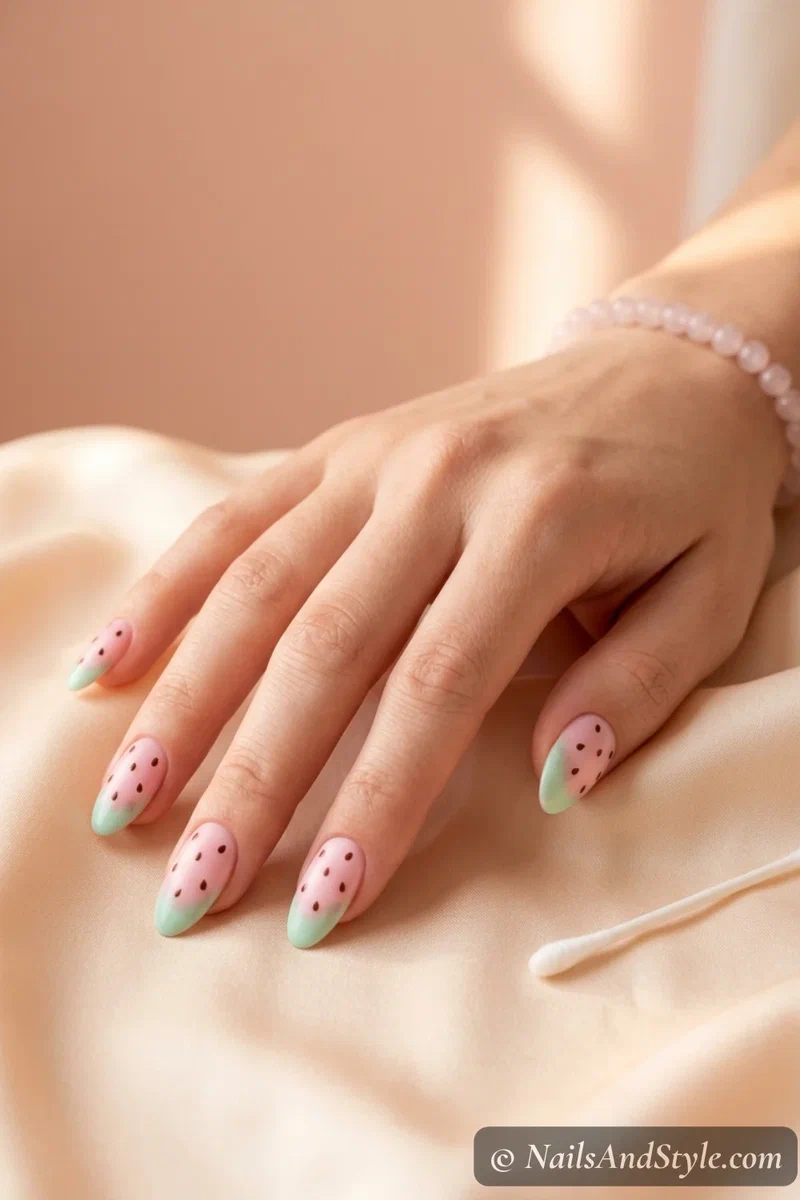
Soft, romantic, slightly blurred — like a watermelon at golden hour.
What you need: A cotton swab (Q-tip).
How to do it: Paint a baby pink base, then add a mint green tip. While the green is still slightly wet, drag a cotton swab gently across the line where pink meets green — this softens the edge for that dreamy blended look. Dot tiny brown seeds onto the pink with a toothpick (brown reads softer than black on pastels). Glossy top coat. Pretty much foolproof.
6. Folded Paper Stripe Watermelon#
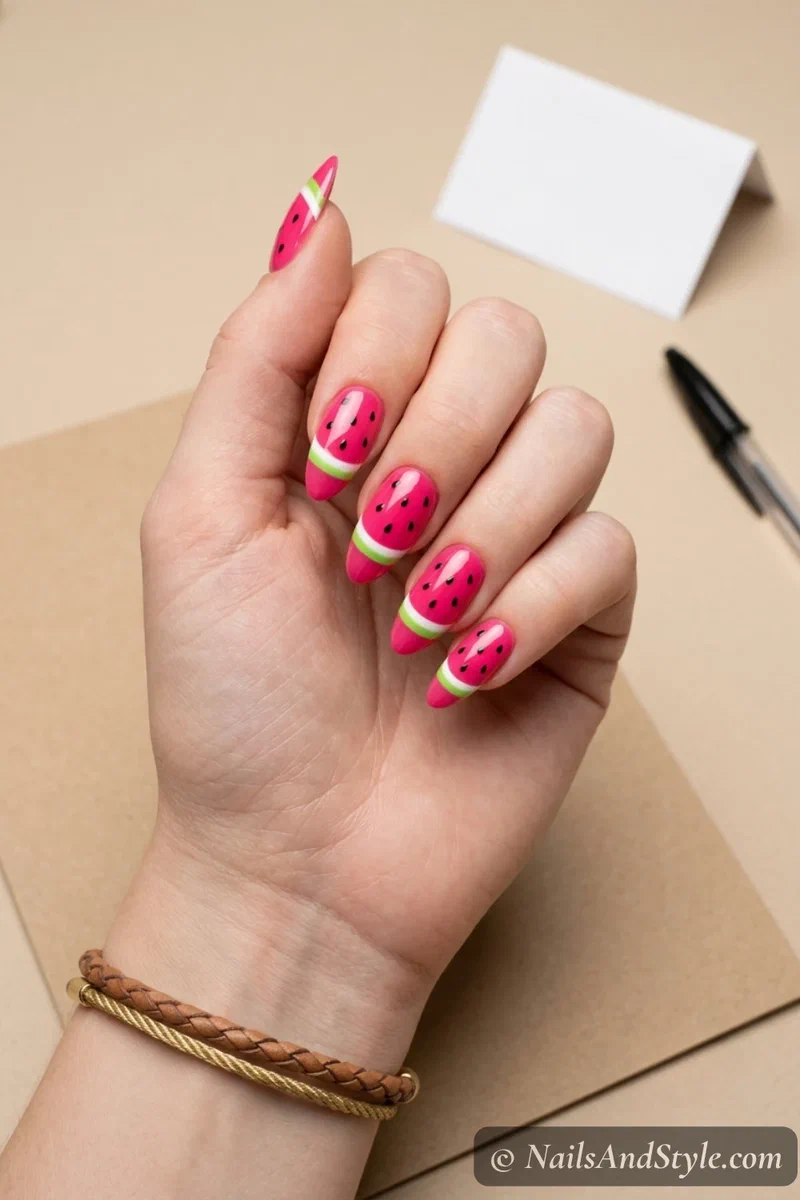
Paper edges make surprisingly straight lines. I know it sounds weird. It works.
What you need: A folded scrap of printer paper or an index card.
How to do it: Paint a hot pink base. Fold a piece of paper in half so you have a sharp crisp edge. Dip the folded edge into white polish, then press it horizontally across the nail just below the tip — instant white line. Repeat with green polish above the white. Add seeds with a toothpick. The paper edge is sharper than any brush most of us own.
7. Pen Tip Mini Slice Watermelon#
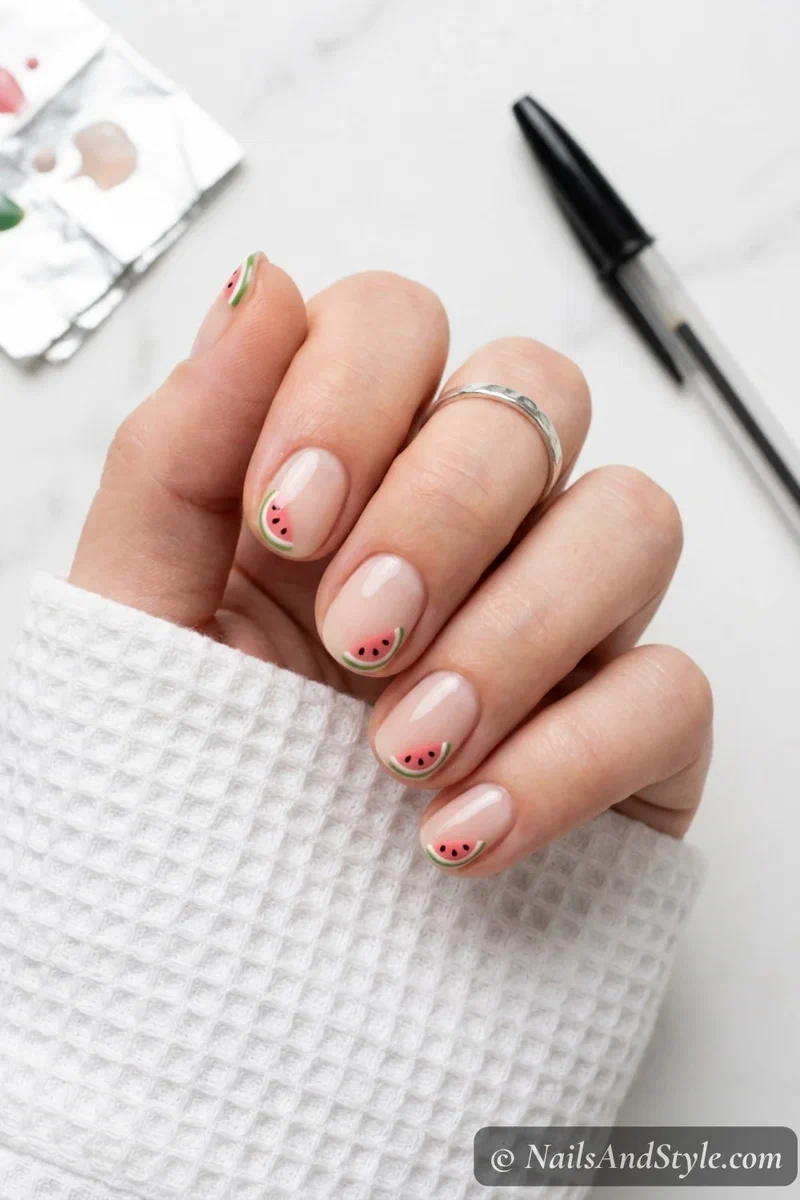
The pointy end of an empty ballpoint pen is basically a free fine detail tool.
What you need: A clean, empty ballpoint pen (the kind with the metal tip).
How to do it: Paint a sheer base across each nail. Drop a small puddle of pink polish on a piece of foil. Dip the empty pen tip into the polish and use it to paint a tiny half-circle slice at the corner of each nail. Add a slim white curve below and a green curve under that. Dot one seed inside the pink. Editorial-level cute, basically zero effort.
8. Tape Stencil Half-Moon Watermelon#
Tape isn’t just for tip lines — cut a curve into it and you’ve got a stencil.
What you need: Scotch tape and small scissors.
How to do it: Paint a sheer nude base. Cut a small curved shape out of a piece of tape (like a half-moon). Stick the tape onto each nail with the curve facing up, exposing only the tip area. Paint over the exposed area with pink, then peel the tape off while still wet. Add white and green details above the curved pink edge and dot a couple of seeds. Custom shape, no special tool needed.
9. Toothpick Heart Watermelon#
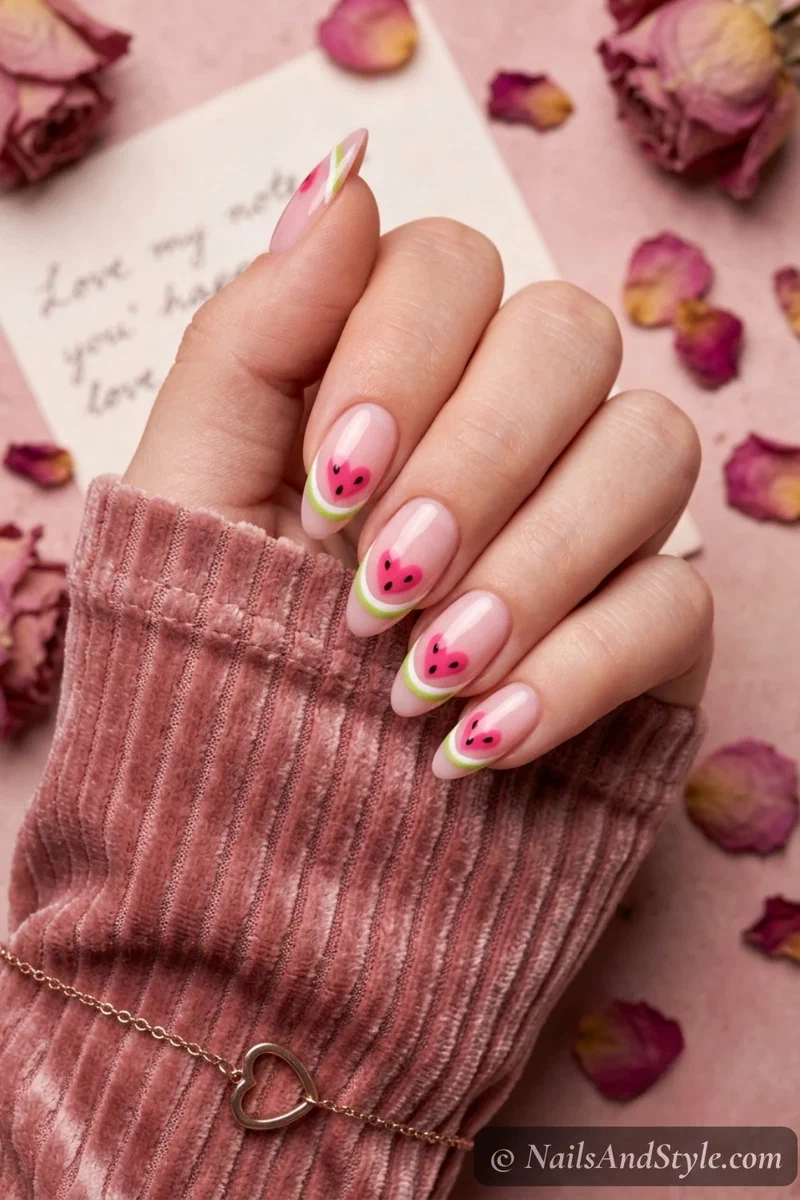
Tiny watermelon hearts. Yes, really. They’re absurdly cute. For more beginner-friendly nail art ideas, my beginner nail art guide has more of these little tricks.
What you need: A toothpick.
How to do it: Paint a sheer pink base. Place two small dots of hot pink side by side near the tip with a toothpick, then drag the toothpick downward between them to form a heart point. Add a slim white curve below the heart and a green curve under that. Drop one tiny black seed inside the heart. Sweet, small, very dateable manicure.
10. Cotton Swab Negative Space Watermelon#
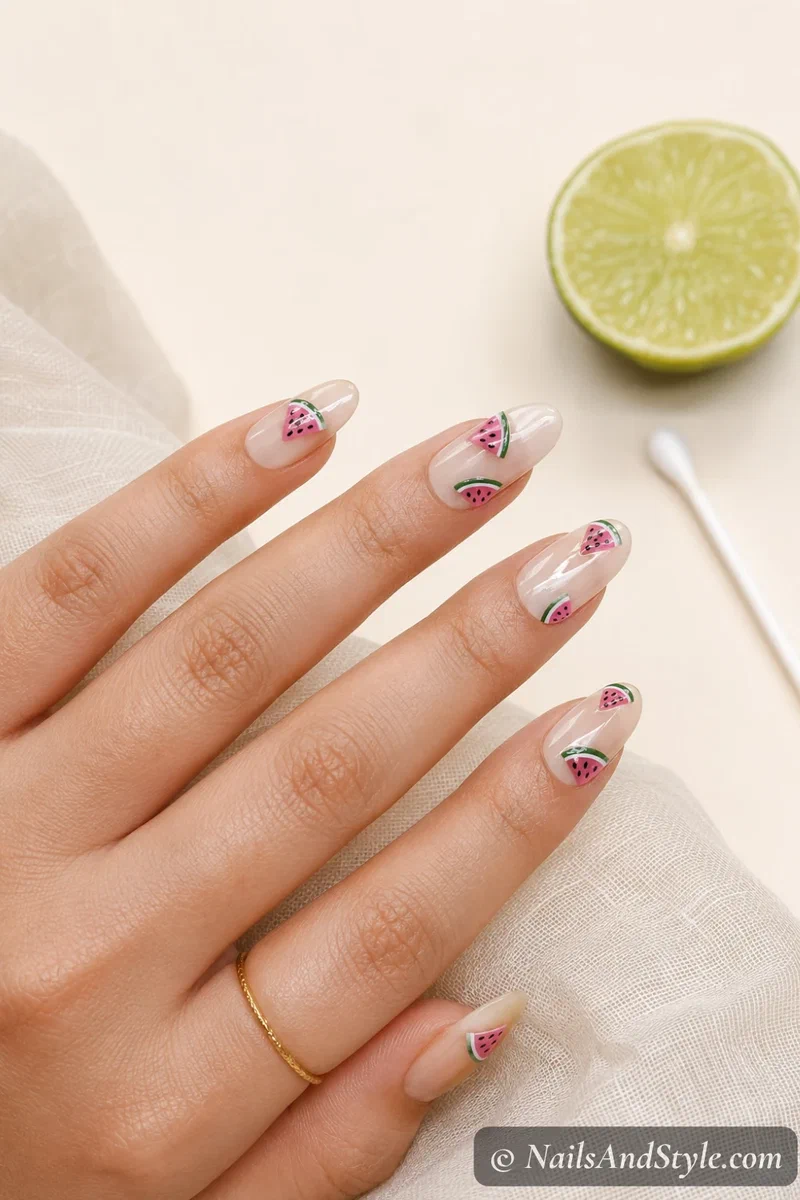
The editorial moment. Most of the nail stays bare; only a tiny slice peeks through.
What you need: A cotton swab dipped in nail polish remover.
How to do it: Paint your nails fully with the classic watermelon design (pink base, green tip, white line, toothpick seeds). Let it dry. Wrap a tiny piece of cotton from a swab around a toothpick, dip it in nail polish remover, and use it to carefully wipe away most of the polish — leaving just a small floating slice in a different spot on each nail. Glossy top coat seals it. Pinterest gold. The watermelon french tips post has more minimalist watermelon takes if you love this look.
These Looks for Short Nails#
Honestly, short nails are easier here. Less canvas means fewer mistakes show up.
- Toothpick seeds stay neat on short shapes without dominating.
- Pen tip mini slice was made for tiny nails — it fits the scale.
- Q-tip smudge pastel softens shorter nails without making them look bare.
- Negative space stretches short nails visually because most of the nail stays untouched.
- Tape french tip keeps proportions in check on small canvases.
What You’ll Need#
- Base coat — a clean base to start
- Glossy top coat — seal it shiny
- Watermelon polishes — pink/red, green, white + black
- A toothpick + tape — your no-tool substitutes for dots and lines
Simple Step-by-Step: How to Do Watermelon Nails at Home#
The order I follow no matter which design I’m doing:
- Prep. Wash hands, push back cuticles, trim and file in one direction.
- Buff lightly for better polish grip.
- Base coat. One thin layer always.
- Base colour. Pink, sheer nude, or whatever the design calls for.
- Add the green tip with your regular polish brush (slow and steady).
- Add the white divider line between pink and green.
- Drop the seeds with a toothpick or bobby pin.
- Clean stray edges with a small brush dipped in remover.
- Top coat. Seal the free edge and let it dry longer than you think.
Tips to Make Your Watermelon Nails Last Longer#
- Thin polish layers — always. Thick coats peel faster.
- Wrap the top coat over the free edge to seal everything down.
- No hot water for at least an hour after painting.
- Wear gloves for washing dishes (this is the one most people skip).
- Refresh top coat every 2-3 days to keep the seeds from chipping.
- Cuticle oil daily — small habit, massive payoff.
- Don’t pick at chips. I know. I know.
Quick FAQ#
Are watermelon nails hard if I’ve never tried nail art?#
Not at all. Start with the toothpick seed version or the bobby pin dots — both use one household item and forgiving technique. The pink-green colour combo also hides minor wobbles beautifully.
What’s the best polish base for no-tool watermelon nails?#
A bright opaque hot pink is your foundation for most designs, with sheer nude for tip-style ones. Add white and lime green (any cream-finish polish works), plus black for the seeds. Four colours total.
Will these designs hold up on natural nails without gel?#
Yes — every design here works on regular polish. The trick is letting each layer dry fully before adding the next, and finishing with a glossy top coat that seals the seeds in place. Patience is the whole game.
Final Thoughts#
Learning how to do watermelon nails without nail art tools is basically a rite of passage for at-home manicures. Once you realise a toothpick handles seeds better than half the kits on the market, the rest is just colour and confidence.
Pin the variations you want to try, raid your bathroom drawer, and pick whichever one matches your mood today — bold and juicy, soft pastel, or barely-there negative space. Your nails are about to look way more expensive than your supplies suggest.