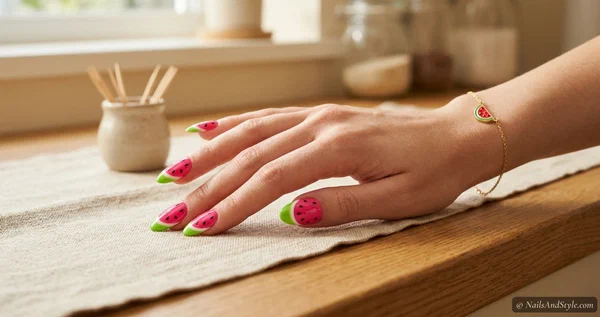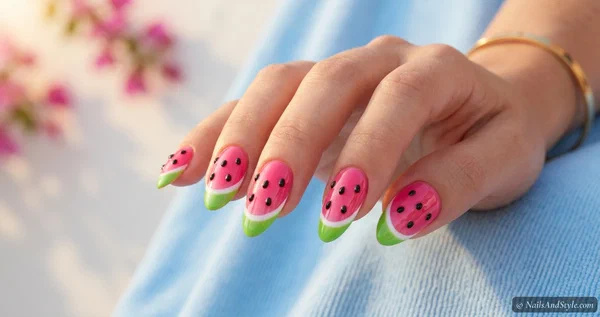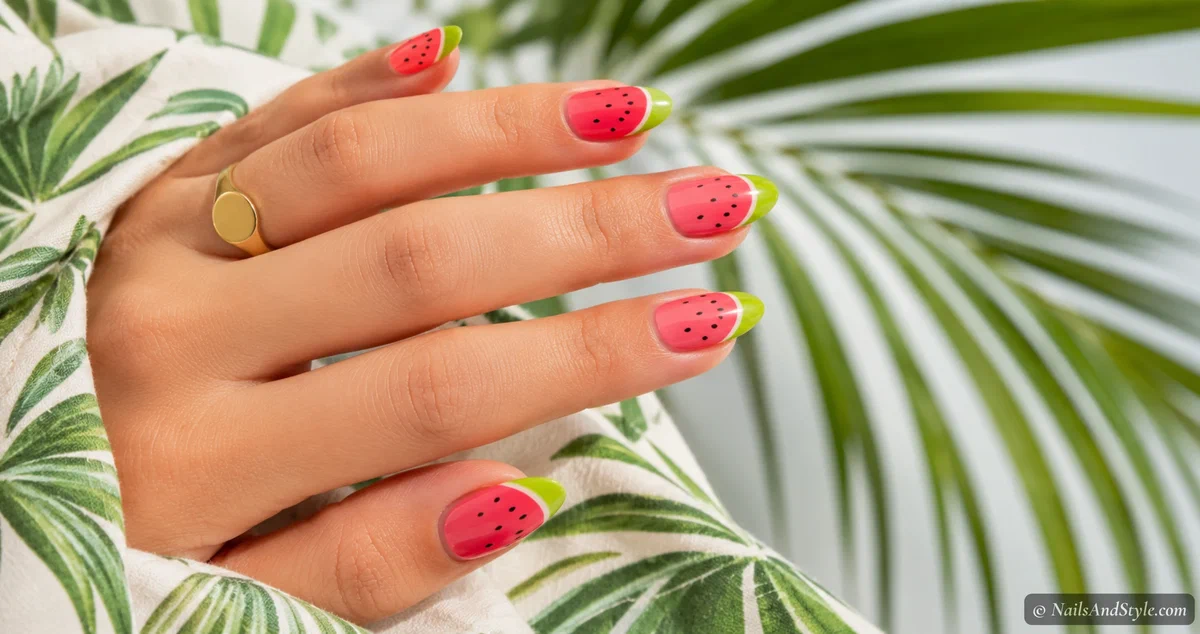
Watermelon nails are summer’s loudest little flex. Pink, green, and a sprinkle of black seeds — done well, they make every other manicure look kind of boring. And the best part? You don’t need to be a nail tech to pull them off.
This guide walks you through how to do watermelon nails at home with ten different design variations — from the classic juicy slice to softer pastel and editorial negative space versions. Some take five minutes. Others are weekend-afternoon projects. All ten are doable on short or medium nails, and most use tools you already own.
I’ll cover exactly how to create each look — the colors, the tools, the technique. Plus the prep that quietly does half the work.
Why Watermelon Nails Are a Summer Staple#
Honestly, it’s one of those designs that just makes people smile. They’re fun at brunch, photograph beautifully at the pool, and have that retro summer-fruit energy that never really goes out of style.
A few things to keep in mind before you start:
- Hot pink works on warm undertones; soft pink and coral flatter cool undertones.
- Short and medium almond shapes show watermelon designs best (less crowding).
- A thin striping brush, dotting tool, or even a clean toothpick is enough for most designs.
- Base coat and top coat — always. Polish chips faster than fresh fruit goes bad.
If you need help picking the right polish formulas, our 2026 nail polish brand guide is a good place to start.
How to Do Watermelon Nails: 10 Cute Designs to Try at Home#
Each design below comes with a clear how-to so you can actually replicate it. I’ve ordered them from easiest to slightly trickier — pick the one that fits your skill level (or your snack mood).
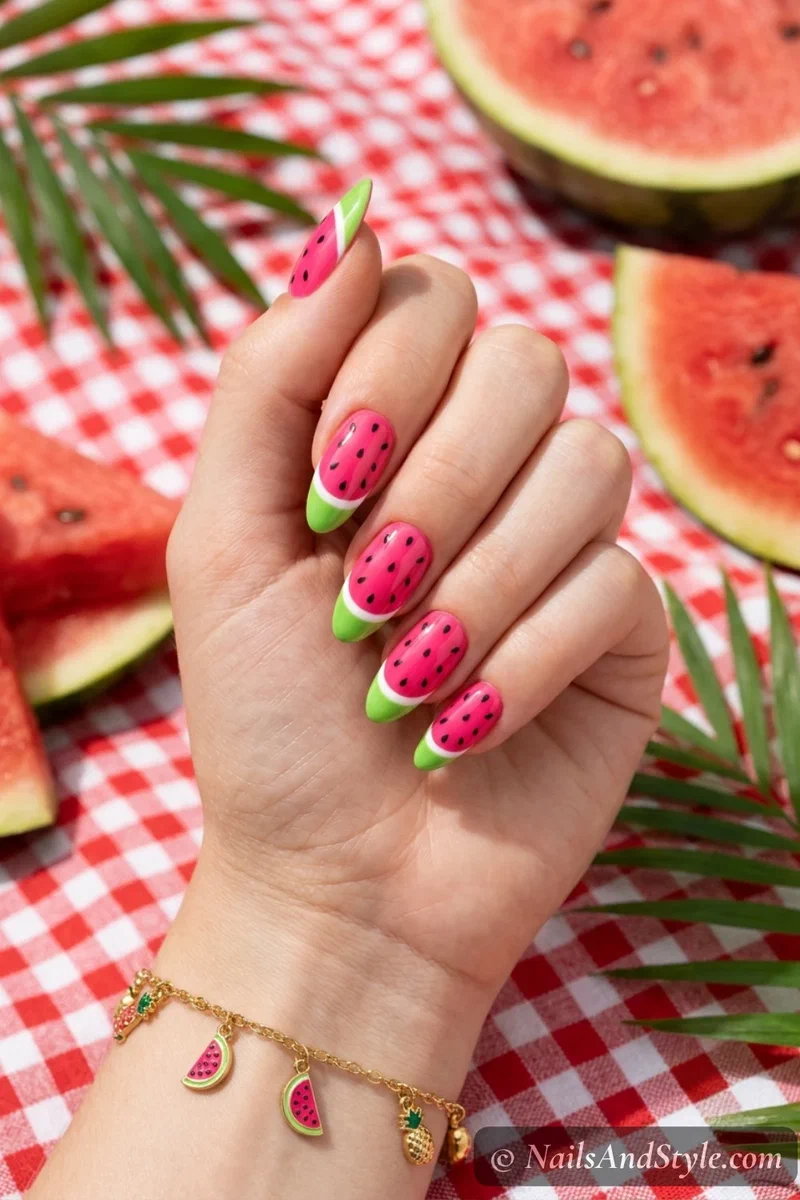
1. The Classic Watermelon Slice#
The iconic version. You’ve seen it everywhere because it just works.
How to do it: Paint two coats of hot pink polish as your base. Use a thin striping brush to add a thin white line across the tip, then a thicker bright green line just above the white. Once dry, dip a toothpick or fine dotting tool in black polish and dot tiny seeds across the pink section. Glossy top coat to finish.
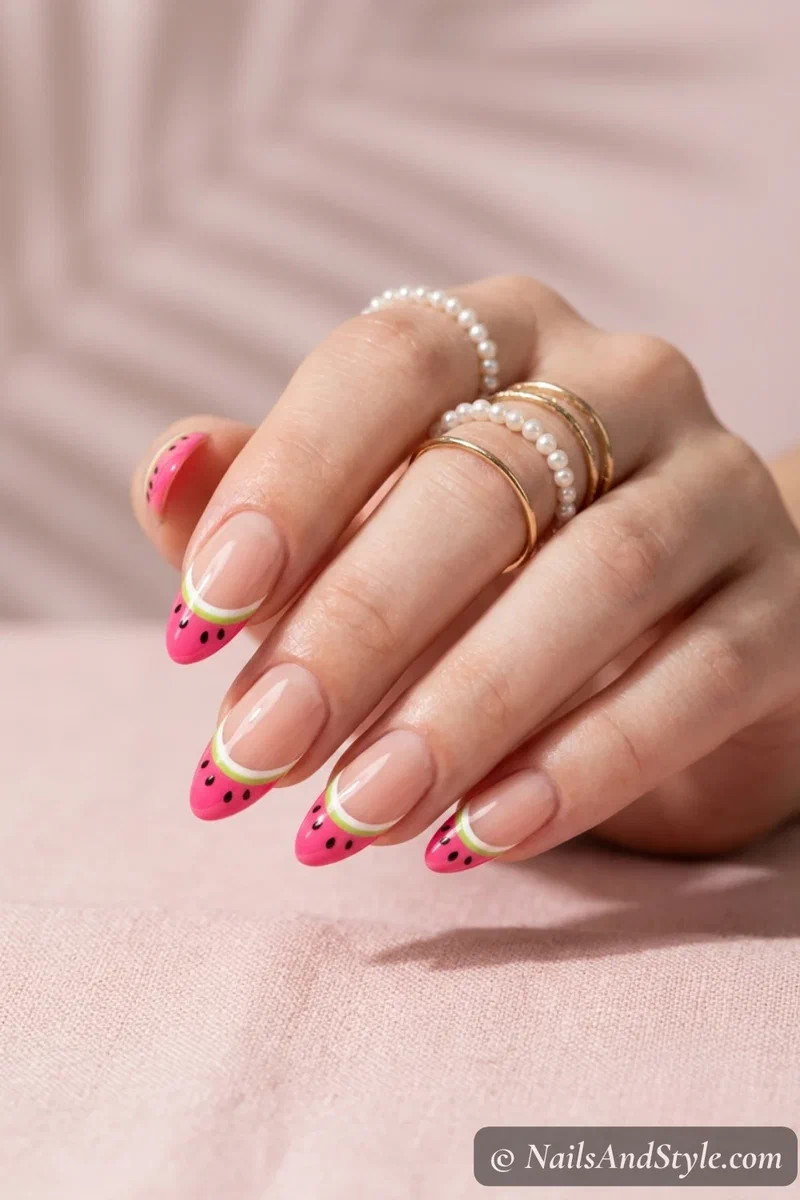
2. Watermelon French Tips#
A modern twist that takes the fruit theme but keeps the elegance of a classic French.
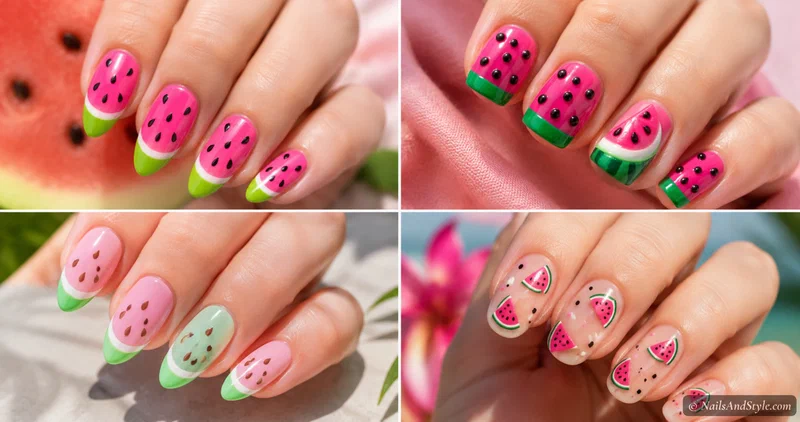
How to do it: Start with a sheer nude or pale pink base. Using French guides (or a steady hand and a striping brush), paint a hot pink tip across each nail. Add a thin white line above the pink tip, then a slim green line above that. Drop two or three tiny black seeds along the pink. Way cuter than it sounds.
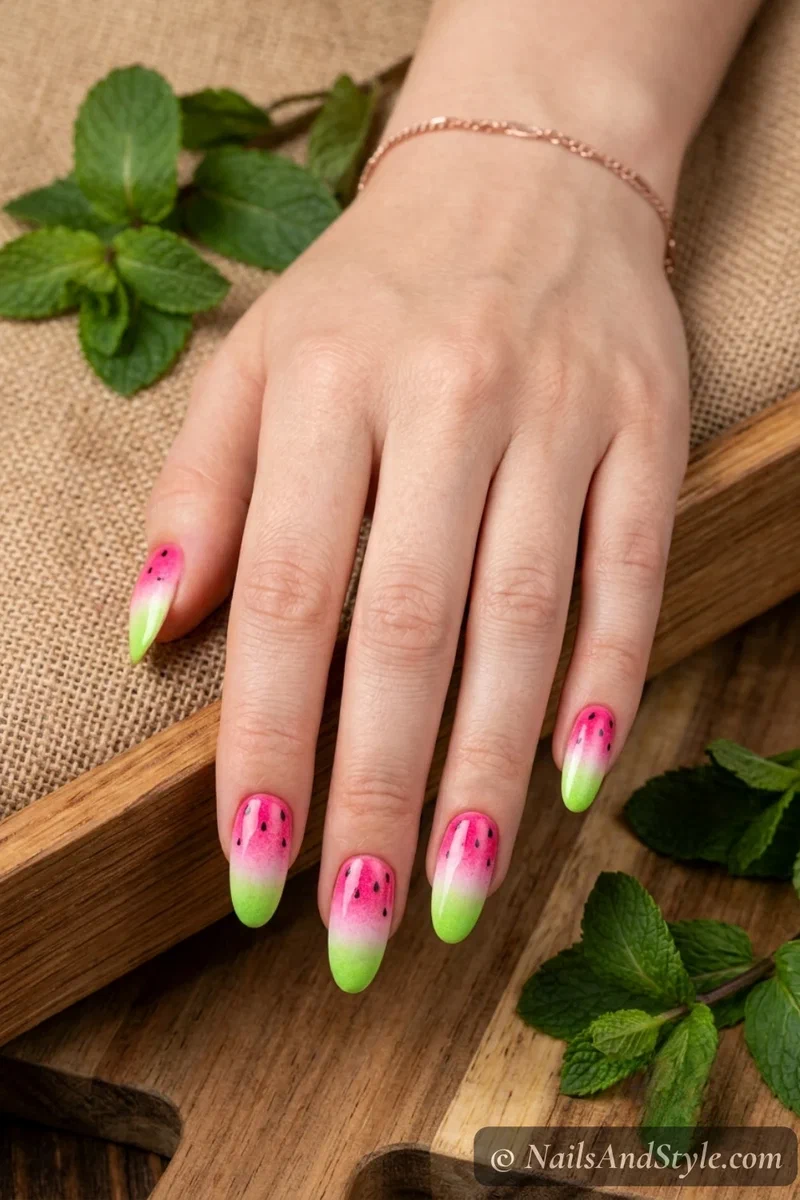
3. Pink-to-Green Ombre Watermelon#
Soft. Dreamy. Watermelon with the volume turned down.
How to do it: Paint two colors side by side on a small makeup sponge — hot pink at one end, bright green at the other, with a slim white stripe blending between them. Dab onto each nail until the gradient builds, then scatter a few black seeds across the pink section using a toothpick. The full ombre method lives in my how to do ombre nails at home guide if you need a refresher.
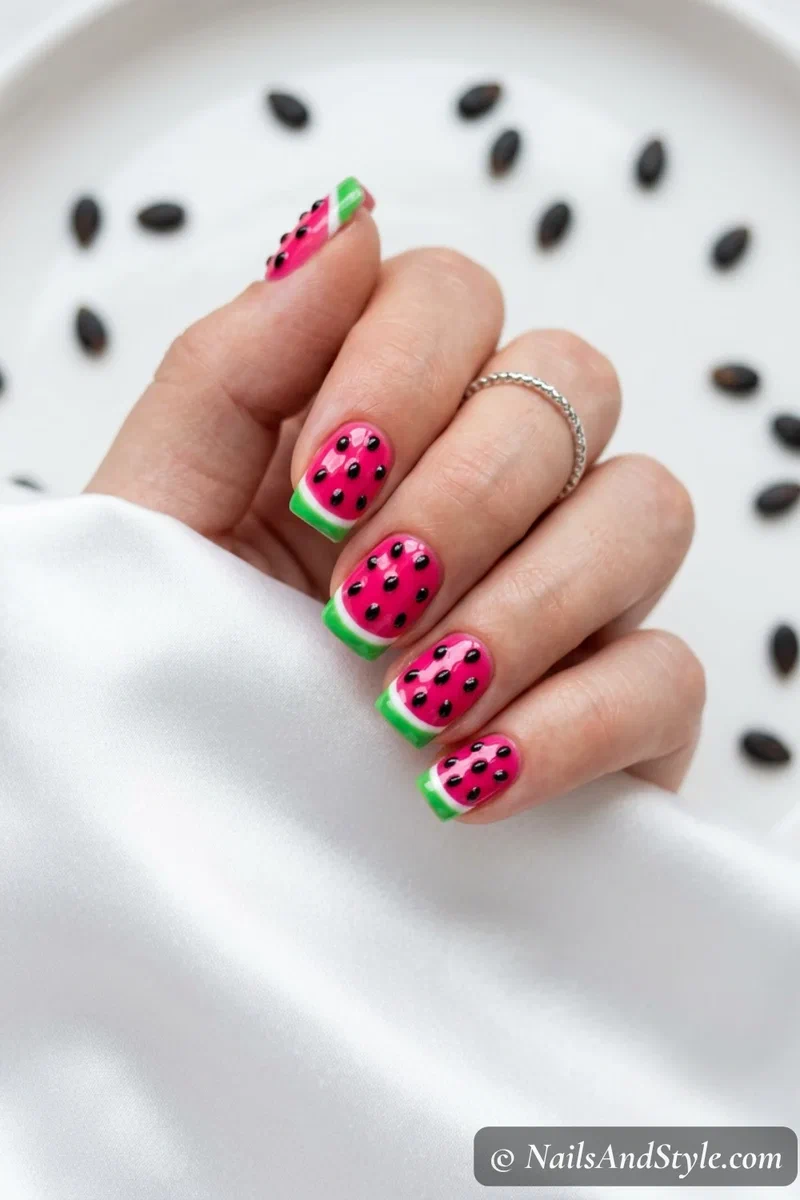
4. 3D Watermelon Seed Nails#
Now we’re getting fancy. The texture is what makes this look feel salon-level.
How to do it: Paint a flat hot pink base with a bright green tip and slim white divider line. Instead of painted seeds, apply tiny black gel rhinestones with tweezers, or build raised dots using a small drop of clear nail glue or builder gel topped with black polish. Seal with a glossy top coat to lock the seeds down. Touch a nail and you can actually feel them.
5. Single Watermelon Accent Nail#
The low-commitment version. All the cuteness, none of the pressure.
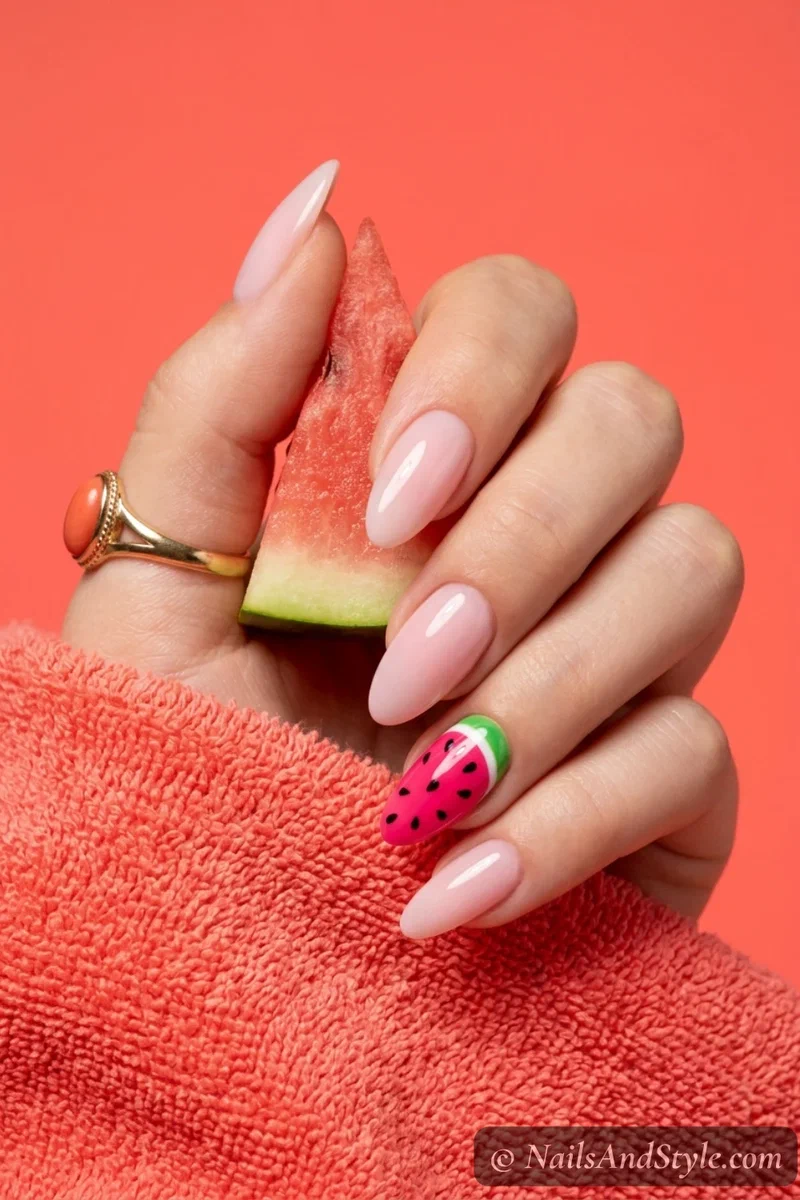
How to do it: Paint four nails in sheer pink, milky nude, or even soft coral. Save the ring finger (or whichever nail you want as your statement) for a full watermelon slice — hot pink base, thin white line, green tip, tiny black seeds. Done in fifteen minutes if you keep it focused.
6. Pastel Watermelon Nails#
For when you want the watermelon energy but in your softer summer mood.
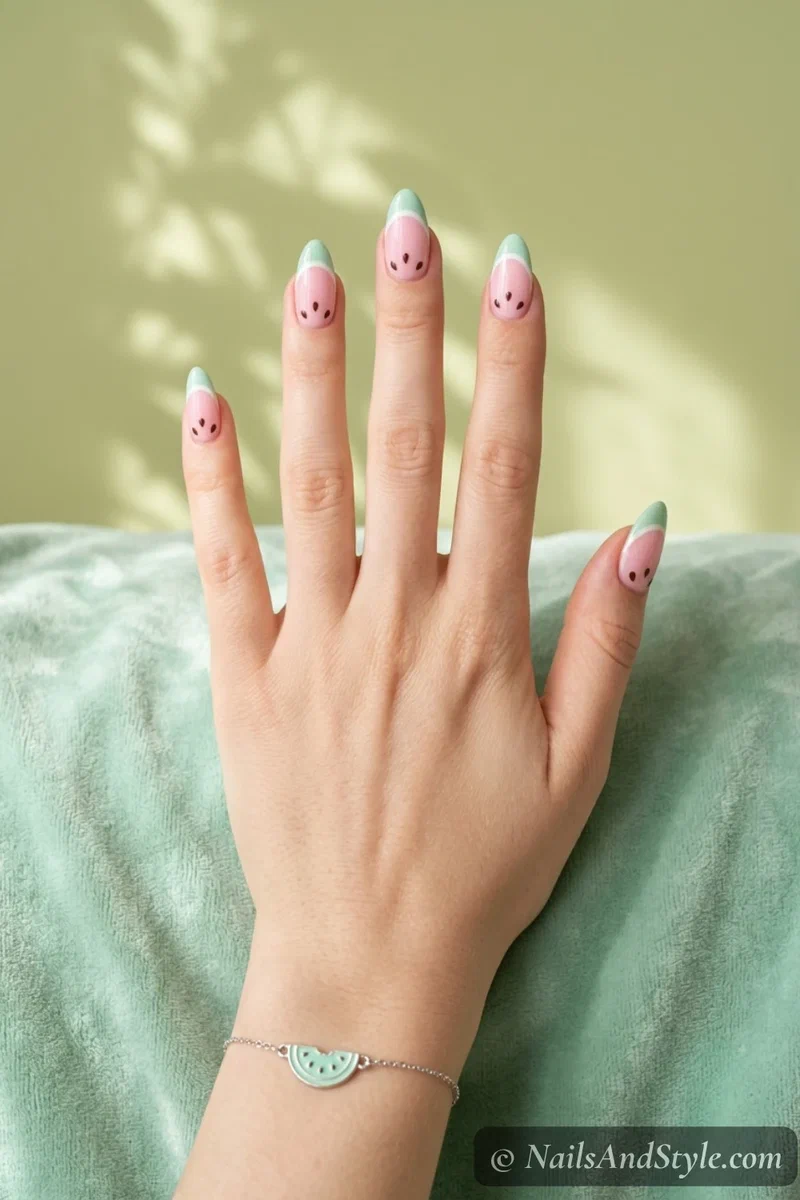
How to do it: Swap the hot pink for baby pink and the bright green for mint. Same layering — pastel pink base, slim white line, mint green tip. Instead of black seeds, use dark chocolate brown or charcoal gray for a softer contrast. Pastel polish sets blend together more easily, which is honestly a beginner win.
7. Watermelon Glitter Nails#
Loud, fun, and the unofficial nail of every pool party.
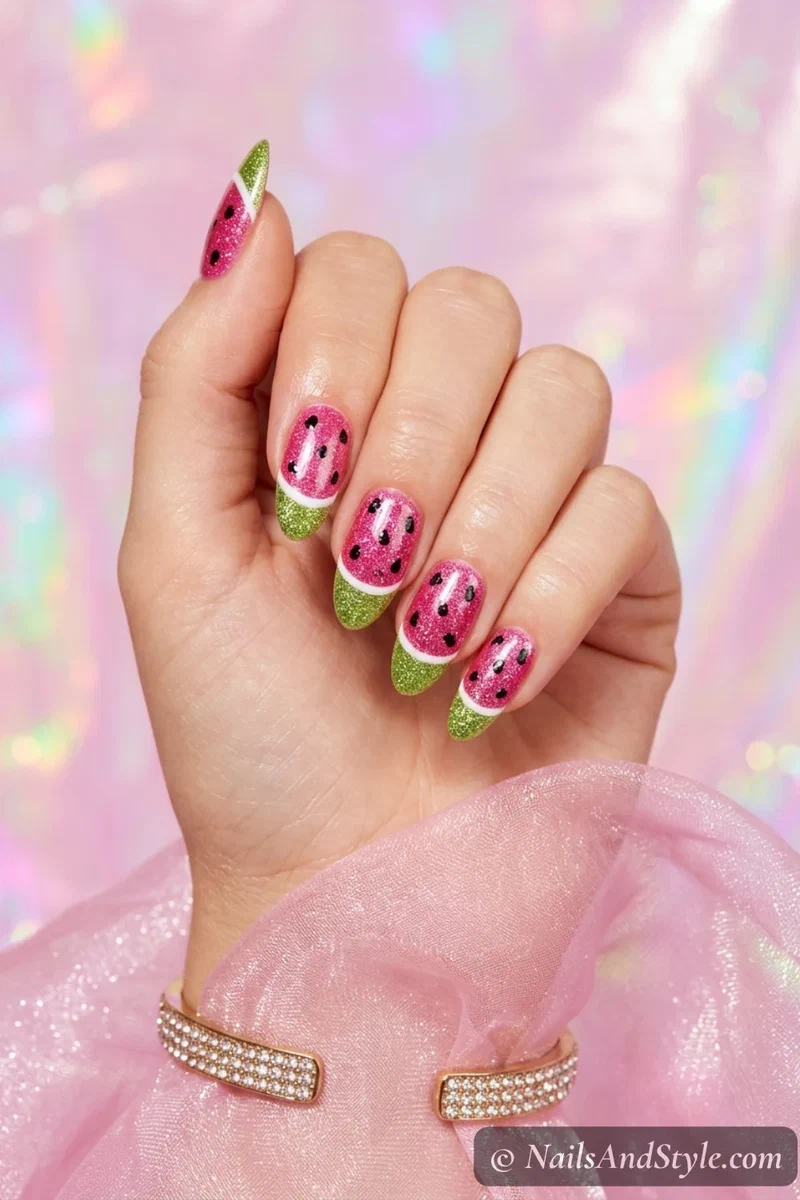
How to do it: Paint your hot pink base, let it dry, then dust fine green glitter over a thin top coat at the tip while it’s tacky. For the seeds, hand-place tiny black glitter pieces (or chunky black flakes from a glitter polish) along the pink. Cap with two layers of clear top coat to smooth out the glitter texture. Shiny and a little chaotic, in the best way.
8. Tiny Watermelon Slice on Tips#
The minimalist take. Tiny but charming.
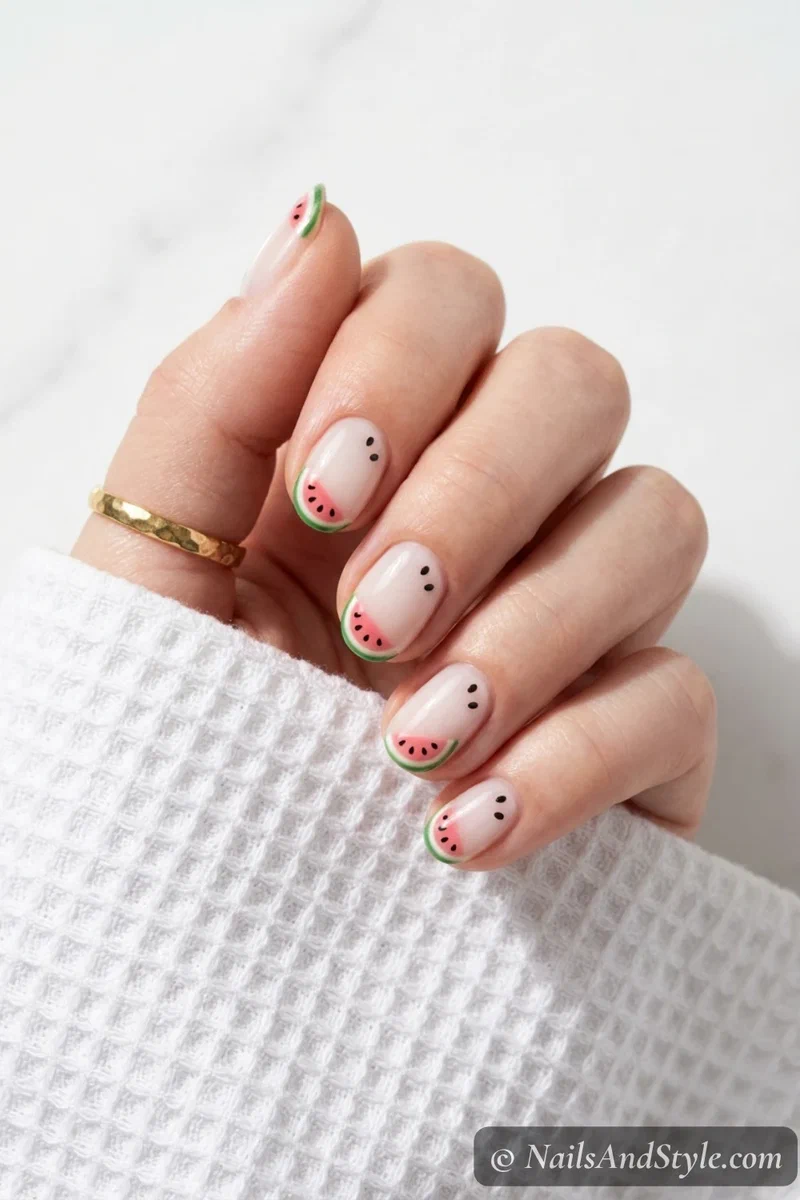
How to do it: Keep most of the nail bare with a sheer base coat. Using a fine nail art brush or toothpick, paint a small half-circle watermelon slice (pink + white + green) at one corner of each nail tip. Add a few dot-sized seeds. Looks intentional and editorial — and it’s beginner-friendly because there’s so little to paint. For tiny detail work, my toothpick nail art tutorial walks through the technique.
9. Watermelon Jelly Nails#
Translucent, glossy, and weirdly satisfying to stare at.
How to do it: Use a sheer pink jelly polish (or thin out a regular pink with clear polish) for a translucent base — two thin coats. Add a slim opaque green stripe at the tip and an even slimmer white line between them. Finish with extra glossy top coat for that wet, gel-like look. If you love jelly finishes, my jelly nails post covers more designs in the same family.
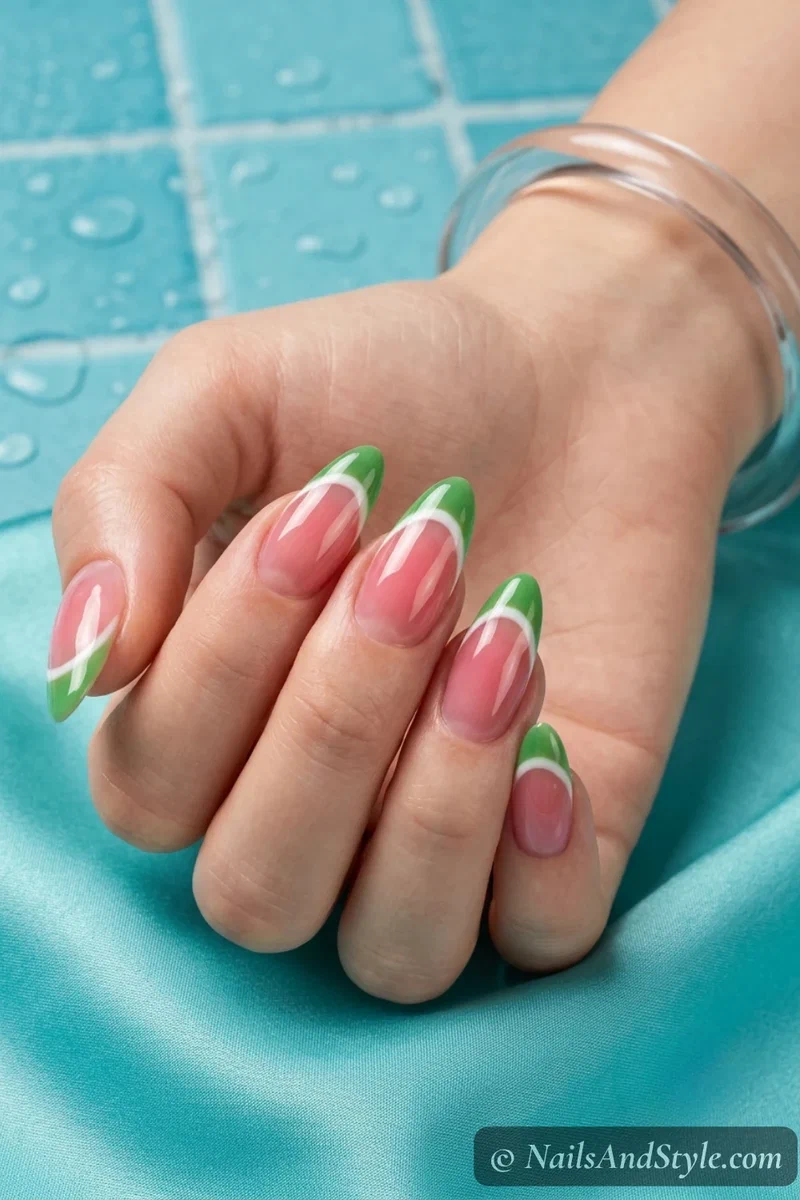
10. Negative Space Watermelon Nails#
The editorial moment. Modern, airy, and very Pinterest.
How to do it: Start with a clear base coat across the whole nail. Then paint a small floating watermelon slice somewhere different on each nail — one slice angled near the tip, one in the center, one diagonally near the cuticle. Use a thin brush and keep the slices small. The bare nail does most of the styling for you. Refer to my beginner nail art guide if you want to combine this with other techniques.

These Looks for Short Nails#
Good news. Watermelon nails are arguably better on short nails — the design fills the canvas without looking cramped.
- Single accent nail keeps the look balanced without feeling too busy.
- Tiny slice tips work like a dream on short shapes.
- Pastel watermelon softens the design so it doesn’t overpower short nails.
- Negative space stretches the nail visually because most of it stays bare.
- Jelly version gives short nails that fresh, juicy summer glow.
What You’ll Need#
- Base coat — a clean base for the slice
- Glossy top coat — seal it juicy and shiny
- Watermelon polishes — pink/red, green, white + black for seeds
- Dotting tool — for perfectly round seeds
- Thin detail brush — for the rind line
Simple Step-by-Step: How to Do Watermelon Nails at Home#
Here’s the order I use no matter which version I’m doing:
- Prep. Wash hands, push back cuticles, trim, and file in one direction.
- Buff lightly for better polish grip.
- Base coat. One thin layer. Protects from staining.
- Base color. Pink, sheer nude, or clear — depending on which design you picked.
- Add the green tip using a striping brush, French guide, or sponge for ombre.
- Add the thin white divider line between pink and green.
- Drop the seeds with a toothpick, dotting tool, or rhinestones for 3D.
- Clean edges with a small brush dipped in remover.
- Top coat. Seal the free edge. Let it dry longer than you think.
Tips to Make Watermelon Nails Last Longer#
- Thin polish layers — always.
- Seal the free edge with every coat.
- Skip hot water for at least an hour after painting.
- Gloves on for dishes and cleaning (yes, even for fifteen minutes).
- Refresh top coat every 2-3 days to keep the seeds shiny.
- Cuticle oil daily — it’s the small habit that makes the biggest difference.
Quick FAQ#
Do I need a nail art kit to do watermelon nails?#
Not really. A toothpick handles the seeds, a small brush handles the lines, and a makeup sponge covers ombre. If you want fancy, a dotting tool and striping brush are cheap upgrades that make the design crisper.
What’s the easiest watermelon nail design for first-timers?#
The single accent nail. You only paint one full watermelon design and four supporting nails — way less pressure than committing to all ten fingers.
Can I do watermelon nails on natural nails without gel?#
Yes. Every design here works on natural nails. Just make sure each layer (pink, white, green, seeds) is fully dry before adding the next — patience is the secret ingredient.
Final Thoughts#
Watermelon nails are the kind of design that feels low-stakes and high-reward. You don’t need expensive tools, a steady-handed friend, or any real artistic background — just a couple of pinks, a green, a white, and a toothpick. Once you’ve nailed one version, the other nine open up fast.
Pin the variations you want to try, and start with whichever feels like your vibe — bold and juicy, soft and pastel, or editorial and barely-there. Either way, you’re about to have the cutest hands at the pool.