Okay so you love press-on nails. The designs, the convenience, the fact that you can have a full set in ten minutes without sitting under a lamp for an hour. Same. But if your press-ons keep popping off mid-day — in the shower, at work, while you’re just living your life — it’s frustrating enough to make you give up on them entirely.
Don’t. Because once you know how to get press on nails to stay on, it changes everything. The issue almost never the nails themselves. It’s the prep. And once you nail the prep (pun absolutely intended), you’ll get days — sometimes weeks — of solid wear from a set that cost you a fraction of what a salon charges.
This guide covers every step that actually matters, from the stuff you do before the nails even come out of the box to the little aftercare habits that keep them locked in place.
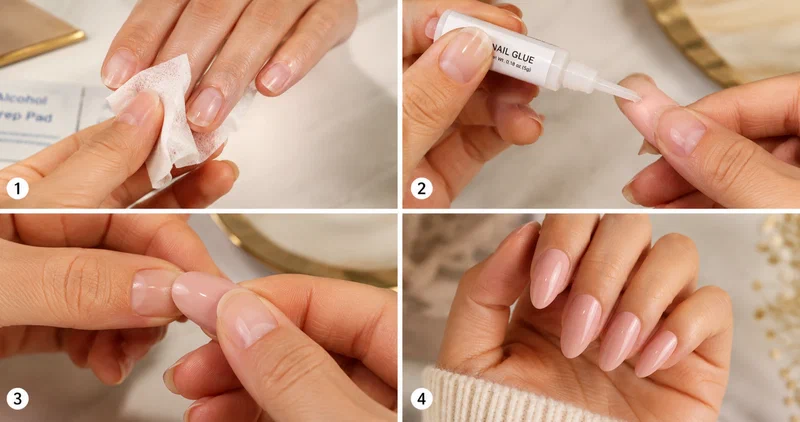
Why Your Press-On Nails Keep Falling Off#
Before we fix the problem, let’s talk about why it’s happening. Because if you just slap nails on and hope for the best — yeah, they’re coming off.
The biggest culprits:
- Oil on your nail plate — this is the number one reason. Natural oils, hand cream residue, even the oil from touching your face creates a barrier between the glue and your nail
- Wrong size — too wide and the edges lift, too narrow and there’s not enough surface contact
- Not enough glue — or glue only in the center, leaving the sides unattached
- Skipping the buff — a smooth, shiny nail gives glue nothing to grip onto
- Water exposure too soon — getting your hands wet within the first hour weakens the bond before it fully sets
Sound familiar? Good news — every single one of these is fixable.
What You’ll Need#
- Your press-on set — sized to your nail beds before you start
- Nail glue — a strong, thin-tip glue for the longest hold
- Gel adhesive tabs — a gentler, reusable alternative to glue
- Fine buffer — to rough up the shine so glue grips
- Orange wood stick — to push cuticles back for a clean edge
- Lint-free wipe + rubbing alcohol — to de-oil the nail right before applying
How to Get Press-On Nails to Stay On — The Full Method#
Prep Your Nails Properly#
This is where 90% of the magic happens. Seriously.
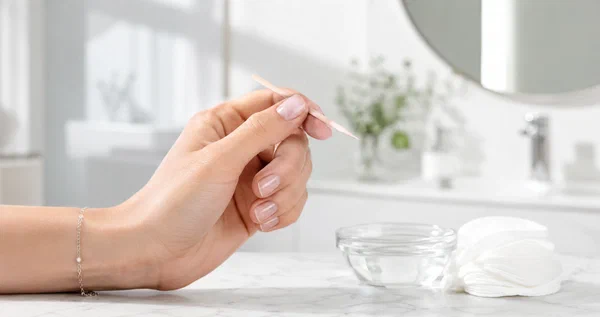
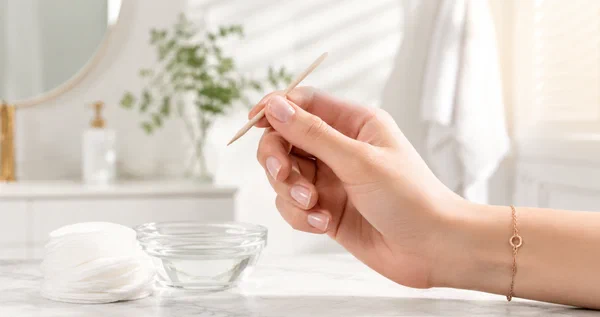
Start by washing your hands with soap — not moisturizing soap, just regular soap. You want to strip away any oils. Then push back your cuticles gently with a cuticle pusher or orange wood stick. You don’t need to cut anything. Just nudge them back so the press-on can sit right up against your cuticle line without a gap.
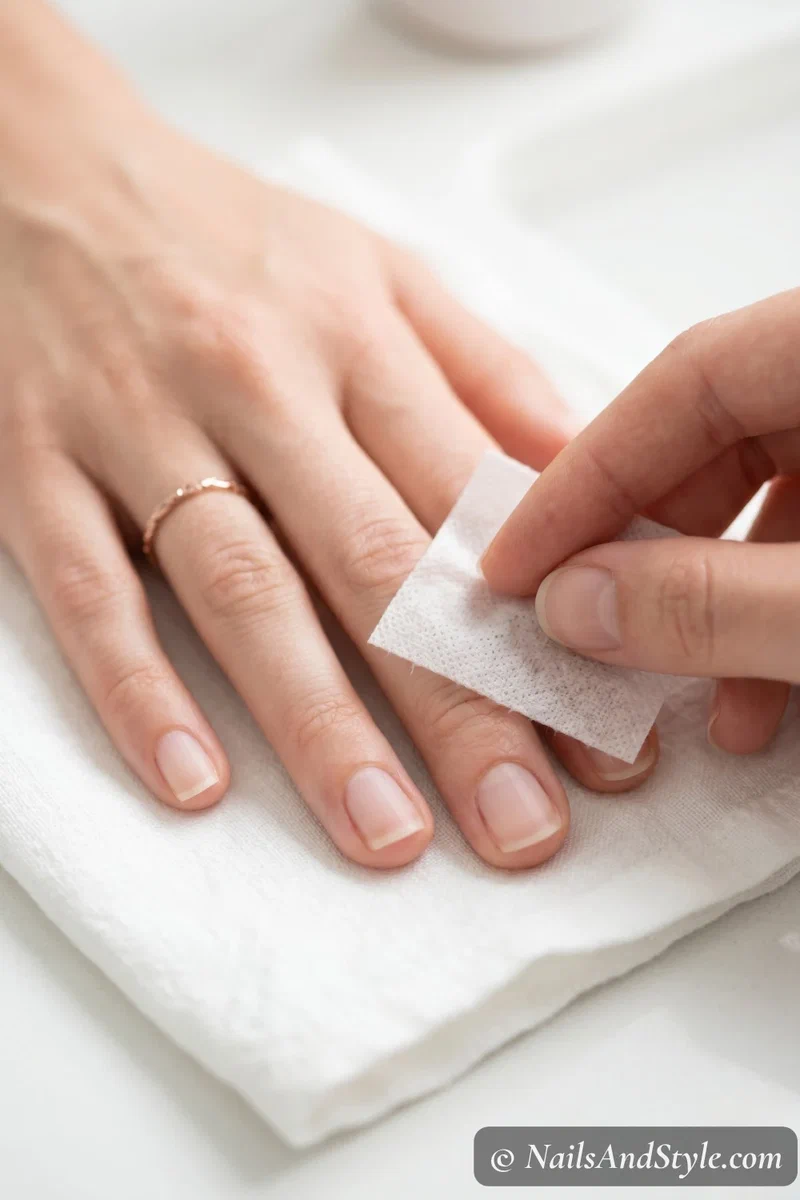
Now buff the surface of each nail lightly. Not aggressively — you’re not filing them down. Just a few gentle strokes with a fine buffer to remove the shine. This creates tiny grooves for the glue to grip into.
Last step: wipe every nail with an alcohol pad or rubbing alcohol on a lint-free wipe. This removes any remaining dust and oil. Let them dry completely. Don’t touch your nail beds after this.
If you want to explore more in this direction, my how to make press on nails look natural post has plenty to dig into.
Size Your Nails Before You Start#
Here’s a mistake I see constantly — people size and apply at the same time. Nope. Lay out all ten nails first. Press each one against your natural nail (without glue) and check that it covers your nail bed from side to side without hanging over the edges or leaving gaps.
If a nail is slightly too wide, file the sides down gently. If it’s between sizes, always go smaller. A slightly smaller nail that sits flush will hold ten times better than a wider one that lifts at the corners.
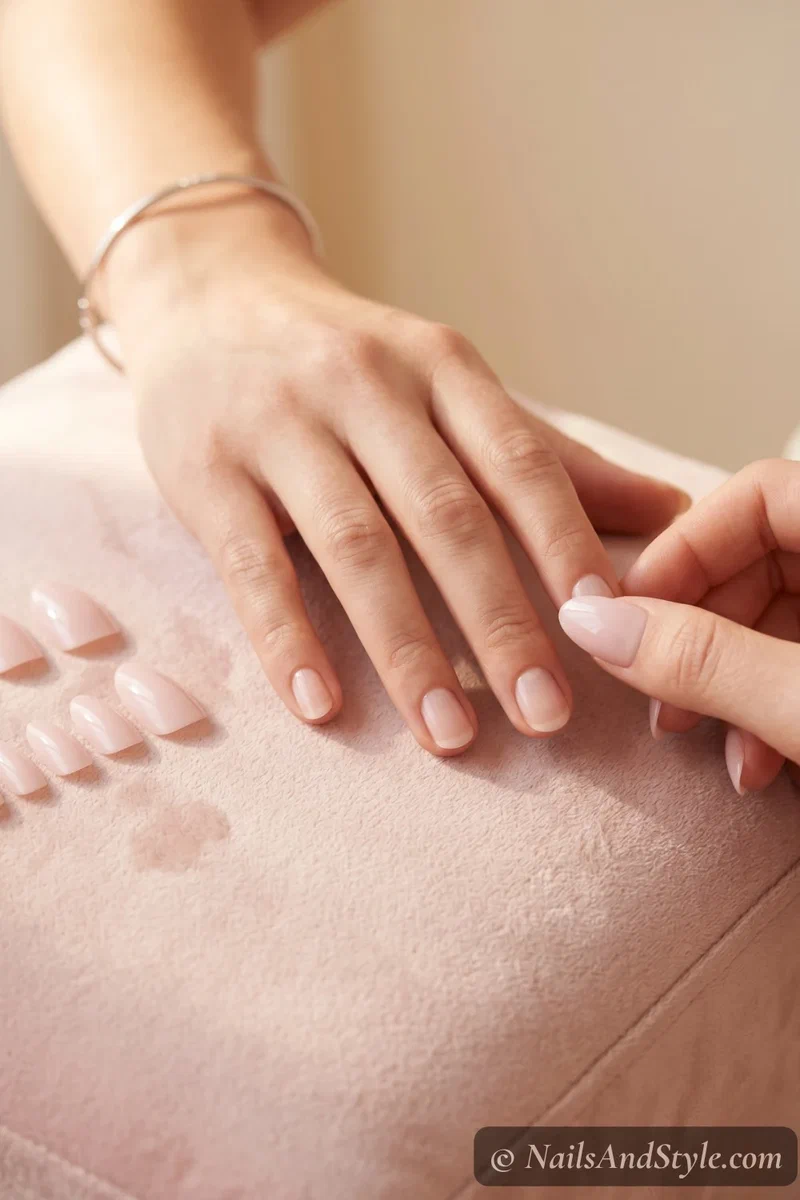
Apply Glue the Right Way#
This part matters more than people think. Apply a thin layer of nail glue to your natural nail AND to the back of the press-on. Both surfaces. This gives you double the adhesion.
Don’t glob it on — a thin, even coat covering the entire surface is what you want. If glue is only in the middle, the edges will lift within hours. Cover all the way to the sides and near (but not touching) the cuticle area.
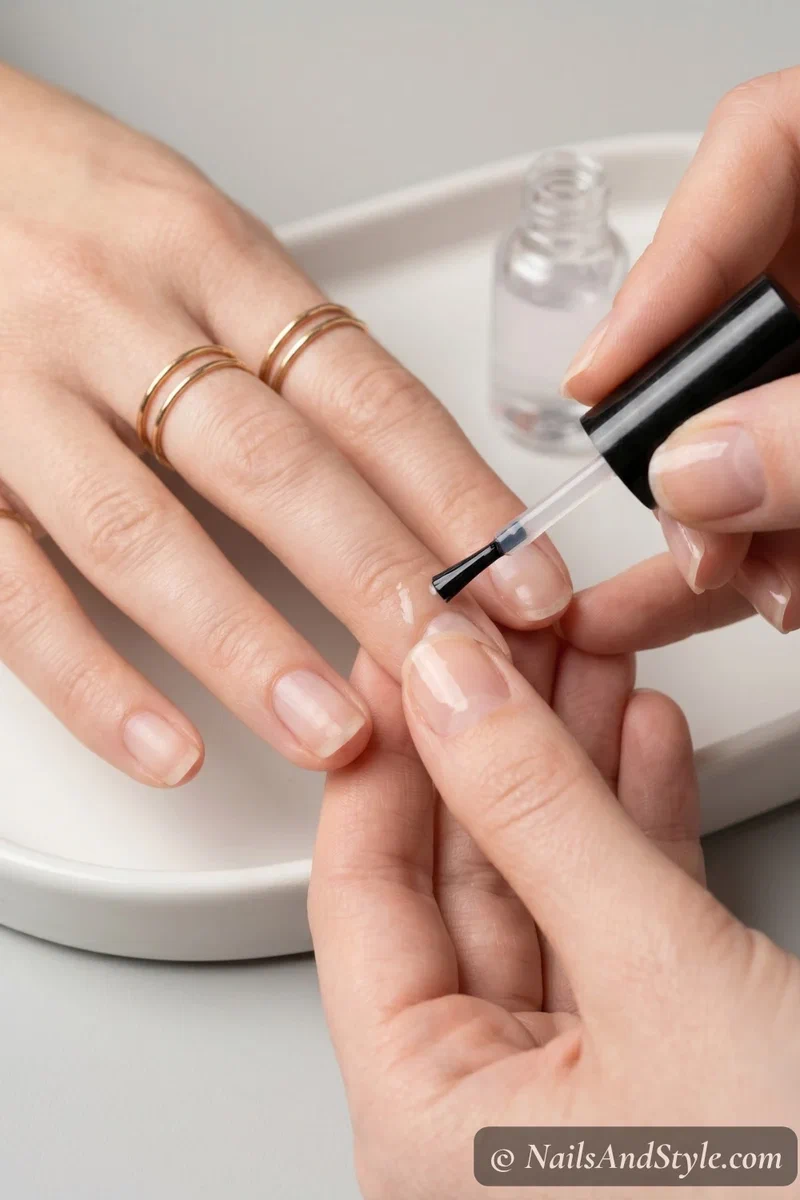
Press and Hold — Actually Hold#
Place the press-on at a slight angle, starting near your cuticle and pressing down toward the tip. This pushes out air bubbles. Then press firmly for at least 30 seconds per nail. Not five seconds. Not a quick squeeze. Thirty full seconds of firm, steady pressure.
I know it feels tedious. But this is what bonds the glue properly and eliminates air pockets that cause lifting later.
My nail art with toothpick for beginners post is a great companion read if you’re loving this style.
Seal the Edges#
Once all ten are applied, run a tiny bit of glue along the cuticle edge and sides of each nail with a thin brush or toothpick. This seals any micro-gaps where water could sneak in later. Think of it like caulking a window — you’re blocking the entry points.
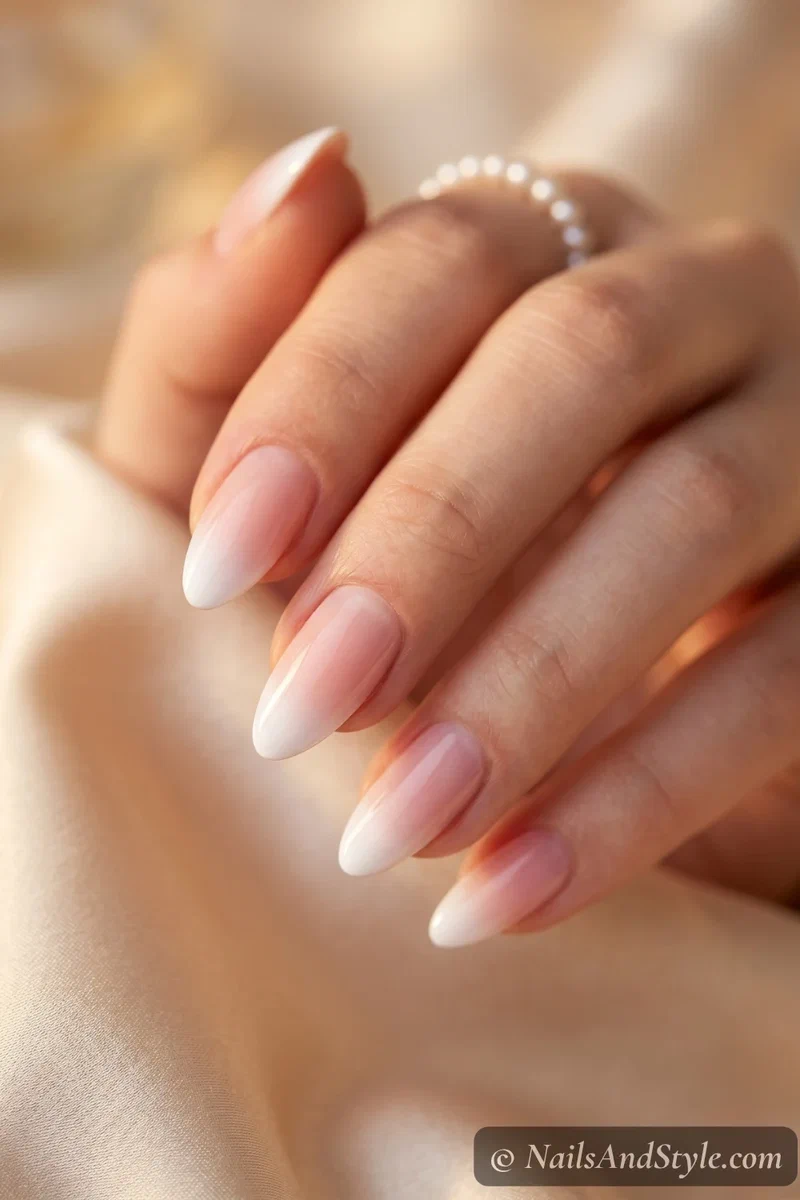
Nail Adhesive Tabs vs Glue — Which Actually Lasts?#
Real talk: if you want your press-ons to stay on for more than a few days, use glue. Adhesive tabs are convenient and great if you want something temporary — a weekend trip, a night out, a photo shoot. They’re also better for your natural nails since removal is gentler.
But for everyday wear that lasts 1-3 weeks? Glue wins every time. It creates a chemical bond that tabs just can’t match.
That said, if you’re using tabs:
- Press firmly for 60 seconds (longer than you would with glue)
- Avoid getting them wet for at least two hours
- Skip hand cream on application day
- Choose gel-based tabs over standard foam ones — they grip significantly better
For more ideas like this, check out my how to remove acrylic nails at home post — worth a scroll.
Tips to Make Press-On Nails Last Longer#
These little aftercare habits are what take you from “they lasted three days” to “they lasted two weeks.” None of them are hard.
- Avoid water for the first hour — no hand washing, no dishes, no showers right after application
- Wear gloves for chores — dish soap and hot water are your press-ons’ worst enemy
- Don’t use your nails as tools — prying, picking, scratching labels off things — all of this creates leverage that pops them off
- Apply cuticle oil around (not under) the nails — keeps everything looking fresh without weakening the bond
- If one lifts, reglue immediately — don’t wait for it to fully pop off, just add a drop of glue and press it back down
- Skip heavy hand creams near your nails — oil migrates under the edges and breaks the seal
- Keep your nails at a practical length — longer nails catch on more things, creating more force on the glue line
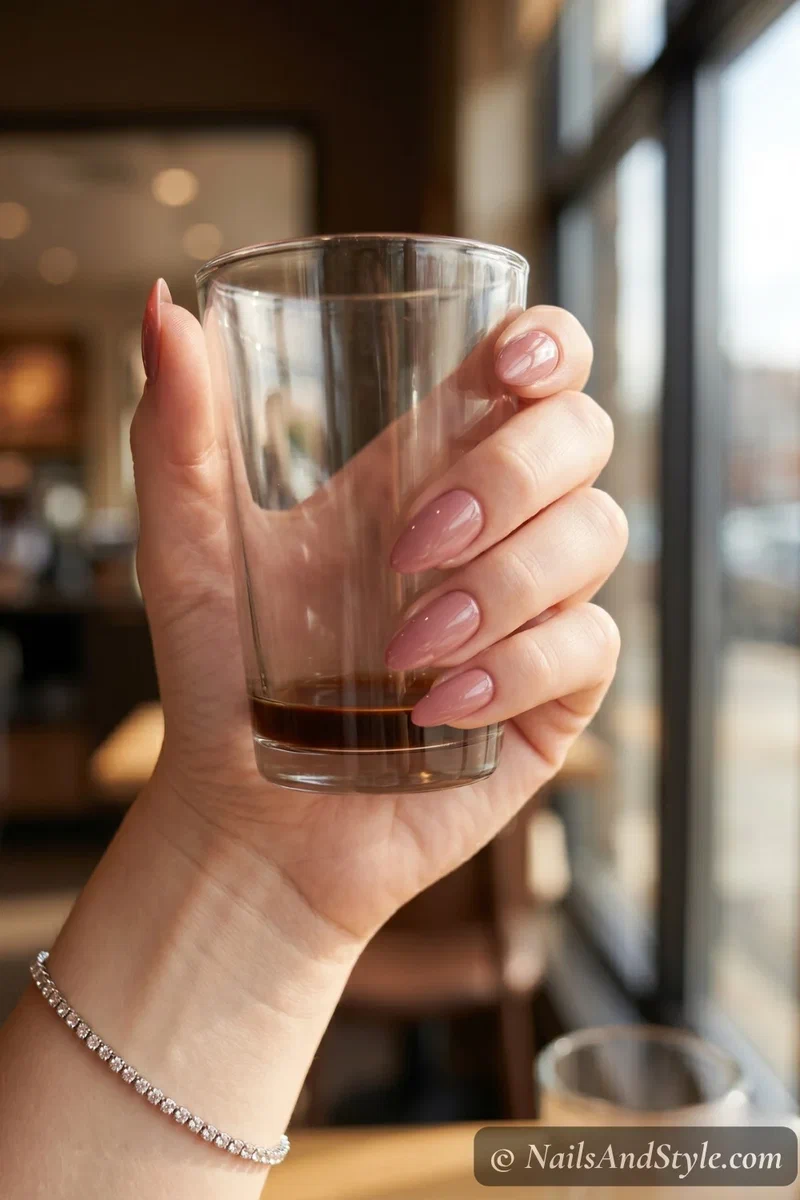
And when you’re finally ready to swap them out, take them off as carefully as you put them on — my how to remove Glamnetic nails guide covers gentle removal for that brand and press-ons in general.
Press-On Nails on Short Nails#
If you have short natural nails, press-ons actually bond better to your nail bed in some ways — there’s less length creating leverage, so less force trying to peel them off. The key is getting the sizing right. Short natural nails sometimes need a slightly different curve match than longer ones.
A few things that help:
- Choose press-ons in short or medium length — less overhang means less snagging
- Make sure the press-on covers your entire visible nail bed
- File down any press-on that extends too far past your fingertip if you’re not used to length
- Shorter press-ons tend to stay on longer simply because there’s less drag on them during daily life
My best nail polish brands 2026 post goes deeper on this whole vibe if you want to keep going.
Quick FAQ#
How long do press-on nails last with glue?#
With proper prep and quality nail glue, most people get 1-3 weeks of wear. Some people genuinely get a full three weeks — especially if they’re careful about water exposure and wear gloves for cleaning. Without good prep, you might only get a few days. The prep is everything.
Can I shower with press-on nails?#
Absolutely — just avoid long, hot showers for the first few hours after application. Once the glue has fully set, normal showers are fine. The issue isn’t water itself so much as prolonged hot water exposure, which can soften the adhesive over time.
Are press-on nails better than acrylics?#
Different tools for different needs. Press-ons are cheaper, faster, gentler on your natural nails, and easy to change whenever you want. Acrylics last longer and feel more permanent. For most people doing nails at home, press-ons are the more practical choice — especially when you learn how to apply them properly.
Final Thoughts#
Once you figure out how to get press on nails to stay on, you’ll wonder why you ever struggled with them. It’s genuinely just about prep and technique — not expensive products, not magic glue, not some secret only nail techs know.
Clean your nails properly. Buff lightly. Dehydrate with alcohol. Size before you glue. Apply glue to both surfaces. Press hard and long. Seal the edges. Avoid water for an hour.
That’s it. That’s the whole thing. Now go enjoy your nails staying put for once — and maybe save this for the next time your friend texts you a photo of a press-on floating in their coffee cup.