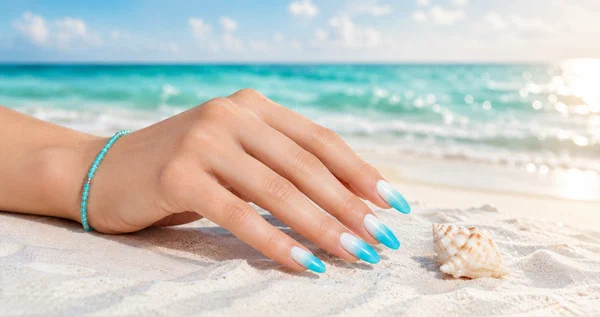
You painted them. They looked amazing. Then day three of the trip hits and there’s a chip on your thumb, a lift on your ring finger, and the whole thing is starting to fall apart. Sound familiar?
This post breaks down everything that helps your beach nails last longer through a real vacation — not a Pinterest fantasy, an actual week of pool floats, snorkeling, sunscreen, and sand. I’ve packed in 10 tips you can apply at home before your trip, plus a few you’ll want to keep doing while you’re there.
These tips work whether you’re rocking short, medium, or long nails. Honestly? Short nails have a serious advantage here. Less surface to chip, less to catch.
Why Beach Vacations Wreck Your Manicure#
Let’s be honest — your nails are not built for what you’re about to put them through. Salt water dehydrates the polish bond. Chlorine softens it. Sunscreen (especially the oily kind) creeps under the edges and lifts the top coat. Sand acts like sandpaper, micro-scratching that glossy finish. Heat makes everything peel faster.
A few quick things to keep in mind before you start prepping:
- Lighter polish shades disguise small chips better than dark ones — pick a sheer milky, soft coral, or pale blue if you’ll be in the water a lot
- Shorter nails (almond or squoval) hold polish way longer than long stiletto shapes
- Always use a base coat — skipping it cuts your wear time in half
- A heavy-duty top coat is the difference between day-three perfect and day-three disaster
What You’ll Need for a Beach-Proof Mani#
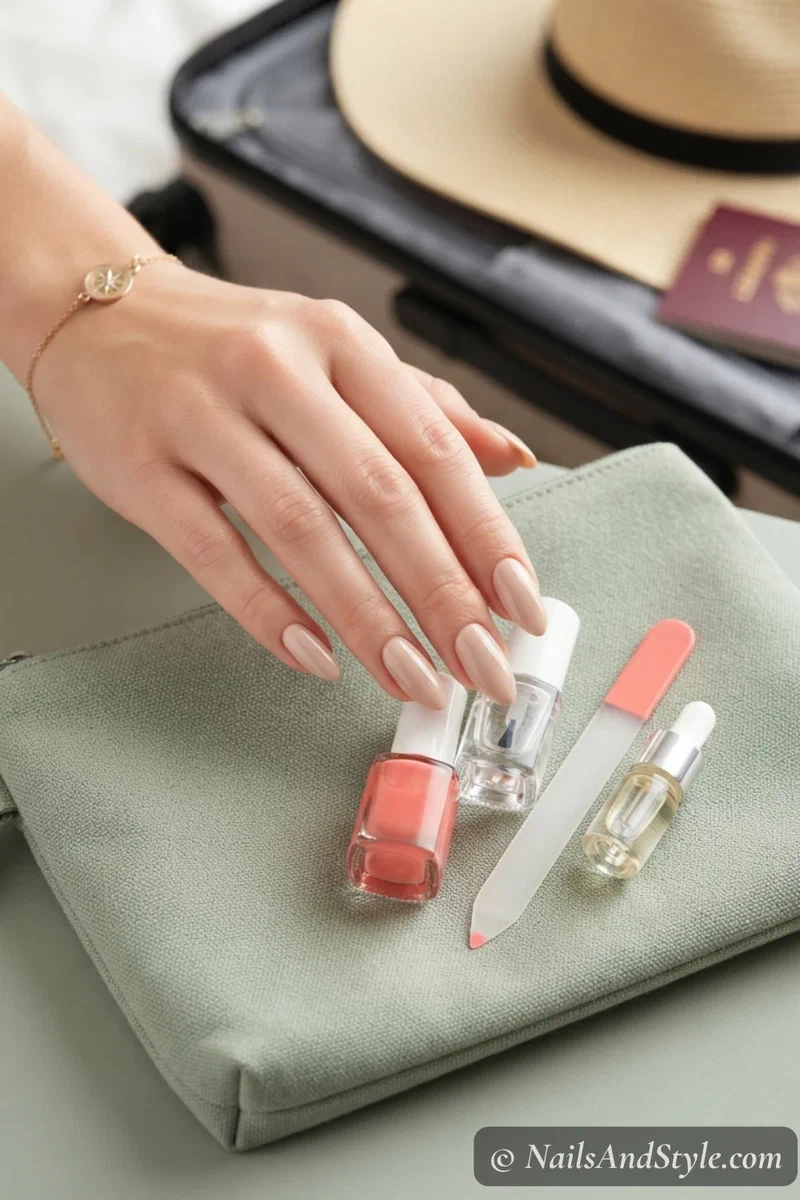
Prep is most of the battle. Pull these together before you leave — the whole kit fits in a makeup bag:
- Quality base coat — the grip layer — skipping it cuts wear time in half
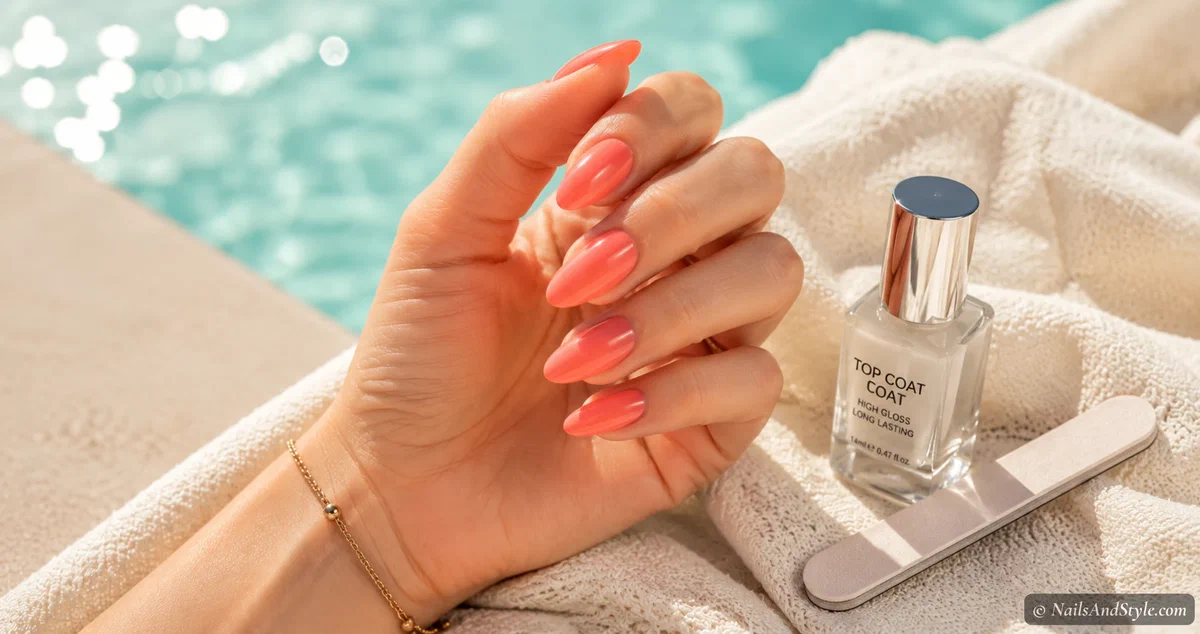
- Strong glossy top coat — the armor; pack a mini for mid-trip refreshes too
- Cuticle oil — nightly hydration against salt and sun
- Glass nail file — smooths snags before they become chips
- Rubber or neoprene gloves — for water sports and any hotel-room cleaning
- Rubbing alcohol or pure acetone — wipe each nail so polish grips oil-free
10 Tips to Make Vacation Nails That Last#
1. Start With Squeaky-Clean Nail Beds#
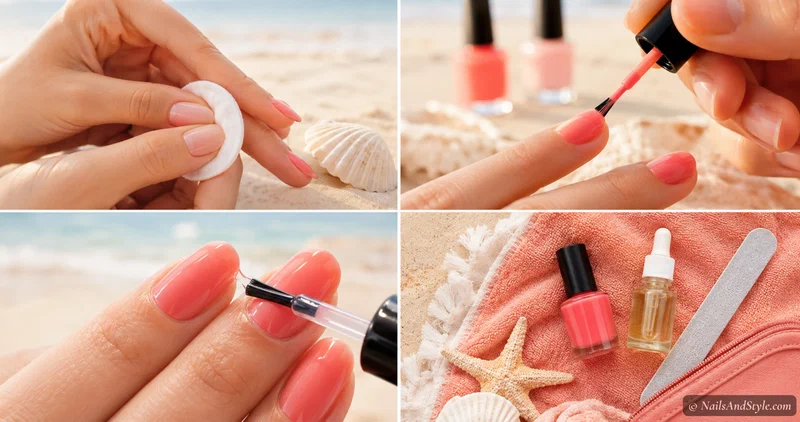
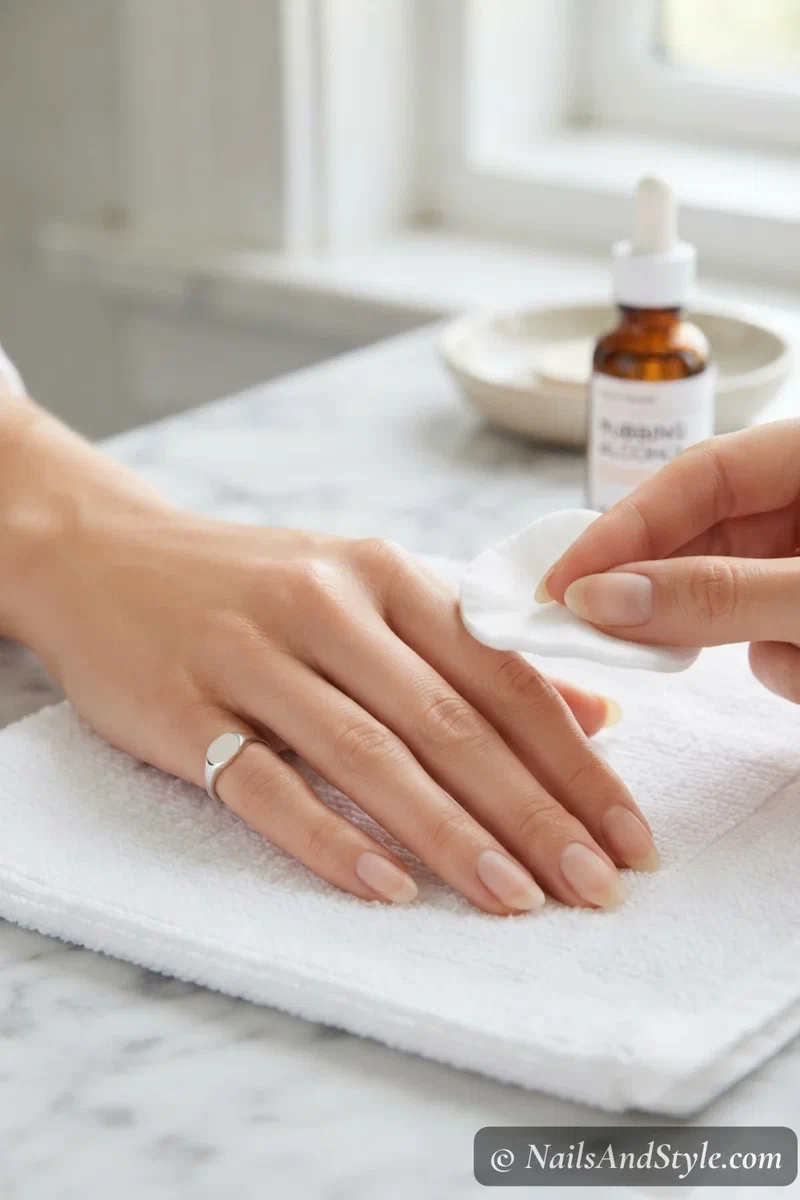
Polish doesn’t stick to oil. Wash your hands, dry fully, then swipe each nail with a cotton pad dipped in rubbing alcohol or pure acetone. This removes every trace of hand cream, sunscreen, or natural oils sitting on the nail surface. Two seconds of work, days of extra wear.
2. Use a Quality Base Coat — Always#
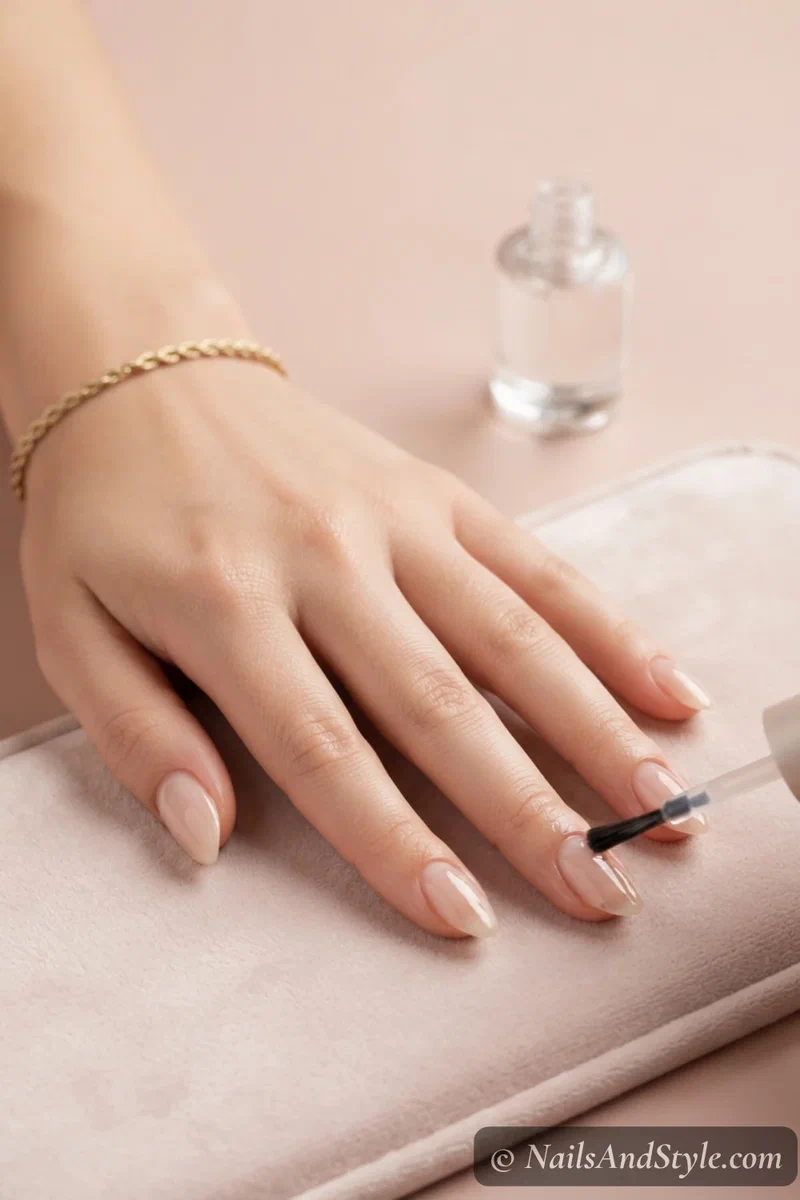
A base coat isn’t optional, even for clear polish. It creates a sticky surface for the color to grip, blocks staining, and adds a flexible cushion that prevents chipping. Go with a ridge-filling base if your nails are uneven, or a strengthening base if they’re brittle from sun and salt.
3. Three Thin Layers Beat One Thick Coat#
This is the tip I wish I’d known years ago. One thick coat of polish dries unevenly on top while the bottom stays soft for hours — and that’s exactly when chips happen. Three thin layers (base, color, top) dry evenly and bond properly. Patience pays.
4. Cap the Free Edge Every Time#
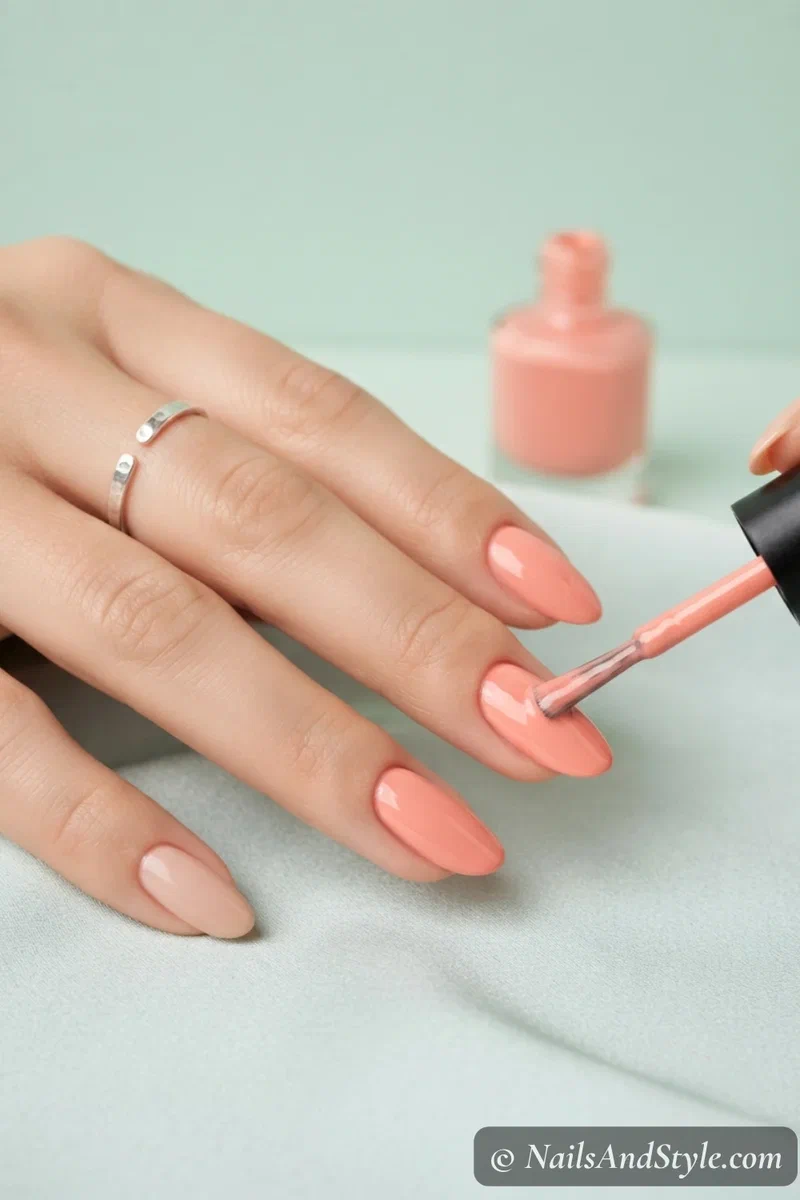
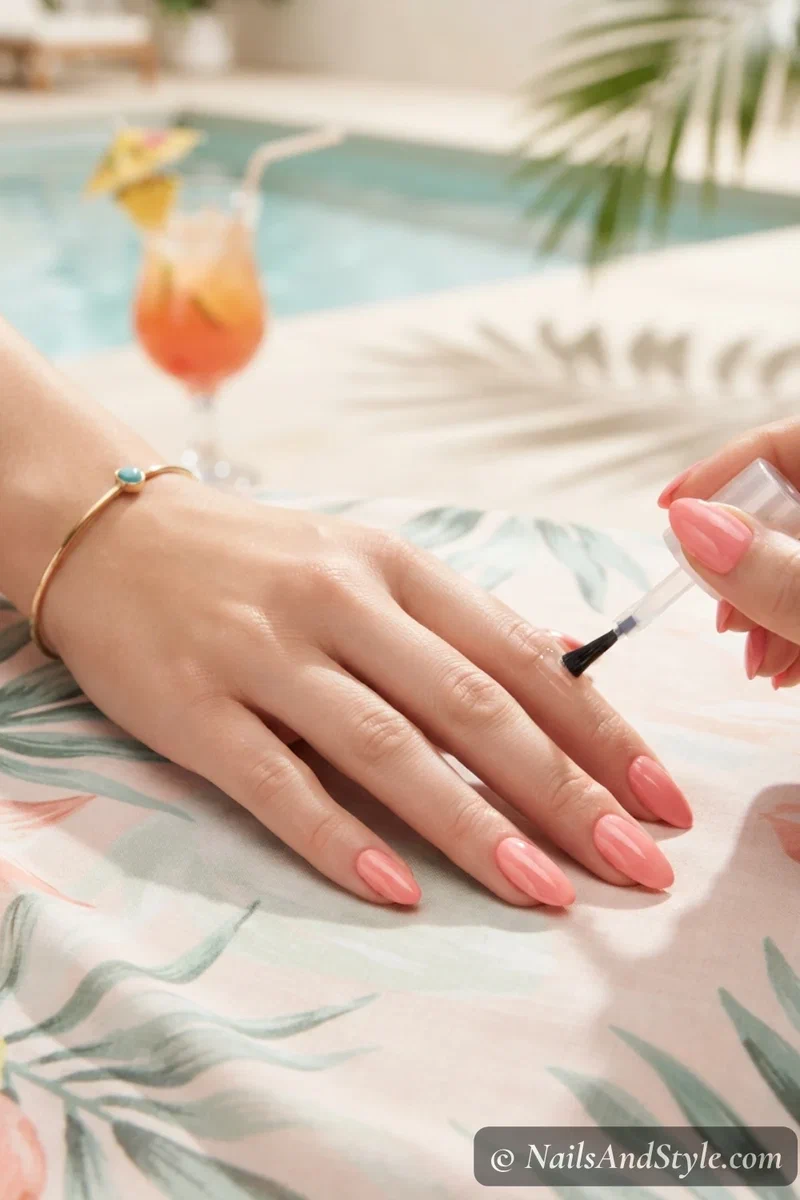
Honestly the most underrated trick in nail care. After each layer — base, color, top coat — drag the brush across the tip of each nail (the free edge that points away from you). This seals the polish around the nail edge so water can’t sneak underneath. Game changer for swimming.
5. Apply a Strong Top Coat — Pick the Right Kind#
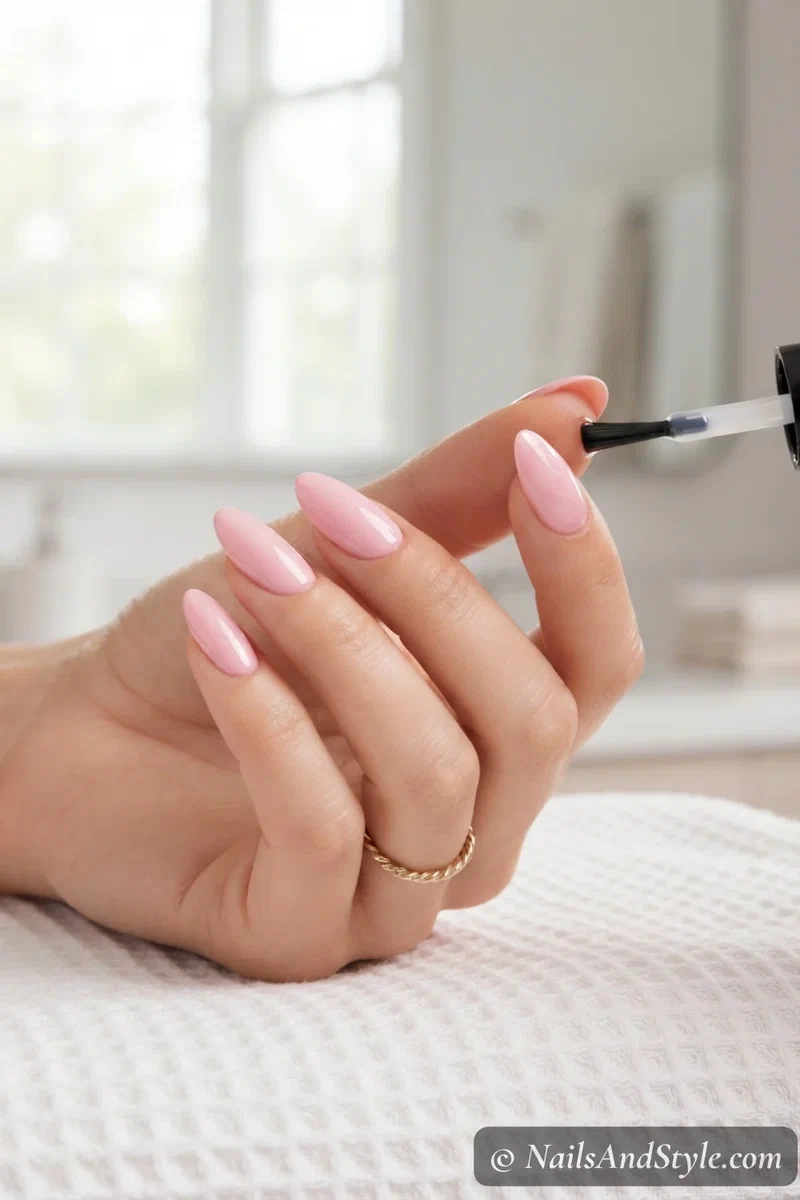
Not all top coats are equal. For vacation, you want a quick-dry top with UV protection or a gel-mimic top coat that hardens like armor. Thin layer, then a second slightly thicker layer after the first dries. Glossy finish locks in the color and adds shine.
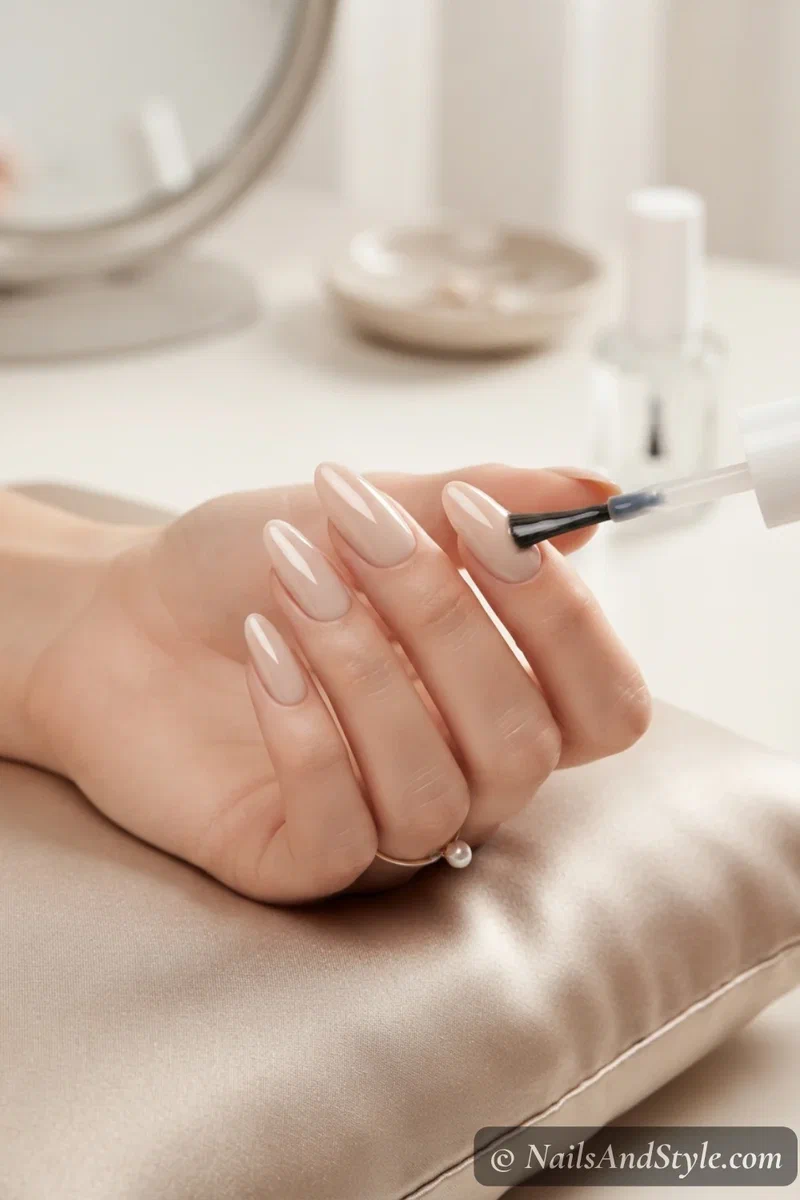
6. Wait the Full Dry Time Before Water#
This is where most manicures die. Polish feels dry to the touch in 5 minutes, but it’s not fully cured for at least 60 minutes — longer if it’s humid. No showering, no hand washing, no jumping in the pool for at least an hour after painting. Plan your timing accordingly.
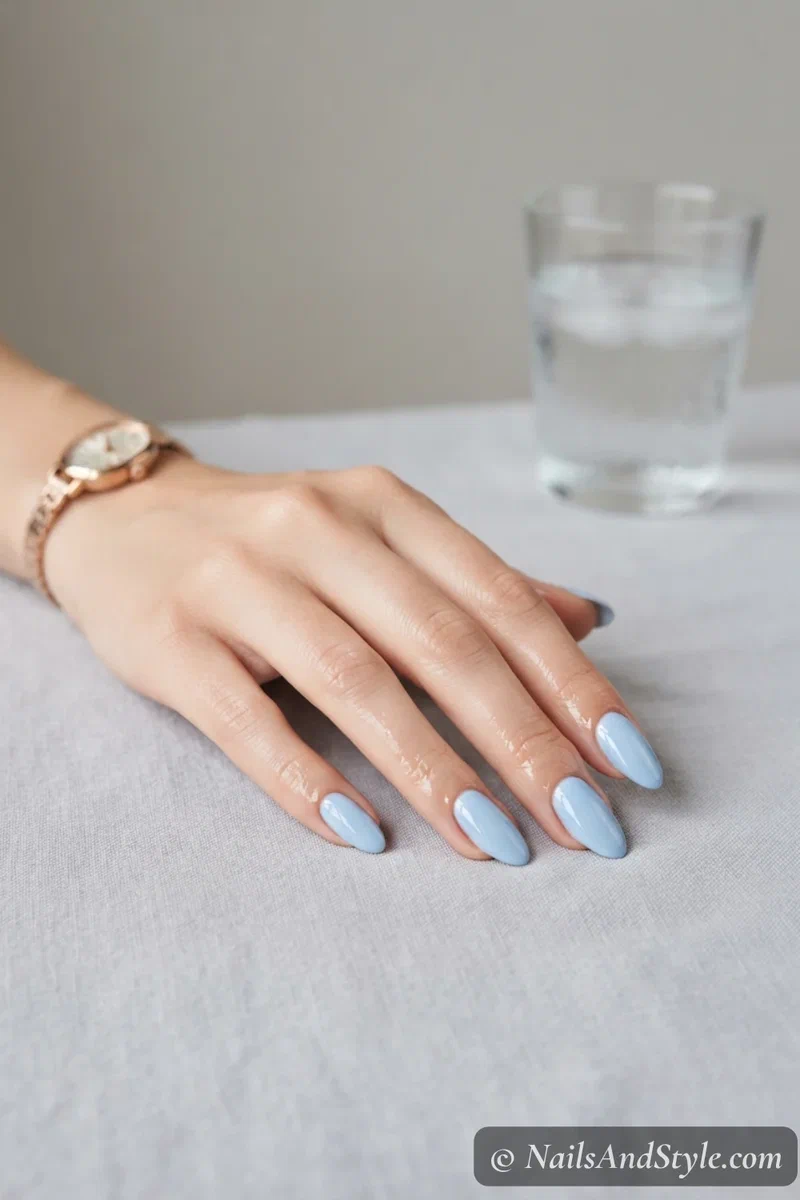
7. Skip Oily Products Near Your Nails#
Sunscreen oils, hair products, body lotion — anything greasy creeps under the polish edges and lifts them. Apply lotion to the back of your hands first, then rub in (not over) your fingertips. Use spray-on sunscreen and apply it before painting your nails if possible.
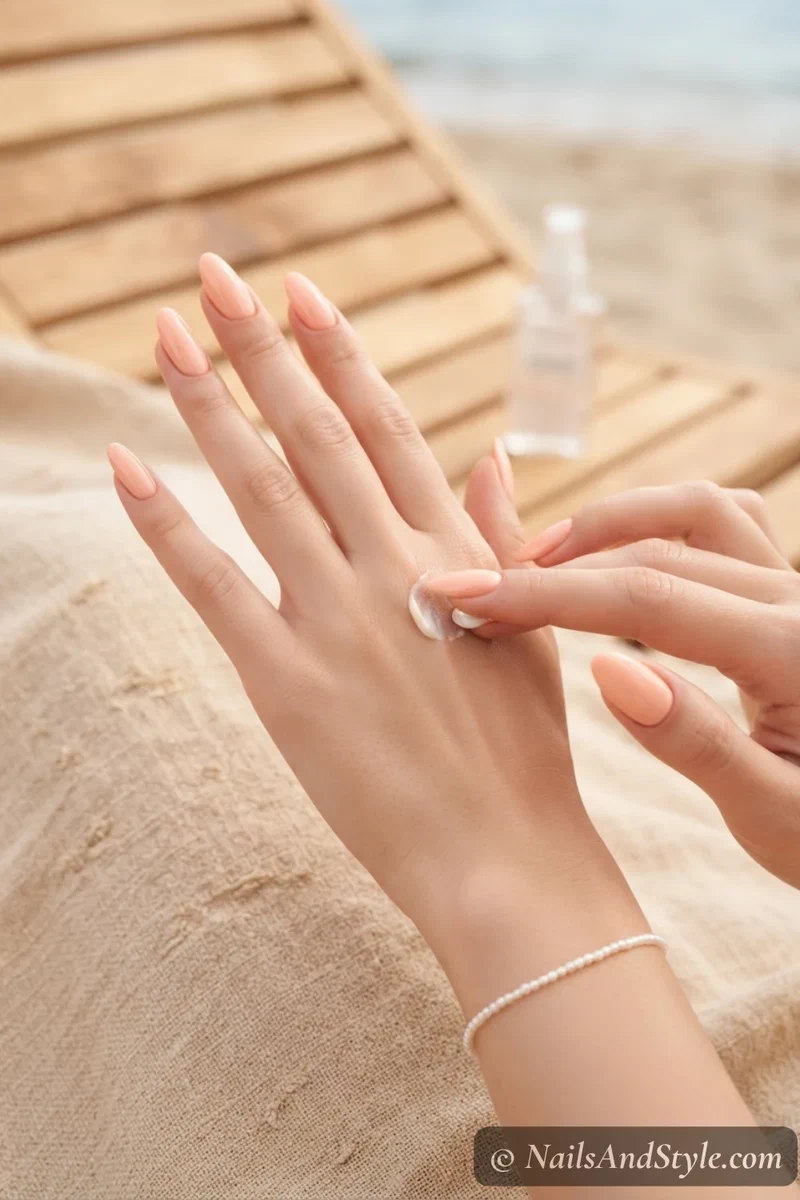
8. Wear Gloves for Water Sports and Cleaning#
Sounds extra, looks completely worth it. Thin neoprene gloves for snorkeling or jet skiing protect your nails from constant water pressure. If you’re cleaning your hotel room (some of us can’t help ourselves) or doing dishes at an Airbnb, rubber gloves are non-negotiable.
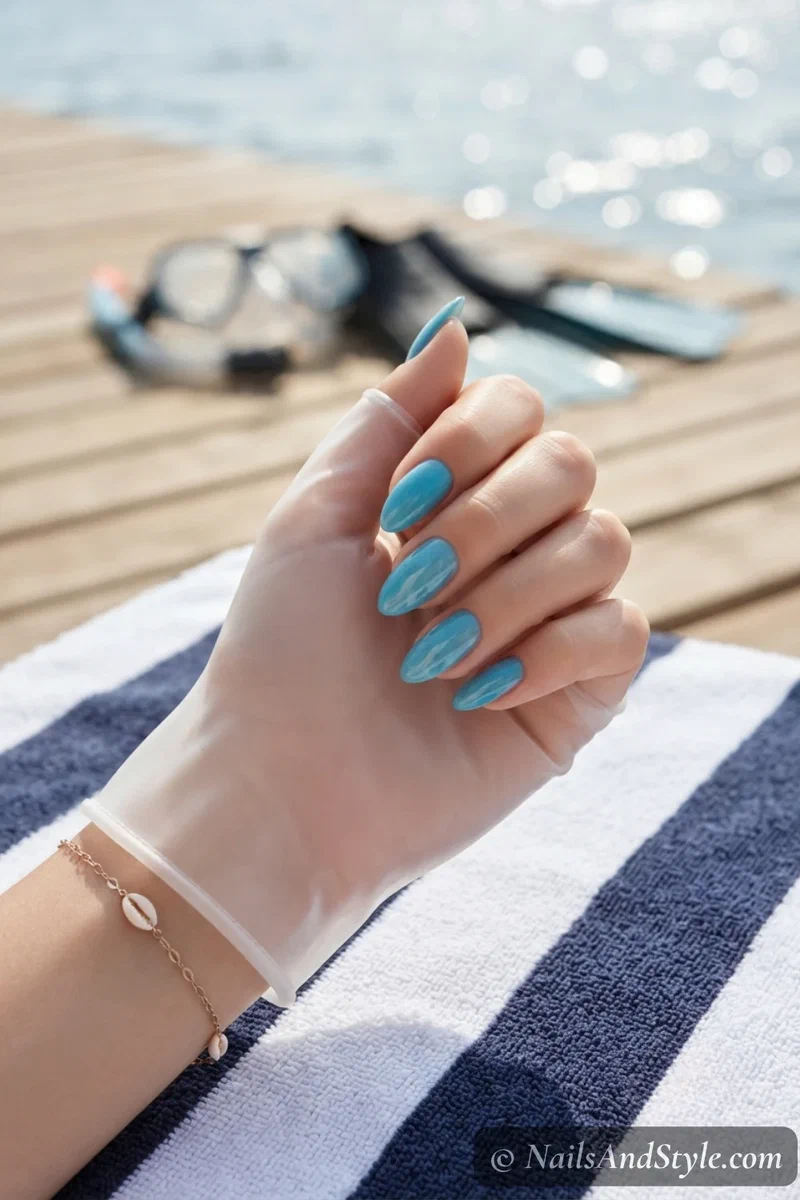
9. Refresh Top Coat Every 2–3 Days#
This is the secret to nails that look freshly done by day six. Every two or three days, swipe a thin layer of glossy top coat over each nail. It re-seals any tiny wear spots, restores shine, and adds another protective layer. Pack a small bottle in your travel kit.
10. Pack a Mini Repair Kit#
This one’s saved me more times than I can count. Throw together: one small bottle of top coat, one mini bottle of your exact polish color, a nail file, a tiny bottle of cuticle oil, and a glass nail file for any snags. Fits in your makeup bag. Mends almost any disaster.
A snapped or split nail on the trip? My tea bag nail repair trick is a lifesaver.
Quick Care Adjustments for Short Nails#
Short nails are honestly the secret weapon for any beach trip. Less surface area means less polish to chip, fewer snag risks, and faster touch-ups when something does happen. Plus they’re way more practical for unzipping wetsuits, opening sunscreen bottles, and adjusting your bikini ties.
A few short-nail wins for vacation:
- Squoval shape — strongest at the corners, less likely to snap when you grab a wet towel
- Thinner polish layers — short nails need less product, so layers dry faster
- Single accent nail — easier to touch up if it chips
- Cream finishes over glitter — cream polishes are easier to mend without showing seams
- Light shades — small chips on light colors are nearly invisible
Step-by-Step: The Pre-Vacation Mani#
- File and shape nails into a soft almond or squoval (no pointy stilettos — they snap)
- Push back cuticles gently with a wooden stick and trim any hangnails
- Buff the surface lightly for grip
- Wipe each nail with rubbing alcohol to remove oil
- Apply a clear base coat and seal the free edge with the brush
- Two thin coats of your color, sealing the edge after each
- Two thin coats of a strong glossy top coat, sealing the edge again
- Wait a full hour before any water, and apply cuticle oil before bed for hydration
Quick FAQ#
How can I tell if my polish is fully cured before swimming?#
Press a nail gently against your bottom teeth — if you feel any drag or stickiness, it’s not ready yet. Fully cured polish should feel hard, smooth, and cool. Give it another 20–30 minutes if you’re unsure.
What’s the best polish color for hiding chips on vacation?#
Sheer milky shades, soft pinks, and light corals show chips the least. Dark navy, deep red, and bright neons look amazing but every tiny chip stands out. Pick based on how much retouching you actually want to do.
Can I do a full manicure at the hotel mid-trip?#
You can, but it’s honestly easier to do a full prep at home before you leave and just touch up on vacation. Hotel lighting is harsh, surfaces are weird, and you’ll spend half your trip painting. Pack a repair kit and save the full mani for home.
Final Thoughts#
Making your beach nails last longer isn’t about one magic product — it’s a stack of small habits that together carry your manicure from day one to day seven. Prep clean, layer thin, seal the edges, protect from oil, refresh every couple of days. That’s the whole formula.
Save these tips before your next trip, pin the prep checklist, and pack that mini repair kit even if you think you won’t need it (you will). Now go enjoy the beach — your nails are covered.