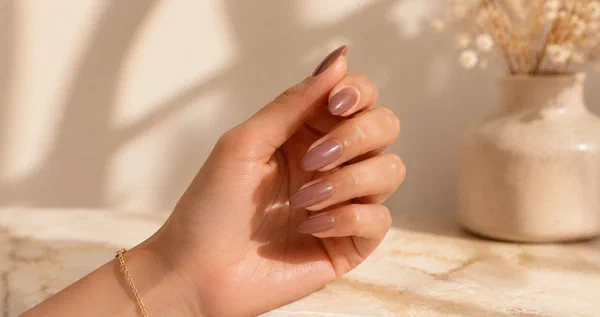
Let me be honest — press on nails used to look like press on nails. Thick plastic sitting way too high on the nail bed, a weird gap near the cuticle, one corner already lifting before you even left the house. We’ve all been there. But that era is over.
The press ons you can get now? Completely different. Thinner materials, better shapes, finishes that genuinely rival salon work. But here’s the thing — if you want to know how to make press on nails look natural, it’s not really about the nails themselves. It’s about how you put them on.
This guide walks through everything from prep to the final seal. All doable at home, all beginner-friendly, and everything works beautifully on short and medium nails.
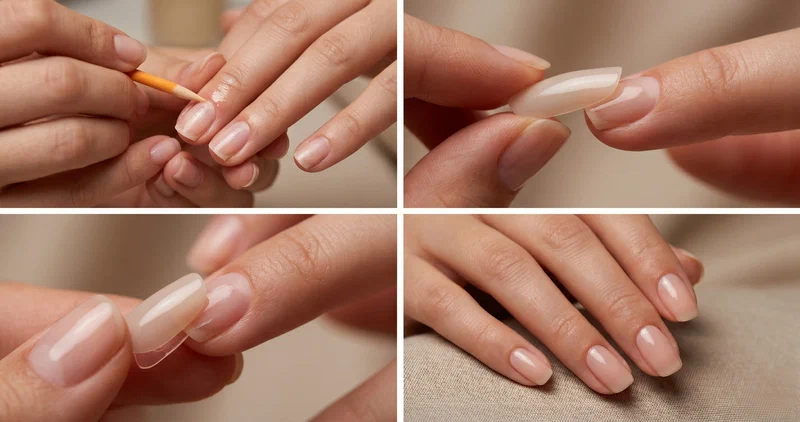
Why Press On Nails Can Actually Look Real Now#
The quality jump in press ons over the last couple of years has been wild. You can find sets with soft gel-like flexibility, jelly finishes, even hand-painted designs that look custom. But even the nicest set won’t look natural if you skip the prep — right? It’s like putting a gorgeous outfit together and forgetting to steam the wrinkles out. The potential is there, but something’s off.
What actually makes press ons look real:
- Proper sizing — not close enough, actually right
- Thin filed edges that taper into your nail bed
- Clean cuticle area with zero gaps
- A thin glue line — not thick or gloopy
- Top coat finish to unify everything
If you’re new to nail prep in general, my gel nails at home complete guide walks through surface prep, cuticle care, and base coat application in more detail.
What You’ll Need#
- Your press-on set — sized as close to your nail beds as possible
- Nail glue — a thin-tip glue for a seamless, flat bond
- Gel adhesive tabs — a gentler, damage-free alternative to glue
- Nail file + buffer — to shape the tips and blend the edge
- Cuticle pusher + oil — push cuticles back so tips sit flush
- Lint-free wipe + alcohol — de-oil the nail so nothing lifts
How to Make Press On Nails Look Natural — The Full Method#
Step 1 — Push Back Your Cuticles#
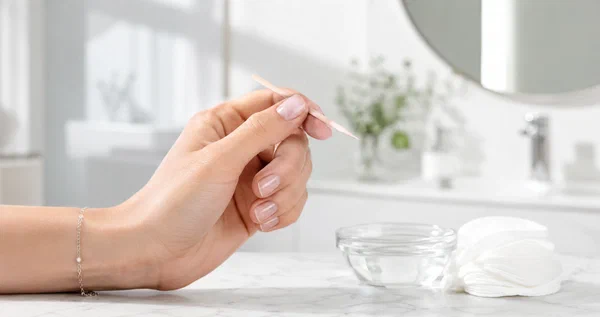
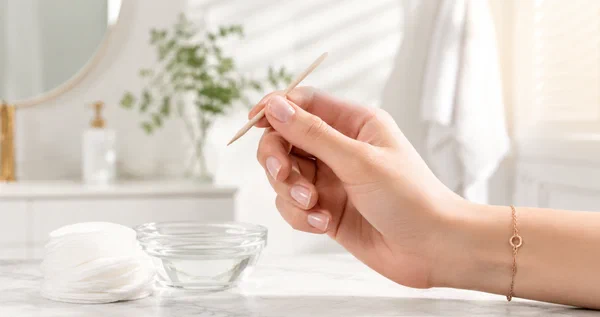
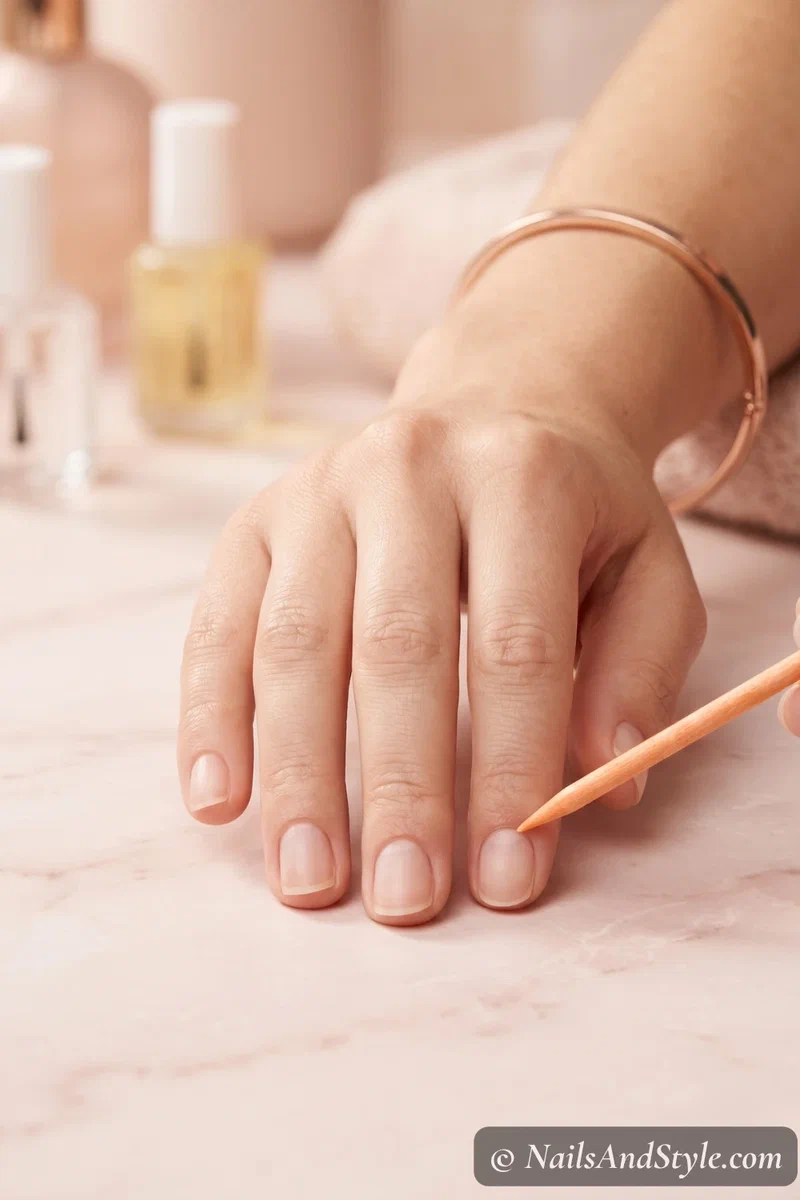
This is the step everyone skips. And it’s exactly why most press ons have that telltale gap at the base. Take a cuticle pusher (or even just an orange wood stick) and gently push your cuticles back. You don’t need to cut them — just nudge them down so the press on can sit flush against the nail bed.
The closer it sits to your cuticle line, the more natural it looks. Simple as that.
Step 2 — Buff Your Natural Nails#
Grab a nail buffer and lightly rough up each nail surface. Just enough to remove the shine — you’re not filing them down to nothing. This gives the glue something to grip onto. Think of it like sanding wood before you paint it. Smooth, shiny nails mean poor adhesion. And poor adhesion means nails popping off mid-day. Not cute.
Step 3 — Size Every Single Nail#
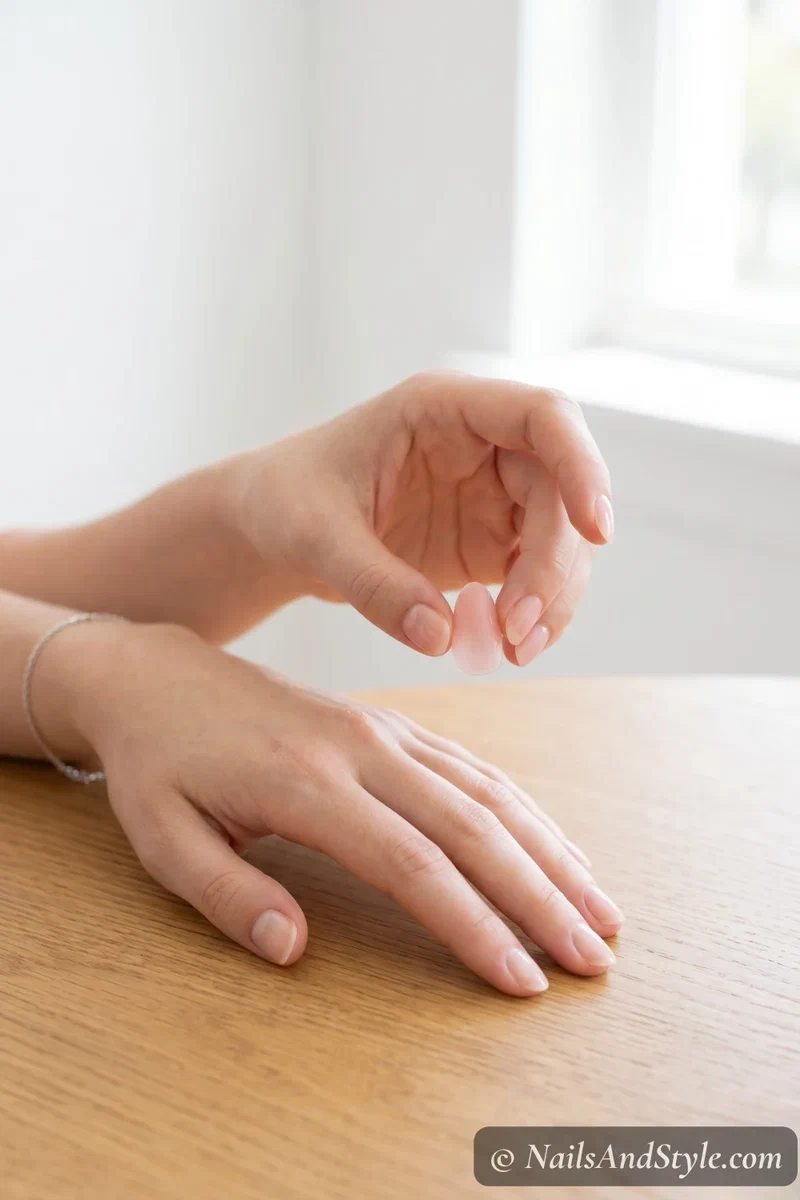
Hold each press on against your natural nail — don’t just eyeball it from across the table. The press on should cover your nail from sidewall to sidewall without hanging over either edge. If you’re between two sizes? Go smaller. Always. You can file a slightly small nail to blend in, but an oversized one sticks out immediately.
Is this the boring part? Yep. But getting the sizing right is honestly about half the battle when it comes to making press on nails fit perfectly.
Step 4 — File the Edges Thin#
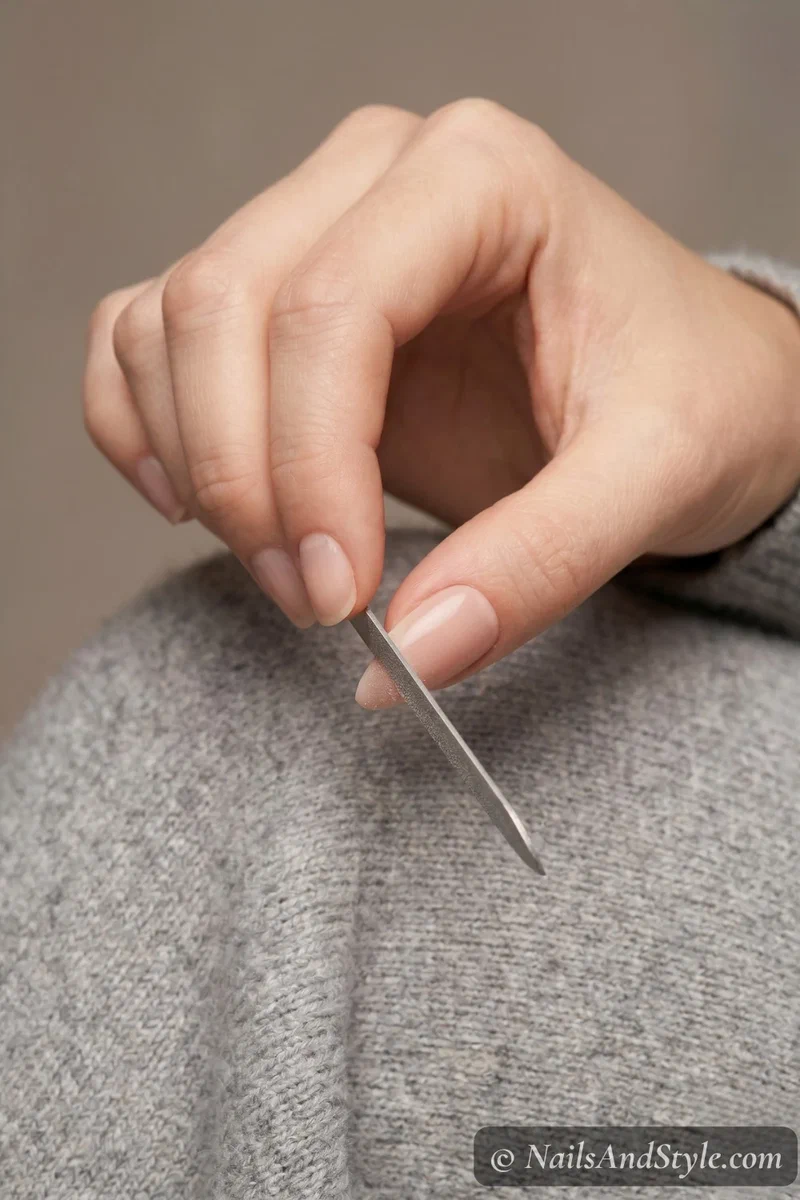
Here’s the trick that takes press ons from obvious to invisible. Grab a fine nail file and gently file the underside edges of each press on — especially near the cuticle end. You want them tapering down thin so they blend into your natural nail instead of sitting on top like a little shelf.
This is honestly the difference between “nice nails” and “wait, those aren’t real?” Worth the extra few minutes.
Step 5 — Apply Glue and Press at a 45-Degree Angle#
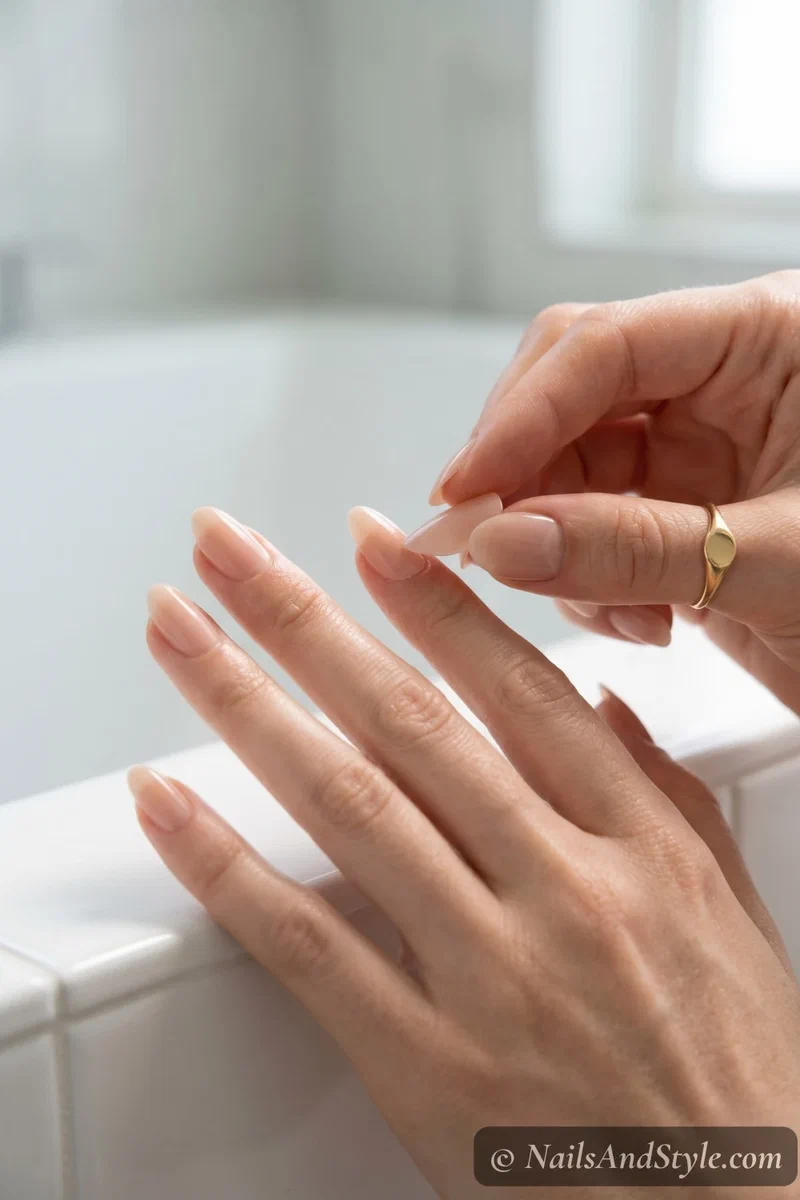
Thin layer of nail glue on your natural nail. Small dot on the press on. Now here’s the part most tutorials skip — don’t just press it straight down. Place it at the cuticle edge first (at about a 45-degree angle) and slowly roll it down toward the tip. This pushes air bubbles out and creates a much tighter seal.
Hold firm pressure for at least 30 seconds per nail. Feels like forever, I know. But that pressure is what makes the bond actually last through your day.
Step 6 — Seal the Edges#
Take a clean-up brush dipped in a tiny amount of nail glue and run it along where the press on meets your natural nail. This fills micro-gaps and prevents water from sneaking underneath — which is the number one reason press ons lift early.
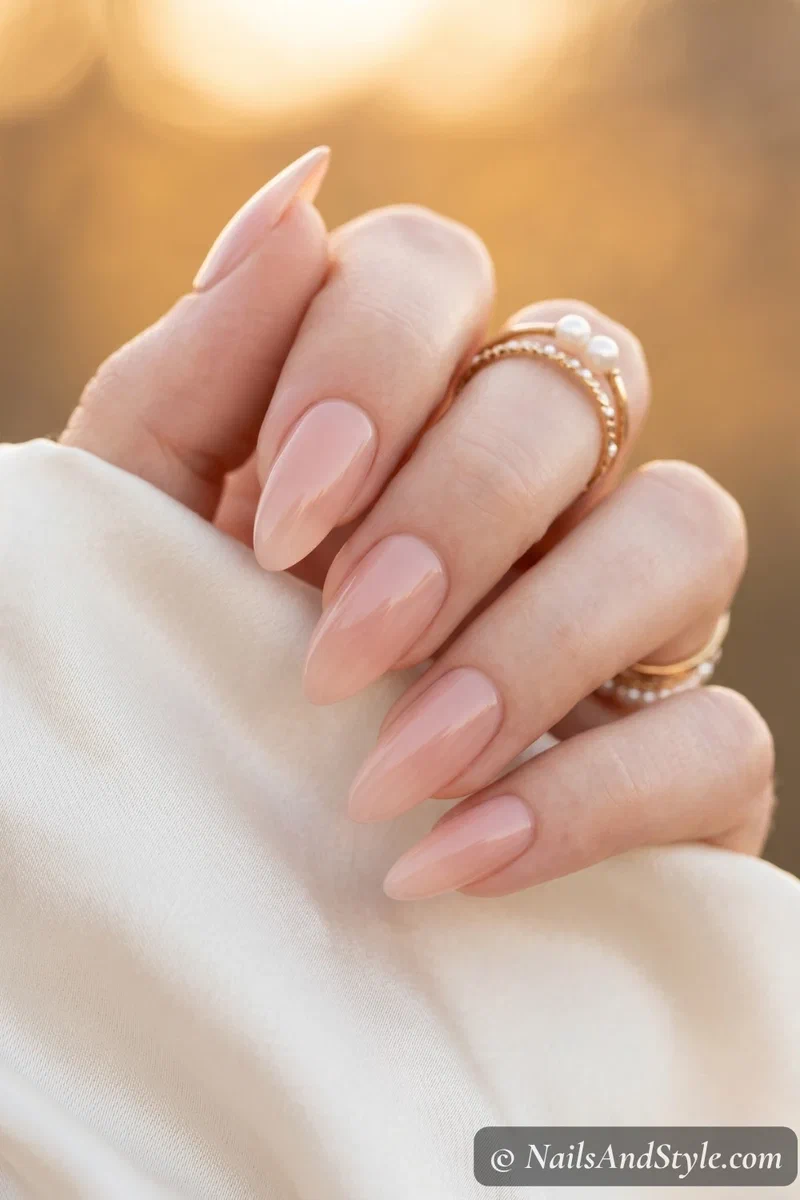
Then apply a coat of clear top coat over everything. This blends the transition line at the cuticle and gives you that uniform glossy finish. You know that sealed, gel-like look you get at the salon? This is how you recreate it at home. Game changer.
Not sure which top coat to trust? My best nail polish brands for 2026 round-up covers top coats, base coats, and the formulas that actually last.
Glue vs Adhesive Tabs — Which Looks More Natural?#
Gonna be blunt here. Glue. Every single time.
Adhesive tabs are convenient — peel, stick, done. And they’re perfectly fine for one-night wear (a wedding, a party, that kind of thing). But they add a layer of thickness between the press on and your natural nail, which creates a slight lift at the edges. That lift catches light and gives it away instantly.
Glue gives you a thinner, tighter bond. The press on sits closer to your actual nail, edges seal better, and the whole thing lasts way longer. If you’re trying to make fake nails look natural at home, nail glue is pretty much non-negotiable. Just know that gluing them on means soaking them off properly later — my how to take off press-on nails with glue post covers the safe removal methods so you don’t wreck your natural nails.
When it’s time to take them off, my guide on removing dip powder nails at home covers gentle acetone soak techniques that work for press-ons too.
Press On Nails on Short Nails#
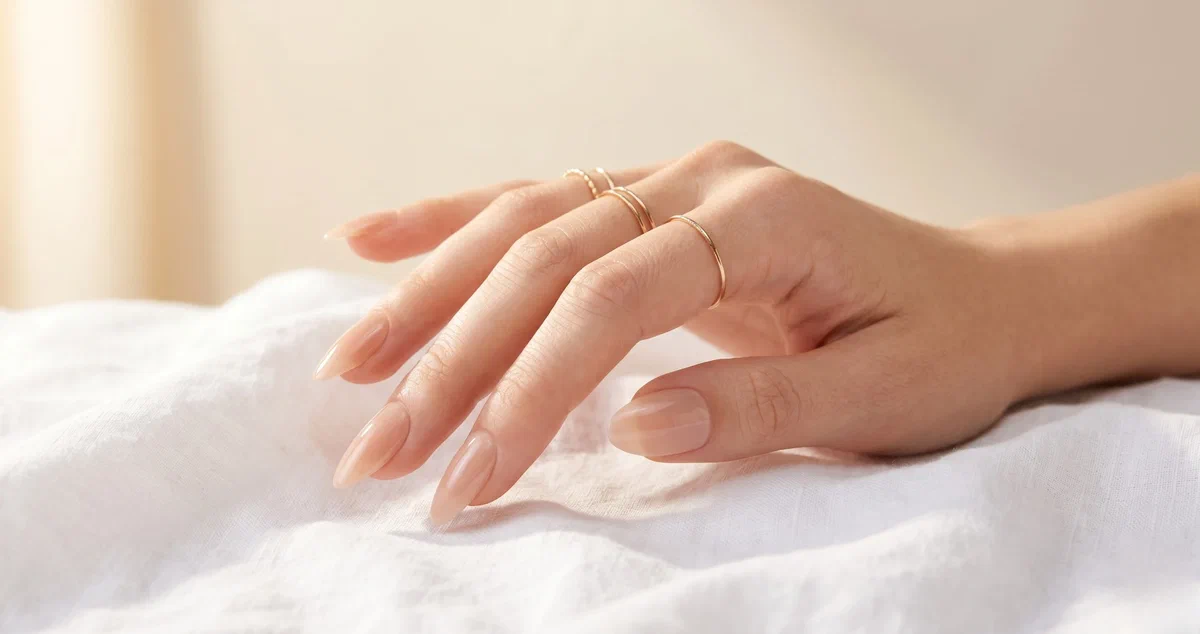
Quick reality check — press ons on short nails actually look amazing. You’re not fighting extreme length or leverage that causes lifting. The key is choosing a natural shape (round or soft almond) and a length that extends just slightly past your fingertip. Nothing dramatic.
Short nail beds with a modest extension look incredibly real. And here’s a bonus — shorter press ons tend to last longer too, since there’s less surface catching on things throughout your day. Win-win, honestly.
Tips to Make Them Last Longer and Look Natural#
- Skip water for 2 hours after application — let the glue fully cure first
- Wear gloves for dishes and cleaning — water is the enemy
- Don’t use your nails as tools — use a key for keyrings, your knuckle for soda cans
- Reapply top coat every 3-4 days to keep edges sealed and shiny
- Cuticle oil daily — around the nails, not underneath them
- If one pops off, clean both surfaces, reglue, and press it back on — it happens, no panic needed
A broken nail doesn’t have to ruin a fresh set either — my tea bag nail repair trick works on press-ons and natural nails alike.
Quick FAQ#
Are press on nails hard to apply for beginners?#
Not at all. The application itself is simple — it’s the prep and sizing that take a little patience. Most people feel comfortable after their very first set. Just don’t rush the sizing step and you’ll be golden.
What nail shape looks most natural with press ons?#
Round, oval, or almond — all in medium length. These shapes follow the natural curve of your nail, which makes the transition from real to press on almost invisible. Super squared-off or coffin shapes tend to read as more obviously fake.
Can press on nails look as good as acrylics?#
Honestly? Yes. A well-applied set with proper sizing, thin filed edges, and a sealed top coat finish looks almost identical to salon acrylics. Most people genuinely cannot tell the difference — and your nails aren’t getting damaged in the process. Pretty great trade-off.
Curious about acrylics? My guide on how to do acrylic nails at home breaks down the full process if you ever want to try them yourself.
Final Thoughts#
Figuring out how to make press on nails look natural really just comes down to six small habits — cuticle prep, buffing, careful sizing, edge filing, angled application, and sealing. None of it is hard. It just takes a little more patience than ripping open the box and pressing them on dry.
Once you’ve got the method down, you can switch up your nails every week or two — salon results without the salon price tag. Save this for next time you’re prepping a fresh set. After two or three rounds, this whole routine becomes second nature.