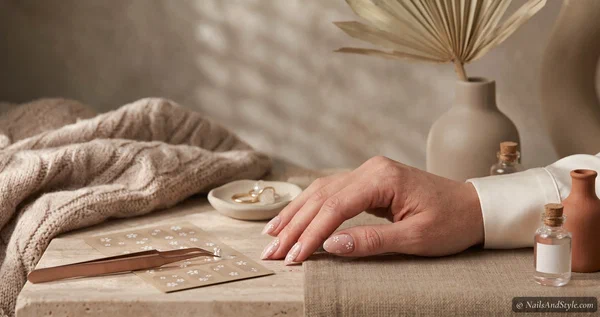
The second a sticker starts lifting at the corner, everyone’s instinct is the same: pick it off. Please don’t. Knowing how to remove nail stickers the gentle way is the entire difference between nails that stay healthy and the thin, flaky mess that gives stickers their bad reputation.
Here’s the good news, though — doing it right is genuinely easy and takes about ten minutes. No prying, no pain, no white patches left behind. Once you soften the adhesive properly, the sticker practically slides off on its own.
So let’s do it the smart way. I’ll cover the one golden rule, the soak-off method step by step, a no-acetone option for anyone who can’t stand the smell, quick notes for each type of sticker, and how to treat your nails afterward. Short nails, medium nails, totally natural nails — all good.
What You’ll Need#
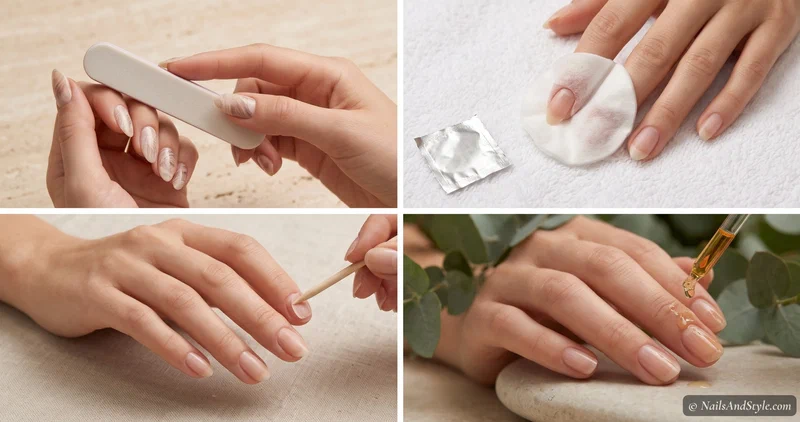
Most of this is standard removal kit — nothing fancy, and you probably have half of it already:
- Pure acetone — dissolves the adhesive fastest; regular remover is weaker but fine for flat stickers
- Cotton pads — soak and press one over each nail
- Aluminum foil — cut into small squares to hold the cotton in place, hands-free
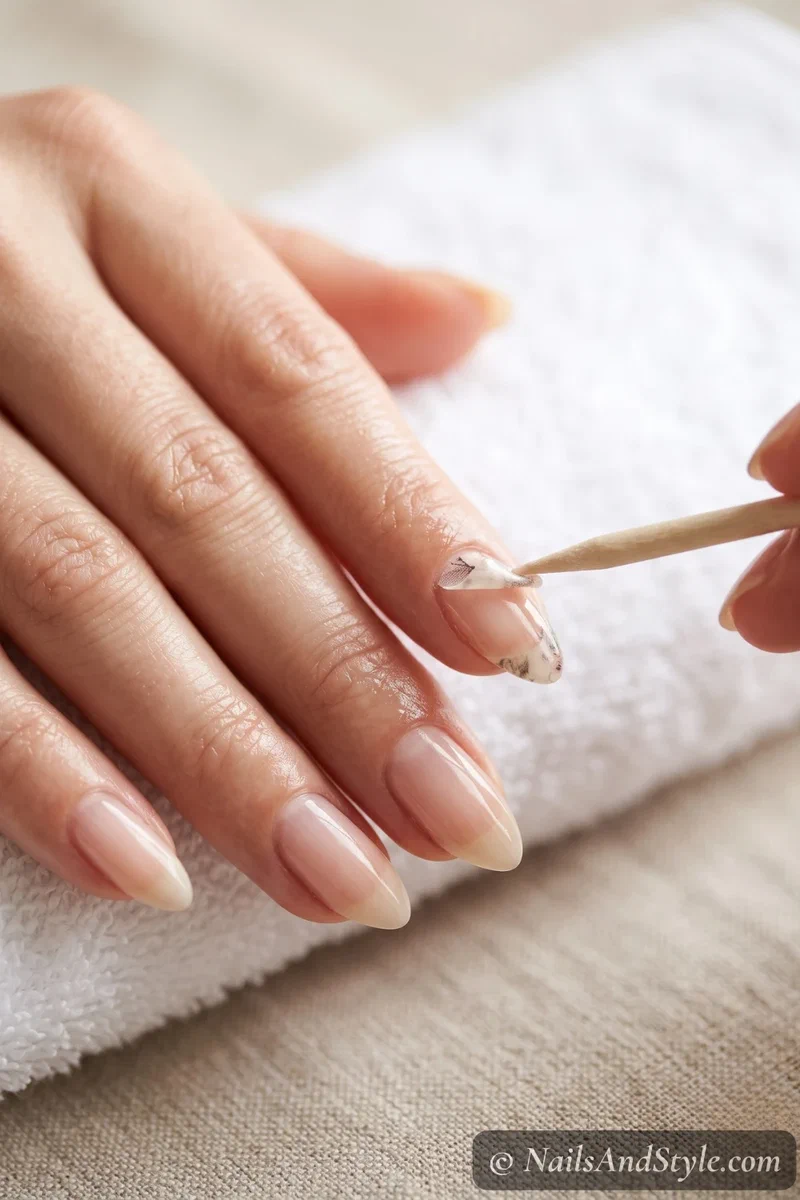
- Wooden cuticle stick — to ease a softened sticker off gently — never metal, never force
- Fine nail buffer — to smooth away any last bits of adhesive
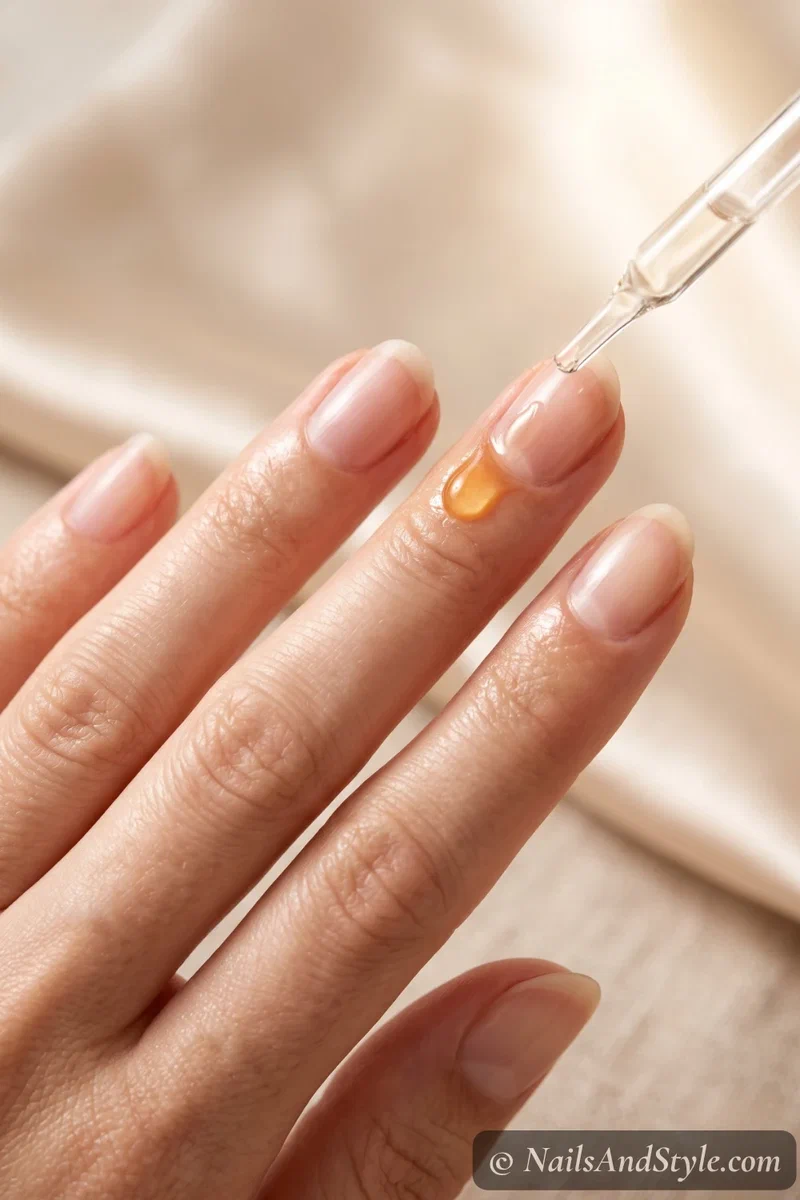
- Cuticle oil — the aftercare that matters most — acetone leaves nails thirsty
- Nail strengthener — optional, for when nails feel thin between sets
Not sure which sticker you’re even taking off? Our complete nail stickers guide breaks down the types — and each one comes off a little differently, which I’ll get to below.
The Golden Rule: Never Peel Them Off Dry#
This is the whole ballgame, so I’ll say it loudly. Peeling a sticker off dry rips a microscopically thin layer of your actual nail away with it. Do that a few times and you get those white, rough patches and bendy, weak nails — and then people blame the sticker.
But the sticker didn’t do that. The peeling did. Soak it off instead and your natural nail stays completely intact underneath. That’s not a small tweak, either. It’s the single thing that decides whether your nails come out of this healthy or wrecked.
How to Remove Nail Stickers Without Damage, Step by Step#
Take it slow the first time. Rushing is how corners get picked and nails get thin.
- Break the seal. Give the surface a quick, light buff — just enough to dull the shine of the top coat so the acetone can actually soak in. Barely-there pressure. You’re not sanding, just scuffing.
- Soak your cotton. Saturate a cotton pad in acetone and press it flat against the whole nail.
- Wrap it up. Wind a small square of foil around each fingertip to hold the cotton snug. Then wait — about 10 to 15 minutes for gel strips, often less for flat decals.
- Check one finger. Unwrap a nail and see. The sticker should look soft and be lifting at the edges. If it’s still gripping, re-wrap and give it a few more minutes.
- Slide, don’t pry. Ease a wooden stick under the loosened edge and gently push the sticker off. If it fights you at all, stop and soak longer. Force is the enemy here.
- Smooth off any residue. Leftover sticky bits? A gentle pass with a fine buffer lifts them right off.
- Rehydrate. Wash your hands, then flood every nail and cuticle with oil and massage it in. Acetone is drying, so this step isn’t optional.
The whole thing is basically the same soak-off you’d use for gel — if you’ve ever done taking off press-on nails with glue, this’ll feel familiar.
Prefer to Skip the Acetone? Try This#
Not a fan of the smell (or the dryness)? For flat decals and most wraps, you can skip acetone entirely.
Soak your hands in a bowl of warm, soapy water for 10 to 15 minutes — the warmth loosens the adhesive on its own. Work a little cuticle oil or even olive oil around each sticker’s edges, then gently roll or slide it off with your fingertip or a wooden stick. It’s slower and needs a bit more patience, but it’s about as gentle as removal gets.
One catch: semi-cured gel strips are real cured gel, so warm water usually won’t cut it. Those genuinely want the acetone soak above.
A Quick Note on Each Type#
Not every sticker fights back the same way:
- Flat decals and polish-strip wraps are the easiest of the bunch — warm water or a short acetone press usually does it. These are the ones you can often remove in five minutes flat.
- Semi-cured gel strips need the full foil-soak treatment because they’re actual gel. Same removal you’d use for a gel mani — the semi-cured gel strip guide walks through it if you applied them that way.
- Water decals barely have any adhesive, so a quick soak lifts them with almost no effort.
After Removal: Baby Your Nails for a Few Days#
Removal’s done, but the nail care isn’t — and this part is what keeps your nails strong enough to sticker again next week.
- Cuticle oil, morning and night, for at least a few days. This does more than anything else.
- Buff gently, once — smooth any unevenness, but don’t keep going. Over-buffing thins the nail.
- Reach for a strengthener as your base coat for a couple of weeks if your nails feel bendy.
- Give them a day off before the next set. Even 24 hours of bare, oiled nails helps.
- Hand cream counts too — hydrated skin around the nail supports healthier growth.
Curious whether stickers are actually bad for your nails in the first place? I get into the honest answer in do nail stickers damage your nails — spoiler: it’s almost always the removal, not the sticker.
Quick FAQ#
Do nail stickers ruin your nails when you take them off?#
Not when you soak them off — only when you peel them dry. Dry peeling tears away a thin layer of nail; a proper soak lets the sticker release with your natural nail untouched. Gentle removal is the whole secret.
Can I remove nail stickers without acetone?#
For flat decals and wraps, yes — warm soapy water plus a little oil loosens them enough to slide off. It takes longer than acetone but it’s gentler on your skin. Semi-cured gel strips are the exception; being real gel, they usually still need an acetone soak.
How do I get the sticky residue off after removing them?#
Press an acetone-dampened cotton pad on the leftover glue for about 30 seconds, then buff it away with a fine buffer. Finish with cuticle oil. Whatever you do, don’t scrape at it with anything metal — that scratches the nail surface.
Final Thoughts#
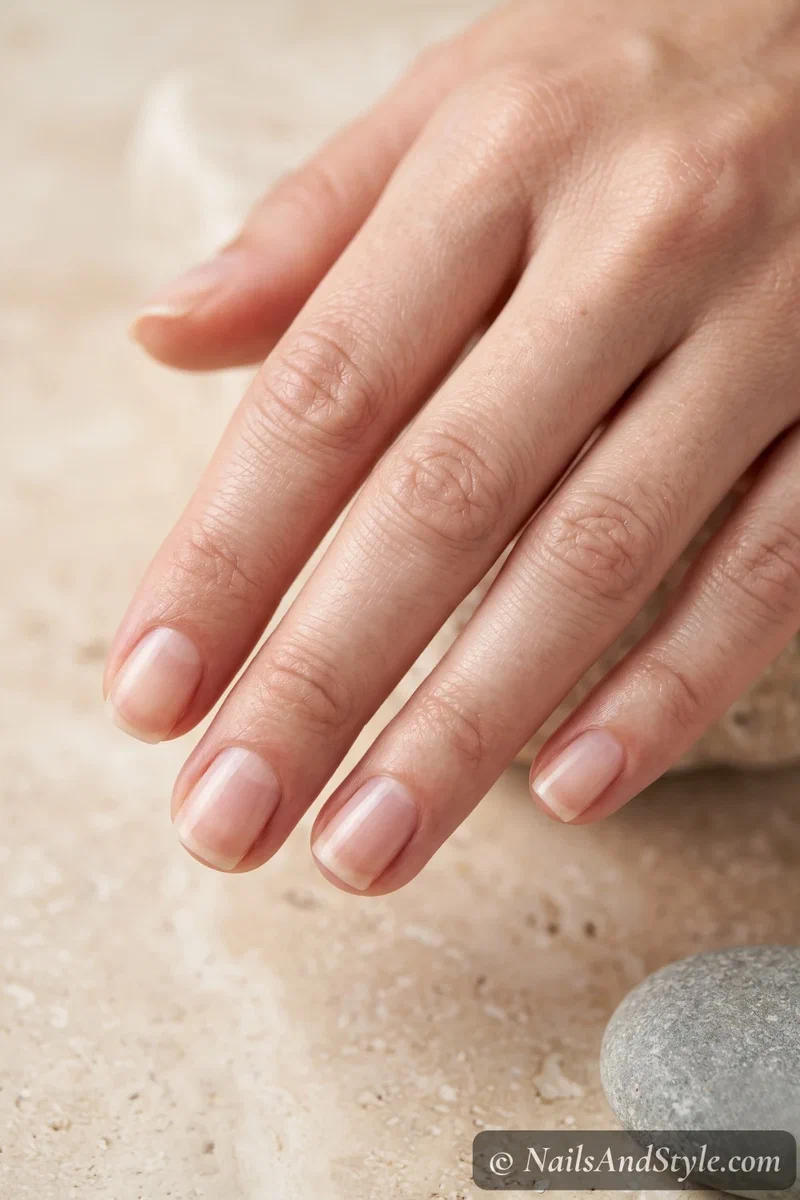
Once you know how to remove nail stickers gently, the whole “stickers wrecked my nails” fear just… disappears. Soak, wait, slide, oil. Four little steps, ten quiet minutes, and your natural nails come out exactly as healthy as they went in.
Save this method somewhere you’ll find it on your next change-up night, and be kind to your nails afterward with a few days of oil. Healthy nails are what make the next set look good — so it’s worth the ten minutes every single time.