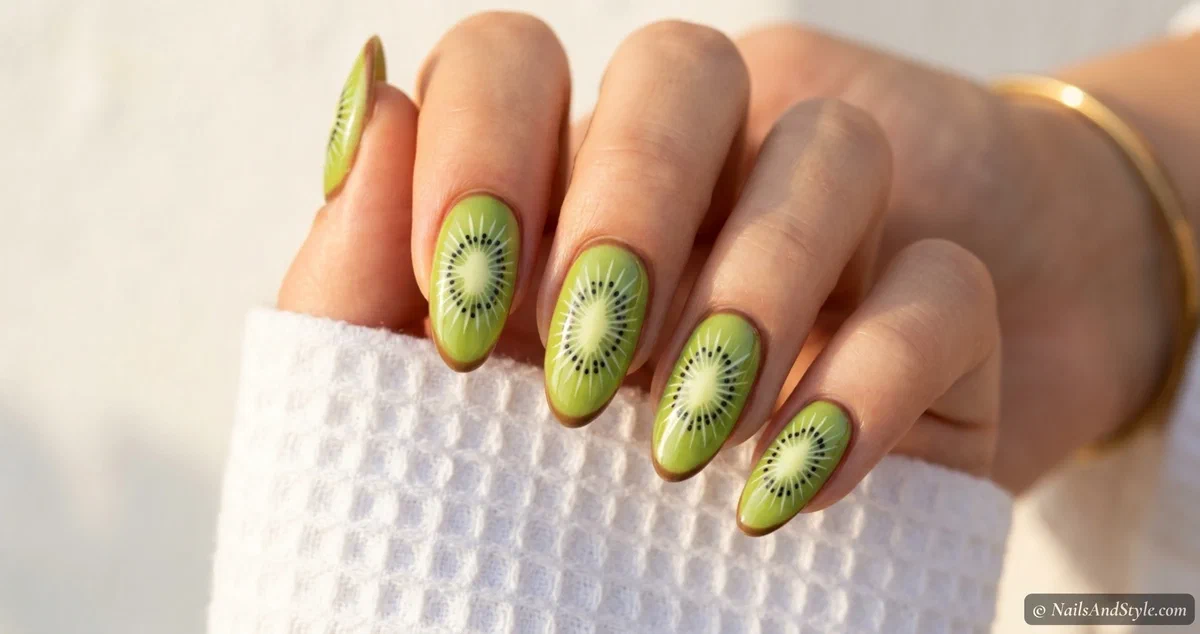
Ever noticed how a single kiwi slice kind of looks like a tiny work of art? All those little black seeds in a neat ring around a pale green starburst — nature really showed off with this one. And it translates onto nails better than almost any other fruit.
This guide walks you through how to create kiwi nail designs at home with eight easy looks — from the classic seeded slice to French tips, ombre, and a glowy jelly version. Some take ten minutes. A couple are slow-Sunday projects. Every one works on short and medium nails.
The whole thing really comes down to one good green and a toothpick. That’s it. Let me show you.
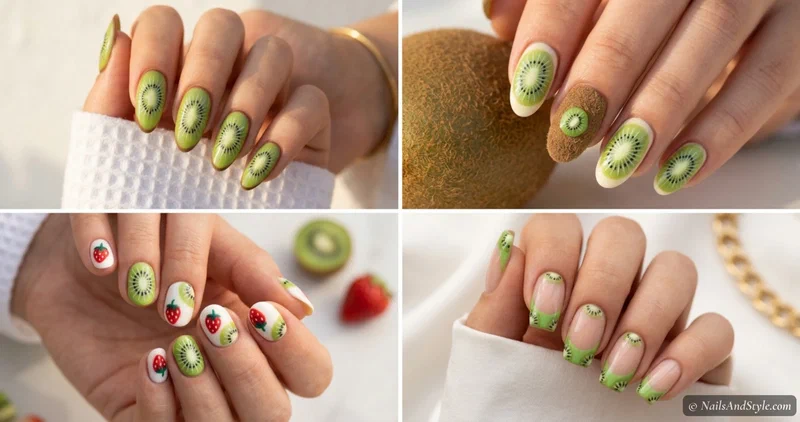
Why Kiwi Nails Are a Summer Win#
Kiwi nails have this fresh, juicy, slightly unexpected quality — everyone does watermelon and lemon, but kiwi? That feels a little more original. And the green is genuinely flattering against most skin tones.
They’re great for vacations, pool days, brunches, or just a mood-lift on a slow week. If you love a fruity summer theme, you’ll want to save a few more ideas from my summer fruit nails post as well.
A Few Things to Keep in Mind Before You Start#
- The green is everything. A fresh medium-bright green with a slightly yellow undertone reads most like real kiwi flesh — avoid anything too blue or neon.
- The seed ring makes it. Those tiny black dots are what your brain reads as “kiwi,” so take your time on them.
- Skin tone: warm undertones glow with a golden-green; cooler undertones can go a touch more muted and soft.
- Base and top coat, always. A base coat stops staining, and a glossy top coat gives kiwi that just-sliced, juicy shine.
Quick Pick: Which Kiwi Design Should You Try?#
| If you’re looking for… | Try these designs |
|---|---|
| Total beginner | Milky Base Kiwi Accent, Classic Kiwi Slice |
| Short nails | Negative Space Kiwi, Kiwi French Tips |
| Full fruity fun | Kiwi & Strawberry, Whole Kiwi & Slice |
| Soft and subtle | Kiwi Ombre, Kiwi Jelly Nails |
8 Kiwi Nail Designs to Create at Home#
I’ve ordered these roughly easiest to trickiest. Grab whichever matches your patience today — there’s zero pressure to seed all ten nails.
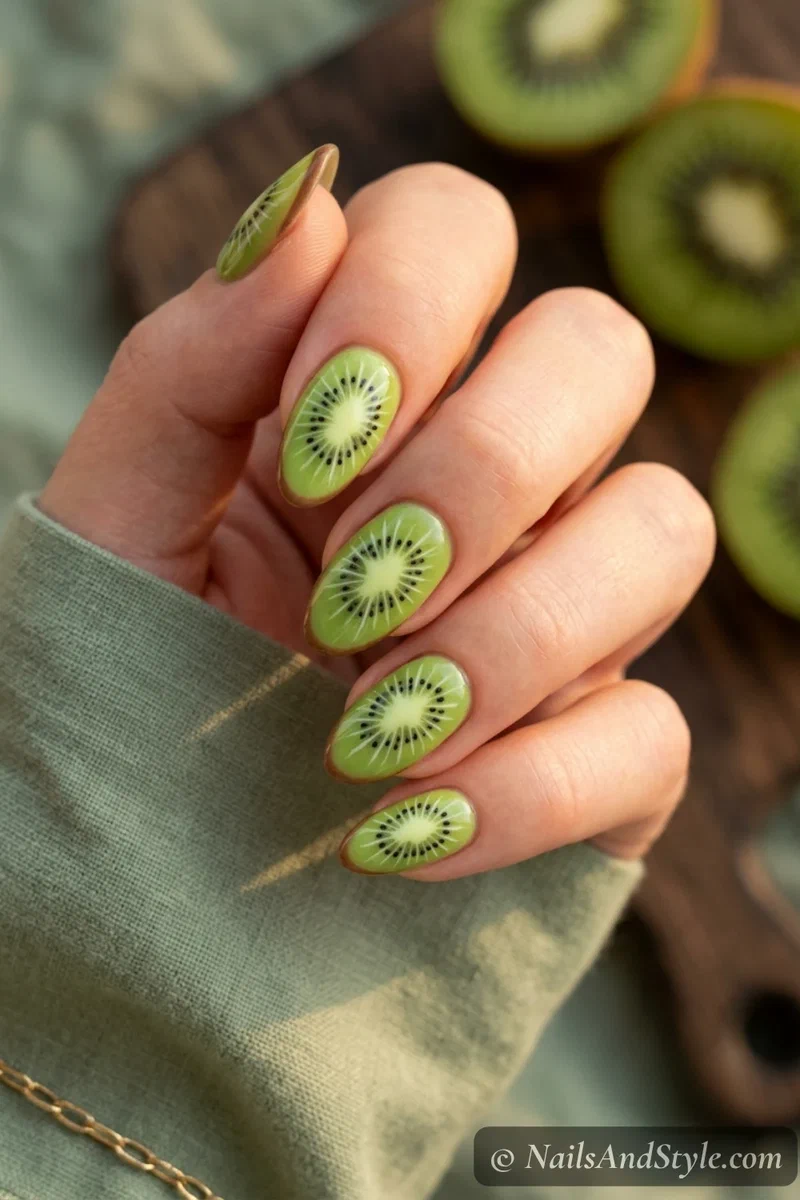
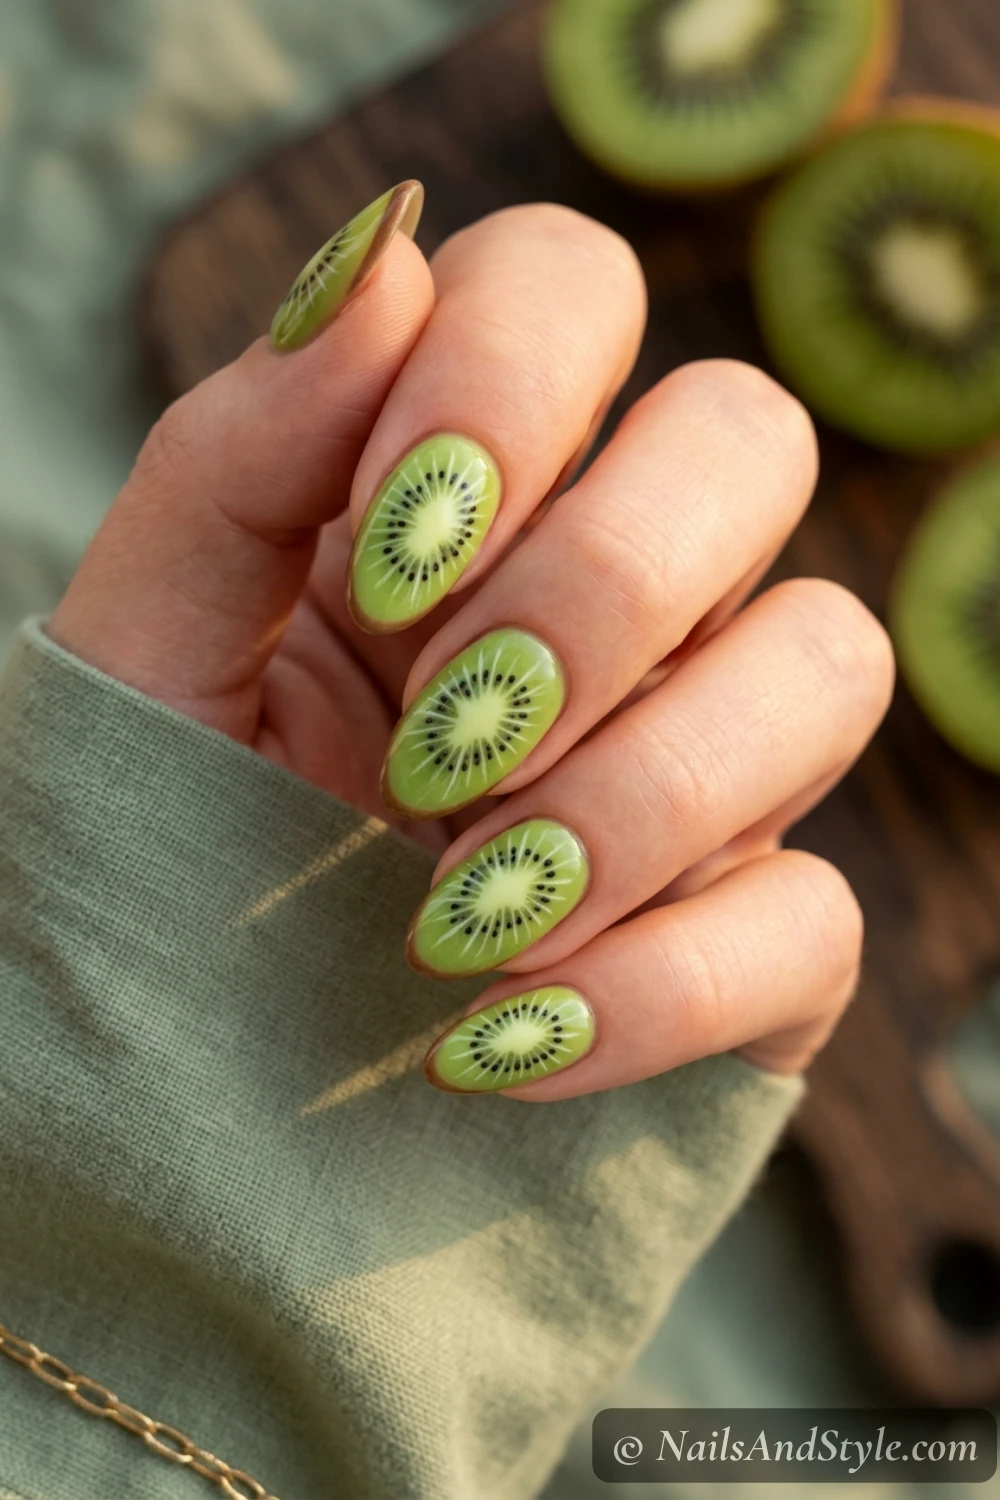
1. Classic Kiwi Slice#
The one that instantly reads kiwi — bright green flesh, a pale starburst center, and that unmistakable ring of little black seeds.
How to do it: Paint a white or pale-green base, then a green circle that leaves a lighter center showing through. Add a thin brown rim around the edge for the skin. Now the fun part — dot a ring of tiny black seeds between the pale center and the green flesh with a toothpick or fine dotting tool, then add a few thin white lines radiating out from the middle. Glossy top coat.
2. Kiwi French Tips#
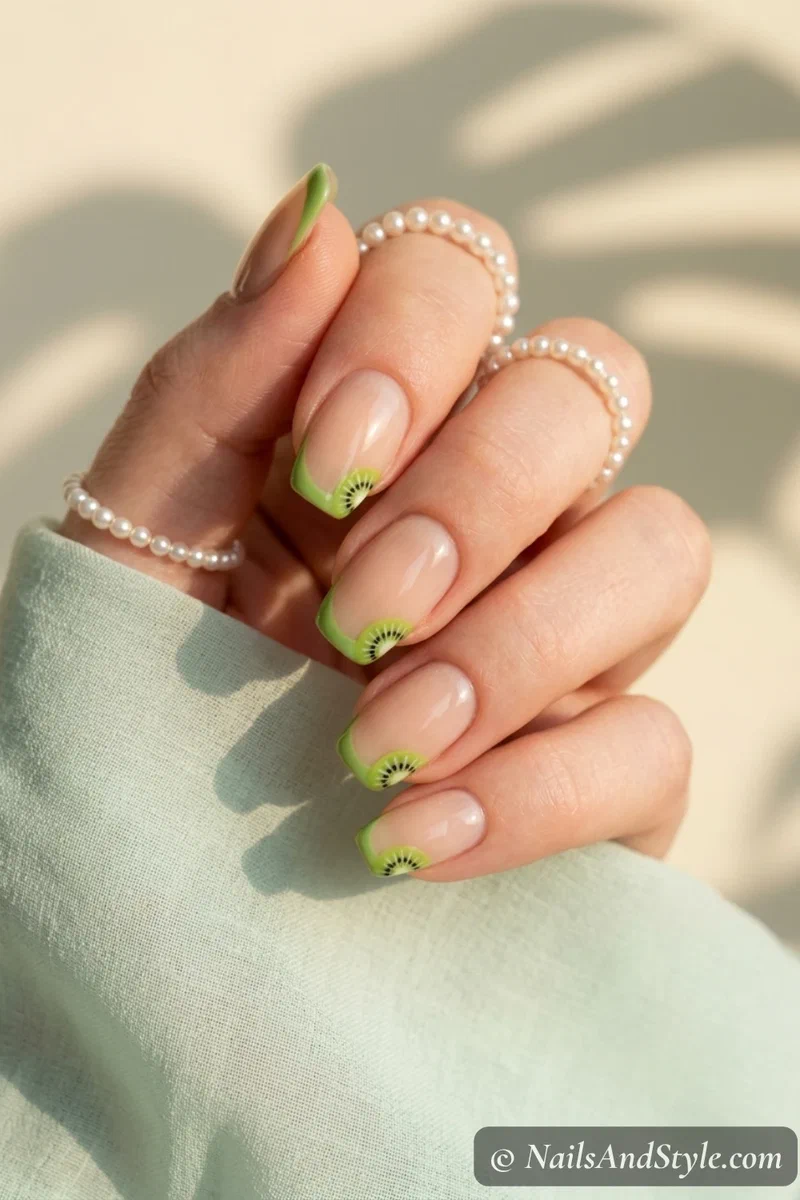
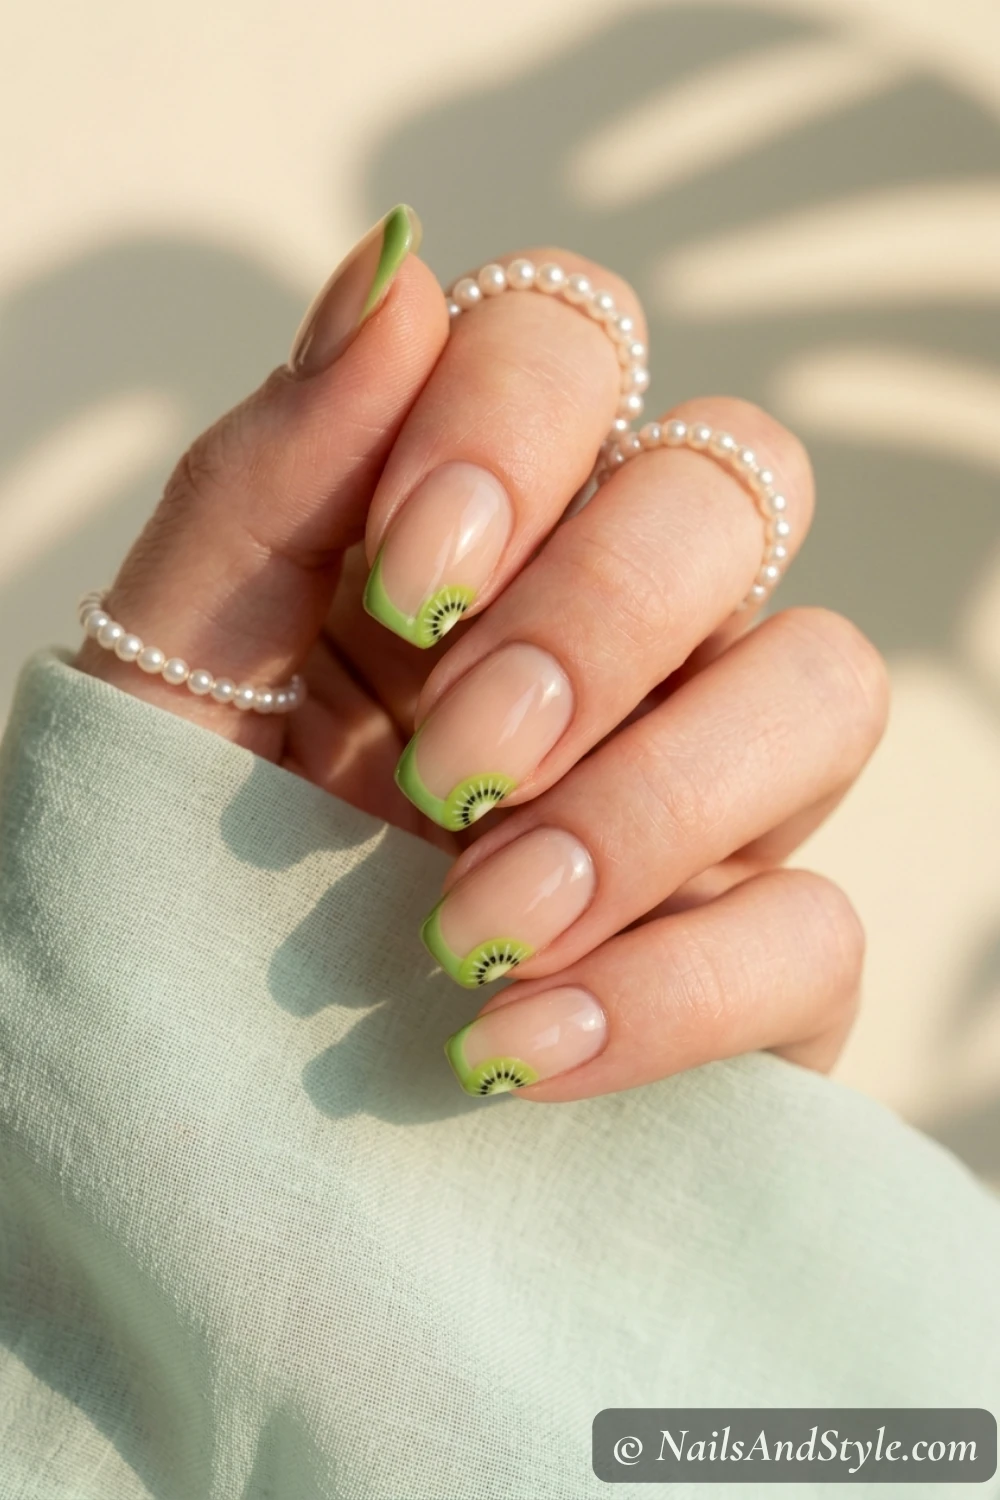
Summery but still tidy — this is the one for work, or a nice dinner where full fruit might feel like a lot. A French, but make it kiwi.
Paint a sheer nude base, add a fresh green French tip with guides or a steady hand, then place one tiny kiwi slice at the corner of each tip (or just on a single accent nail). Dot a mini seed ring on that little slice and you’re set. If your French line needs some help, my French tip tutorial covers the base technique.
3. Whole Kiwi & Slice#
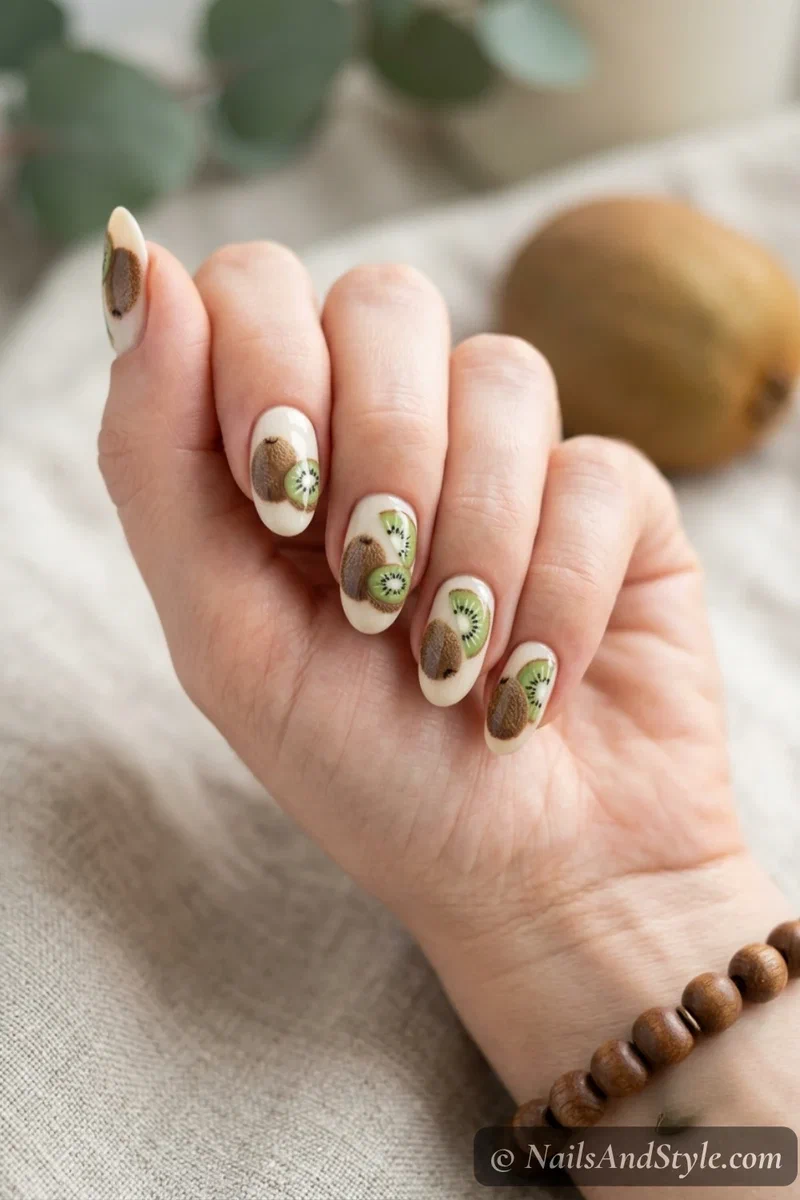
One fuzzy brown whole kiwi sitting next to a cut green slice — it ends up looking like a tiny still-life on each nail.
Over a cream base, paint an oval brown kiwi and dry-brush or lightly sponge the surface so the skin looks fuzzy and textured, then add a green kiwi slice with its seed ring beside it. A couple of white highlight dots stop the whole thing from looking flat. It’s a bit more involved, but so satisfying when it comes together.
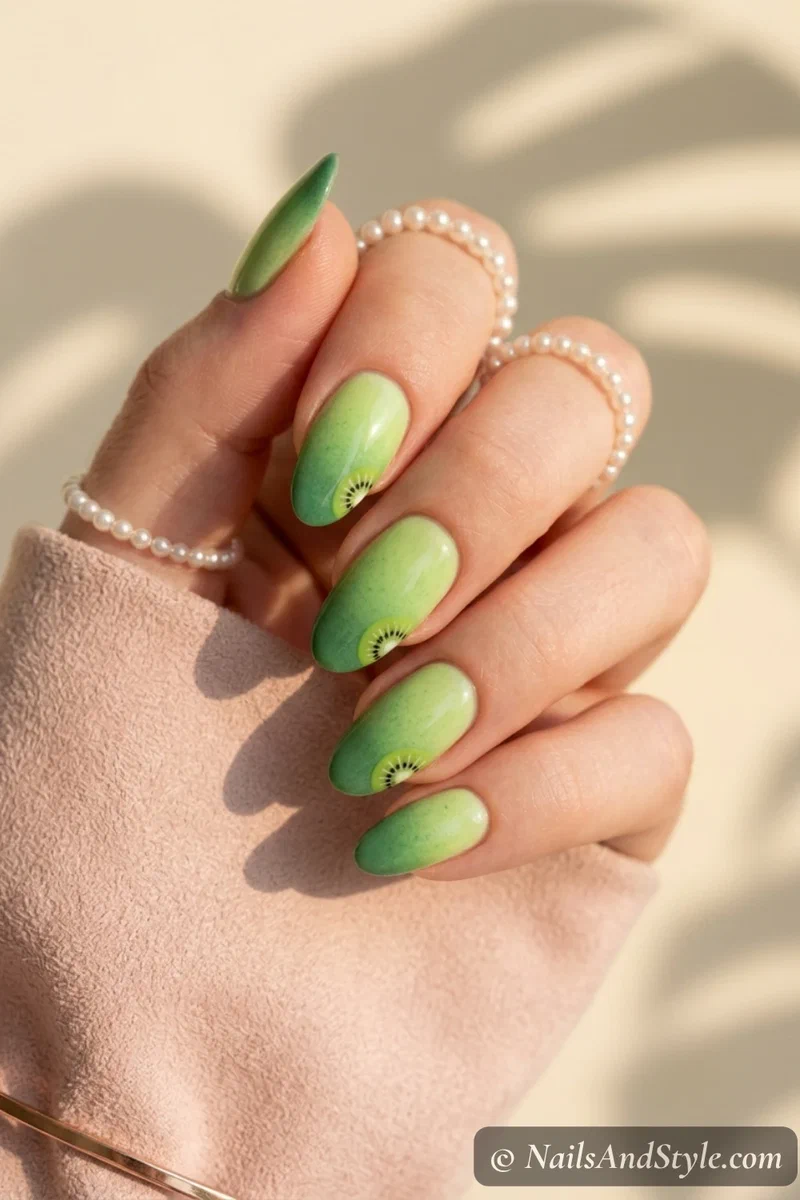
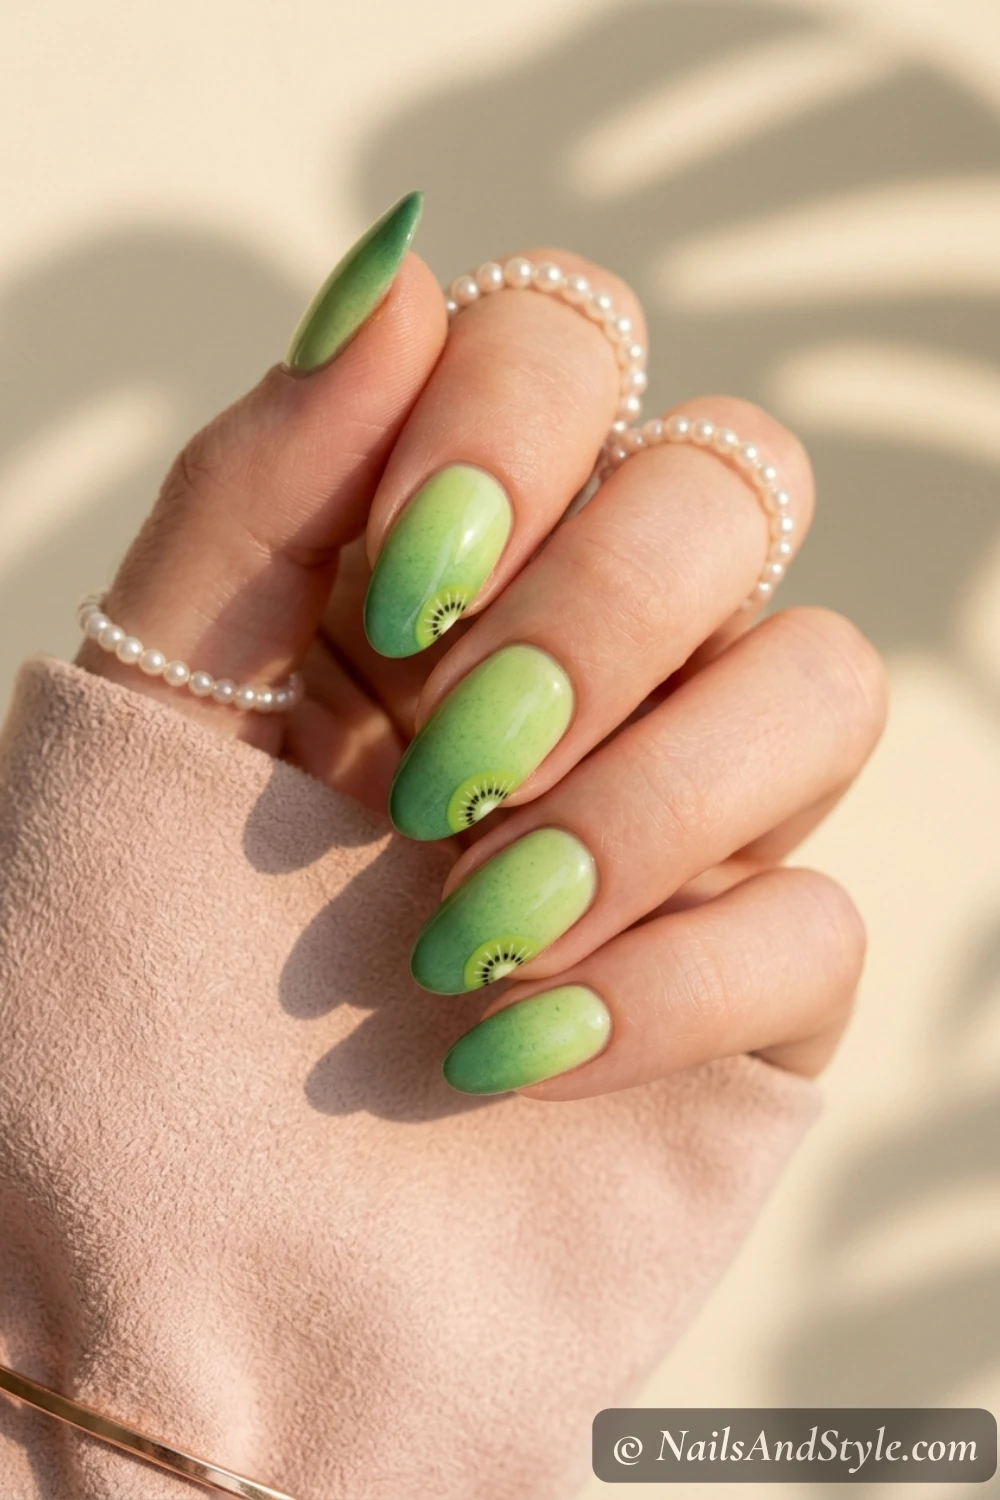
4. Kiwi Ombre#
Lime melting into deeper green, kind of like the gradient inside a real kiwi. Soft, fresh, and easy to wear anywhere.
Sponge lime green at the cuticle and a deeper green at the tip onto a makeup sponge, then dab over each nail until the two blend smoothly. Once it’s dry, add a small kiwi slice on one or two nails as a focal point. New to gradients? My ombre nails guide breaks the whole thing down step by step.
5. Negative Space Kiwi#
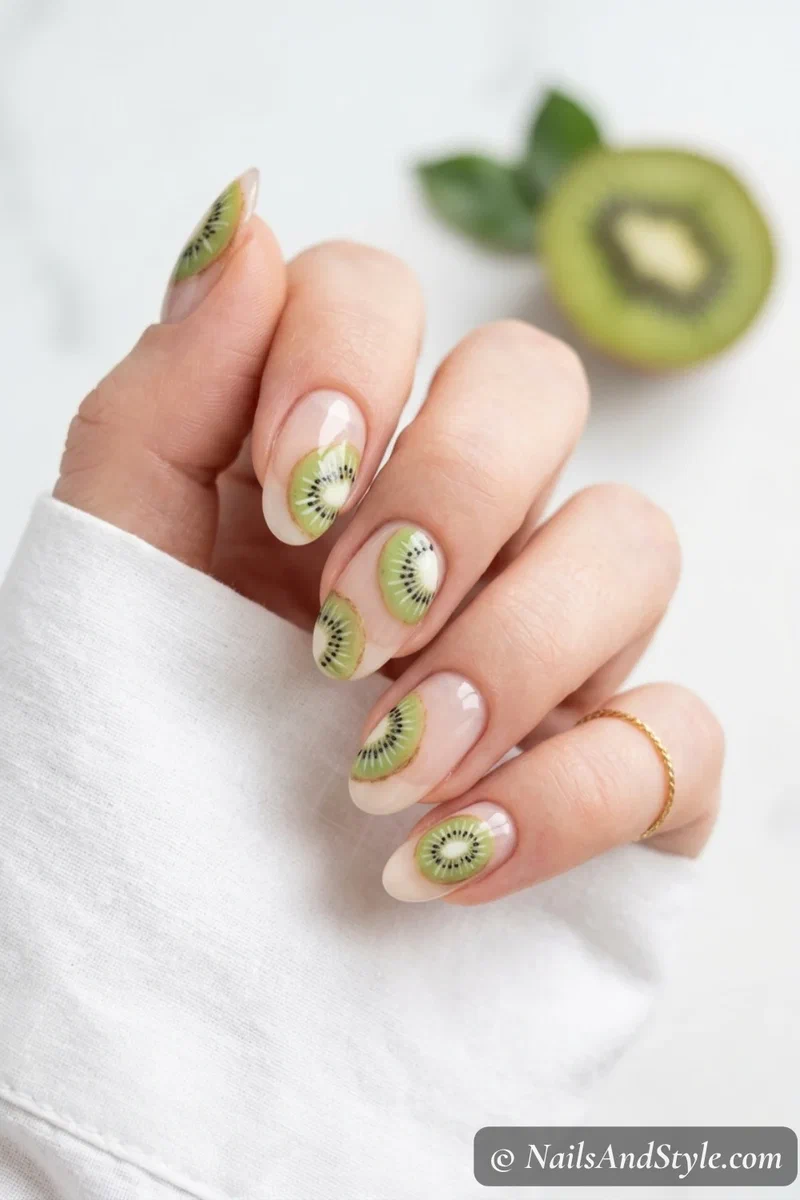
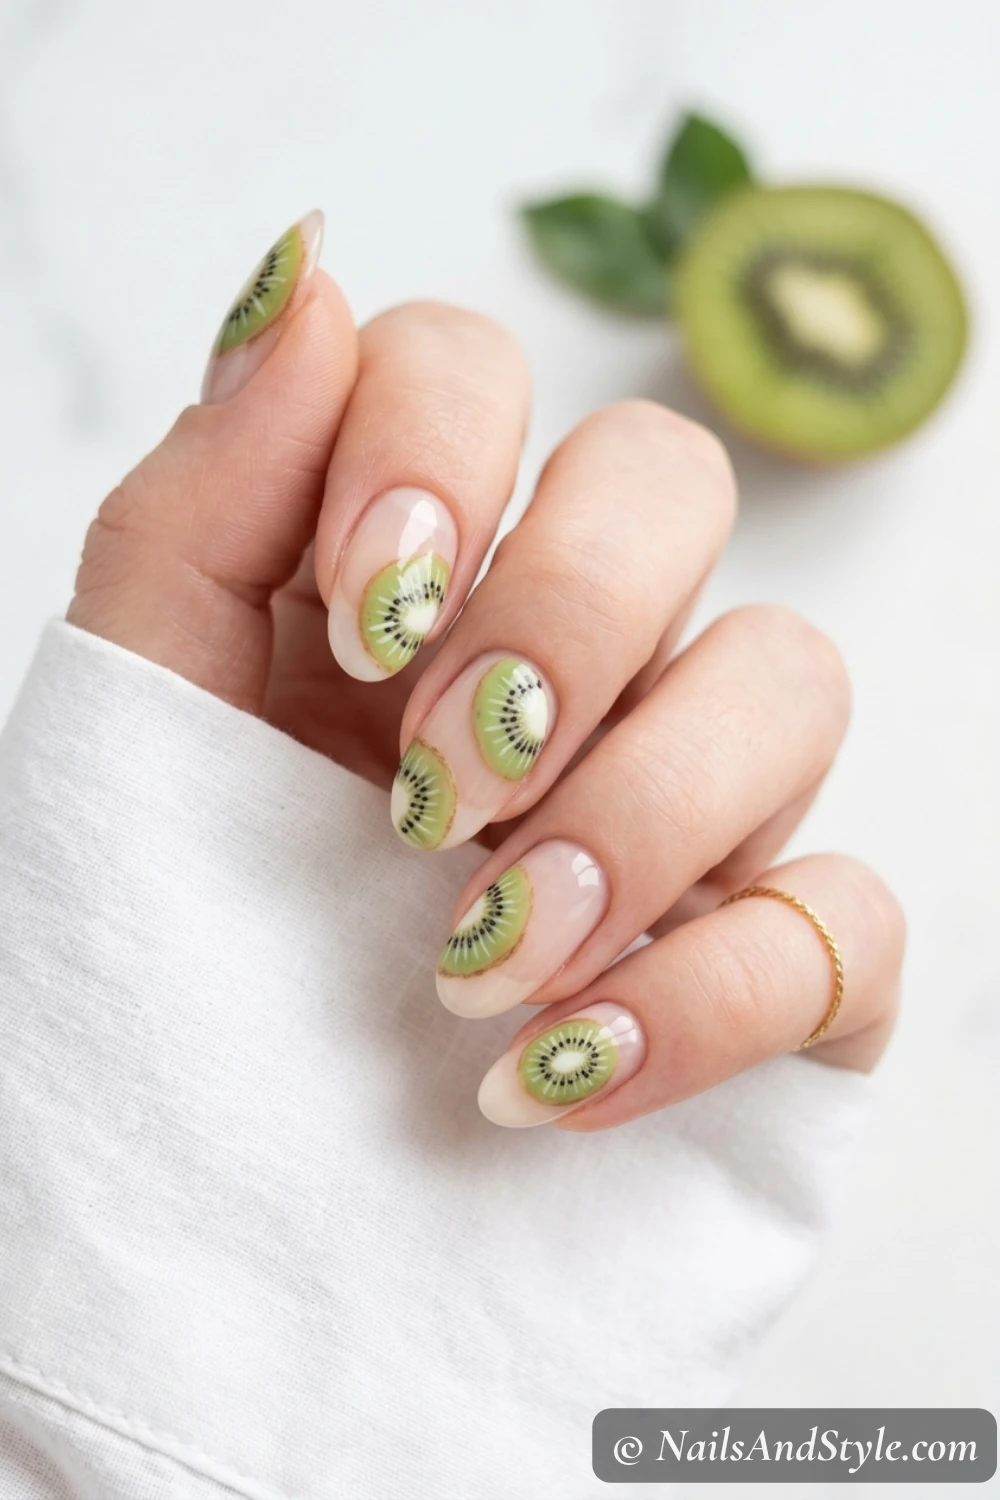
Airy, modern, and very save-worthy. Most of the nail stays bare while a couple of kiwi slices just float wherever they land.
How to do it: Brush a clear glossy base across the whole nail, then paint one small kiwi slice in a different spot on each nail — near the tip, off to one side, tucked by the cuticle. Keep them small. Here’s the trick: the seed ring does the heavy lifting, so people still read it as kiwi even when the slice is tiny.
6. Kiwi & Strawberry#
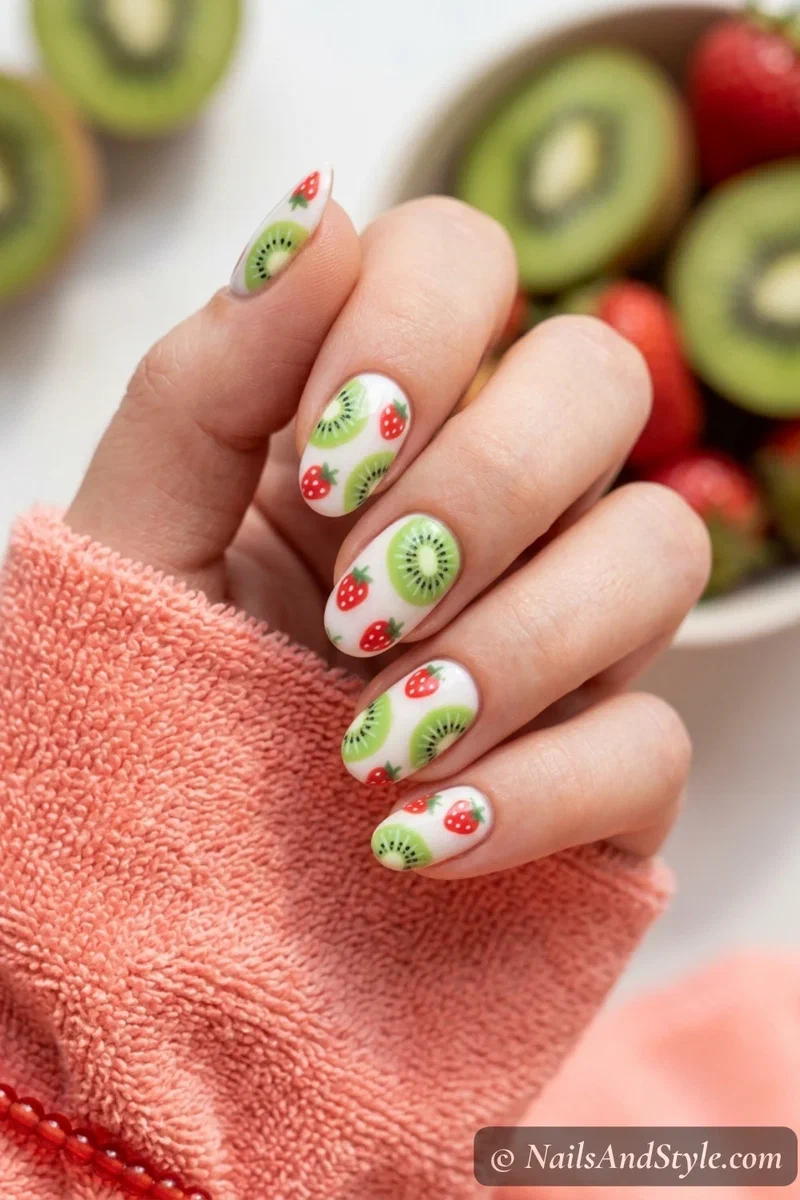
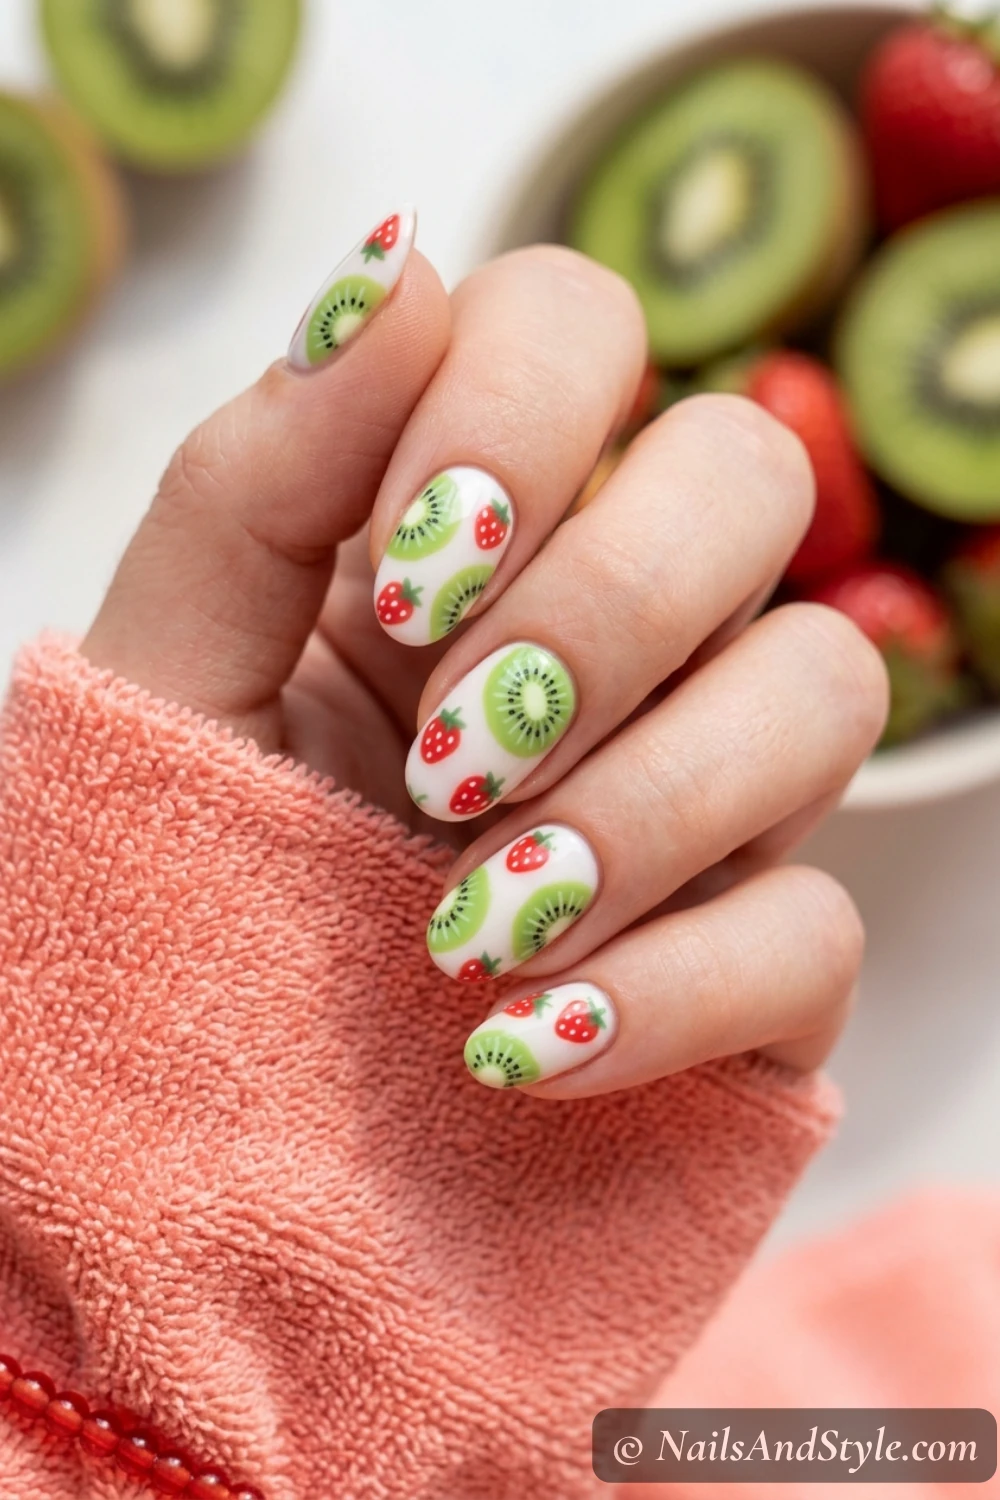
Fruit-salad energy, and honestly one of my favorites. Kiwi green next to strawberry red is such a happy pairing — festival-ready and very forgiving of small mistakes.
Start with a white base, then alternate kiwi slices and little red strawberries (green leafy tops, tiny white seed dots) using a fine brush and a dotting tool. You can mix both fruits across the nails or give each nail its own. Nobody’s going to notice a slightly wonky seed when the whole thing looks this cheerful.
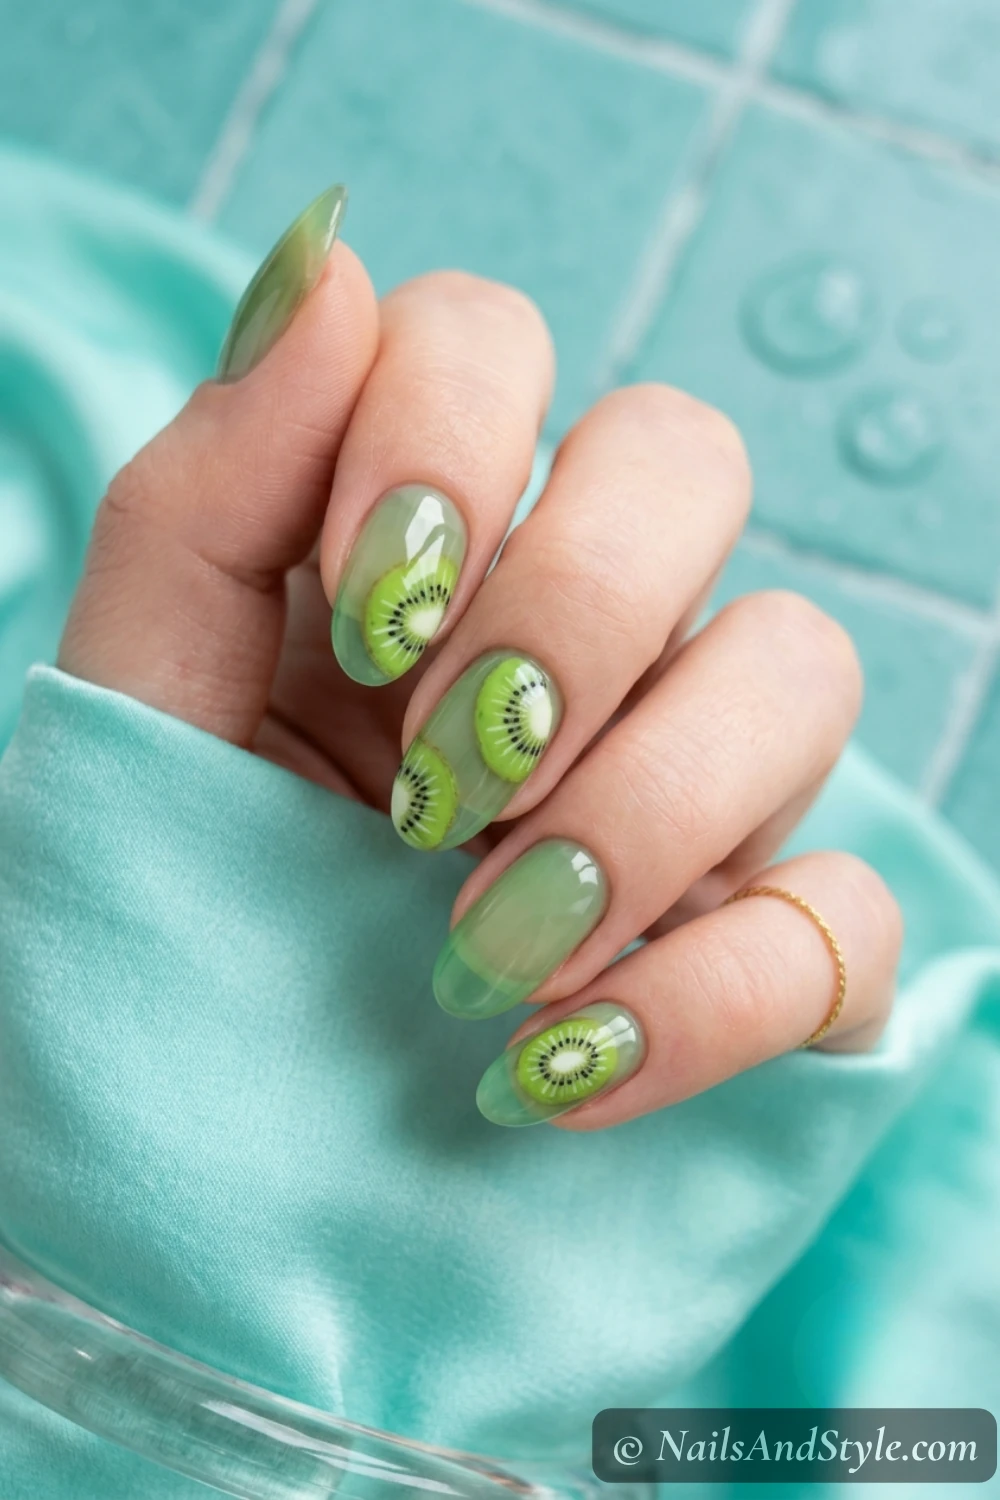
7. Kiwi Jelly Nails#
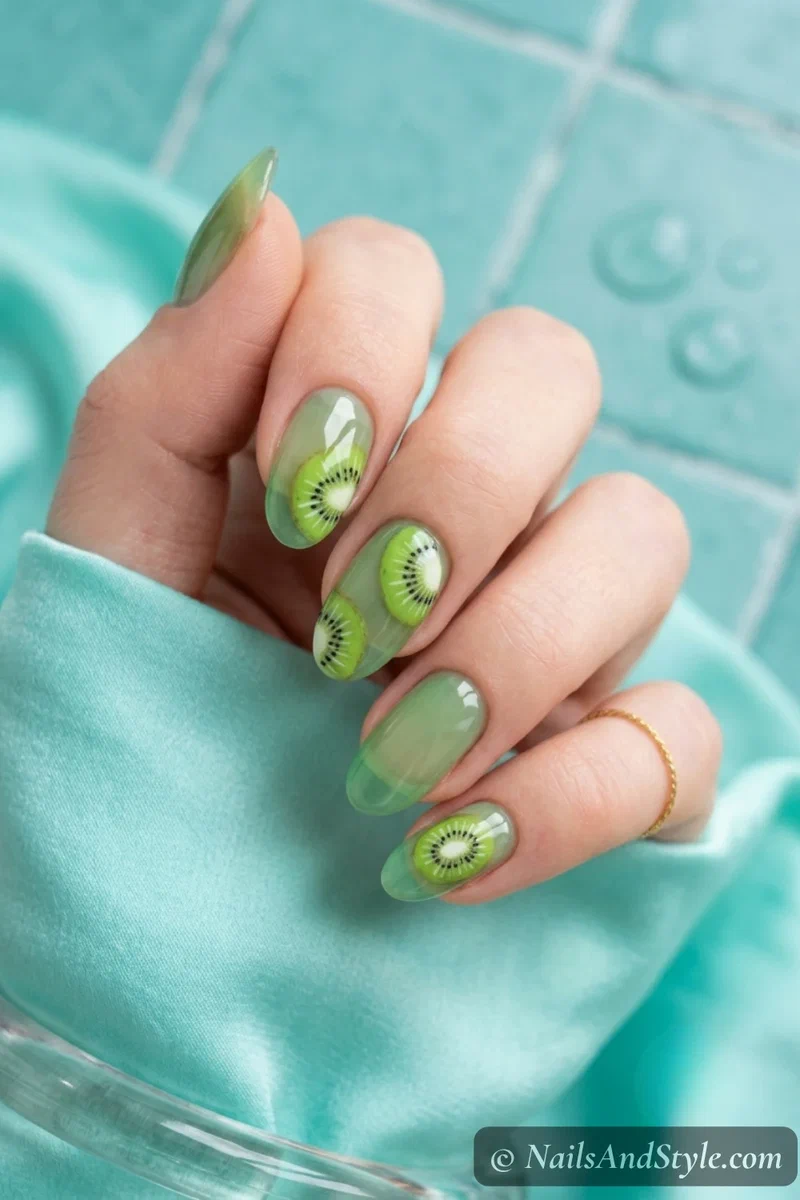
Sheer green jelly that glows like fruit held up to the light. Translucent, glassy, and so summery.
Two thin coats of a sheer green jelly polish — or thin out a regular green with clear polish — so your natural nail shows through underneath. Then add one opaque kiwi slice on an accent nail for a little pop of detail. Finish with an extra-glossy top coat for that wet, just-sliced shine.
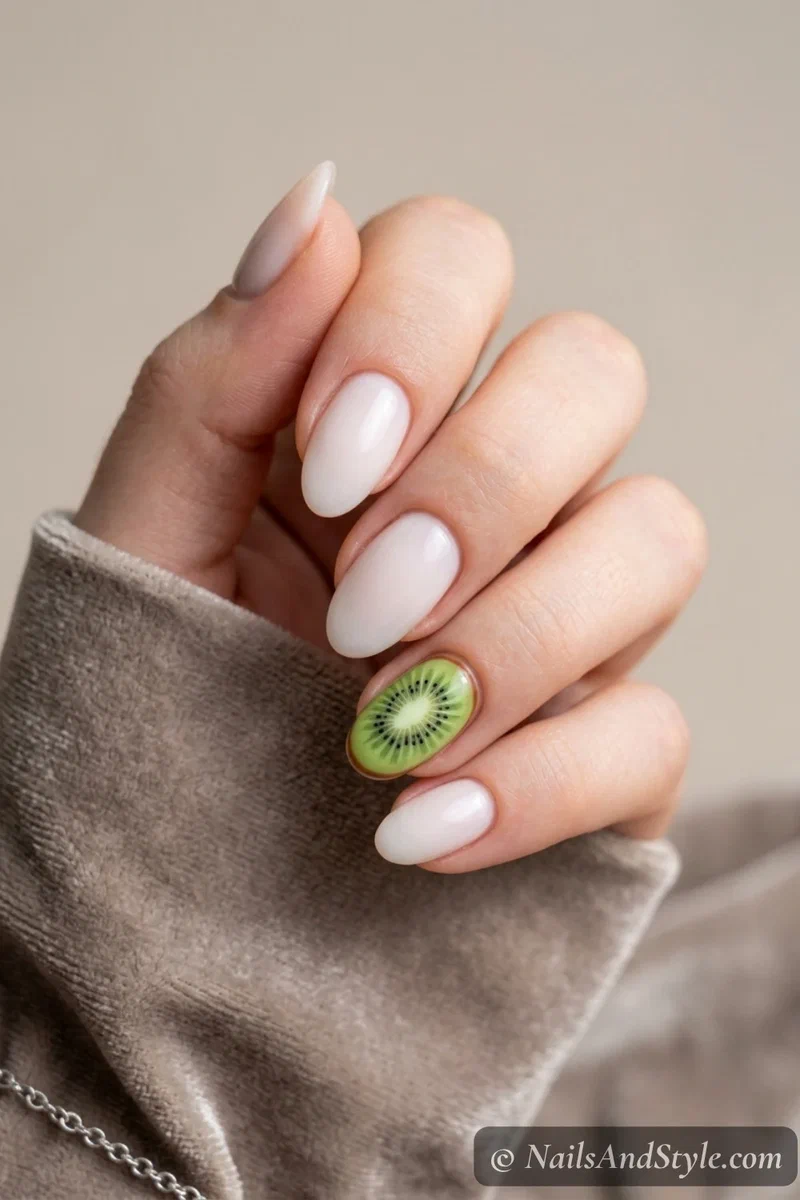
8. Milky Base Kiwi Accent#
The low-effort everyday one. Soft milky nails, with a single bold kiwi slice doing all the talking.
Paint four nails in milky white or sheer nude, then go all-in on one accent nail — full kiwi slice with green flesh, pale center, brown rim, and a proper seed ring. Because you’re only detailing one nail, you can afford to make it really crisp. Fifteen minutes, tops.
Kiwi Nails on Short Nails#
Good news if you keep things short — the round kiwi slice actually fills a short nail really nicely. There’s no long canvas to keep flawless, and a single slice looks intentional rather than cramped.
The move is scale. Keep the slices small and neat, and lean on an accent-nail approach so one crisp kiwi carries the whole look.
A Few More Short-Nail Ideas#
- Single kiwi slice on a nude base — clean, cute, and quick to paint.
- Negative space kiwi stretches a short nail visually because most of it stays bare.
- Kiwi jelly gives short nails a fresh, glowy finish without any busyness.
- One French tip with a mini slice keeps things elegant and elongating.
- Milky base with one accent is the most balanced, foolproof option there is.
Simple Step-by-Step: How to Paint Kiwi Nails at Home#
Here’s the order I follow no matter which of the eight I’m painting:
- Prep. Wash hands, push back cuticles, trim, and file in one direction.
- Buff lightly so your polish grips better.
- Base coat. One thin layer to protect and smooth.
- Base color. White, cream, sheer nude, or clear, depending on your design.
- Paint the green. Add your kiwi circle, French tip, or gradient, leaving a lighter center for slices.
- Add the details. Brown rim, then the ring of black seeds with a toothpick, plus thin white center lines.
- Add any extras. Strawberries, a whole fuzzy kiwi, or a second slice, if your design calls for it. New to detail work? My beginner nail art guide helps.
- Clean the edges with a small brush dipped in remover.
- Top coat. Glossy, sealing the free edge. Let everything dry longer than you think it needs.
How to Ask Your Nail Artist for Kiwi Nails#
If you’d rather sit back and let a pro handle the tiny seeds, a little clarity gets you a closer match — kiwi designs live and die by the details.
- Bring 2-3 reference photos and point out whether you want full seeded slices, a whole-kiwi look, or just a subtle accent nail.
- Talk about the green — bring a shade you like, since “kiwi green” can mean anything from lime to a deep forest tone.
- Say the seeds should be hand-painted for the crispest look, or ask about decals if you want them faster.
- Ask for a rounded or almond shape — the round kiwi slice sits most naturally on those.
- Go gel over regular polish — green can fade and stain in regular formulas, and gel keeps that fresh color crisp for longer.
Tips to Make Your Kiwi Nails Last Longer#
- Keep every polish layer thin — thick green can look muddy and chips faster.
- Run a base coat underneath so the green doesn’t stain your natural nails.
- Seal the free edge with each coat, top coat included.
- Skip hot water for at least an hour after painting.
- Wear gloves for dishes and cleaning (yes, even the quick two-minute jobs).
- Refresh a thin top coat every 2-3 days to protect those little seeds.
- Cuticle oil daily — tiny habit, genuinely makes the manicure last.
Quick FAQ#
Are kiwi nails hard for first-timers?#
Not as hard as they look. The seed ring seems intimidating, but it’s just a circle of tiny dots made with a toothpick. Start with a single accent-nail slice and you’ll get the hang of the dotting fast.
What’s the best green for a realistic kiwi look?#
A fresh medium-bright green with a warm, slightly yellow undertone. Pair it with a paler green or white center so the black seed ring pops in between. Skip blue-toned or neon greens — they read less like real fruit.
Can I do kiwi nails on natural nails without gel?#
Yes, every design here works on natural nails. Just let each layer dry fully before moving on, especially before adding the seeds. Patience really is the secret with fruit designs.
Shop the Look#
Everything you need to paint these kiwi looks at home:
 BaseBase + Strengthener CoatStops green pigment from staining before you paint the slices
 ShineGlossy Top CoatGives kiwi that just-sliced, juicy shine
 GreensOPI Greens & NeutralsGargantuan Green Grape lime, Funny Bunny, Bubble Bath
 Fruit redsEssie Green & RedReally Red for strawberries, Pretty Edgy deep green
 Seeds & detailDotting Tool SetThe fine tips make those tiny black seed rings easy
 Crisp tipsNail Guide StickersFor clean green French tip lines
Final Thoughts#
Kiwi nail designs are proof that the most eye-catching fruit looks aren’t always the hardest — a good green, a pale center, and a ring of dotted seeds is genuinely most of the work. Once you’ve painted one slice, the other seven looks come together quickly.
Save the versions that made you smile, then start with whichever suits your mood — crisp classic slice, soft ombre, or that glowy jelly finish. Just don’t be surprised when someone asks if your nails are real fruit stickers. They’re not. They’re all you.