Nail stamping used to feel like this secret nail-tech trick only salon pros could pull off. Now? It’s everywhere. Pinterest boards, TikTok FYPs, my camera roll — all covered in tiny stamped flowers and swirls that look way more complicated than they are.
This nail stamping tutorial for beginners is for anyone who’s been curious but a little intimidated to try it. Honestly, once you figure out the timing (and trust me, there’s a timing thing), it clicks fast. Every design here works on short and medium nails, and you can recreate the whole set at home with a stamping plate, a stamper, and a scraper.
So. Let’s get into it.
Why Nail Stamping Is Having a Moment Right Now#
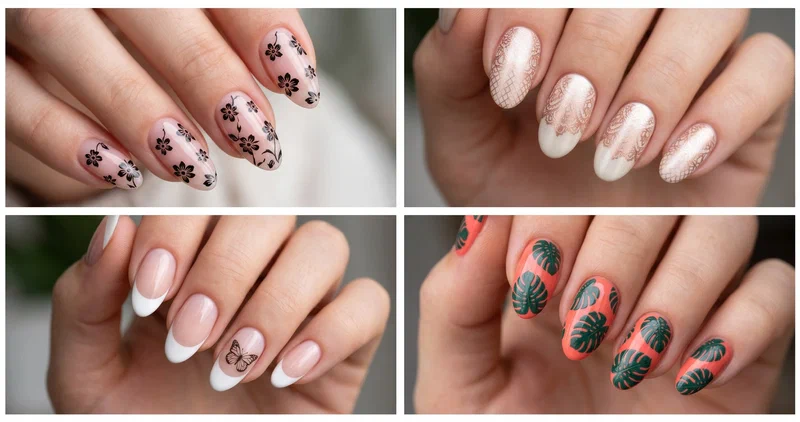
Stamping used to mean basic black florals on a clear base. Those days? Long gone. We’ve got pastels, chromes, holos, neons, line art, marble patterns — basically anything you can imagine has been turned into a stamp design. And with warm weather rolling in, the sunny shades and playful patterns are hitting different.
A few nail stamping tips and tricks before your first go:
- Grab the right polish. Regular polish usually won’t work — you need polish made for stamping. It’s thicker and more pigmented.
- Shape your nails first. Almond, oval, and squoval shapes give the best canvas for detailed stamped patterns.
- Base coat, always. It protects your natural nail and helps the design sit cleaner.
- Top coat matters so much here. Without it, the stamp smudges or fades fast.
If florals are calling your name, my spring floral nails post has a whole garden of bloom-inspired designs beyond stamping.
Nail Stamping Tutorial for Beginners: 10 Designs to Try#
1. Classic Floral Stamp#
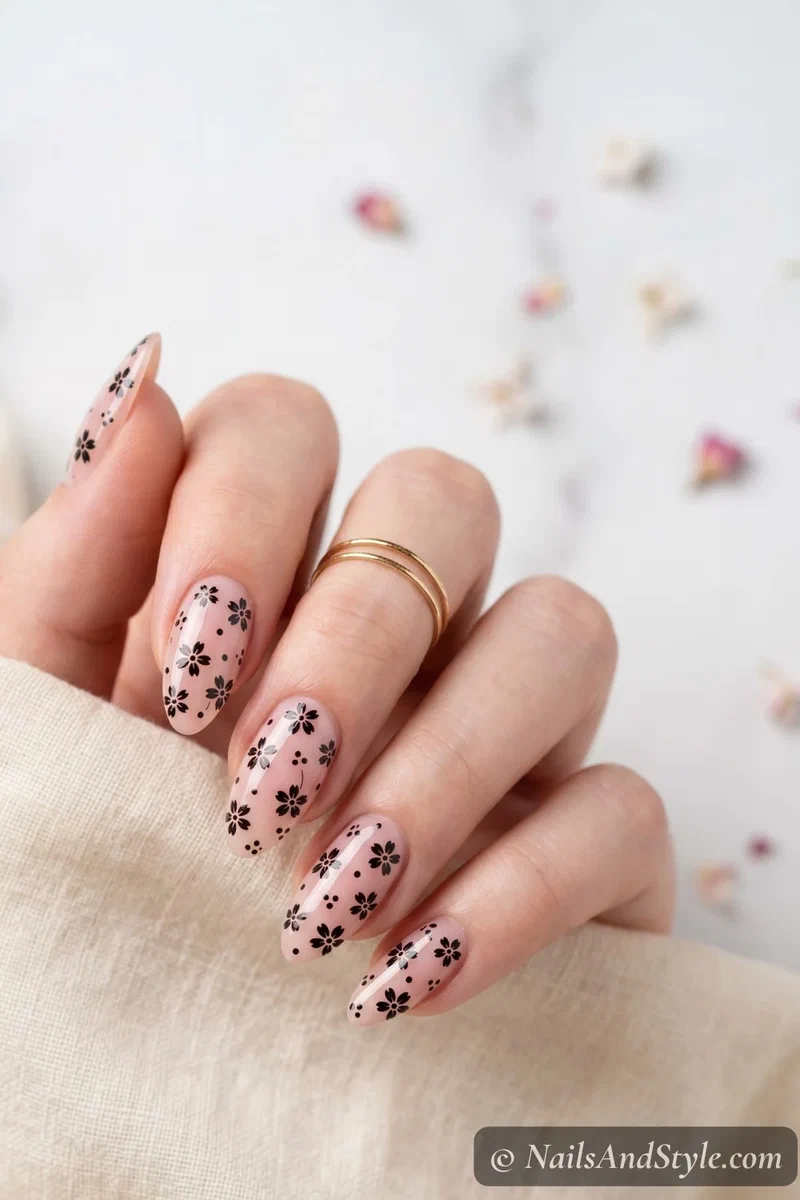
If you’re brand new to this, florals are your safest bet. The patterns are forgiving, the lines are dainty, and any slightly-off petals just read as artsy instead of wrong. Pick a sheer pink or nude base, then stamp small black or white flowers across each nail. Scrape at a steady 45-degree angle — that’s the move. A glossy top coat makes the petals pop.
2. Delicate Lace Pattern#
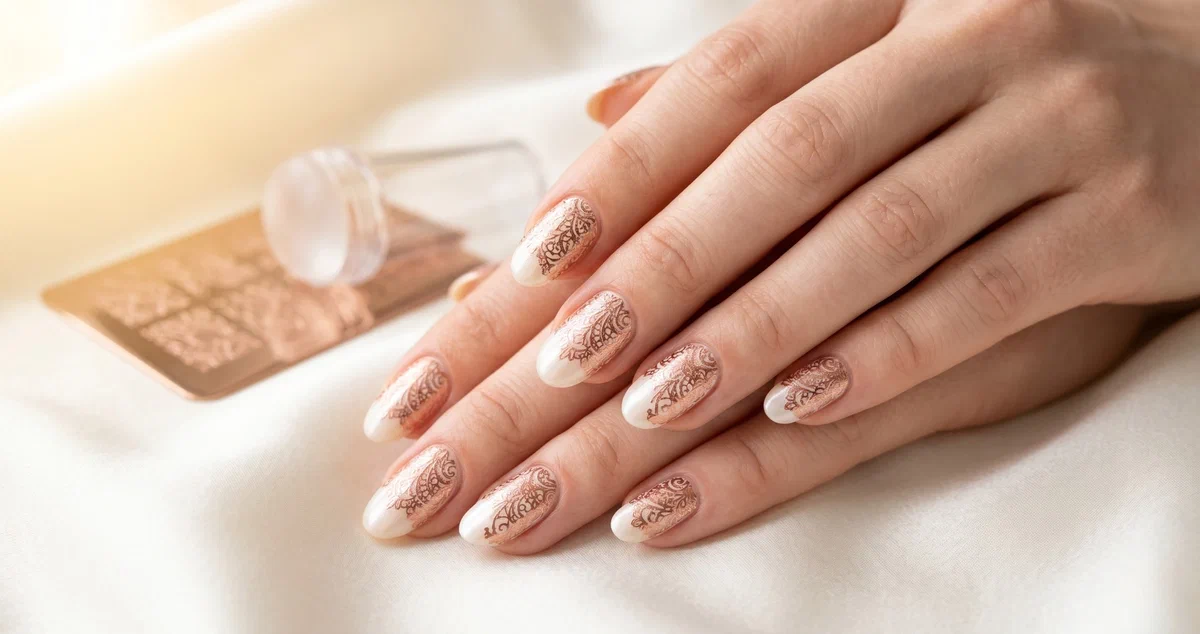
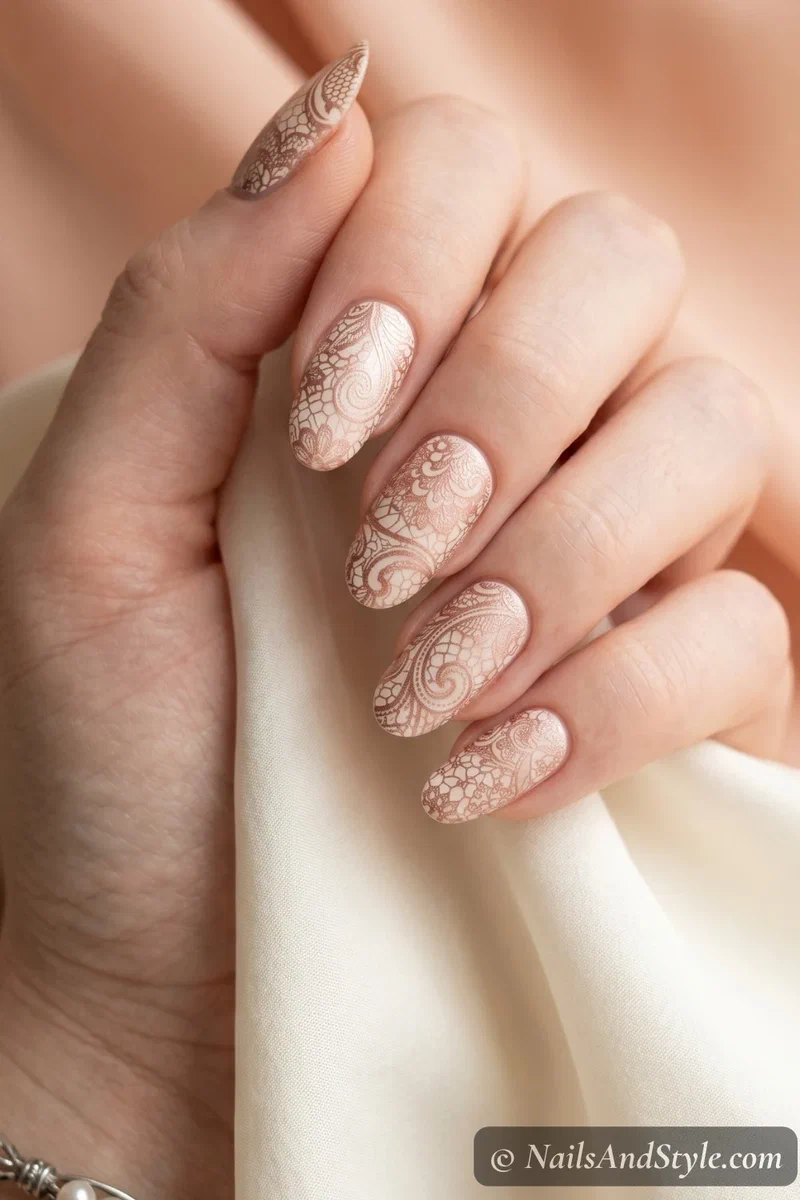
These are the ones people always assume were done at a salon. Use a pearl white or cream base, then stamp detailed lace work in a soft metallic — rose gold on cream looks unreal. Work fast because lace stamps dry on the plate quicker than bigger patterns. A matte top coat gives it a vintage-romantic finish.
3. Geometric Line Art#
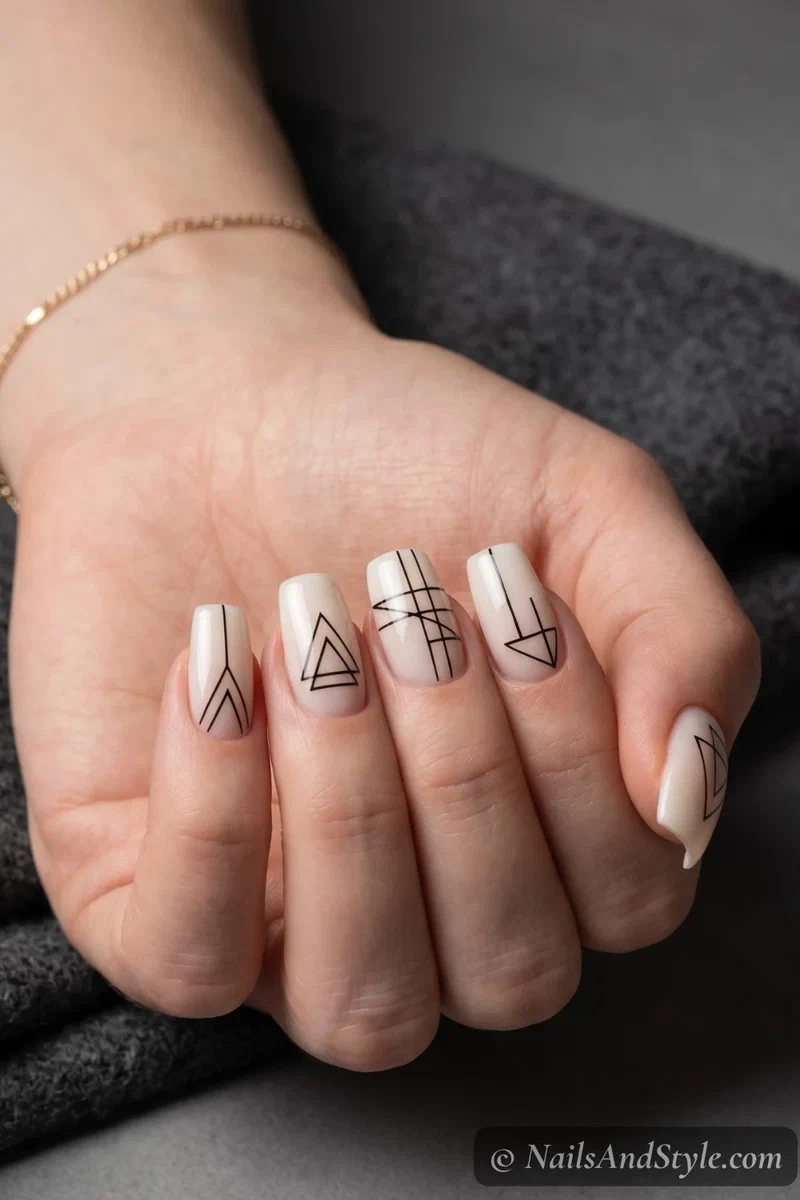
You know that minimalist line art trend that’s been taking over? It works beautifully as a stamp. Go for a nude or off-white base with thin black geometric lines — triangles, grids, abstract shapes. Clean, modern, zero fuss. Glossy top coat keeps the lines crisp.
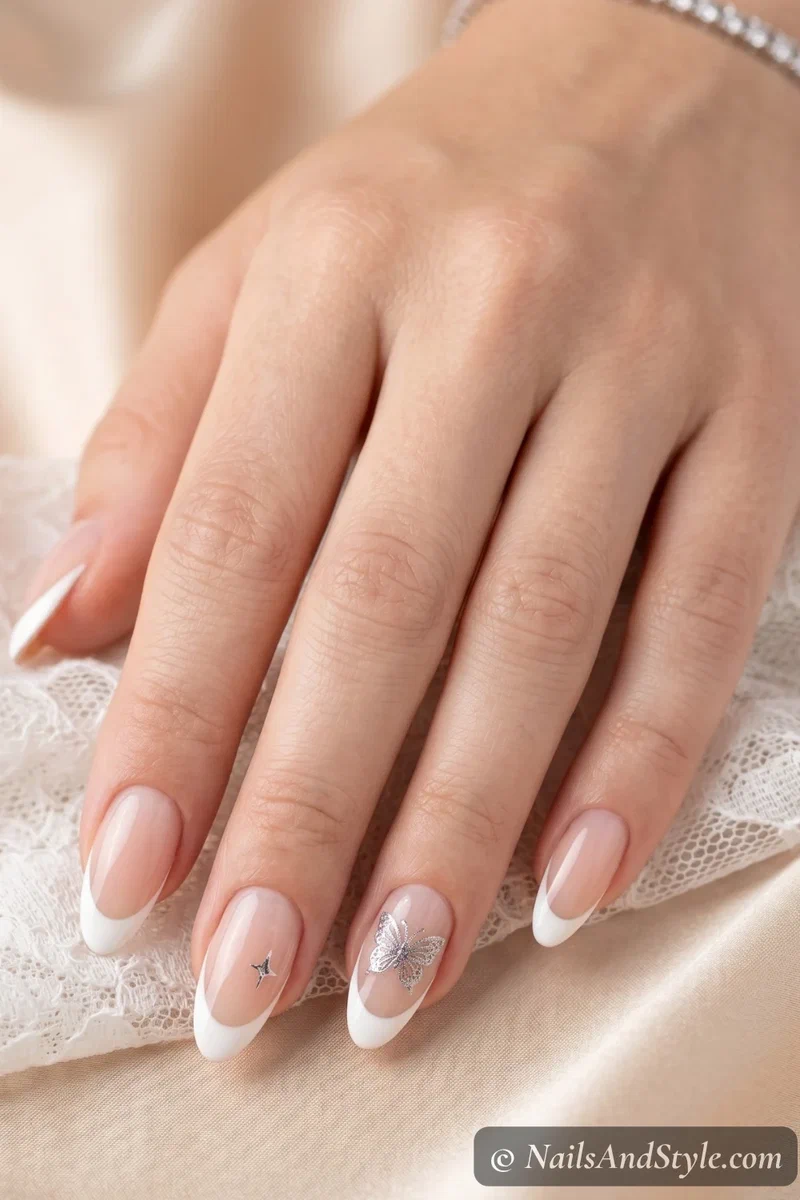
4. French Tip with Stamping#
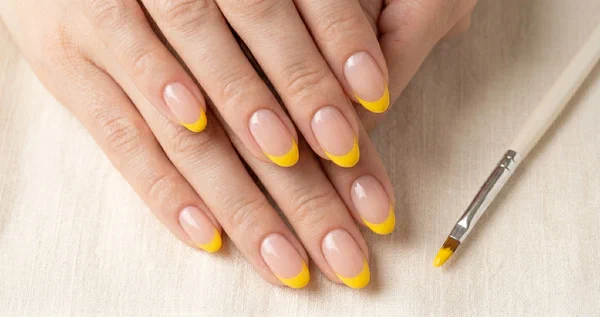
Classic french + tiny stamped details = the upgrade nobody saw coming. Paint your french tips first (french guides save you here), let them dry, then add a small stamped element — a single flower, a star, a dainty butterfly — on one or two accent nails. It’s great for weddings, brunches, anything dressy. The mix of clean line work and playful pattern just hits.
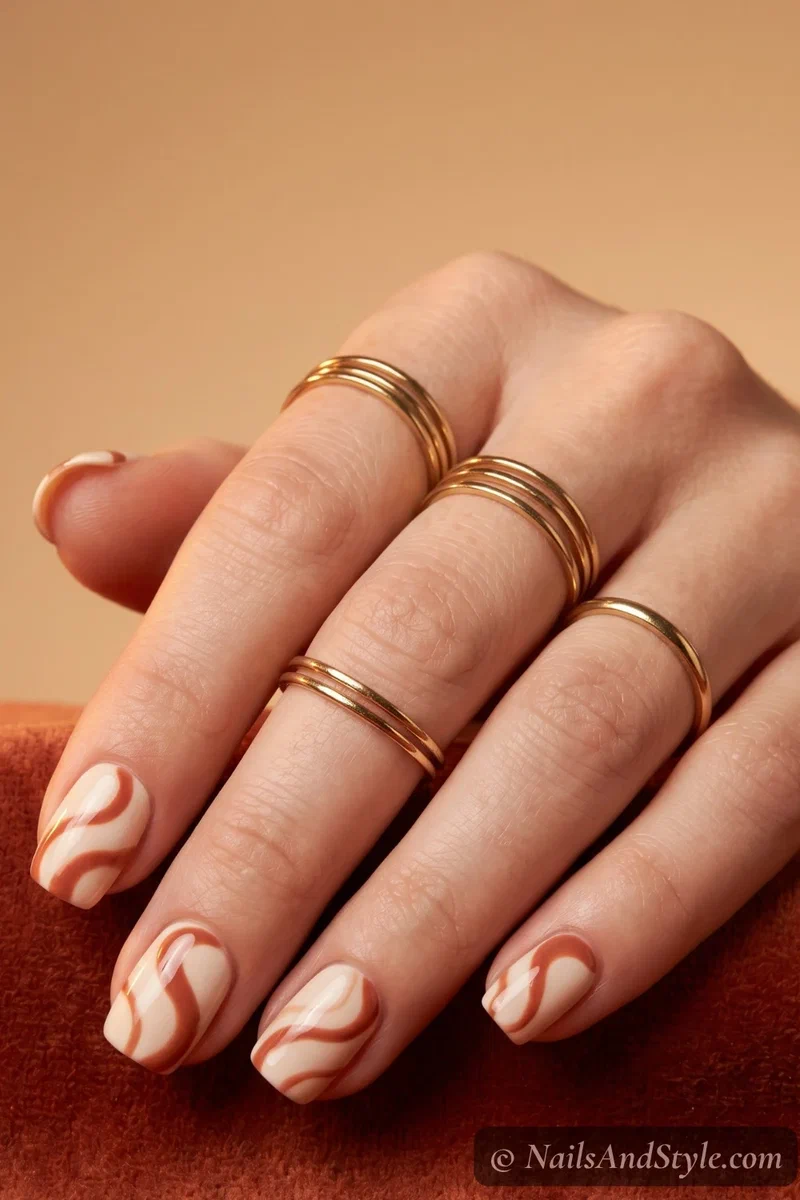
5. Abstract Swirls#
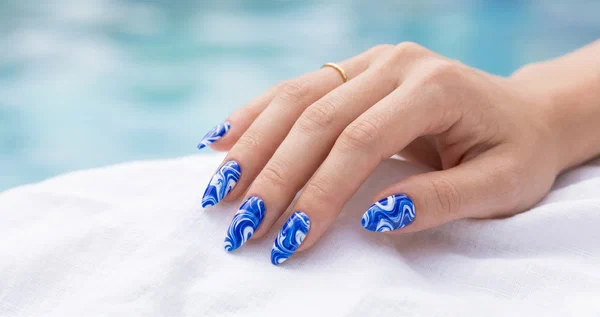
Swirls are having the moment of all moments. A cream or sheer base with stamped swirls in contrasting colors (think terracotta on cream, or sage on nude) looks so editorial. Use a plate with flowy organic lines, pick up the polish with your stamper, scrape, and press firmly. Quick, dreamy, done.
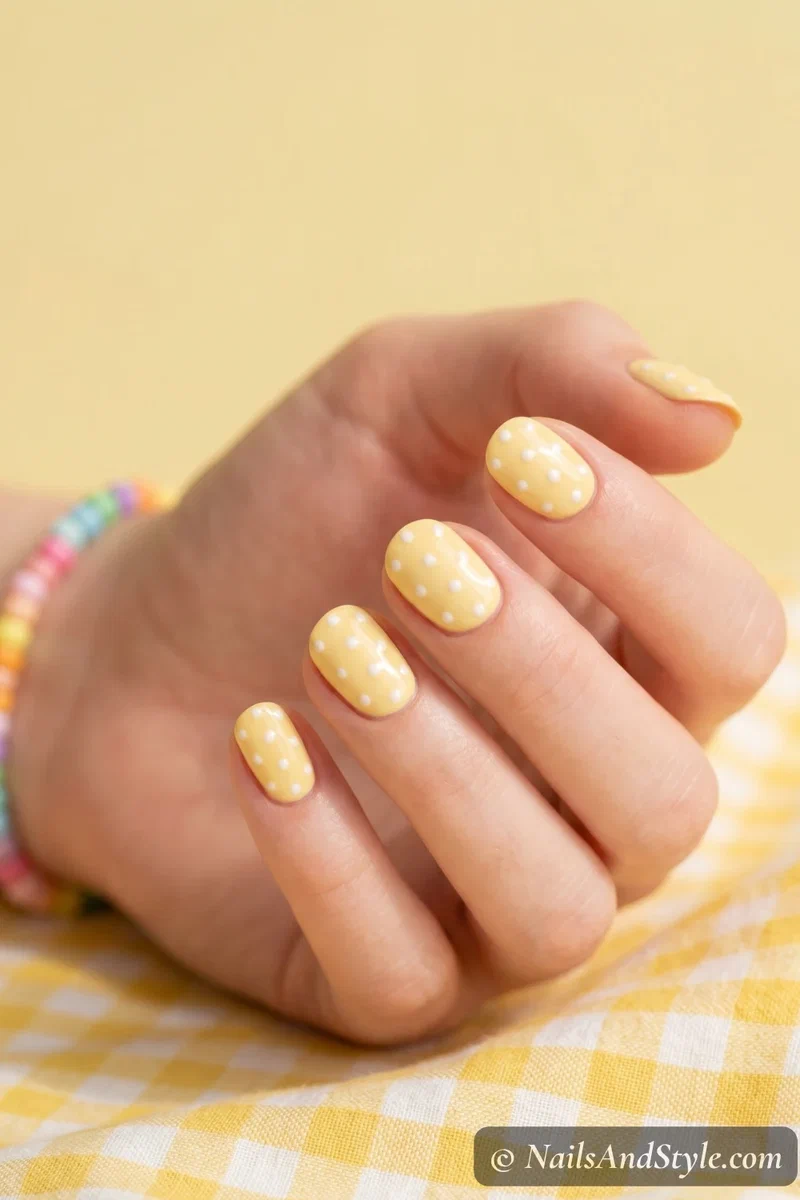
6. Polka Dot Stamp#
Sometimes you just want something cute. Polka dots deliver every single time. Paint a pastel base — buttercup yellow, sky blue, baby pink — then stamp small white or black dots across each nail. Keep the stamper perpendicular for evenly spaced dots. Glossy top coat makes them look like tiny pearls.
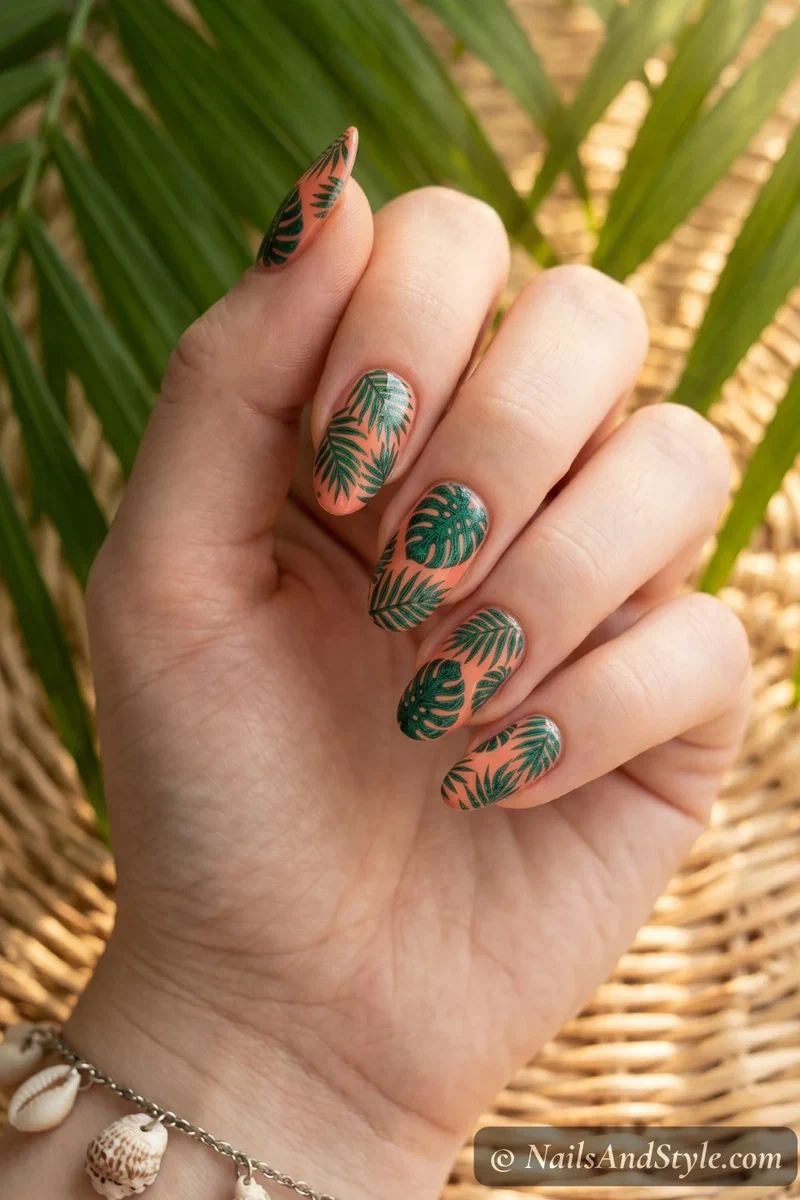
7. Tropical Leaf Print#
This one screams poolside vacation. Use a coral or creamy white base and stamp palm leaves or monstera prints in deep green. Pinterest-level beach energy without leaving your apartment. I’d go high-gloss top coat to keep that juicy summer finish.
My tropical nail designs for summer post has even more palm and monstera looks if this vibe is your thing.
8. Marble-Look Stamping#
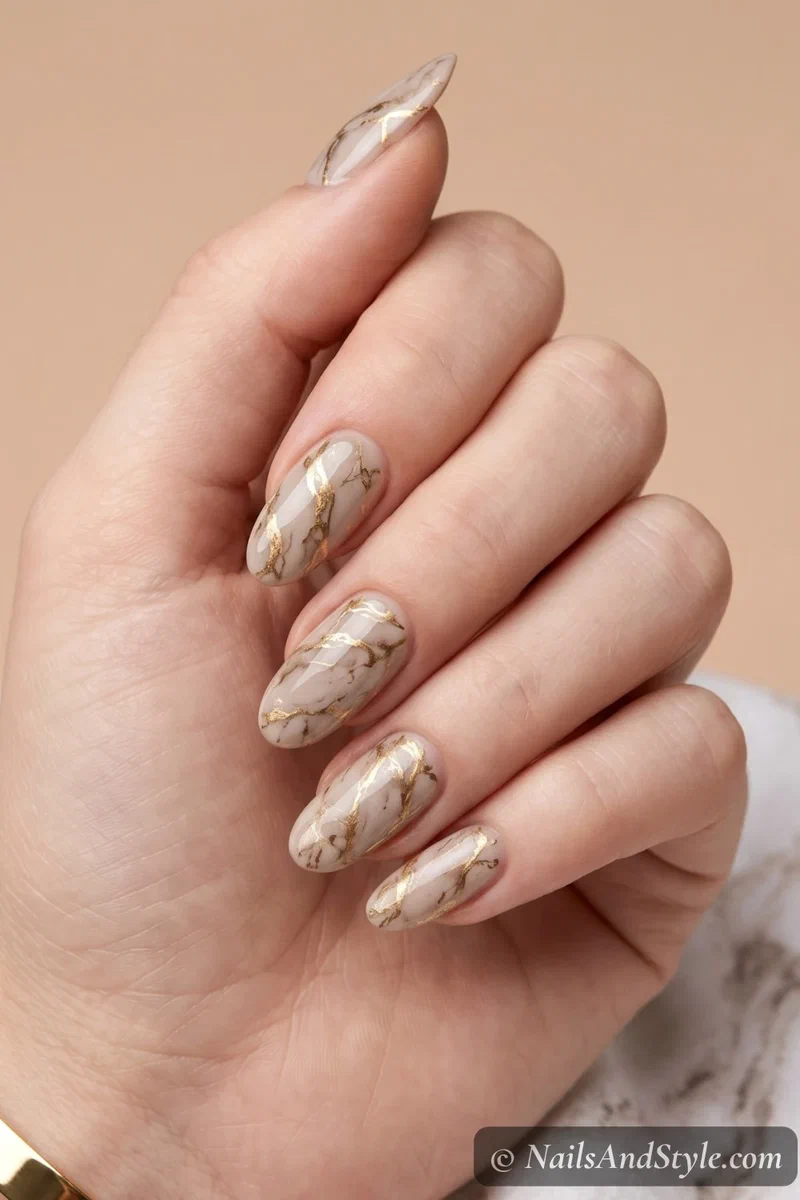
Marble patterns that don’t require water marbling? Yes please. There are stamping plates with marble veins in gold or black — stamp them over a cream, pale pink, or greige base for that luxe effect. Pretty much foolproof once the polish pickup timing clicks. Glossy top coat, 100%.
9. Butterfly Accent Nails#
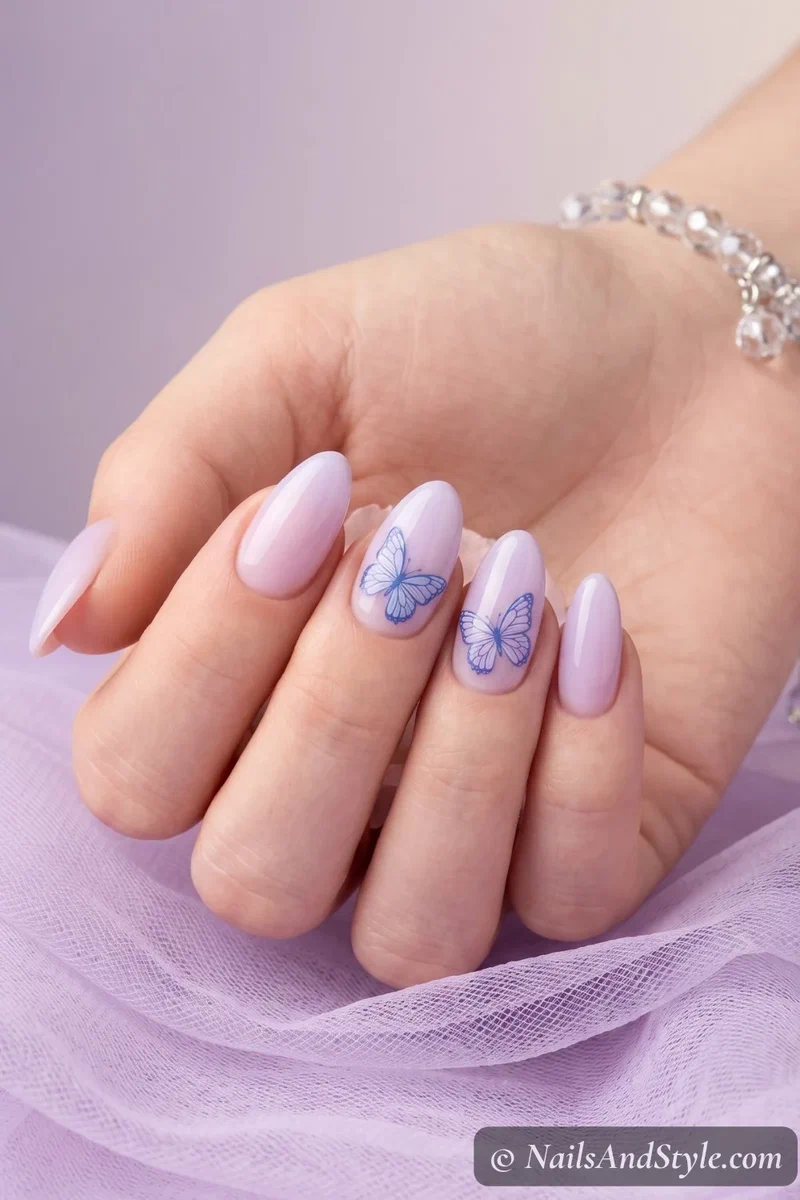
Butterflies had a comeback moment back in 2025 and honestly, they’re still so good. Paint most of your nails a soft pastel, then stamp a single detailed butterfly on your ring or middle finger only. Two colors layered makes the butterfly pop if you’re feeling ambitious. The accent-nail approach keeps it from tipping into costume-y.
10. Mandala Pattern#
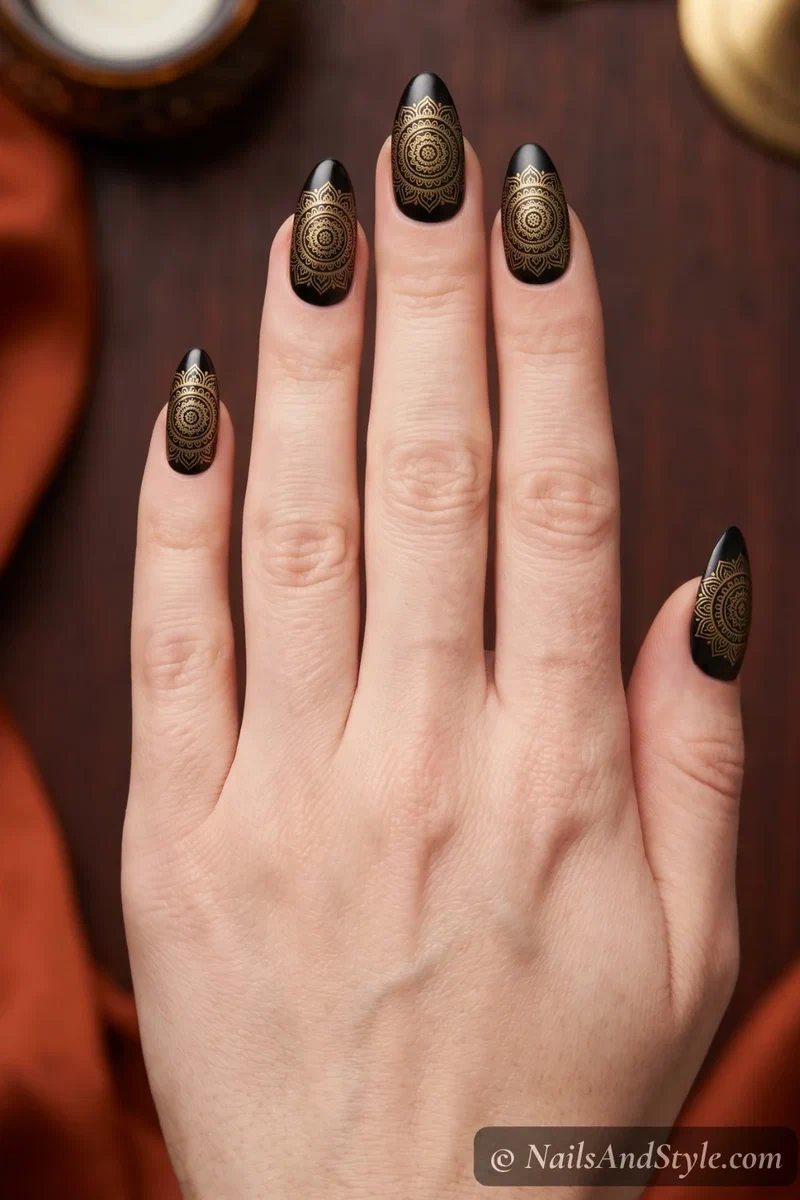
Mandalas look wildly complicated but the plate does literally all the work. Pick a black base with gold mandala stamping, or flip it — white base with black mandalas. Scrape firmly (mandalas have tiny lines that need full pickup) and press the stamper straight down without tilting. A matte top coat gives it a moody, boho finish.
This Look for Short Nails#
Here’s the thing about stamping on short nails: it actually works better than you’d expect. Stamp designs are sized for nails, so you don’t lose much detail even on shorter lengths. Small, delicate patterns especially shine on short nails — they complement the shape instead of fighting it.
A few stamp styles that look gorgeous on short:
- Micro florals — small-scale floral stamps don’t overwhelm short beds.
- Single-accent stamping — one stamped nail, others plain, looks super elegant.
- Dot patterns — polka dots or dotted lines keep things clean and graphic.
- Corner stamps — stamping just part of the design gives a modern half-finish look.
- French tip stamps — the stamp sits at the free edge so it works with any length.
Need more short-nail ideas? My cute short summer nails round-up has tons of looks designed specifically for shorter lengths.
What You’ll Need#
- Nail stamping plates — etched with the patterns you'll pick up
- Stamper + scraper — a squishy stamper head and a card to scrape
- Stamping polish — thick, opaque formulas transfer best
- Base coat — a smooth base for a clean stamp
- Glossy top coat — seals the design so it lasts
Simple Step-by-Step: How to Do Nail Stamping at Home#
Here’s the full nail stamping step by step guide to follow:
- Prep your nails. Remove old polish, trim, file, and push cuticles back gently.
- Buff lightly. A smooth surface picks up stamp designs way better.
- Apply base coat. Let it dry fully before painting.
- Paint your base color. Two thin coats, dry completely between layers.
- Load the stamping plate. Drop a generous blob of stamping polish over the design.
- Scrape the excess. Drag a scraper across at a 45-degree angle in one smooth motion.
- Pick up with the stamper. Roll the stamper over the design quickly — don’t press down hard.
- Stamp and seal. Roll it across your nail, clean any stray polish around your cuticles with a small brush dipped in remover, and finish with a glossy top coat.
Want to try this with gel polish? Nail stamping with gel polish works too — just make sure you’re using a gel-compatible stamping polish and cure each layer properly under your lamp.
Tips to Make Your Stamping Last Longer#
- Apply polish in thin layers — thick coats crack faster.
- Let each base coat dry fully before stamping.
- Seal the free edge with top coat to lock in the design.
- Skip water and cleaning products for at least an hour after painting.
- Wear gloves for dishes and scrubbing. No exceptions.
- Reapply top coat every two to three days to refresh the shine.
- Clean your stamping plates after every use — dried polish kills the fine lines.
If you’re thinking about going gel for longer-lasting stamps, my gel nails at home complete guide covers everything you need to get started.
Quick FAQ#
Is nail stamping hard for beginners?#
Honestly, the first few tries can feel awkward — the timing between scraping and stamping is the tricky bit. Once that clicks though, it clicks fast. Practice on a nail wheel or a piece of paper first if you want to feel out the rhythm before touching your real nails.
What’s the best nail stamping polish to use?#
You want polish made specifically for stamping — the regular stuff is too thin and won’t transfer. Stamping polish is dense, pigmented, and designed to grip the plate. Start with black, white, or a metallic — those give the most reliable pickup.
Can I do nail stamping on natural nails?#
Yep, every single design here works on natural nails with regular polish. No lamp, no gel, no salon needed. Just a solid base coat, a well-prepped nail, and a glossy top coat to seal it all in.
Final Thoughts#
This nail stamping tutorial for beginners barely scratches the surface of what you can do once the basic technique clicks. Start with florals or dots, then work your way toward the fancier stuff — swirls, mandalas, marble. You’ll get the hang of the timing faster than you think.
Save your favorites, practice on one hand first, and don’t stress about making it perfect. Half the charm of DIY stamping is the tiny imperfections that make every mani feel like yours.