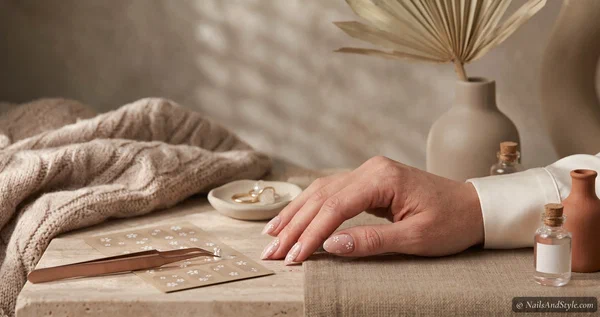
Painted nail art is gorgeous — but not all of us have the steady hand (or the spare hour) to freehand a tiny flower without it turning into a smudge. That’s the gap nail stickers fill so neatly. You peel, you press, you seal, and suddenly your nails look like you booked an appointment. You didn’t. You did it on the couch.
Here’s the thing though: “nail stickers” isn’t one product. It’s a whole family — flat decals, full wraps, those glossy gel strips everyone’s obsessed with, 3D charms, the lot. And they don’t all work the same way. So before you buy a random set and wonder why it peeled by lunch, let’s sort out what’s what.
This is the full 101. What they are, every type worth knowing, how to put them on so they actually last, how to get them off without wrecking your nails, and how they stack up against press-ons. Short nails, medium nails, zero experience. You’re covered.
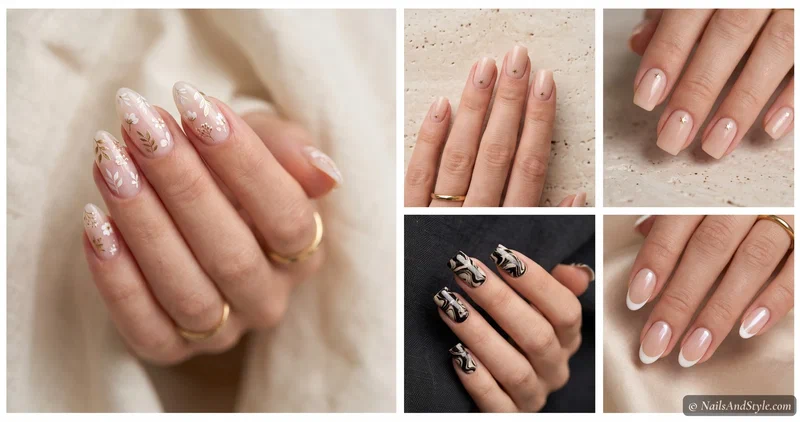
What You’ll Need to Get Started#
Barely anything, honestly. The stickers do most of the work — the rest is just prep and sealing. Here’s the little starter kit that covers every type:
- Nail stickers, decals or wraps — a starter set — grab one with a few size options so you can match every nail
- Base coat — gives the sticker a smooth surface to grip, which it grabs far better than bare nail
- Glossy top coat — the make-or-break step — seals the edges so nothing lifts
- Alcohol prep pads — wipe every trace of oil off your nails first, or everything peels early
- Wooden cuticle stick — to press stickers down flat and tuck the edges without smudging
- Nail file — to trim wraps cleanly at the tip
- Cuticle oil — for after removal, since acetone leaves nails thirsty
Most sticker kits toss in a mini file and a wooden stick, so peek in your box before you buy extras. The top coat is the one thing I’d never skip — I’ll explain why in a bit.
What Are Nail Stickers, Exactly?#
At the simplest level, nail stickers are decorative art on an adhesive backing that you stick onto your nail instead of painting it on. That’s it. No brushes, no dotting tools, no cleanup around the cuticle with a tiny angled liner.
But the category has stretched way past the little star stickers you might’ve had as a kid. Today it covers everything from delicate single decals to full-coverage wraps to real gel that cures rock-hard under a lamp. Some last a day. Some last three weeks. Knowing the difference is the whole game.
A Few Things to Know Before You Buy#
- Match the size to your nail. Most sets come in a range of widths — pick one a hair smaller than your nail bed so nothing touches your skin (skin contact is the number-one reason stickers lift).
- Start on clean, oil-free nails. A quick swipe of rubbing alcohol before you apply makes a bigger difference than any fancy product.
- Base coat and top coat aren’t optional. The base gives the sticker something to grab; the top coat locks it down. These two matter more than which brand of sticker you bought.
- Simple wins at first. One accent nail beats ten fiddly decals your first time out. Build up once you’ve got the feel.
The Main Types of Nail Stickers#
Six broad kinds, and they’re genuinely different animals. Here’s how to tell them apart — and which one fits the look you’re after.
Peel-and-Stick Nail Decals#
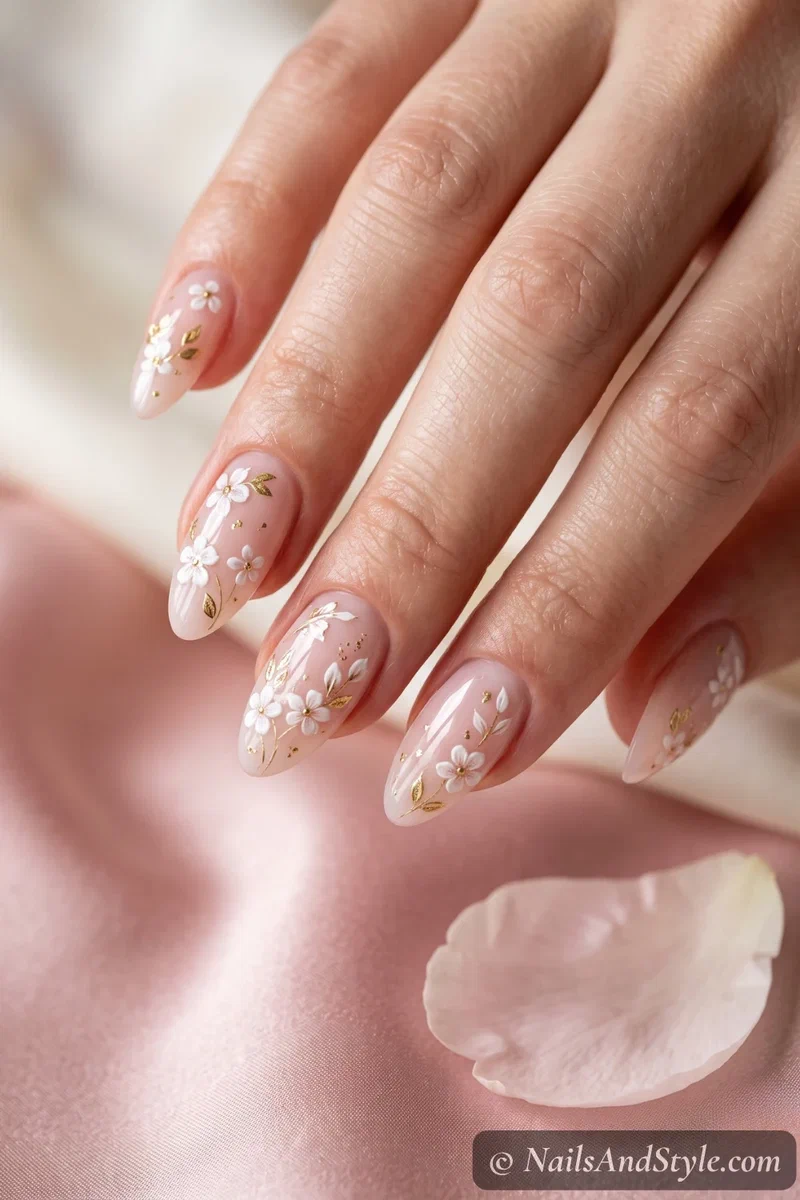
The ones most people picture first. Thin adhesive art — flowers, stars, hearts, little abstract squiggles — that you peel off a sheet and press straight onto a dry painted nail. No water, no lamp, no skill whatsoever. They look sweet as a single accent or scattered lightly over a milky base, and they’re the gentlest possible way into nail art. (Feeling crafty? You can even make your own nail stickers with a printer or a Cricut.)
Full-Nail Wraps & Polish Strips#
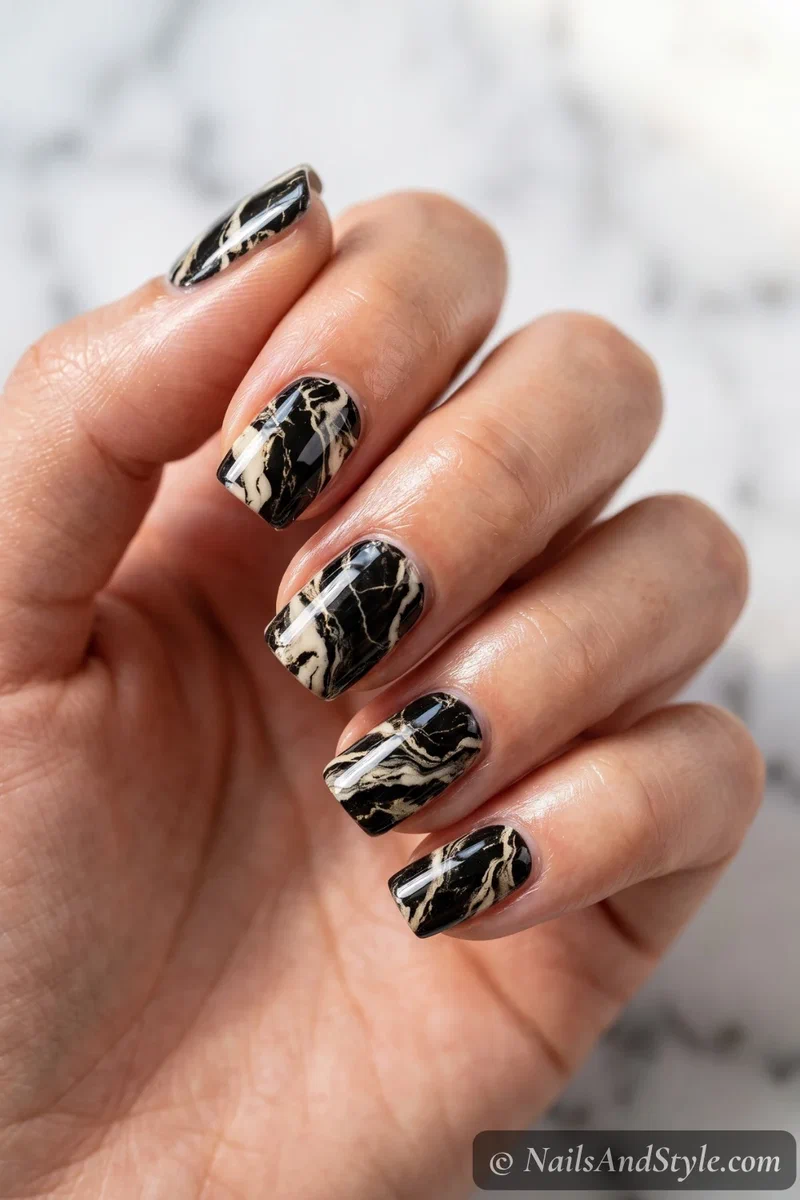
Instead of one small motif, these cover the entire nail with a printed design — marble, leopard, florals, glitter, solid color, whatever you like. The older-school versions are dry polish strips (basically a sheet of dried polish on an adhesive backing) that you stretch on and file off at the tip. Five-minute full look, no drying time. The catch: cheaper wraps can lift early if you skip the top coat, so don’t.
Semi-Cured Gel Strips (the ones everyone’s talking about)#
These are the upgrade, and they deserve the hype. They’re real gel, cured about halfway at the factory, so they arrive soft and bendy, mold perfectly to your nail, then harden all the way under an LED lamp into a glossy manicure that genuinely holds for two-plus weeks. They cost more and need a lamp — but the payoff is salon-level shine and wear from your couch. If this is the type calling your name, I wrote a full step-by-step on applying semi-cured gel strips, plus a roundup of the best semi-cured gel strips worth your money.
Water Decals#
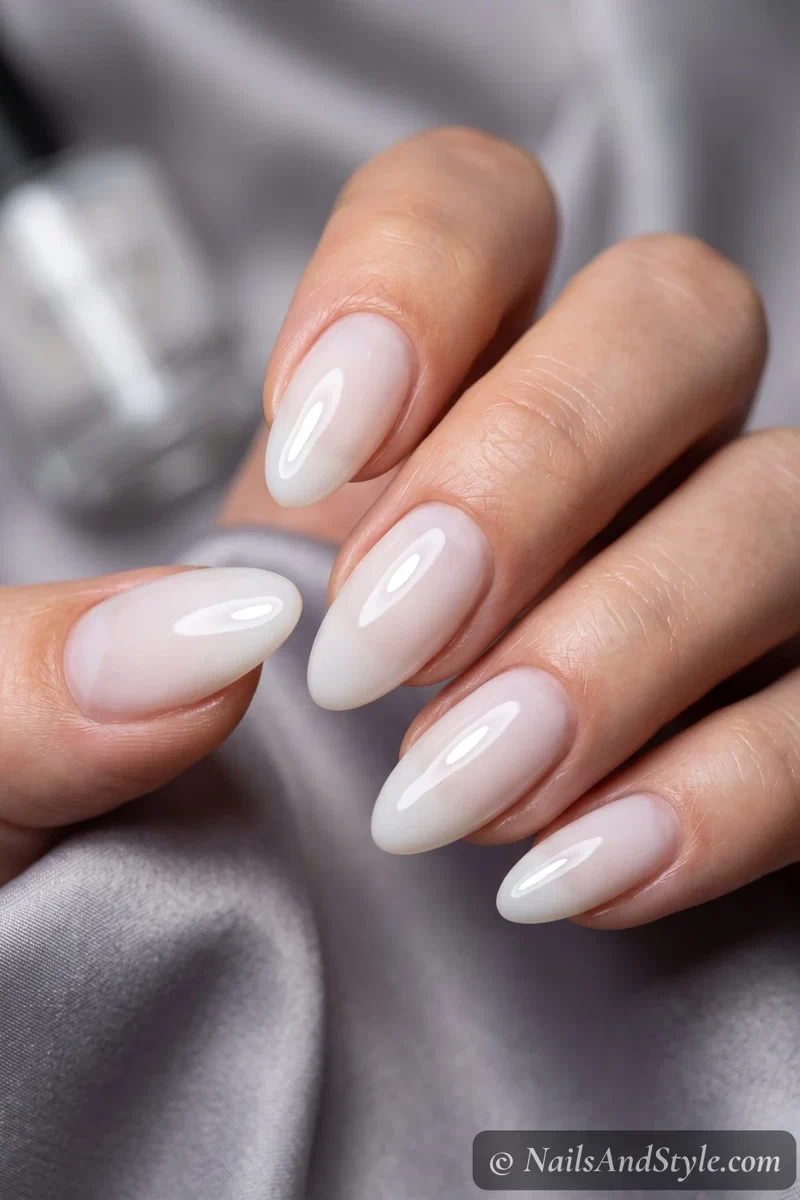
A little old-school, but still unbeatable for fine, detailed art. You cut out the design, dip it in water for a few seconds, slide it off its paper backing, and lay it onto your nail. Fiddlier than peel-and-stick, no question — but the designs can be incredibly delicate, like tiny lace, script, or hand-drawn florals you’d never manage freehand. Seal them well, because on their own they’re fragile.
3D Stickers & Charms#
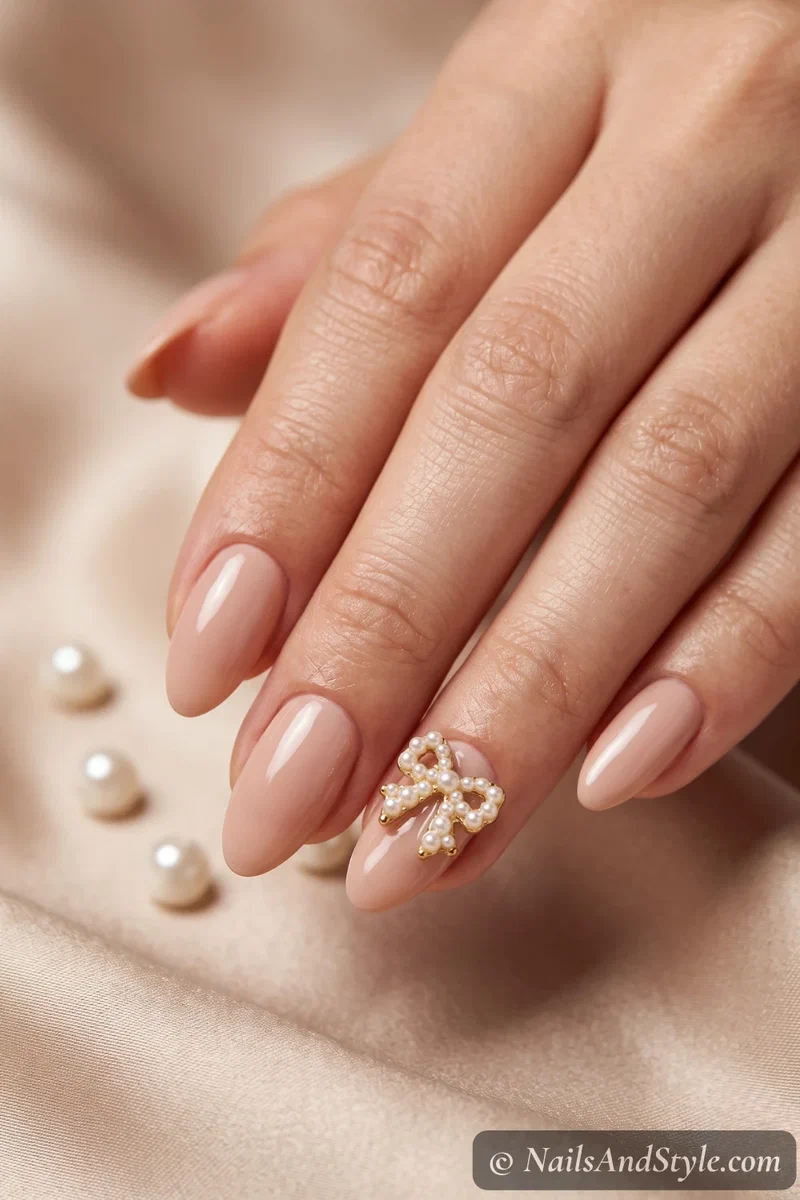
When flat just won’t cut it. These bring actual texture — raised bows, pearls, rhinestones, metal studs, dried-flower flakes. You set them into a little bead of gel or top coat and seal so they don’t ping off mid-day. A word of warning from experience: a little goes a long way. One charm near the cuticle nearly always looks better than a nail crowded with ten.
French Tip & Shape Guides#
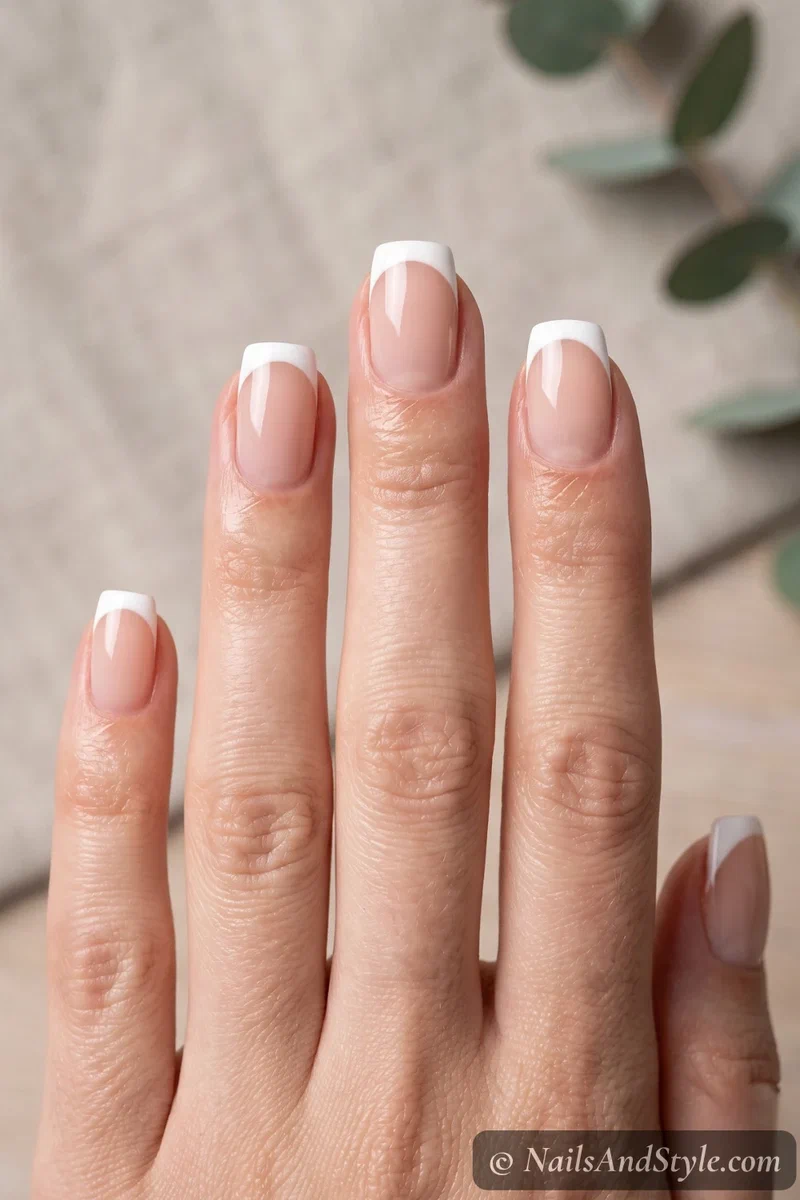
Technically stencils rather than stay-on stickers, but they earn their spot here because they do the hard part for you. You press the curved guide down, paint over the exposed tip, then peel the guide away for a crisp, clean line — no shaky freehand, no redo. Same trick works for half-moons, geometric color-blocking, and swirls.
Quick Pick: Which Type Should You Try?#
| If you want… | Reach for… |
|---|---|
| Zero effort, just cute accents | Peel-and-stick decals |
| A full printed design, fast | Full-nail wraps |
| Salon gel that lasts 2+ weeks | Semi-cured gel strips |
| Crisp French tips without freehand | French tip guides |
| Texture and a little drama | 3D stickers & charms |
How to Apply Nail Stickers, Step by Step#
This is the universal method — it works for decals and wraps alike. Get the prep right and they hang on. Rush it, and they’ll lift by dinner. So don’t rush it.
- Prep like you mean it. Wash your hands, push back your cuticles, lightly buff the shine off, then wipe every nail with an alcohol prep pad. Any leftover oil is the top reason stickers peel — this step is non-negotiable.
- Lay down a base. A clear base coat (or a base color, if you want one) gives the sticker a smooth surface to grip. Let it dry fully first.
- Size it up. Hold each sticker or wrap against your nail and pick one slightly smaller than your nail bed. A hair of a gap on each side is exactly right; touching the skin is what lifts.
- Peel and place. Lift it gently — tweezers help — and try not to touch the sticky side. Line it up leaving a tiny gap at the cuticle, then lay it down.
- Smooth from the middle out. Press from the center toward the edges with the wooden stick or your finger, chasing out every air bubble. Work it into the sides and down the free edge. Smooth equals long-lasting.
- Trim and file the tip. For wraps, fold the excess over the tip and file downward in one direction for a clean, sealed edge.
- Top coat everything. One or two thin layers, wrapping right over the tip. This is the step that stops the edges lifting. Let it dry fully before you touch anything.
That’s the flat-sticker method. Gel strips add a lamp-curing step — here’s the full gel version — but the prep-and-seal logic is identical.
Nail Stickers on Short Nails#
Good news if your nails run short: stickers might actually suit you better than they suit the long-nail crowd. Small motifs and thin lines read clean on a short nail, and there’s simply less surface for an edge to catch and peel. Lower maintenance, longer wear. You know that feeling when a trend seems built for someone else’s nails? This one isn’t.
A Few Short-Nail Ideas#
- A single small decal on one accent nail — reads polished, never crowds the nail.
- Skinny French guide tips — a thin line genuinely tricks the eye into seeing more length.
- Negative-space stickers — let bare nail show around a small motif for an airy, modern look.
- Tiny star or heart clusters near the cuticle — draws attention up the nail instead of across it.
- Full wraps sized down and filed at the tip — a whole printed design with none of the painting.
How to Make Nail Stickers Last#
Want more than a day or two out of them? These little habits are what separate a set that lasts from one that curls up by morning:
- Prep bone-dry, oil-free nails. No lotion, no cuticle oil right before. Wipe with alcohol until they squeak.
- Cap the free edge. Wrap the top coat right over the tip — water sneaks in from the edges first.
- Size down, never up. A sticker touching your skin will always lift sooner. Leave the tiny gap.
- Re-seal every few days. A fresh swipe of top coat over the tips buys you extra days.
- Wear gloves for chores. Hot water and cleaning products loosen the adhesive fast.
- Skip long soaks the first day. Give everything time to set before a bath or a pool.
- Don’t pick at a lifted corner. Press it back down with a dot of top coat instead of peeling.
Want the deep-dive version? Here’s how to make nail stickers last two-plus weeks, prep tricks and all.
How to Remove Nail Stickers Safely#
Whatever you do — please don’t peel them off dry. I know a lifted corner is basically begging to be picked. But peeling drags a thin layer of your natural nail along with it, and that’s where nearly every “stickers ruined my nails” story actually begins.
Do this instead: soak a cotton pad in acetone (or nail polish remover), press it onto the nail, wrap each finger in a scrap of foil, and wait ten to fifteen minutes. The sticker goes soft and slides off with a wooden stick — no force. Gel strips come off the same gentle way. Finish with cuticle oil, because acetone is drying. The full step-by-step lives in how to remove nail stickers without damage.
Do Nail Stickers Damage Your Nails?#
Short answer: on their own, no. Flat decals and wraps just sit on top of the nail with mild adhesive — no drilling, no harsh glue, none of the soak-off chemicals a full acrylic set involves. The horror stories almost always trace back to one thing, and it’s the same thing every time: peeling them off in a hurry.
Remove them gently and your natural nails stay perfectly healthy underneath. Give them an occasional break and a little cuticle oil, same as you would after any manicure, and you’re golden. I get into the honest, fuller answer in do nail stickers damage your nails.
Nail Stickers vs Press-Ons vs Gel Strips#
People mix these three up constantly, so here’s the quick-and-dirty version. Nail stickers are flat art or thin wraps that lie flush on your natural nail. Press-ons are full plastic nails you glue over your own for instant length and shape. Semi-cured gel strips are the in-between — flat like a sticker, but real gel that cures hard and wears like a proper gel mani.
So which do you want? Craving length? Press-ons. After a design with zero painting? Stickers. Want durability without a plastic tip on top? Gel strips. I lay it all out side by side in nail stickers vs press-ons vs gel strips — and if press-ons are your lane, here’s making press-ons look natural and getting them to stay on.
Oh, and if it’s October when you’re reading this? Halloween nail stickers are the fastest festive nails you’ll ever do.
Quick FAQ#
Are nail stickers good for beginners?#
They’re honestly the best starting point there is. Peel-and-stick decals and wraps need zero brush skills — press, smooth, seal, done. Start with a single accent nail before you commit to all ten, and you’ll get the feel in one sitting.
How long do nail stickers actually last?#
Depends entirely on the type. Flat decals and budget wraps give you a few days to about a week; sealed well, a bit longer. Semi-cured gel strips are the marathon runners at two-plus weeks. A solid top coat and oil-free prep matter far more than the price tag.
Can I use nail stickers on short natural nails?#
Absolutely — and they often look better on short nails. Small designs don’t crowd the nail, and there’s less edge to lift, so they stay put longer. Just size the sticker down or trim any overhang at the tip before you seal it.
Final Thoughts#
The real magic of nail stickers is how forgiving they are. No steady hand, no drying-time smudges, no salon appointment — just peel, press, seal, and go about your day. Whether you start with a single flower decal or dive straight into glossy gel strips, there’s a version that matches your skill level and your Sunday-afternoon patience.
Save the types that caught your eye, bookmark the tutorials linked through this guide, and pick one set to try this week. Start simple. Your future self, quietly admiring a full set of art she didn’t have to paint, will thank you.