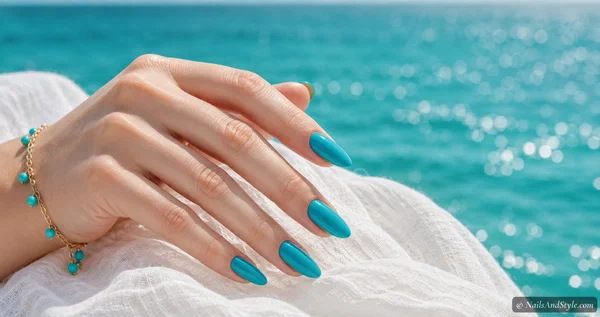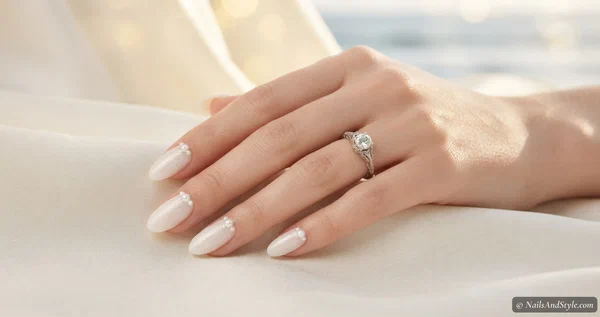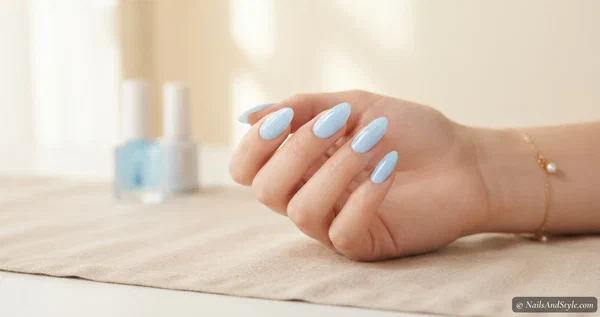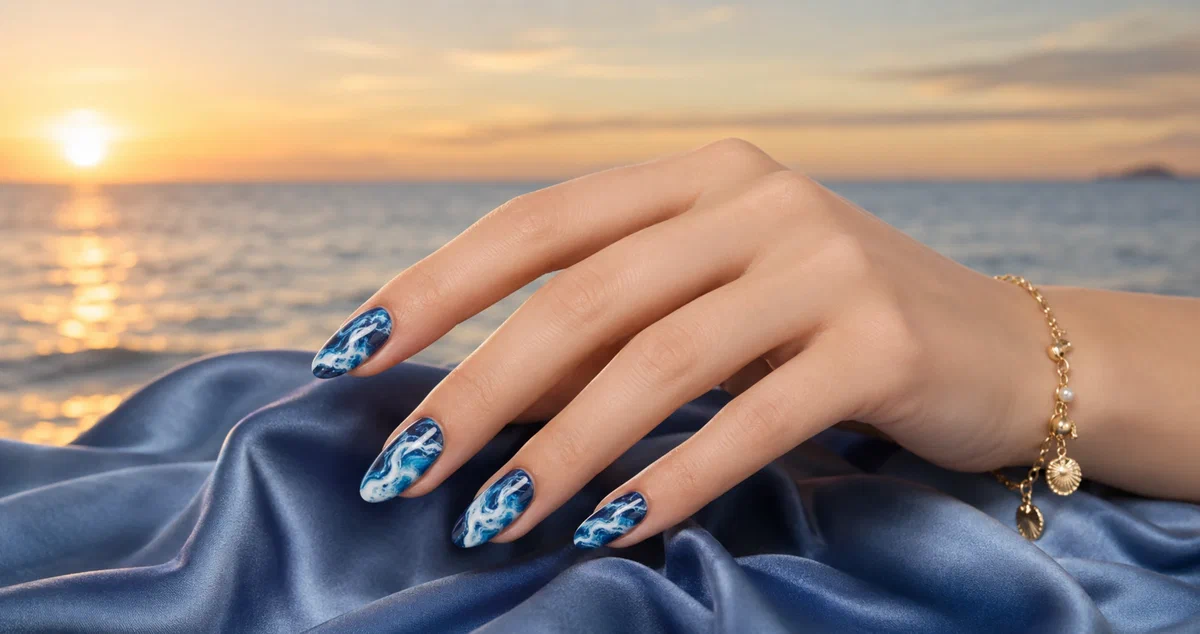
There’s something about ocean-inspired nails that just hits differently when it’s warm out. The swirls, the marbled blues, that dreamy watercolor bleed — ocean wave nails have been all over my feed this summer. This post breaks down 15 looks you can actually pull off at home on short or medium nails, with tools you probably already own.
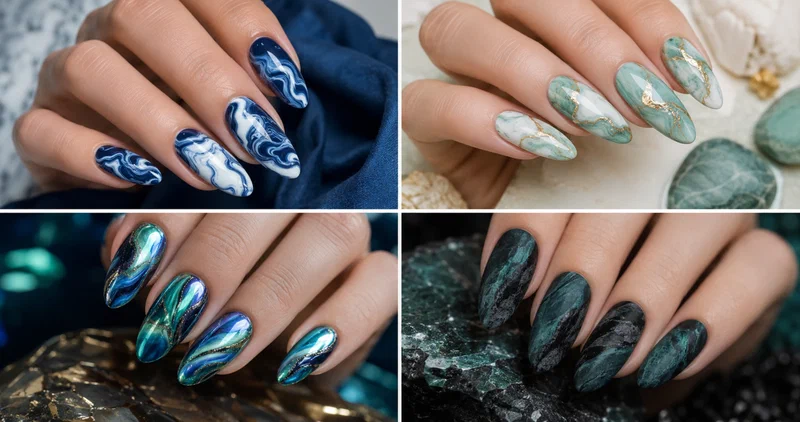
Why Ocean Nails Are the Summer Mood#
Ocean nail art used to mean literal painted waves. Now it’s all marble swirls, watercolor bleeds, chrome shifts, and abstract textures. Way more wearable.
A Few Things to Keep in Mind Before You Start#
- Start with blues — navy, teal, turquoise, or seafoam depending on your mood
- Skin tone tip — cooler blues pop on warm skin, softer teals flatter cool undertones
- Shape doesn’t matter — round, almond, squoval all work
- Base coat always — blues and greens stain without one
Quick Pick: Which Ocean Wave Design Should You Try?#
| If you’re looking for… | Try these designs |
|---|---|
| Beginner-friendly | Watercolor Ocean Wash, Pearl Ocean Shimmer |
| Short nails | Foam-Tipped French, Sandy Shore Gradient |
| Bold statement | Classic Water Marble, Ocean Chrome Swirl |
| Coastal and modern | Navy Watercolor French, Seafoam Marble |
If you want to explore more in this direction, my blue summer nails post has plenty to dig into.
15 Ocean Wave Nail Designs You’ll Want to Try#
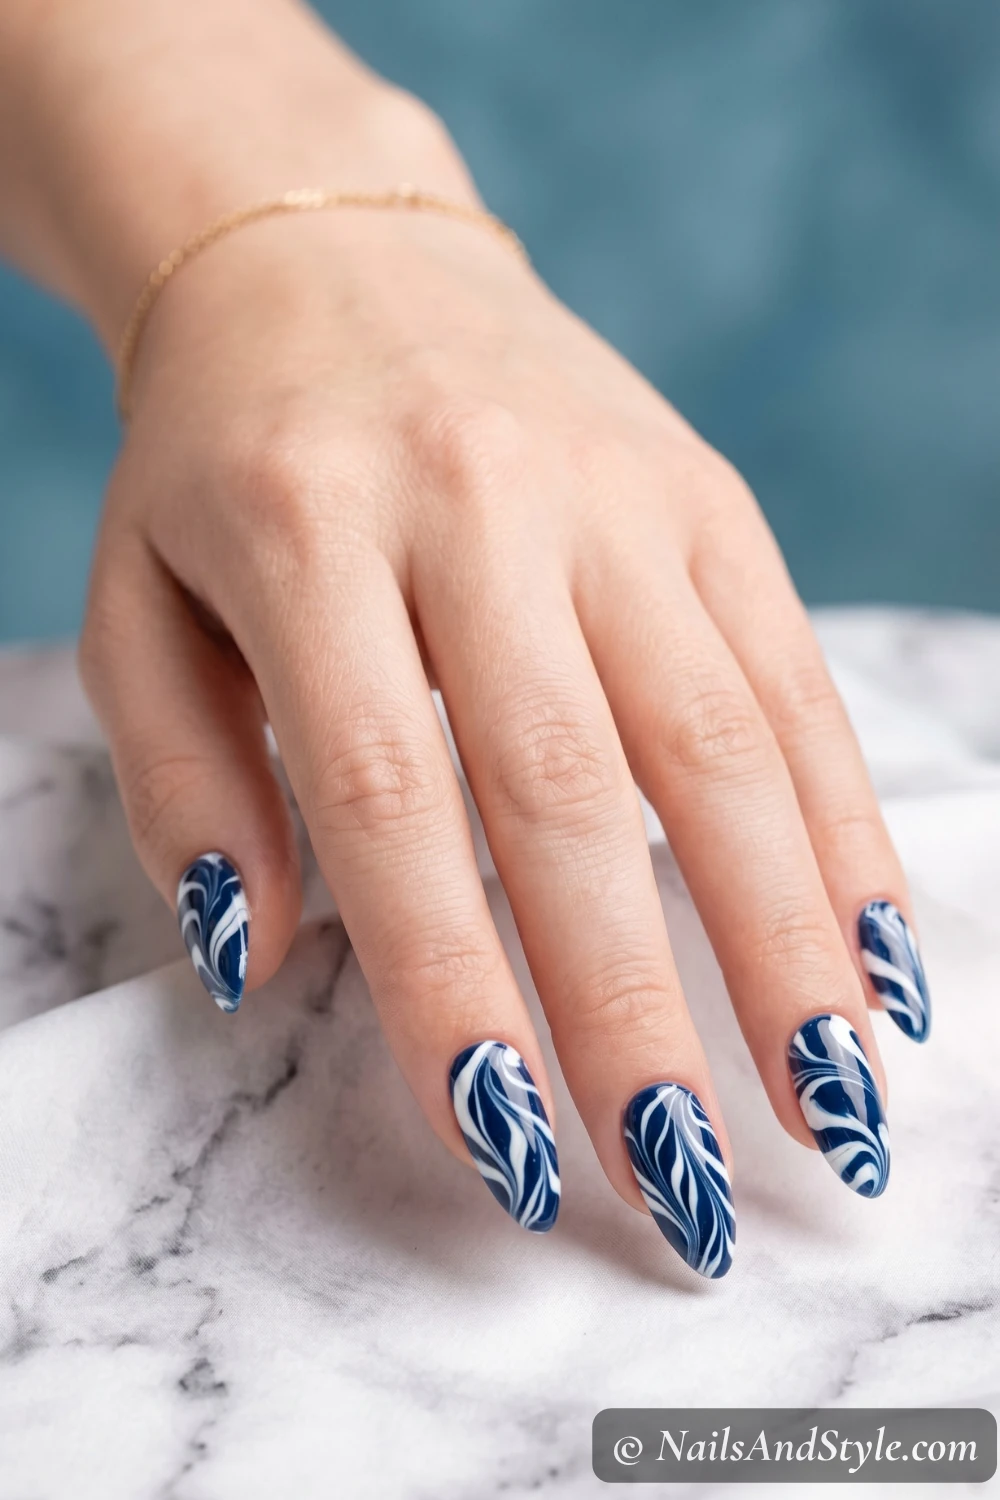
1. Classic Water Marble#
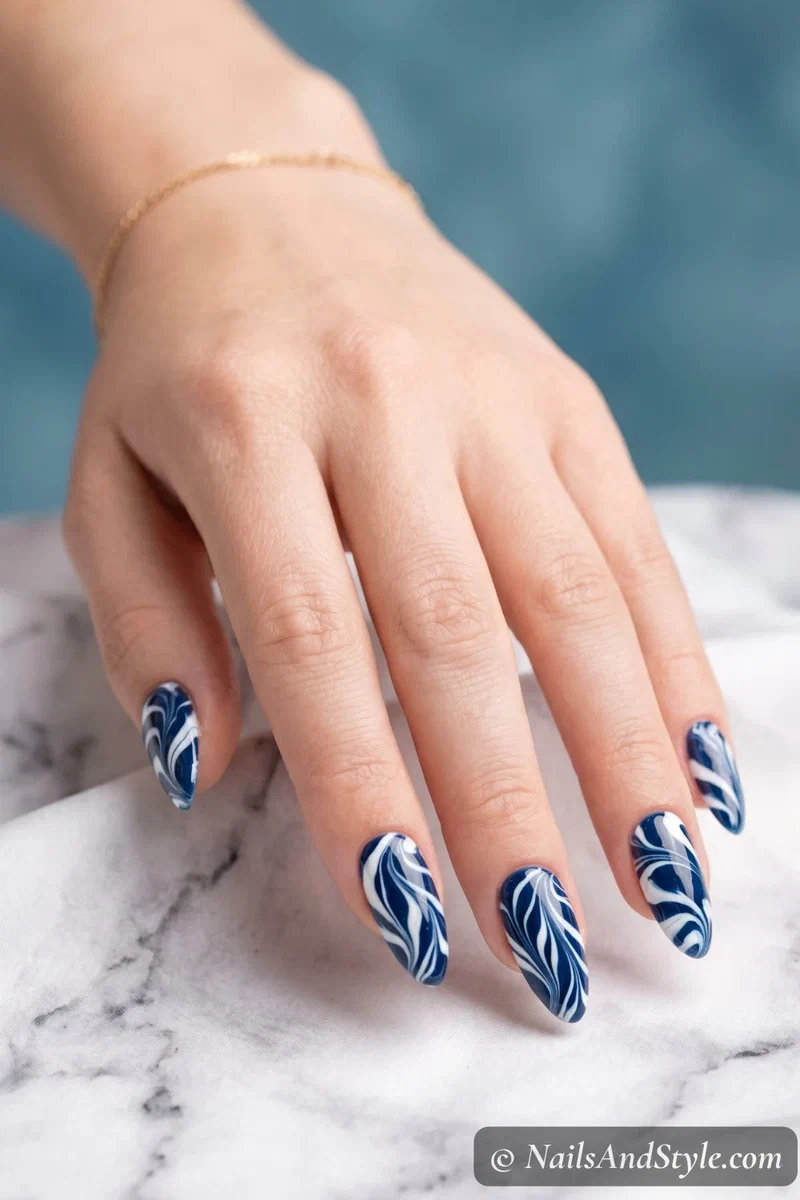
Drop white and navy polish into room-temp water, swirl with a toothpick, and dip your nails in. No two nails come out the same — which is kind of the beauty of it. Glossy top coat to seal.
2. Watercolor Ocean Wash#
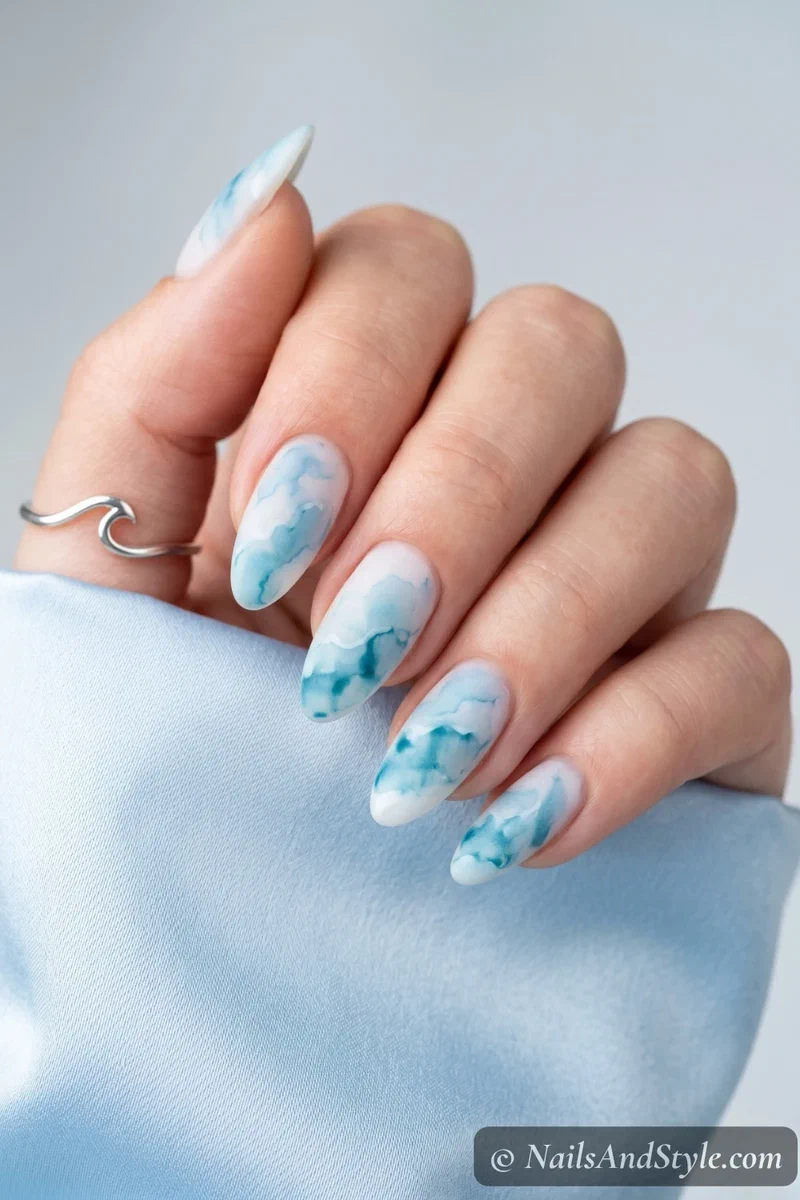
Mix a drop of blue polish with top coat on a palette, then brush loosely over a white base. Build up layers where you want more depth. Matte finish makes this one extra dreamy.
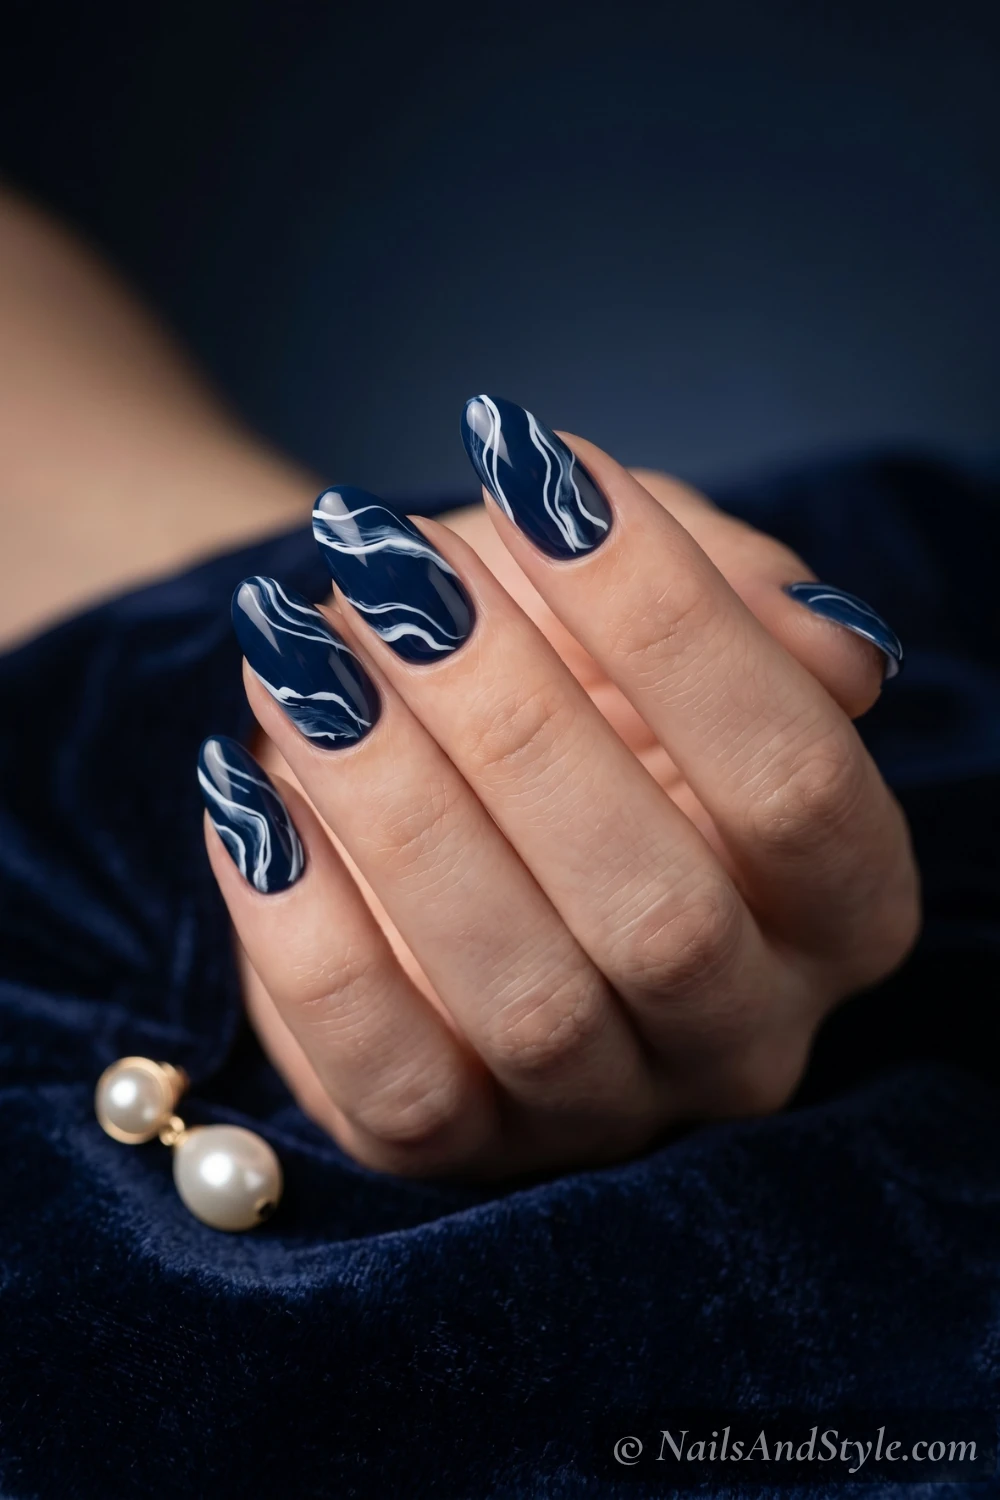
3. Deep Navy Swirl#
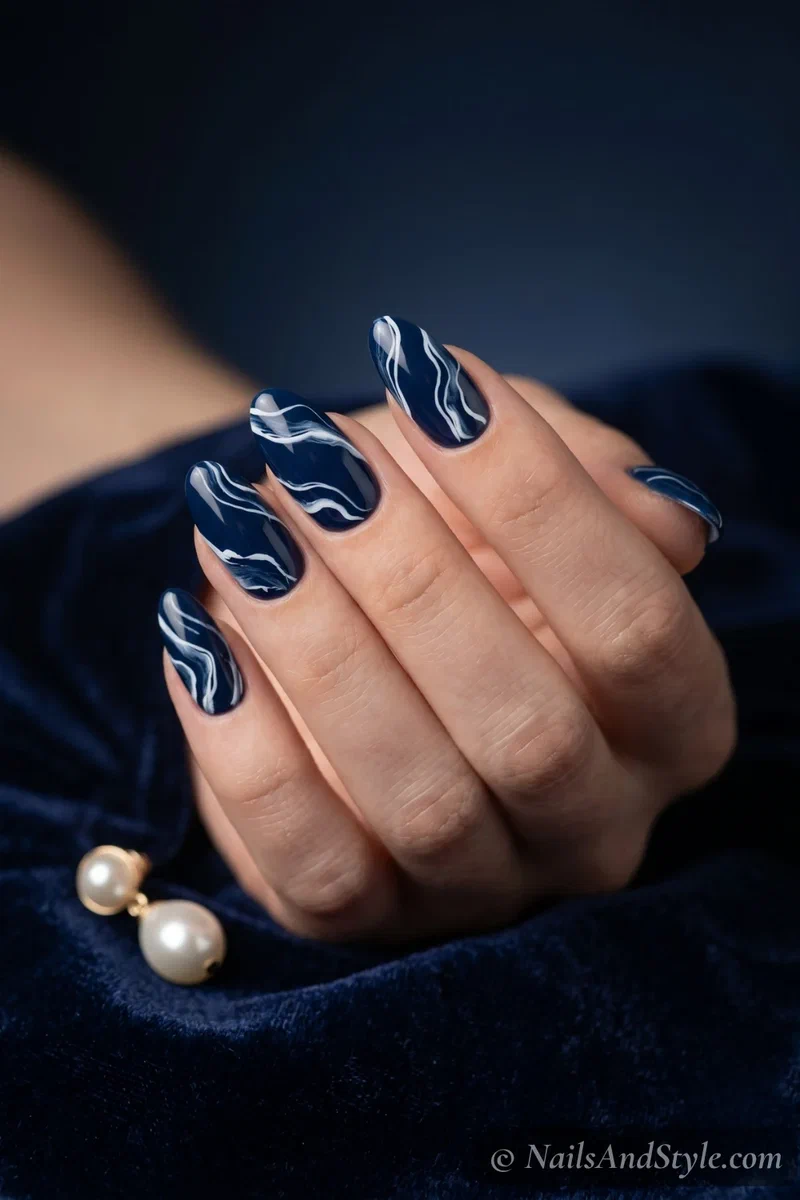
Dark navy base, and while it’s still tacky, draw swirly white lines across each nail with a thin brush. Don’t aim for perfection — the messier, the more organic it looks. Glossy.
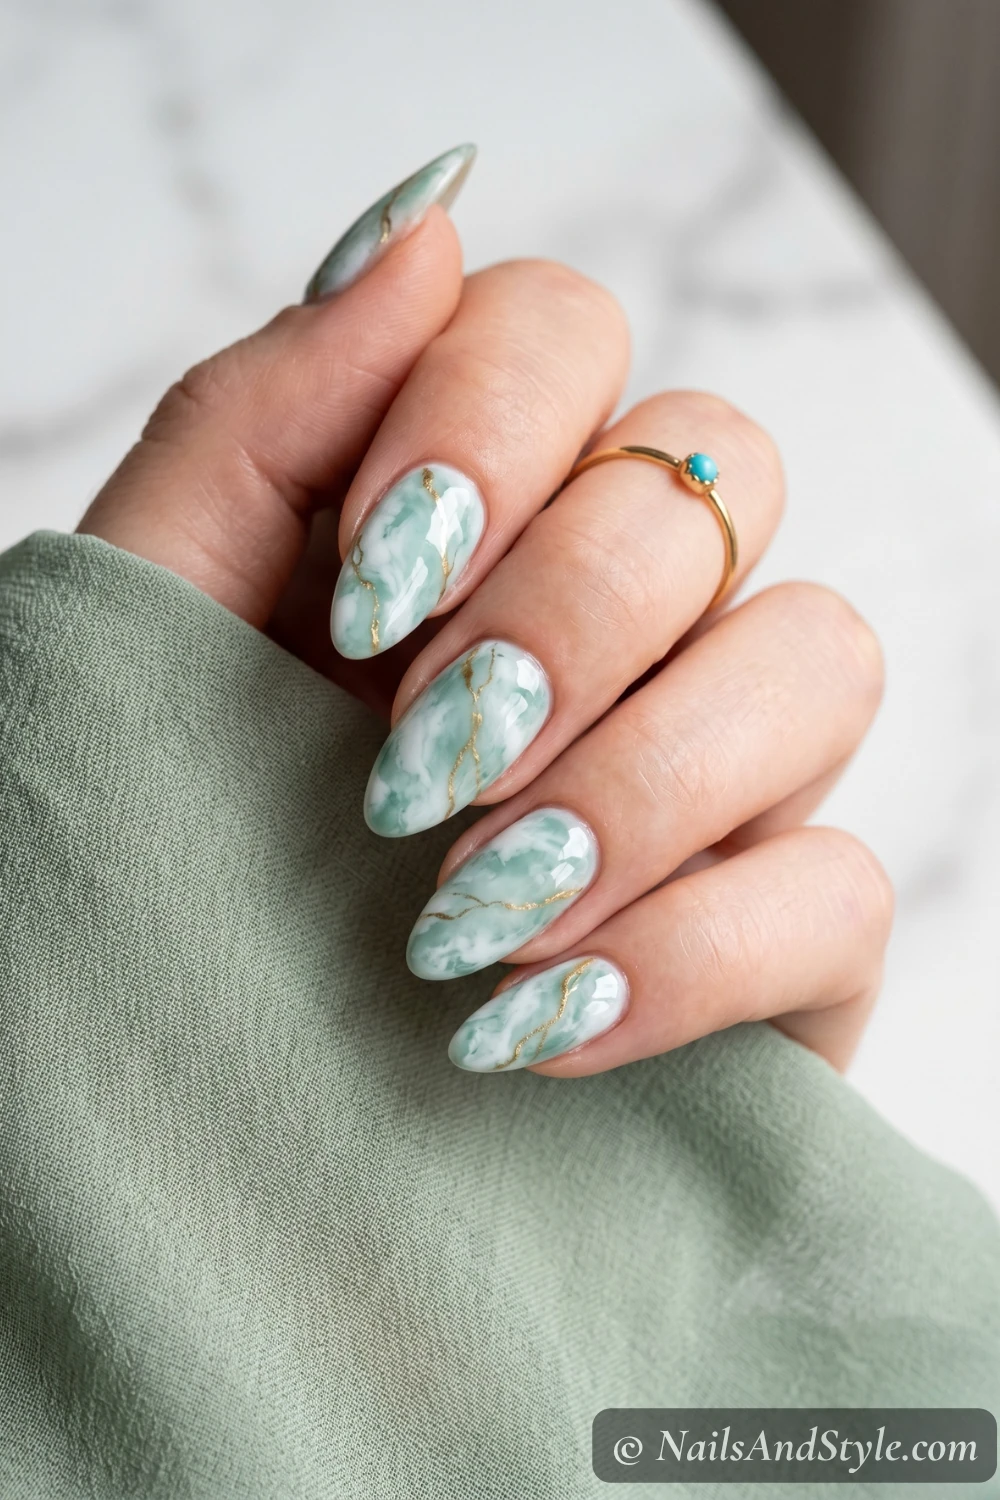
4. Seafoam Marble#
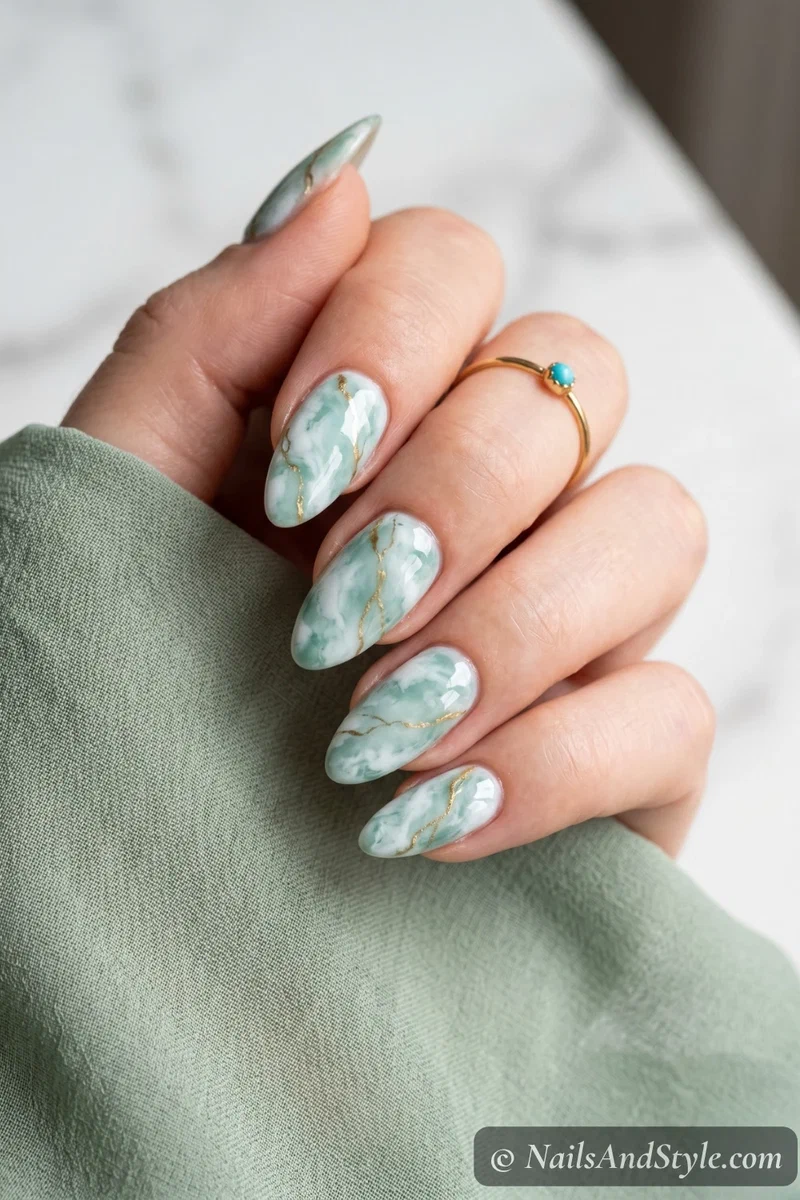
Sponge seafoam green and white together, then dab across each nail for a soft marble blend. A tiny gold vein with a striping brush adds that luxury stone feel. So pretty for brunch or a beach day.
5. Turquoise Watercolor Drip#
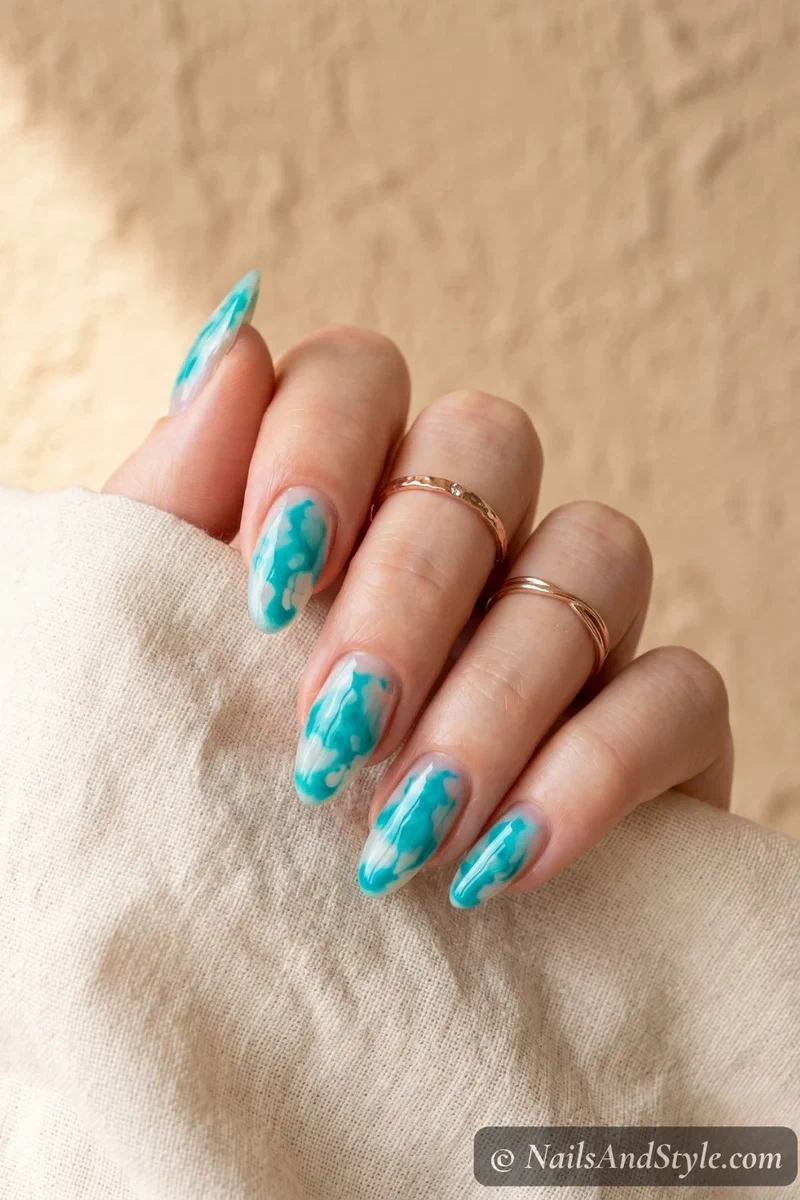
Apply a clear base, then drop turquoise polish from a thin brush and let it spread on its own. Tilt your nail to guide the flow. Unpredictable in the best way. Glossy.
My how to do water marble nails at home post is a great companion read if you’re loving this style.
6. Sandy Shore Gradient#
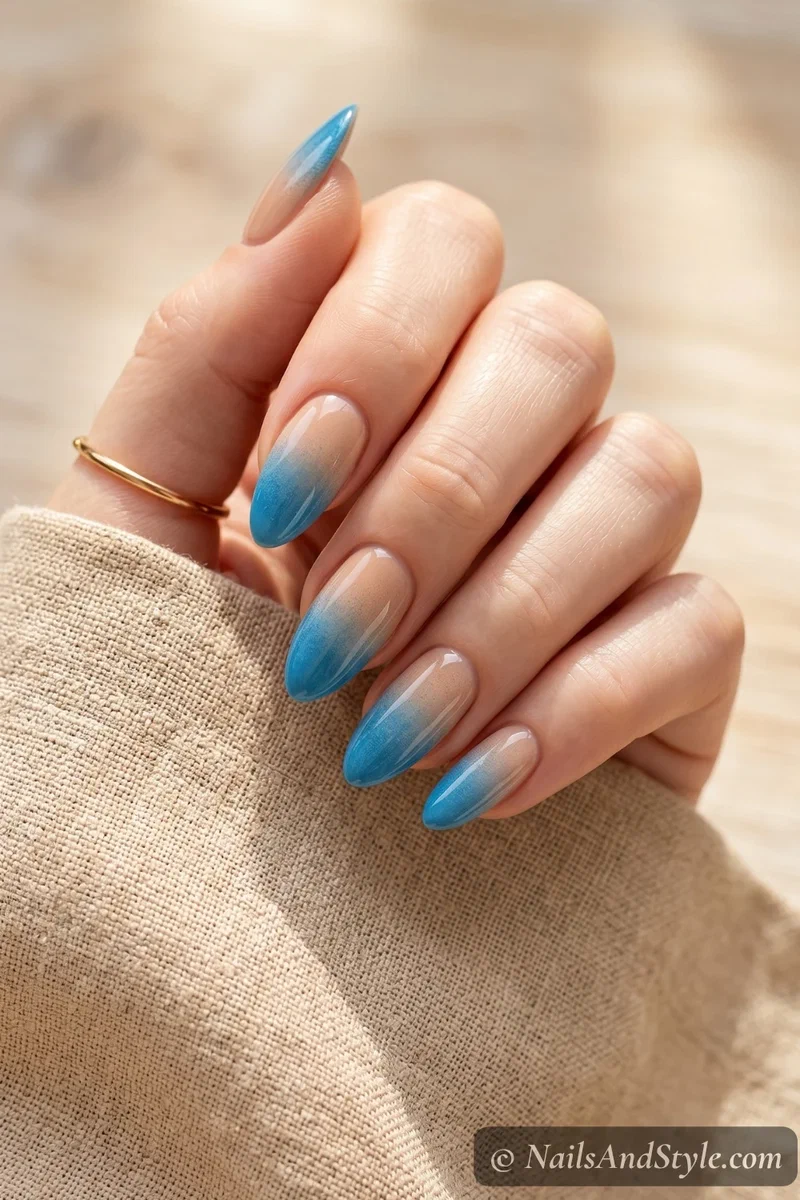
Sponge a gradient from sandy nude at the cuticle to ocean blue at the tips. Looks like the tide meeting the shore and it’s one of the easiest on this list.
7. Ocean Chrome Swirl#
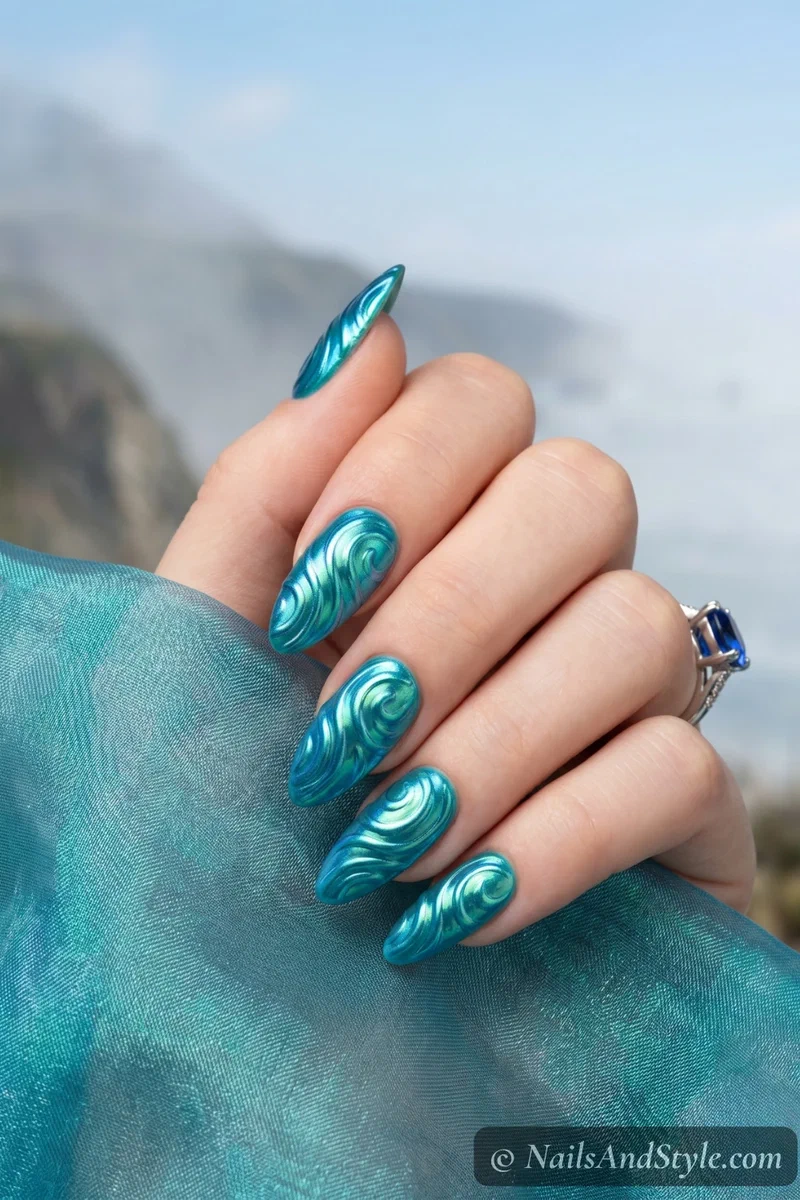
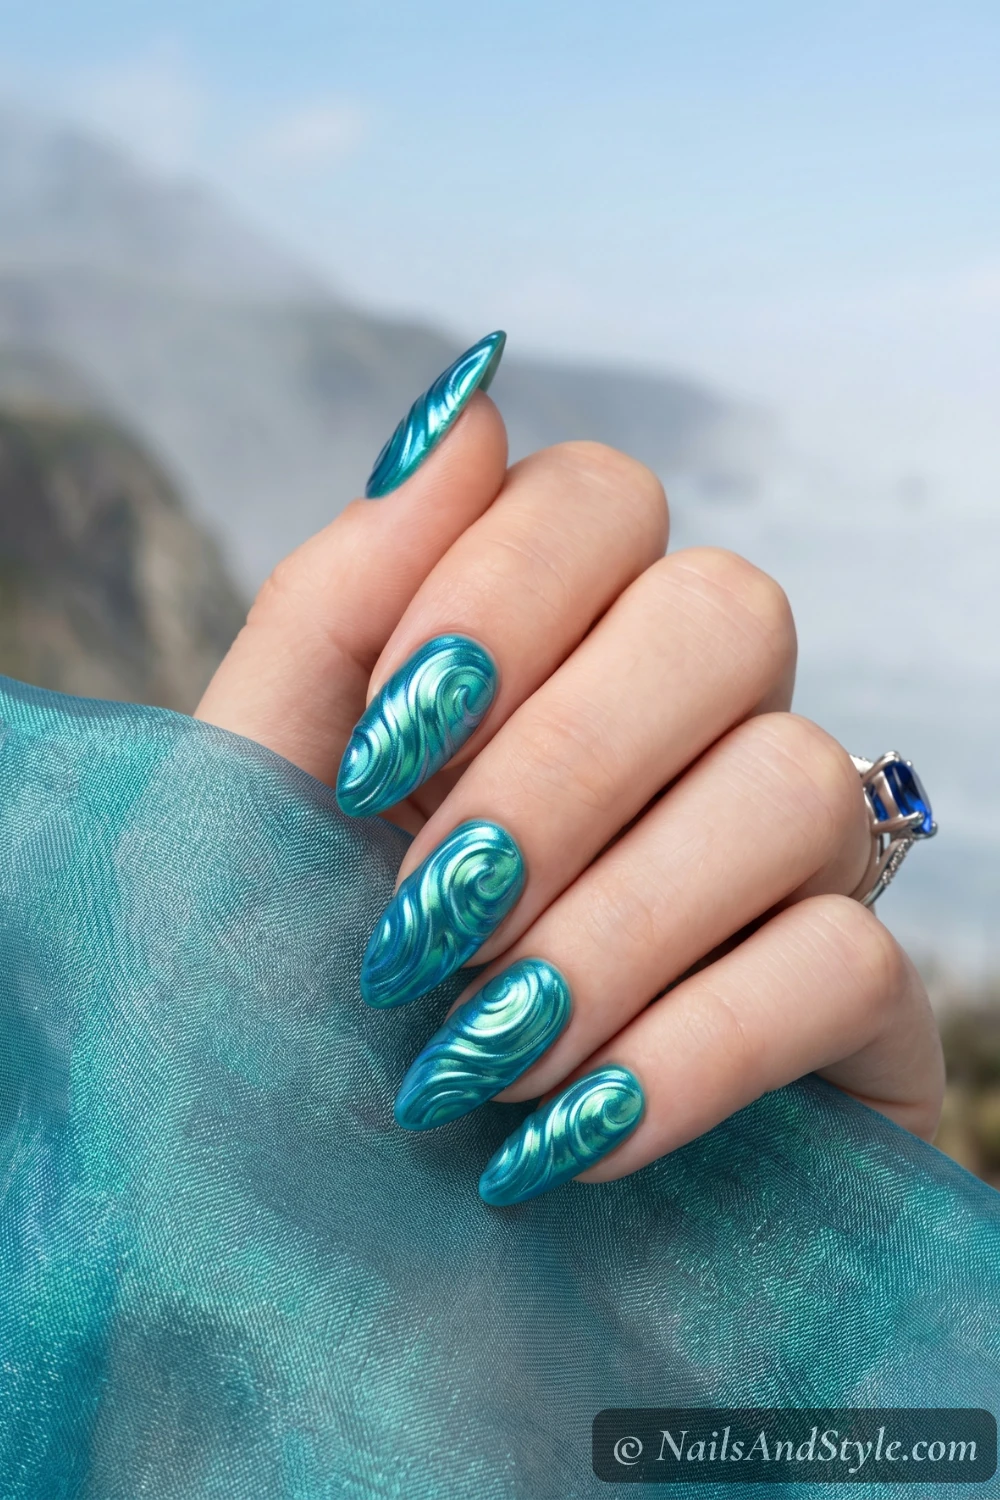
Teal gel base, cured, then rub blue-green chrome powder over the surface. Use a silicone tool to press swirl patterns into a second gel layer before curing. The chrome shifts catch light like actual water. Want to lean all the way into that iridescent shimmer? My mermaid nails post is full of scales, chrome, and pearl looks.
8. Foam-Tipped French#
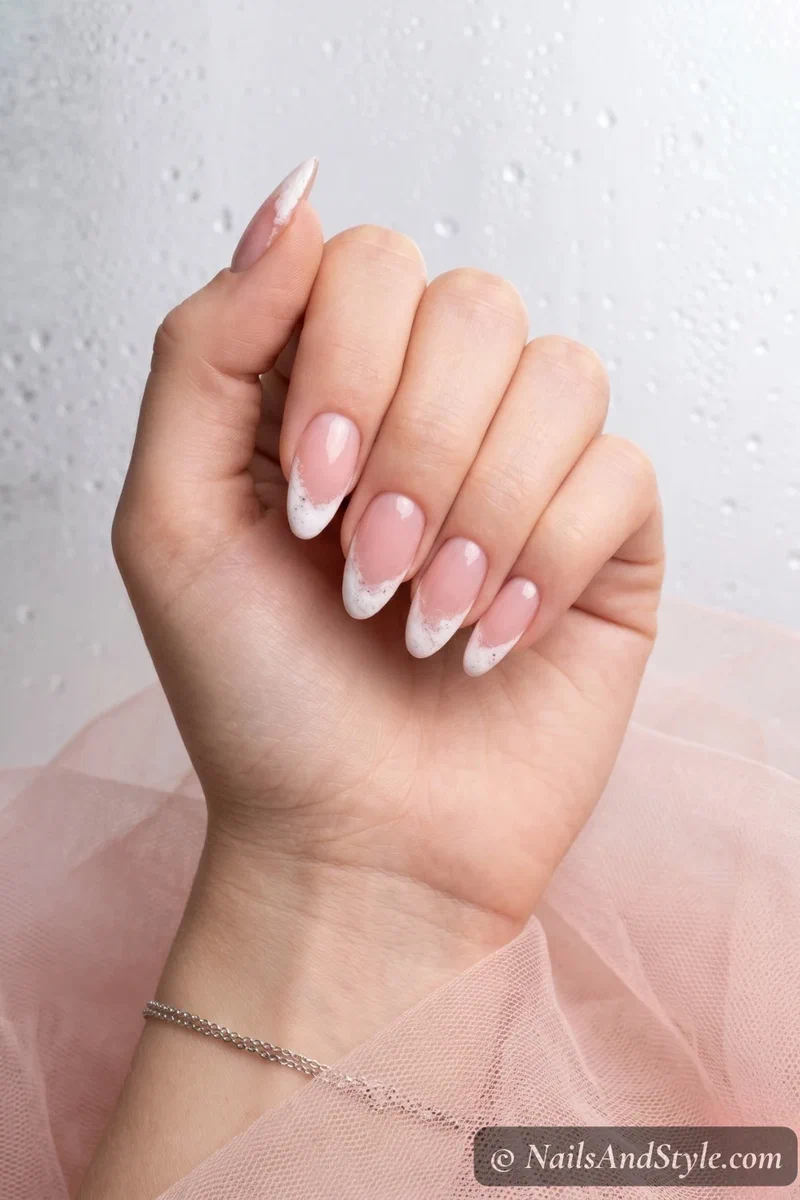
Sponge white polish along the tips in an uneven, foamy pattern — skip the clean French line. Clear or sheer pink base underneath. Looks like seafoam lapping at the shore.
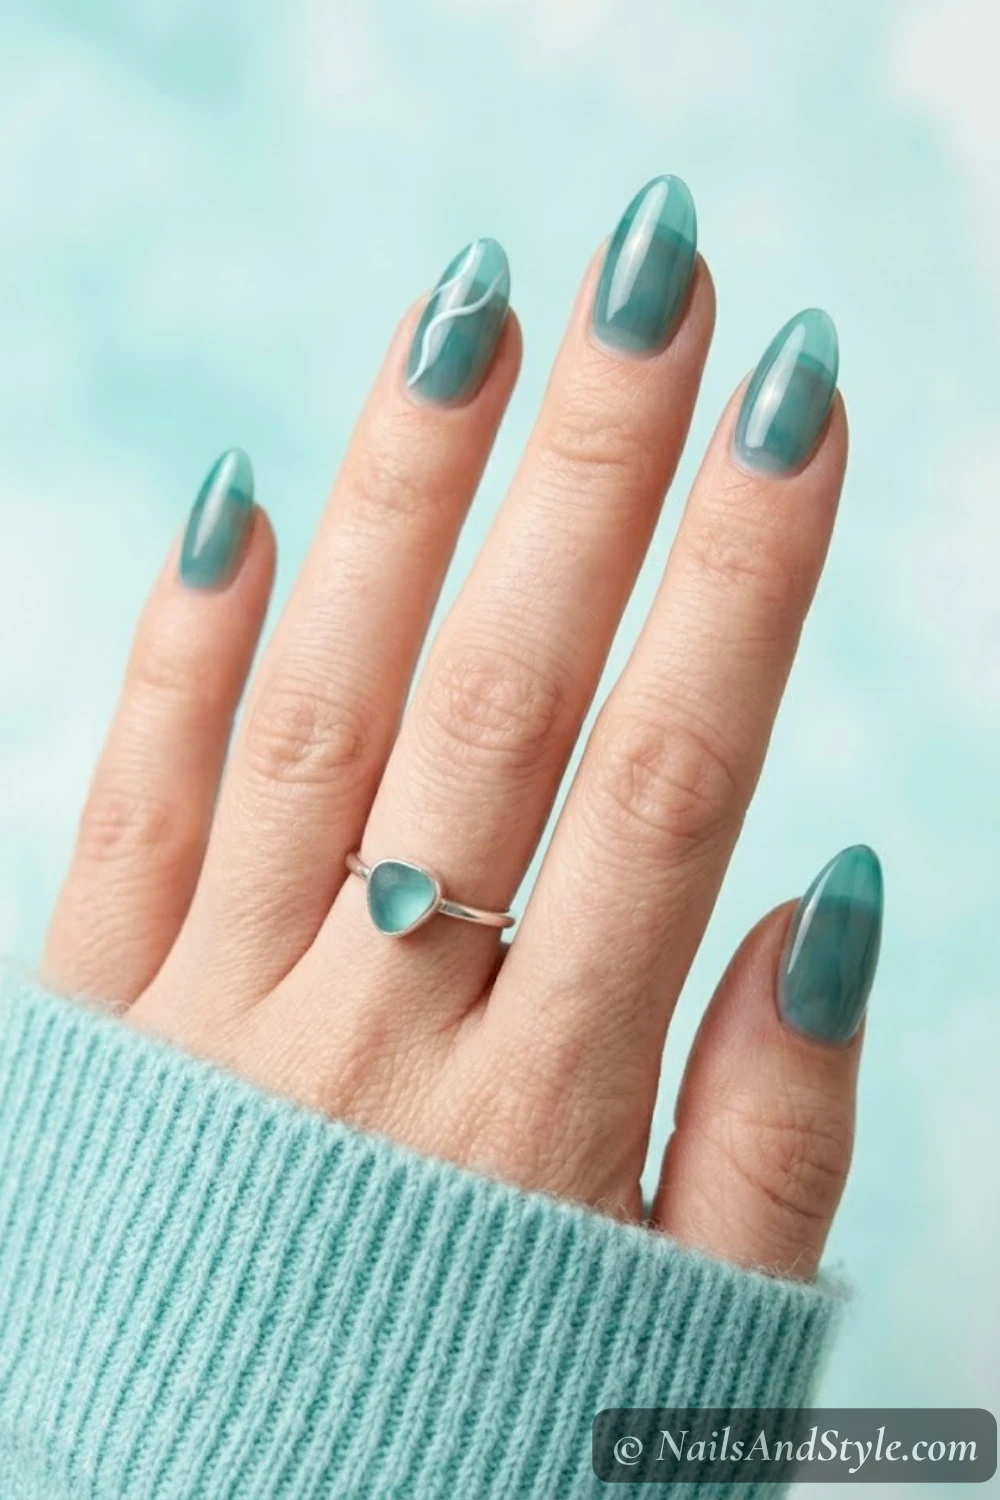
9. Teal Jelly Wave#
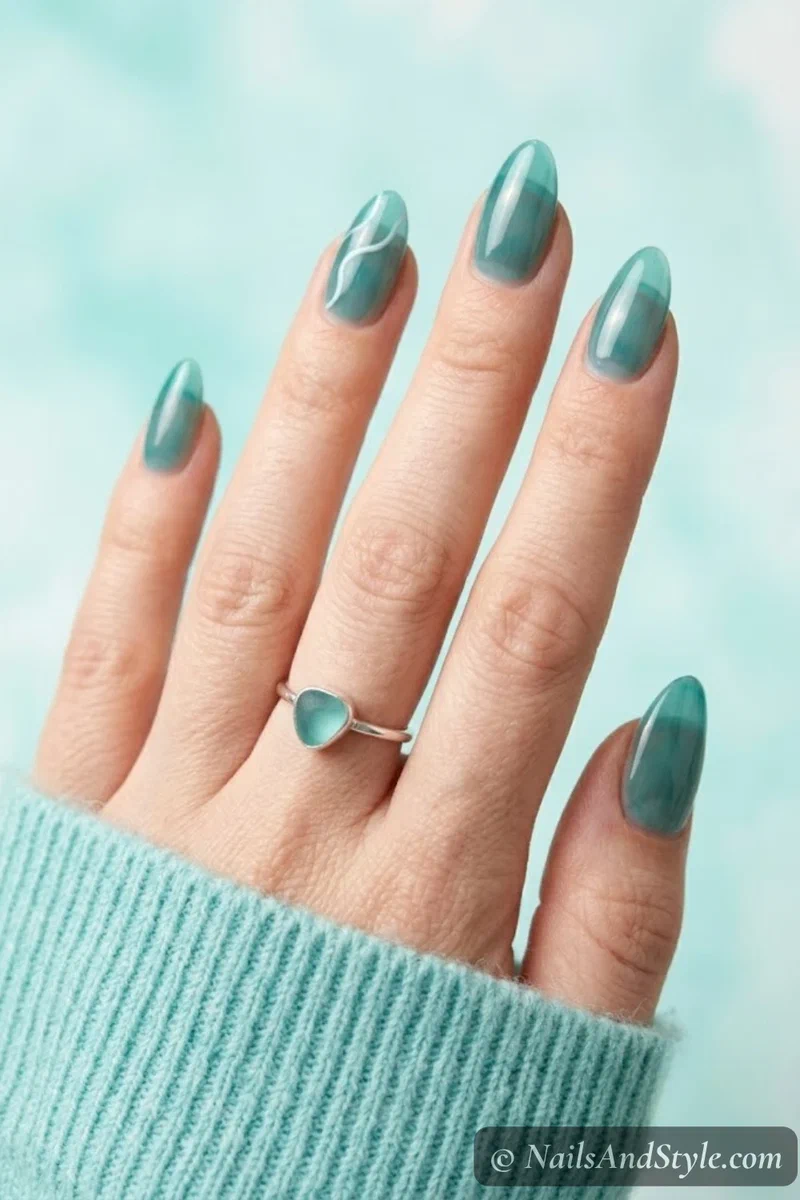
Two coats of sheer teal jelly polish give that see-through ocean glass effect. Add a thin white wavy line on an accent nail with a striping brush. The transparency is everything.
10. Abstract Ocean Slab#
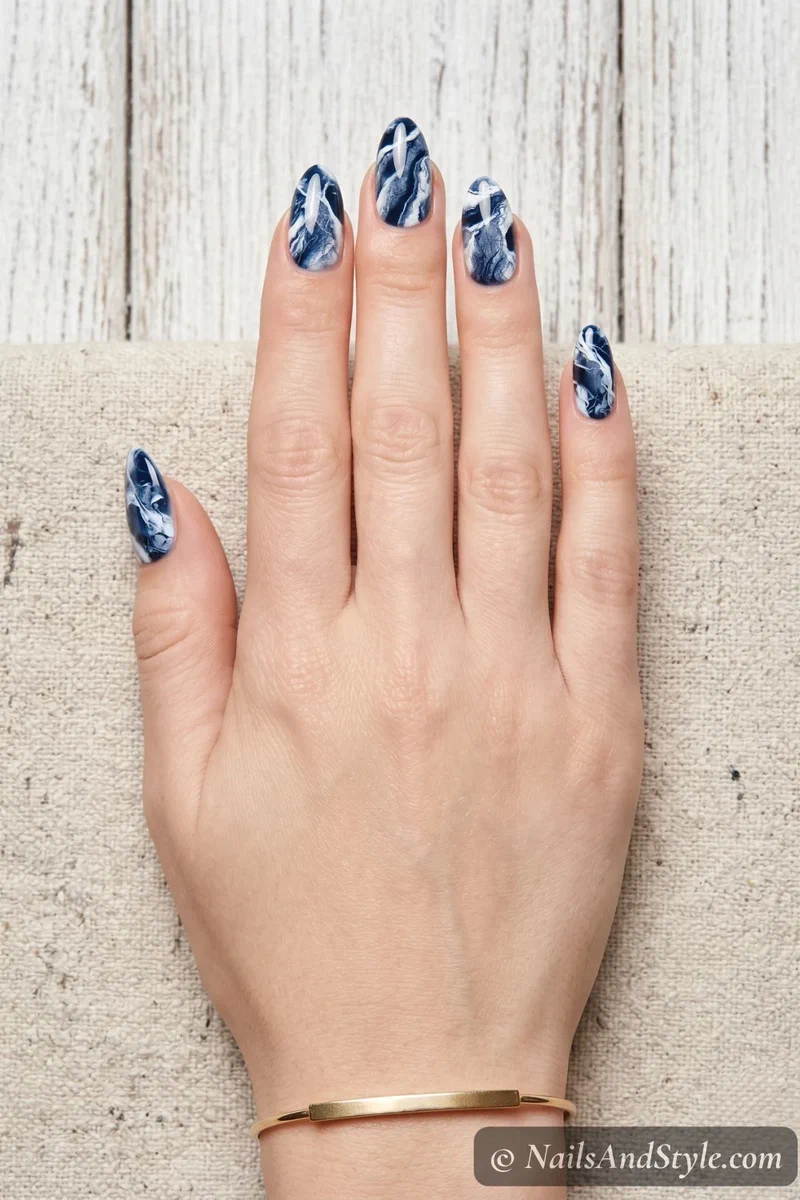
Press crinkled plastic wrap into wet navy and white polish layered on the nail. The texture creates a marbled, geode-like pattern. Peel the wrap off while still wet and top coat right away.
For more ideas like this, check out my chrome nails summer post — worth a scroll.
11. Coral Reef Wave Blend#
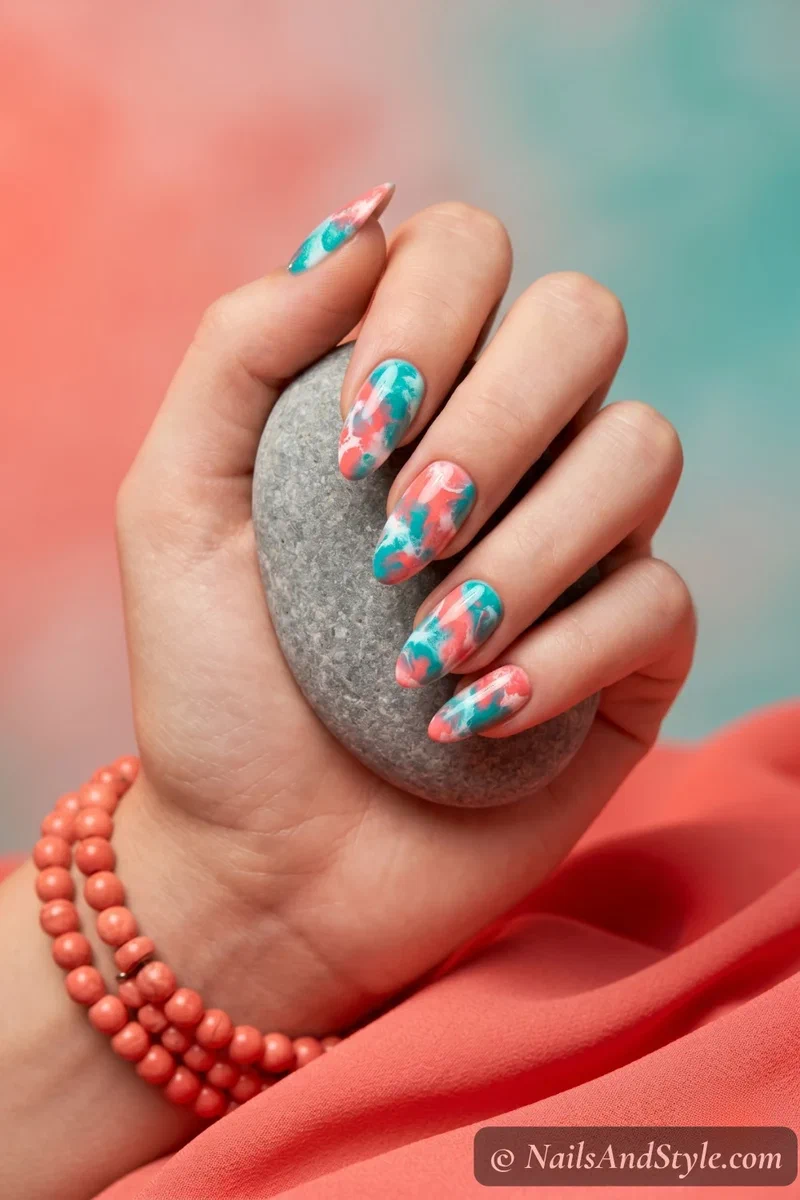
Sponge teal, coral, and white together for a reef-inspired blend. The trick is overlapping loosely — don’t overblend or you’ll end up with mud. Glossy finish keeps things vibrant.
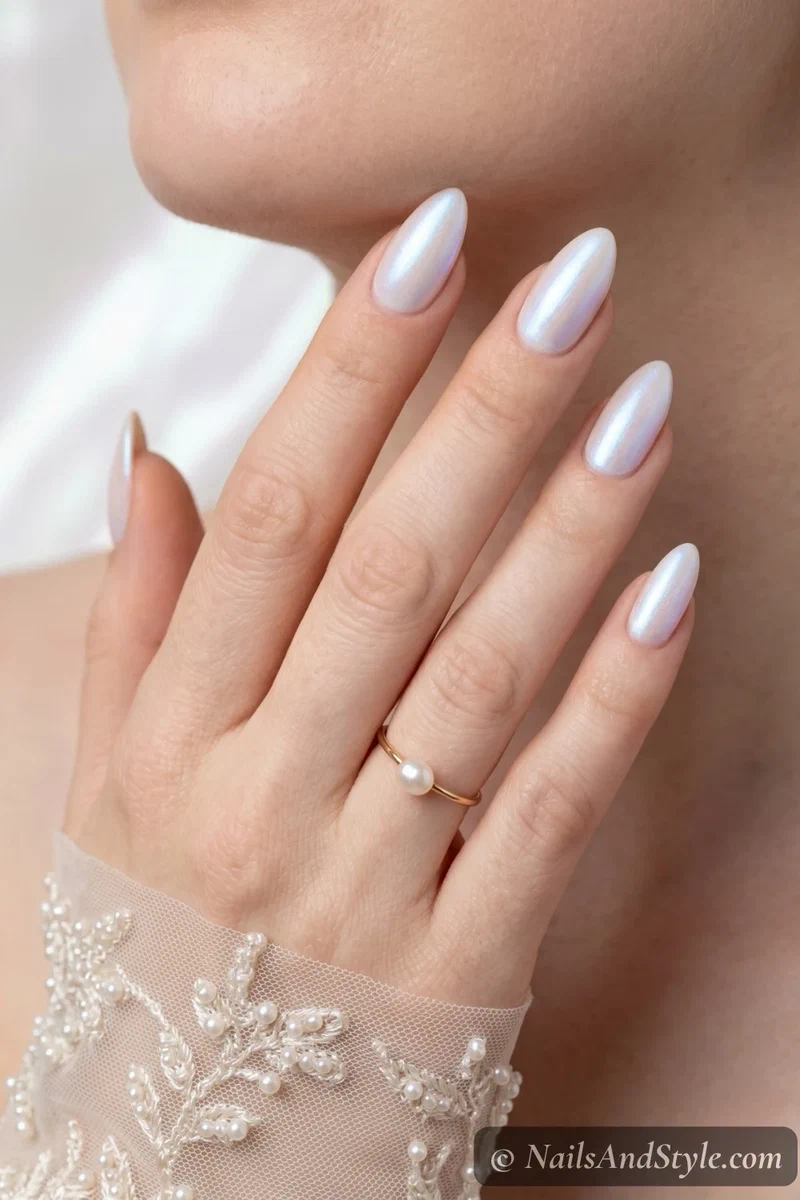
12. Pearl Ocean Shimmer#
Soft white base with an iridescent shimmer top coat. That’s it. The pearl finish shifts between blue and pink depending on the light — quiet ocean vibes, zero freehand art needed. For more of those coastal pearl accents, my seashell nail designs post has shell and sand-dollar looks worth a scroll.
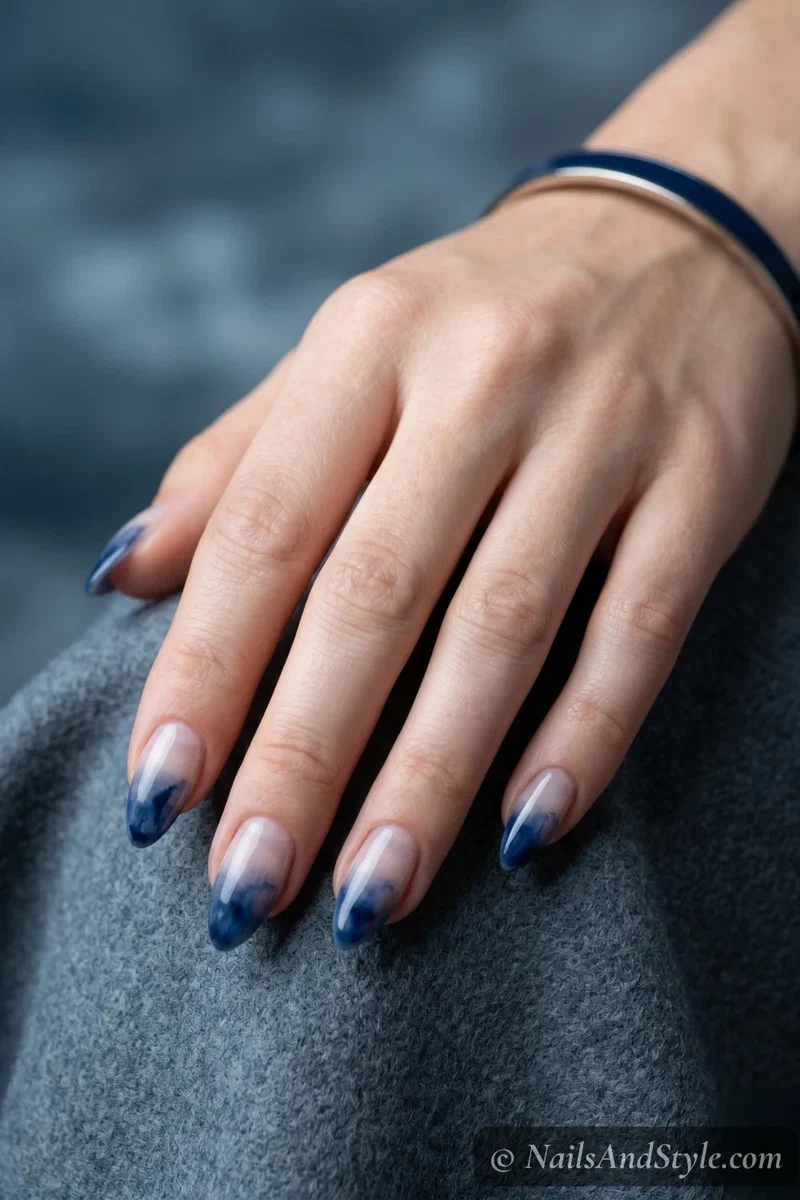
13. Navy Watercolor French#
Paint a diluted navy wash just along the tip area, leaving the base sheer. Moody, artistic take on the classic French — the soft edges make it look hand-painted.
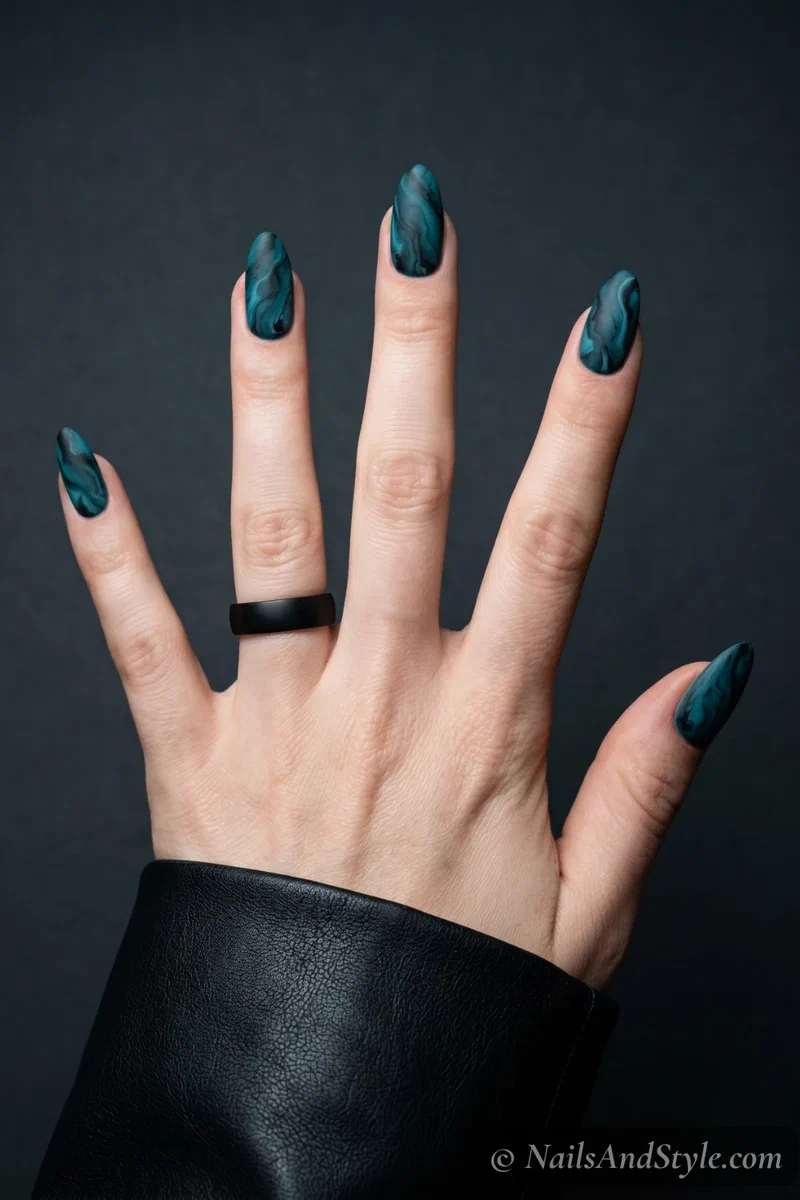
14. Matte Ocean Marble#
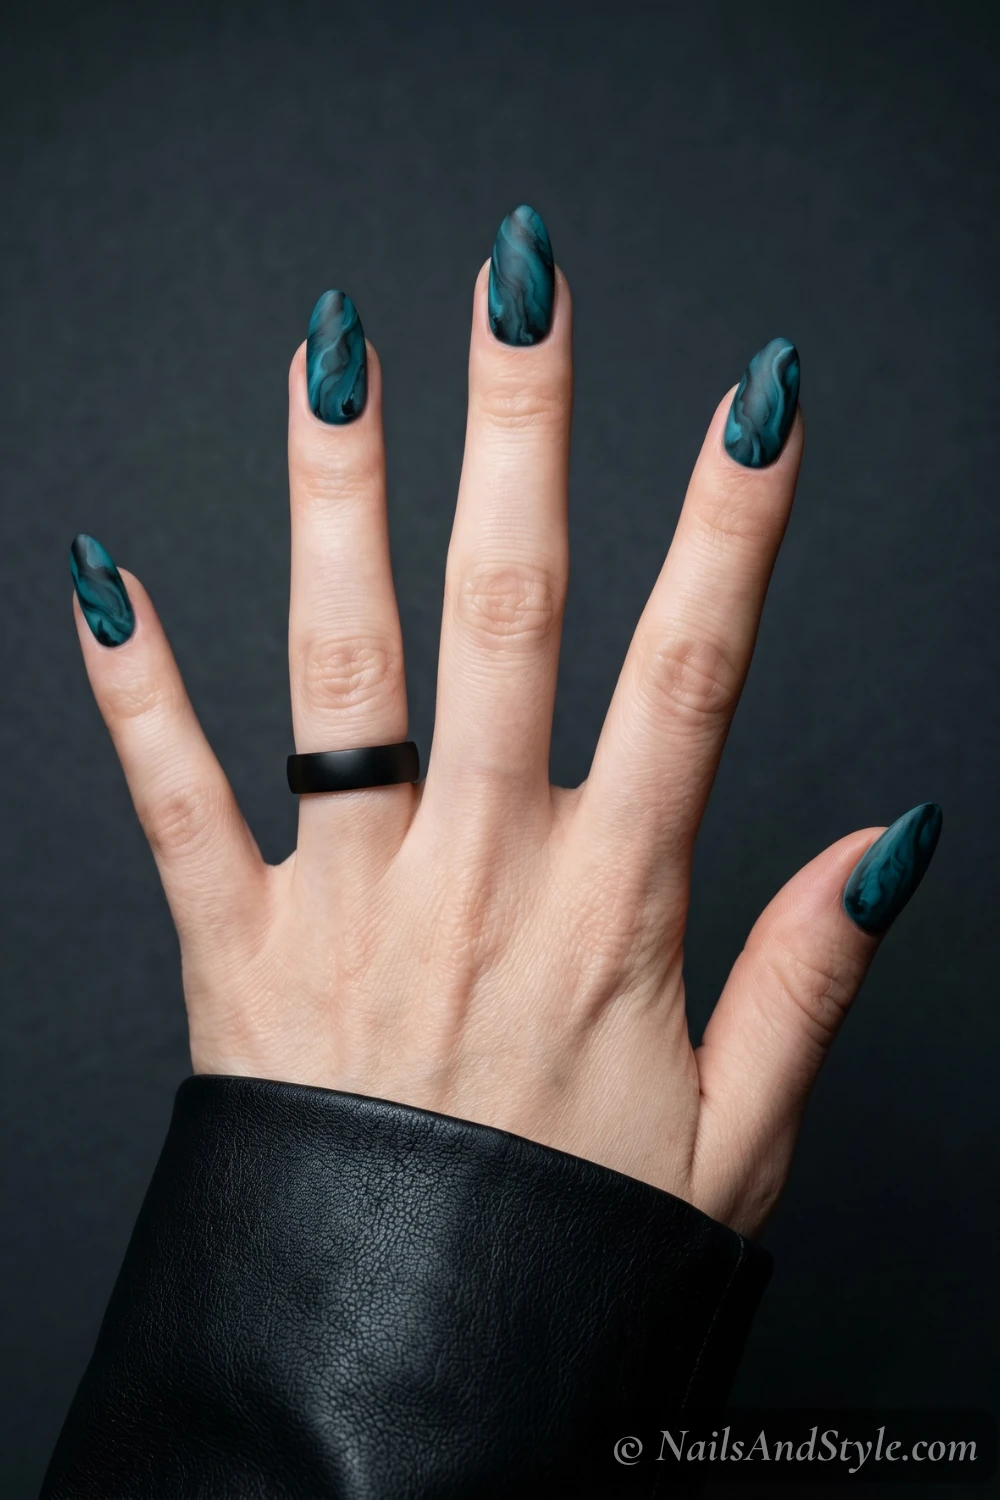
Do a marble swirl in deep teal and black, then hit it with matte top coat instead of glossy. The flat finish makes the pattern look like actual ocean stone. Seriously underrated combo.
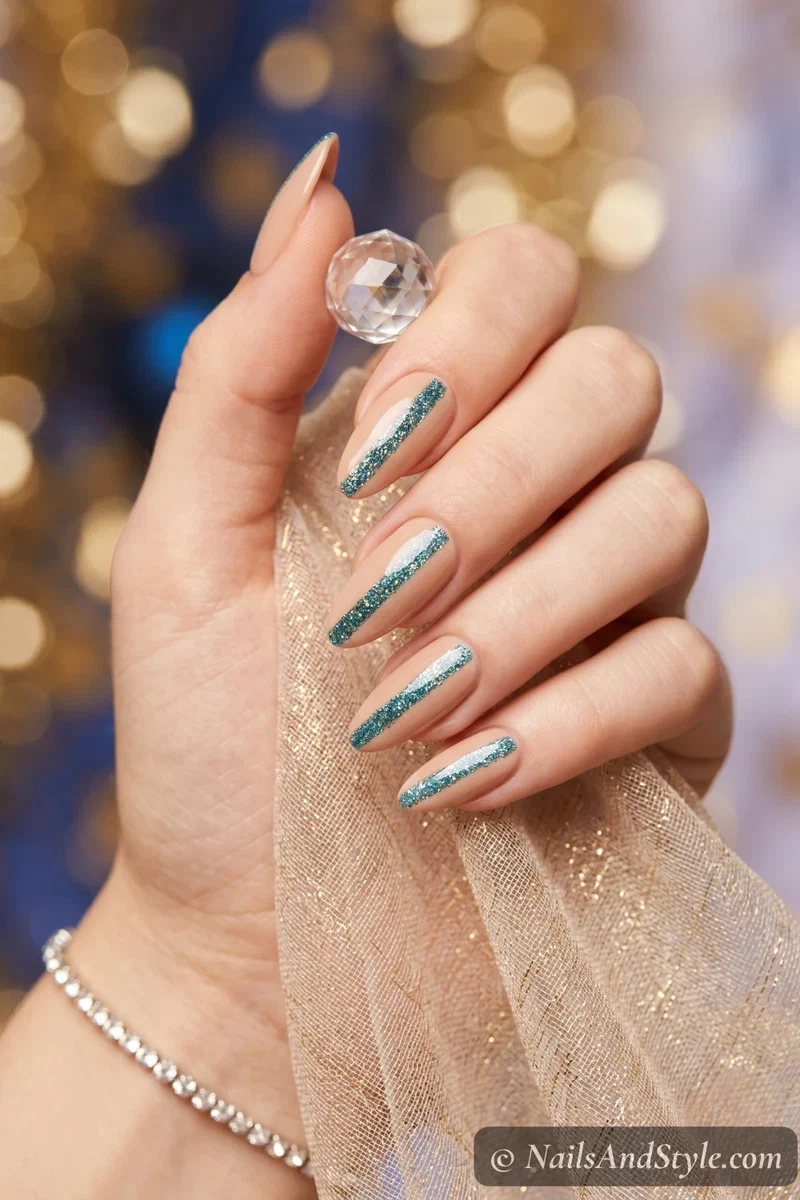
15. Glitter Tide Line#
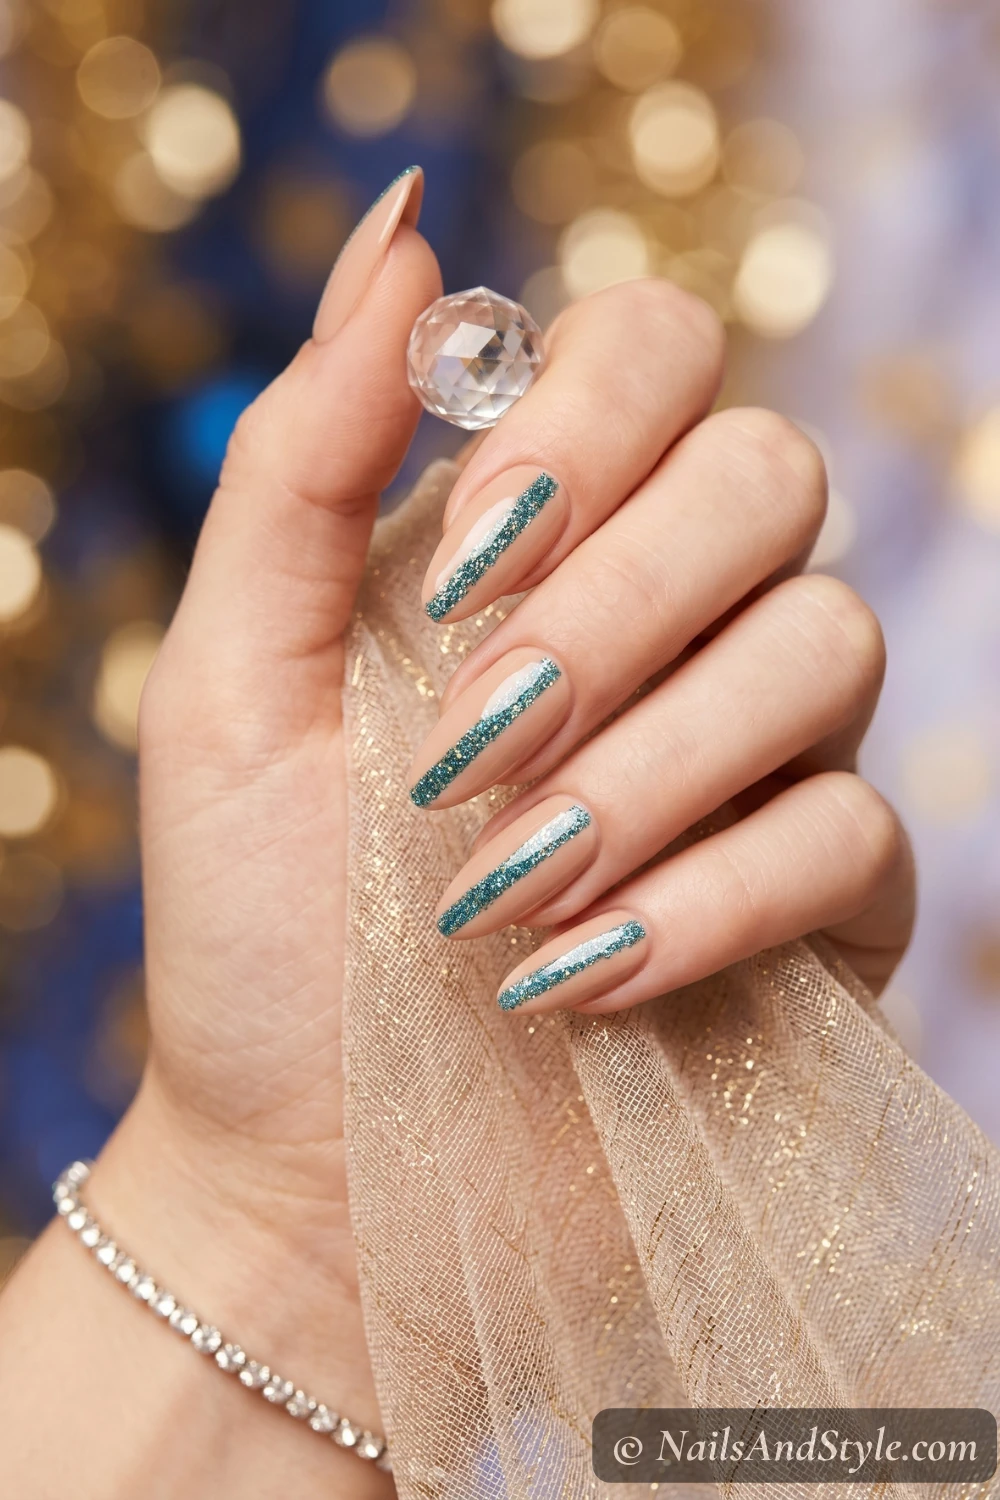
Nude base with a strip of blue-green glitter across the center of each nail — like a sparkling tide line. Use a thin brush to place the glitter. Glossy top coat locks everything in.
Ocean Wave Nails on Short Nails#
Real talk — these designs genuinely look great on short nails. Marble and watercolor patterns don’t need length to make an impact. A smaller canvas actually makes the swirls look more concentrated and intentional.
A Few More Short Nail-Specific Ideas#
- Watercolor wash — the soft bleed looks amazing on any length
- Foam French tips — a thin foam edge actually makes short nails look longer
- Pearl shimmer — minimal art, maximum effect
- Sandy shore gradient — the fade stretches the eye along the nail
- Single accent marble — marble on the ring finger, solid blue on the rest
My cute short summer nails post goes deeper on this whole vibe if you want to keep going.
How to Create Ocean Wave Nails at Home#
- Prep — clean, trim, file, push back cuticles
- Buff lightly — smooth surface so polish goes on evenly
- Base coat — non-negotiable with blues and greens (they stain)
- Base color — white, sheer nude, or clear depending on the design
- Create the wave effect — sponge for marble, diluted polish for watercolor, plastic wrap for abstract texture
- Add details — gold veins, white wavy lines, glitter, whatever the design calls for
- Clean edges — small brush dipped in remover around the cuticles
- Top coat — glossy or matte, just seal everything and let it dry fully
How to Ask Your Nail Artist for Ocean Wave Nails#
Ocean designs depend on the specific technique — water marble, watercolor, chrome swirl all need totally different setups, so a clear reference photo really helps.
- Bring 2-3 reference photos showing exactly which technique and color depth you want
- Specify the technique — water marble vs sponged ombre vs hand-painted swirl vs chrome powder each take different time and skill
- Almond or oval shapes flatter watercolor and marble best; squoval works for ocean French and shore gradient
- Mention if it’s freehand or stamped — abstract swirls are usually hand-painted, foam tips are sponged
- Choose gel polish for blue and teal — they stain natural nails fast, gel keeps the bed clean underneath
Tips to Make Your Ocean Nails Last#
- Thin layers — let each one dry before the next
- Seal the free edge with every coat
- Avoid water for at least an hour after painting
- Gloves for dishes and cleaning
- Reapply top coat every two to three days
- Cuticle oil daily
- Don’t use your nails as tools (easier said than done, I know)
Quick FAQ#
Are ocean wave nails hard for beginners?#
Not at all. Start with a watercolor wash or sponge-blended marble — both are easier than they look. You don’t need to be precise, which is the whole point of wave art.
What colors work best for ocean wave designs?#
Navy, teal, seafoam, turquoise, and white are the go-tos. Softer shades like dusty blue and sandy beige work too — they give a quieter coastal feel.
Can I do these on natural nails?#
Absolutely. Every design here works on natural nails. Base coat to protect from staining, thin layers, and always finish with top coat.
Shop the Look#
Everything you need to recreate these ocean wave looks at home:
 BaseBase + Strengthener CoatBlues and teals stain fast — a base coat keeps nails clean
 ShineGlossy Top CoatSeals swirls and gives that wet, glassy ocean finish
 Ocean bluesEssie Ocean ShadesStyle Cartel navy, Naughty Nautical teal, Tart Deco coral
 Teal & sandOPI Coastal ShadesTeal the Cows Come Home, This Cost Me a Mint, Samoan Sand
 ChromeSilver Chrome PowderBuffs into a color-shift over teal for ocean chrome swirls
 Swirls & veinsDotting & Striping ToolsFor wave swirls, gold veins and hand-painted lines
 SparkleBlue-Green GlitterFor a sparkling tide-line stripe across each nail
Final Thoughts#
Ocean wave nails are one of those looks that feel fresh every summer. Go bold with navy marble or keep it soft with a watercolor wash — there’s a version here for every mood. Save the ones you love, pin them, and don’t be afraid to mix techniques. Half the fun is seeing what your swirls turn into.