OK so let’s be real — dip powder nails look incredible, last forever, and feel basically indestructible. But then week three hits, they start lifting at the edges, and suddenly you’re picking at them during a meeting. We’ve all been there. (Don’t pretend you haven’t.)
The problem? Peeling dip nails off rips layers of your actual nail plate with them. That’s how you end up with thin, flaky, bendy nails that take months to bounce back. Learning how to remove dip powder nails at home the right way saves you a salon trip and — more importantly — saves your nails from damage that didn’t need to happen.
This post covers five removal methods, from the classic acetone soak to options that skip acetone entirely. All of them work. Pick whichever fits what you’ve got at home right now.
Why Proper Removal Actually Matters#
Dip powder bonds hard to your nail plate. When you peel or pry it off, you’re taking the top layers of your natural nail with it. Thinning, white spots, peeling, nails that bend like paper. Not great.
Proper removal dissolves that bond so the product slides off gently. Takes patience, sure. But your nails stay intact, and you can jump straight into a fresh set instead of spending weeks waiting for damage to grow out. Worth it? Absolutely.
If you’re thinking about switching to gel after this, my gel nails at home complete guide walks you through everything from application to long-lasting wear.
What You’ll Need#
Depends on which method you go with, but here’s the full rundown:
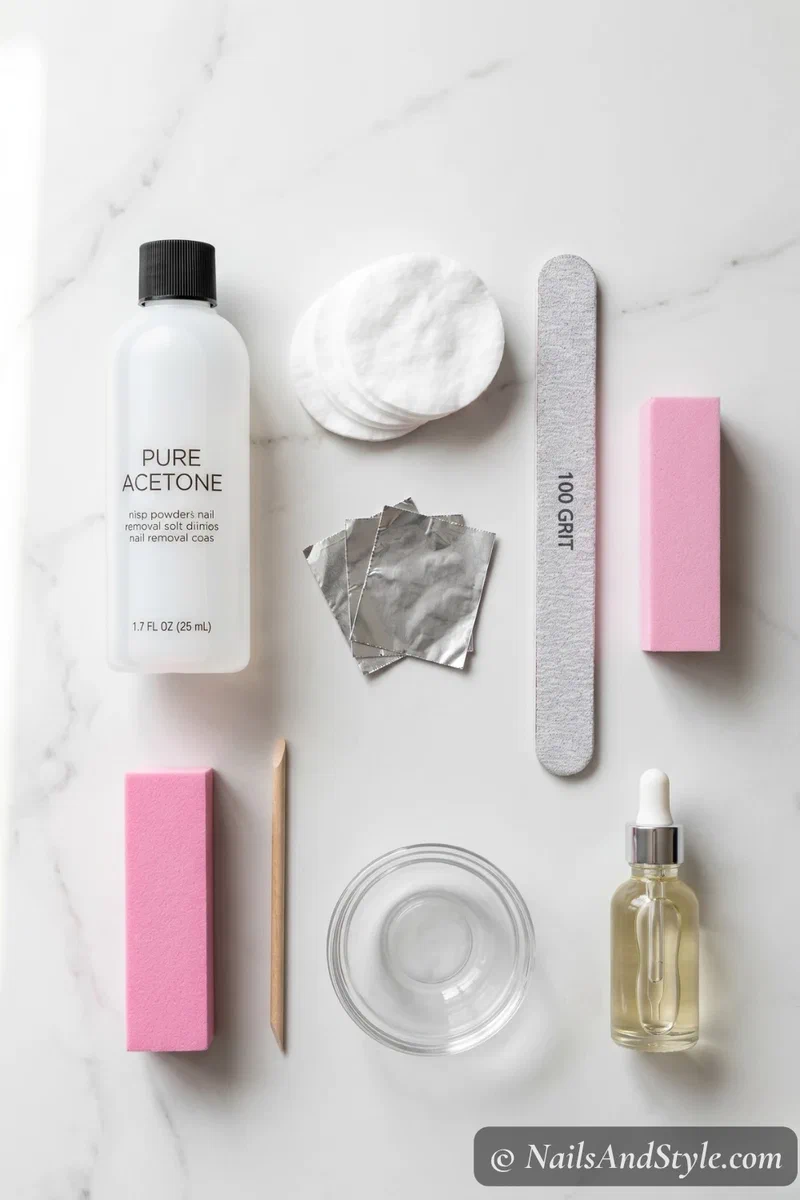
- 100% pure acetone — regular remover isn't strong enough for dip
- Cotton balls or pads — to soak against each nail
- Aluminum foil — pre-cut into small wrapping squares
- Coarse nail file (100–150 grit) — to file off the shiny top layer first
- Fine buffer (240 grit) — to smooth the nail afterward
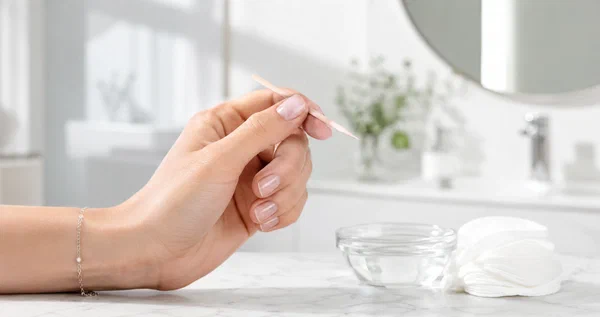
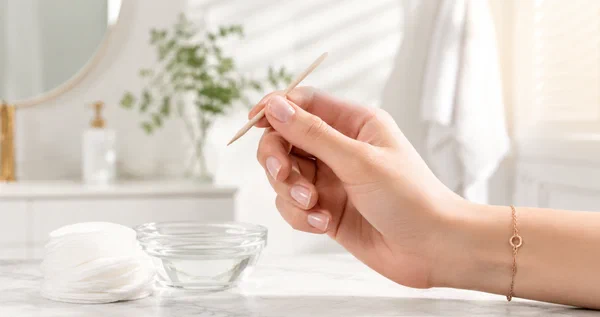
- Cuticle pusher or orange stick — to gently scrape softened dip
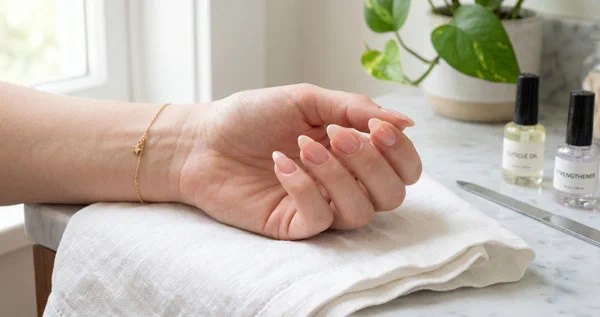
- Cuticle oil + hand cream — to rehydrate once you're done
- A small glass or ceramic bowl — not plastic — acetone melts it
You probably already have most of this stuff.
How to Remove Dip Powder Nails at Home — 5 Methods That Work#
The Acetone Bowl Soak#
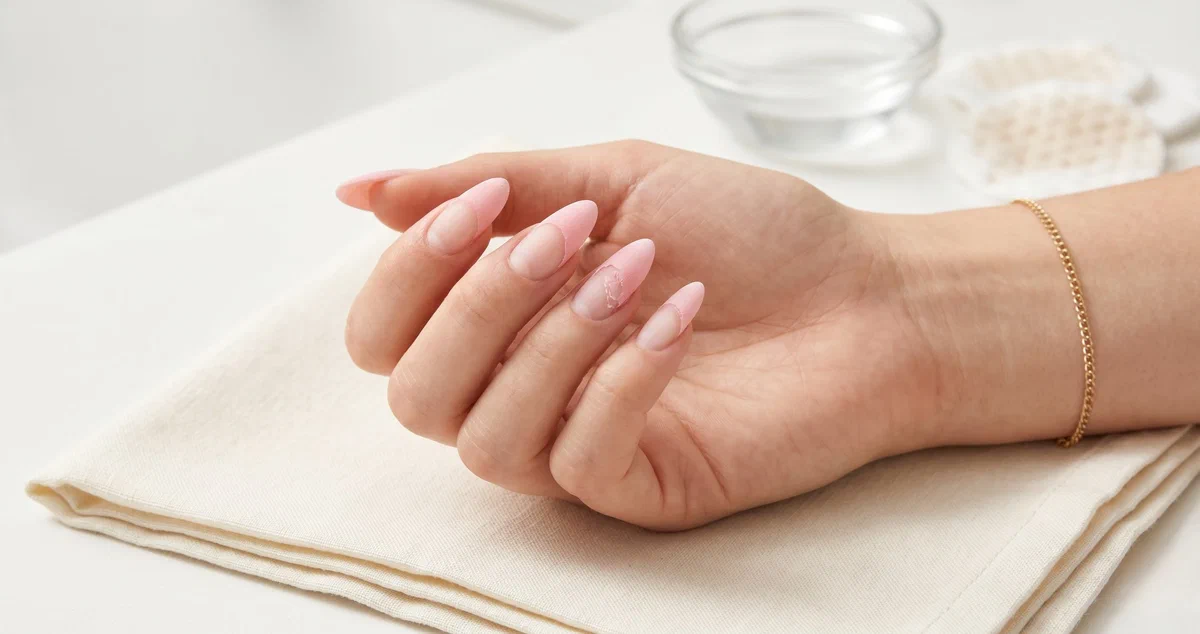
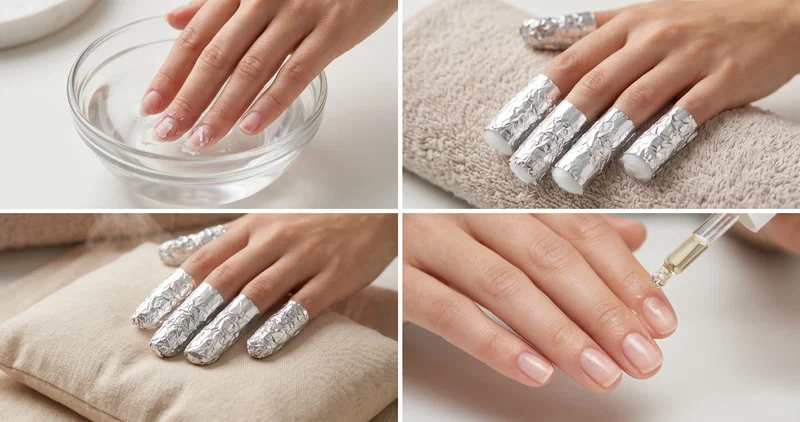
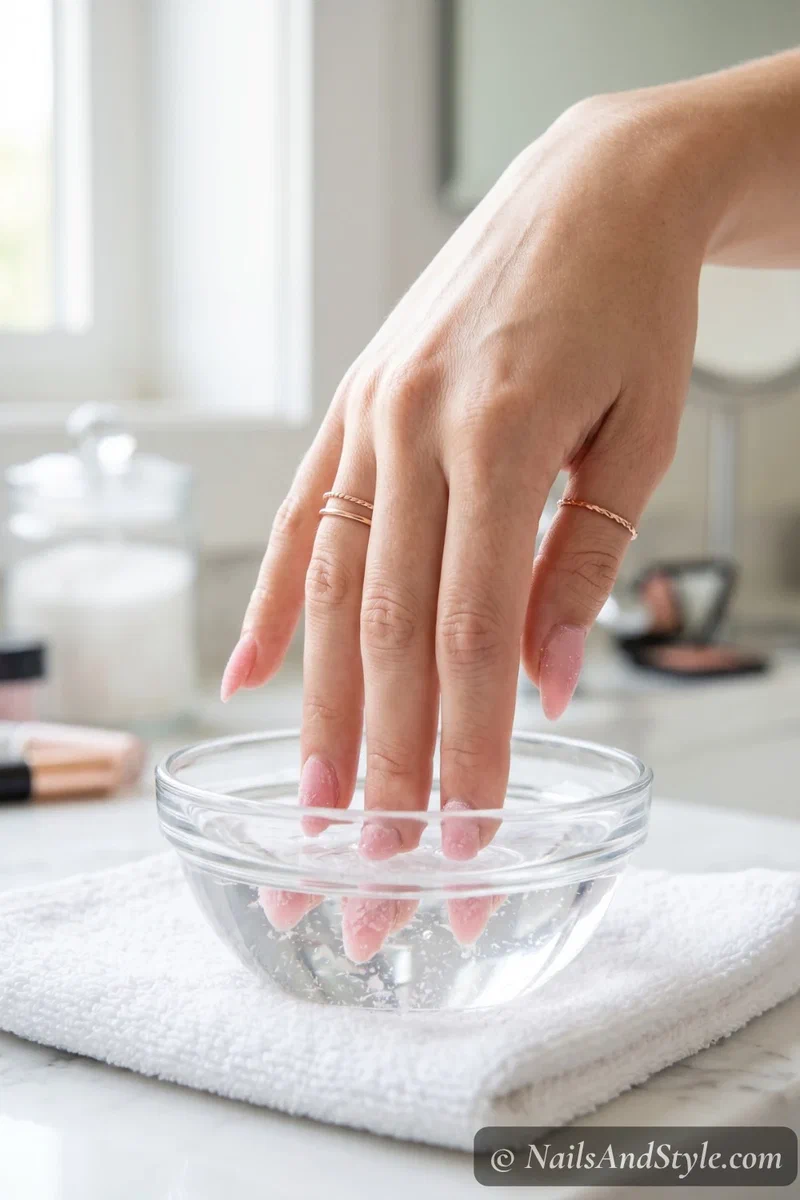
The classic for a reason. File down the shiny top coat first — this is the step people skip and then wonder why nothing’s dissolving. That seal needs to break or the acetone can’t penetrate. Pour pure acetone into a small bowl and soak your fingertips for 15-20 minutes. You’ll see the powder start to bubble and flake. Push it off gently with a cuticle pusher. If it’s resisting? Soak five more minutes. Never scrape.
Simplest method. Works every time.
The Foil and Cotton Wrap#
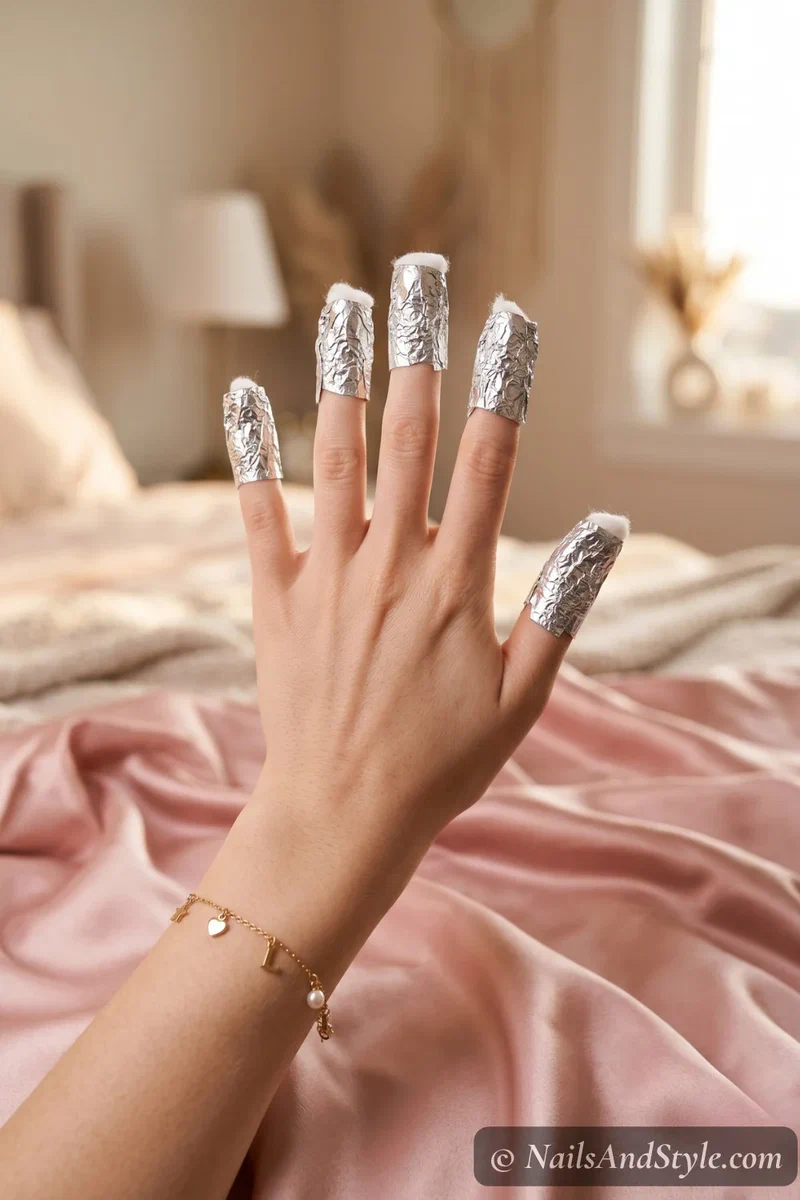
Same concept, way less acetone. Soak a cotton ball in acetone, press it onto your nail, and wrap each finger tightly in a small square of foil. The foil traps body heat, which actually speeds up the process. Leave them on for about 15 minutes, unwrap one finger to check — the powder should be crumbly and practically falling off.
Best part? Your hands aren’t stuck in a bowl, so you can scroll your phone or watch something while you wait.
Once your nails are fresh and healthy again, a chrome powder finish looks absolutely stunning on a clean base — worth trying on your next set.
The Hot Rice Bag Method#
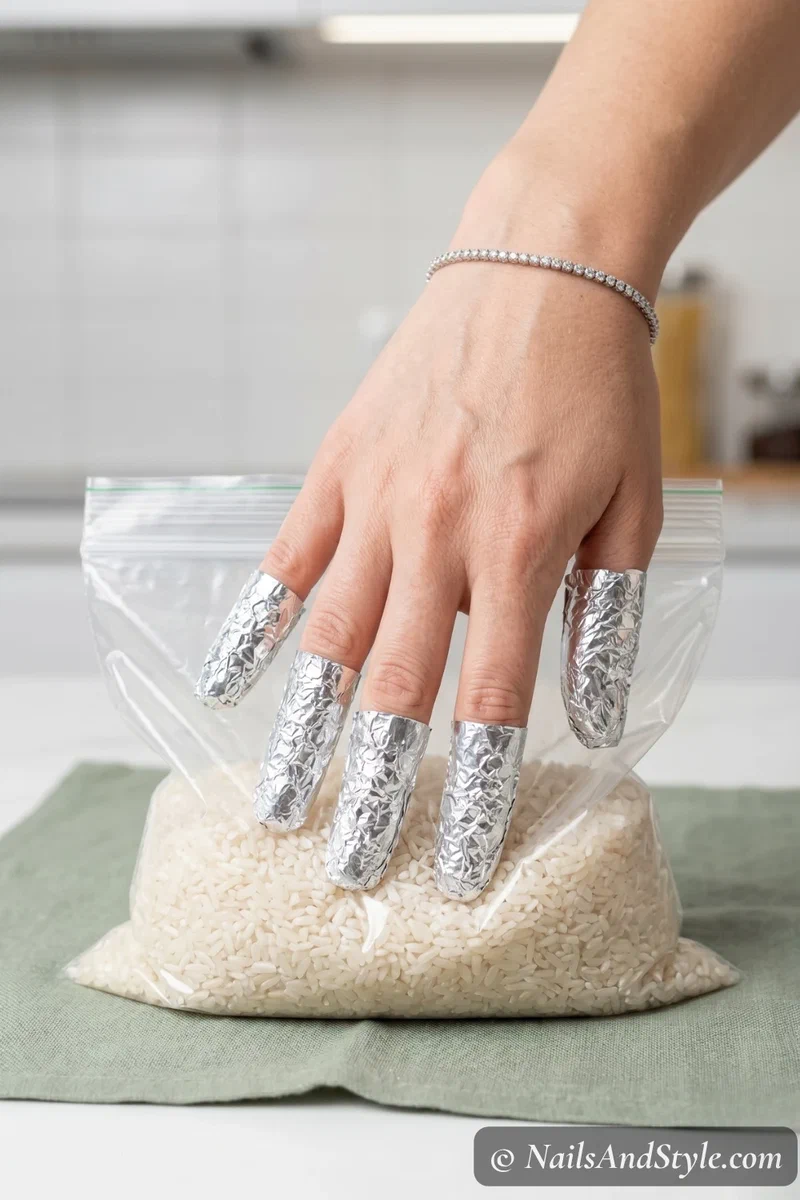
Hear me out — this one sounds weird. Pour uncooked rice into a resealable bag, microwave it for about 30 seconds until it’s warm (not hot). Wrap your nails with acetone-soaked cotton and foil first, then press your hands into the warm rice bag. The extra heat speeds up the acetone absorption like crazy.
This blew up on TikTok for a reason. It can cut your soak time down to around 10 minutes. Game changer.
The Warm Water Method (No Acetone)#
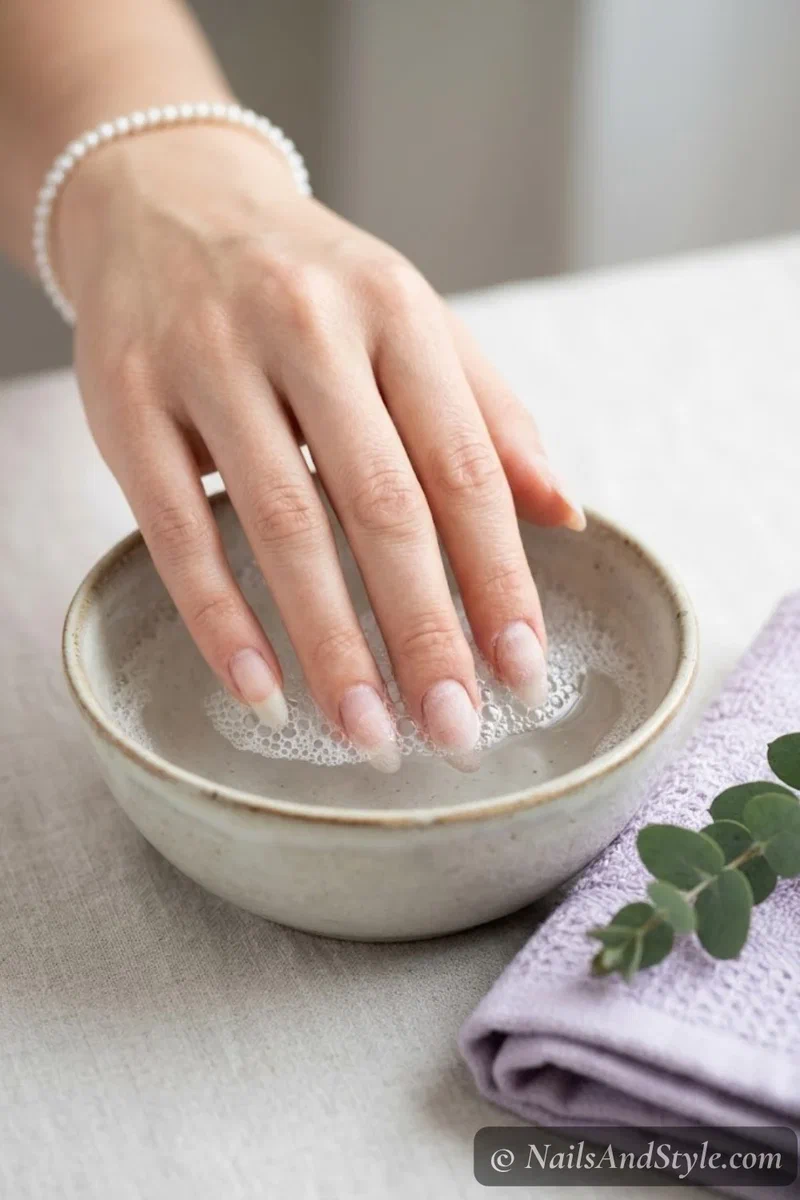
Don’t have acetone? Sensitive skin? This one’s yours. File down as much of the top coat and dip layers as you carefully can. Then soak your nails in warm water with a few drops of dish soap for about 20 minutes. The water softens whatever product is left so you can push it off gently with a cuticle pusher.
Fair warning — this takes more patience and more filing upfront than the acetone methods. But it’s so much gentler if your skin doesn’t love chemicals.
If you’re going the regular polish route afterward, my round-up of the best nail polish brands for 2026 has the formulas actually worth your money.
The File and Buff Method#
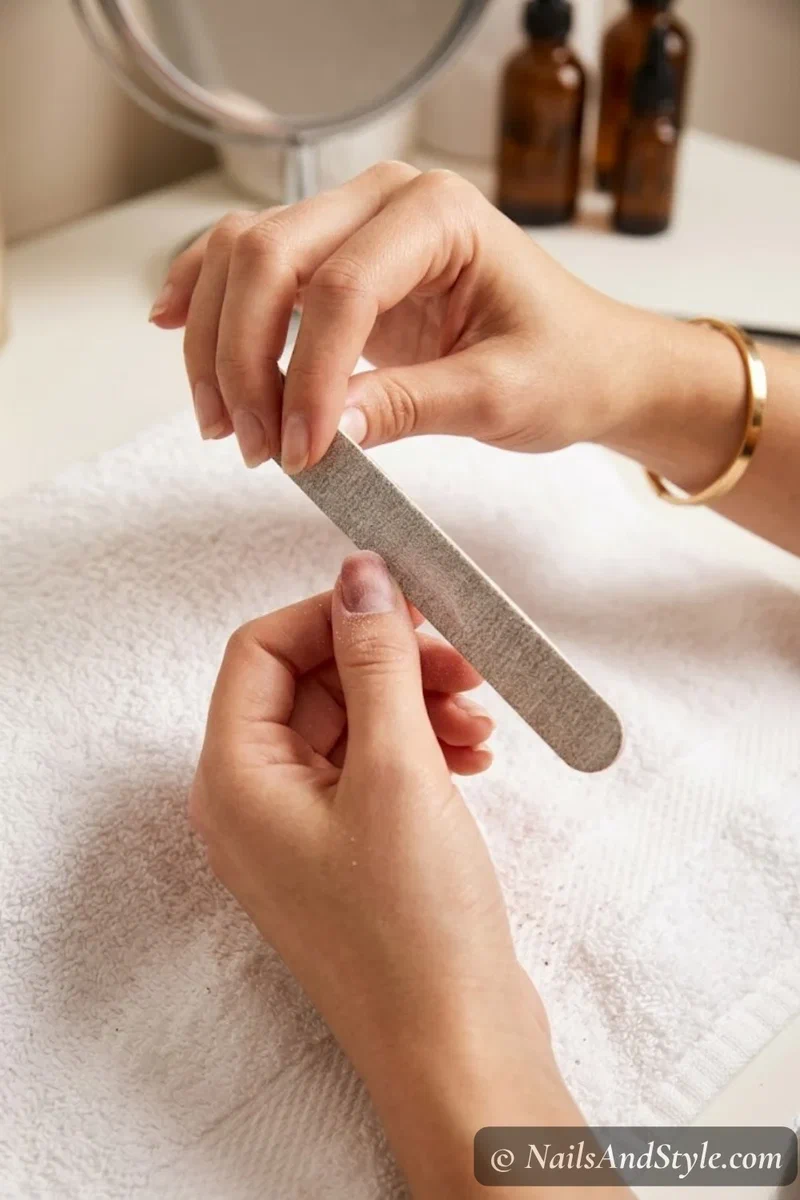
Completely acetone-free. You file off the dip powder layer by layer using a coarse nail file. Start with 100 grit to take down the bulk, then switch to a finer buffer as you get close to your natural nail. The second you see your own nail color peeking through — stop. Just buff gently from there.
Takes the longest and you need to really pay attention so you don’t over-file. But when acetone isn’t an option at all, this gets the job done.
Nail Care After Dip Powder Removal#
Your nails just went through it. Show them some love.
- Buff gently to smooth out any leftover texture on the surface
- Apply cuticle oil right away — and keep using it daily for at least a week
- Use a strengthening base coat if you’re painting again immediately
- Skip dip or acrylics for a few days if your nails feel thin — press-on nails are a great gentle alternative while your nails recover
- Moisturize your hands and cuticles every night before bed
- Try a nail hardener treatment if you notice any peeling or flaking — and if a nail cracks during removal, my tea bag nail repair trick can save it
- Push cuticles back gently — don’t cut them right after removal
Ready to try something fun once your nails recover? My nail stamping tutorial for beginners is a great low-effort starting point for your next look.
Quick FAQ#
Does removing dip nails at home damage my natural nails?#
Not if you’re patient. All the damage comes from peeling, prying, or scraping too hard — not from the removal process itself. Soak long enough, let the product dissolve on its own, and use your cuticle pusher gently. Your nails will be totally fine.
How long should I soak dip nails in acetone?#
About 15-20 minutes with pure acetone. The foil wrap traps heat and can shave a few minutes off. The hot rice trick? Even faster — around 10 minutes for most people. Going the warm water route, expect closer to 20-25 minutes of soaking.
Is dip powder removal different from removing acrylics?#
Pretty similar, honestly. Both dissolve with acetone, same basic approach. Dip tends to come off a bit quicker because it’s usually a thinner layer than a full acrylic set. File the top coat, soak, push off gently — same patience required either way. If you’re curious about acrylics too, my guide on how to do acrylic nails at home covers the full process.
Final Thoughts#
Look — how to remove dip powder nails at home really isn’t that hard. It’s just about giving the product time to dissolve instead of giving in to the urge to pick and peel everything off. File that top coat (seriously, don’t skip it), choose your method, and let the soak do the work.
Your nails are gonna thank you for it. And when you’re ready for your next set — fresh dip, gel without a UV lamp, a fun polish, whatever you’re feeling — you’ll be starting from a strong, healthy base instead of spending weeks recovering from damage you caused yourself. That right there is the actual win.