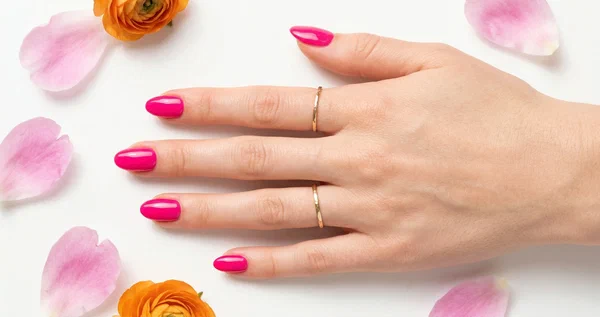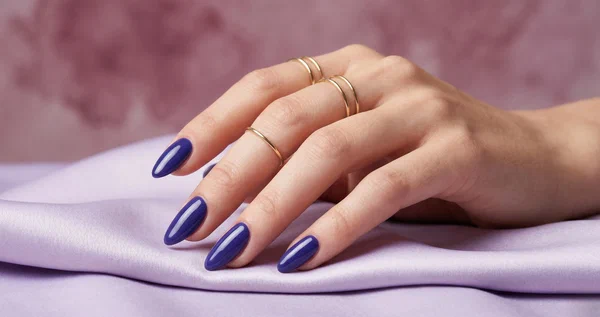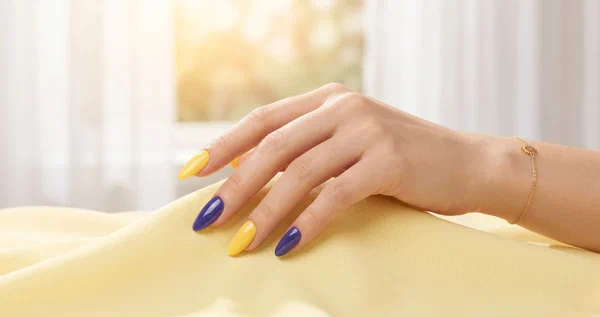
Something about tropical nails just hits different when the weather turns warm. Maybe it’s the colors — all those juicy greens, sunset oranges, hot pinks — or maybe it’s the fact that painting a tiny palm tree on your thumb automatically puts you in vacation mode. Either way, tropical nail designs are absolutely everywhere this summer and I’m not mad about it.
This post has 15 looks you can actually do at home, even if your freehand skills are questionable (mine definitely are some days). They all work on short and medium nails, and most of them use tools you probably already own. If you’re after something a bit less thematic and more about bold color in general, my bright fun summer nails round-up has you covered there.

Why Tropical Nails Just Work in Summer#
Tropical manicures used to mean one thing — a basic palm tree on a turquoise background. But the whole vibe has shifted. Now it’s neon hibiscus florals, chrome flamingos, jelly lagoon blues, fruit-inspired accent nails. The palette runs from soft papaya pink to electric teal, and finishes range from matte to glittery to full-on mirror chrome. Basically, there’s a tropical look for every mood and every occasion — pool day, beach vacation, rooftop brunch, Tuesday at the grocery store. No judgment.
A Few Things to Keep in Mind Before You Start#
- Pick colors that flatter your skin tone. Warm undertones glow in coral, mango, and golden green. Cool tones pop with fuchsia, teal, and ocean blue.
- Stick with short to medium length. Round, almond, or squoval shapes keep tropical art looking intentional, not costume-y.
- Base coat first, always. Bright tropical pigments stain like nobody’s business.
- Top coat changes everything. Glossy makes colors look wet and juicy. Matte gives them that editorial edge.
Quick Pick: Which Tropical Design Should You Try?#
| If you’re looking for… | Try these designs |
|---|---|
| Beginner-friendly | Mango Sorbet Matte, Papaya Pink with White Dots |
| Short nails | Palm Leaf French Tips, Teal Lagoon Jelly |
| Bold statement | Pineapple Nail Art, Flamingo Pink Chrome |
| Detail and decoration | Hibiscus Accent, Tropical Fruit Salad Art |
15 Tropical Nail Designs to Try This Summer#
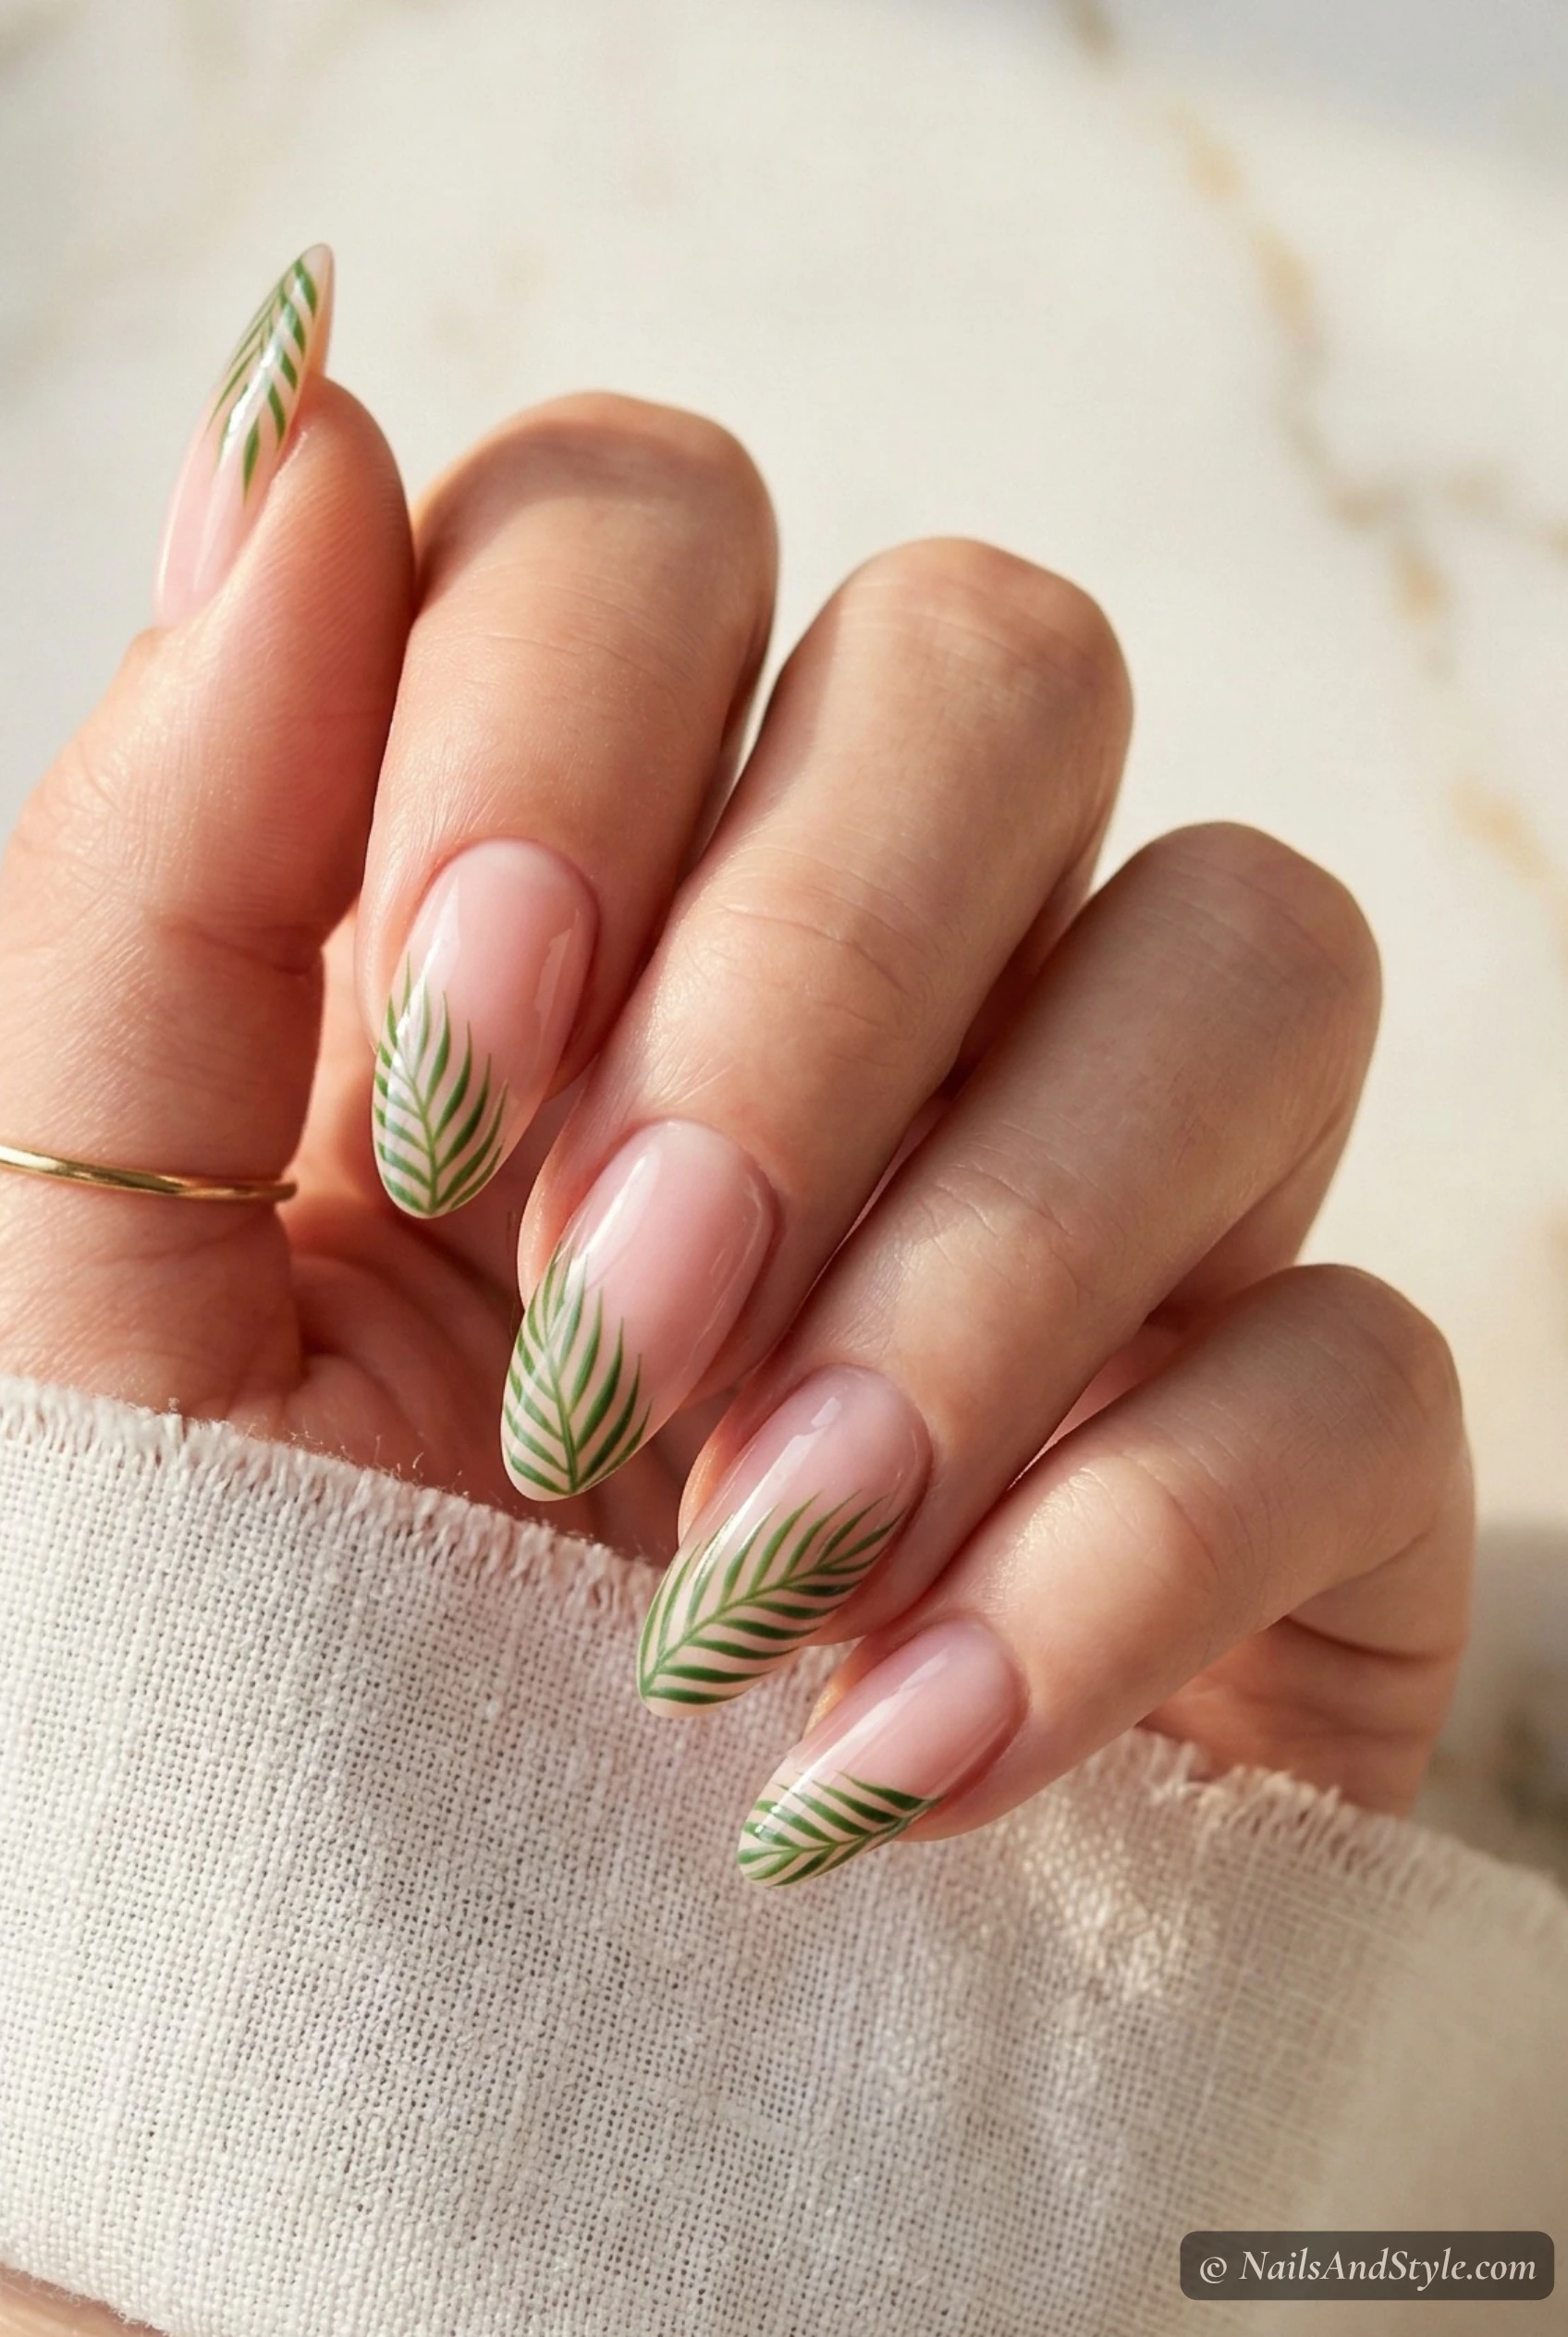
1. Palm Leaf French Tips#
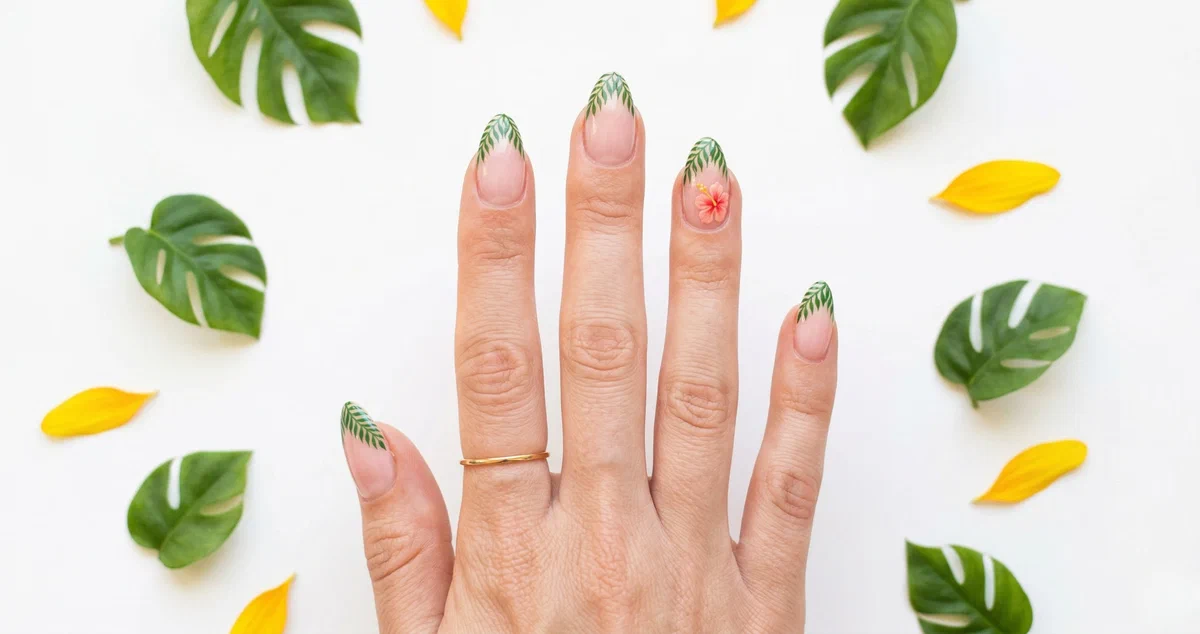
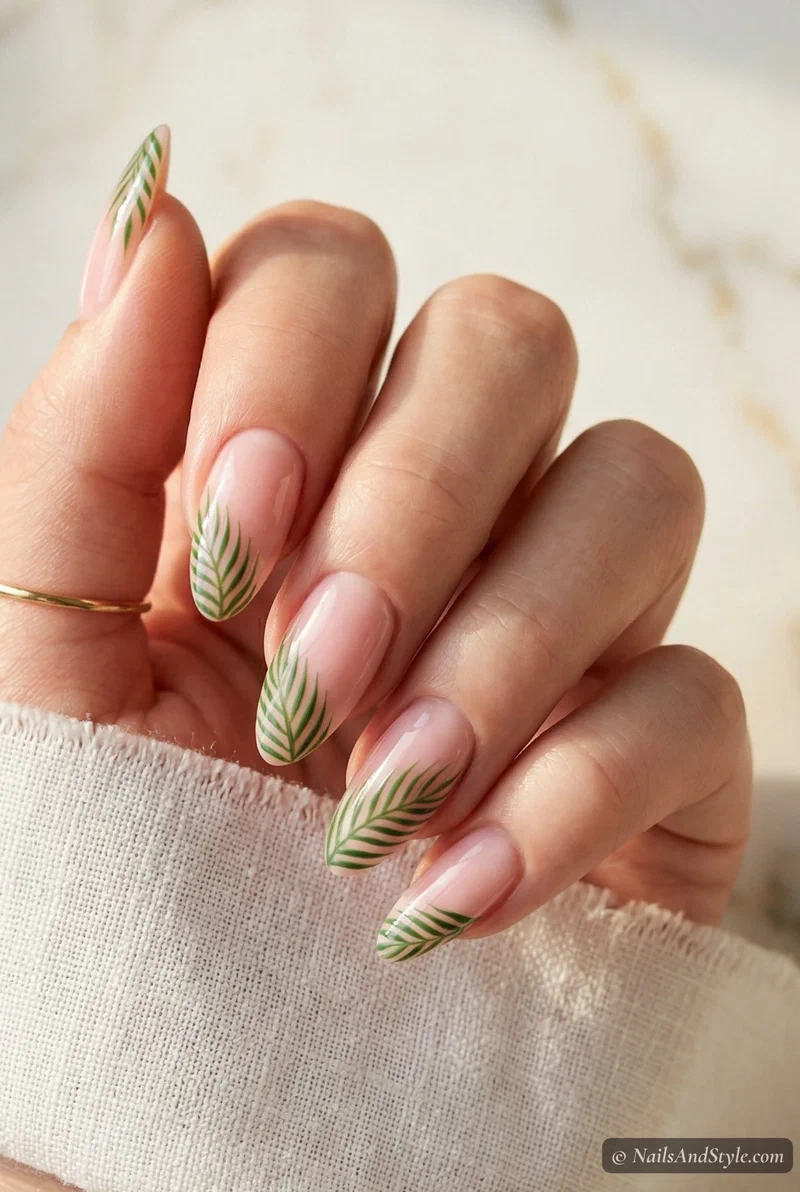
Instead of white tips, paint thin green palm fronds curving across the tip of each nail. Use a fine striping brush on a sheer pink or nude base. The leaf shape naturally follows the curve of your nail — it’s easier than it looks. Glossy finish makes the green pop.
2. Hibiscus Accent Nails#
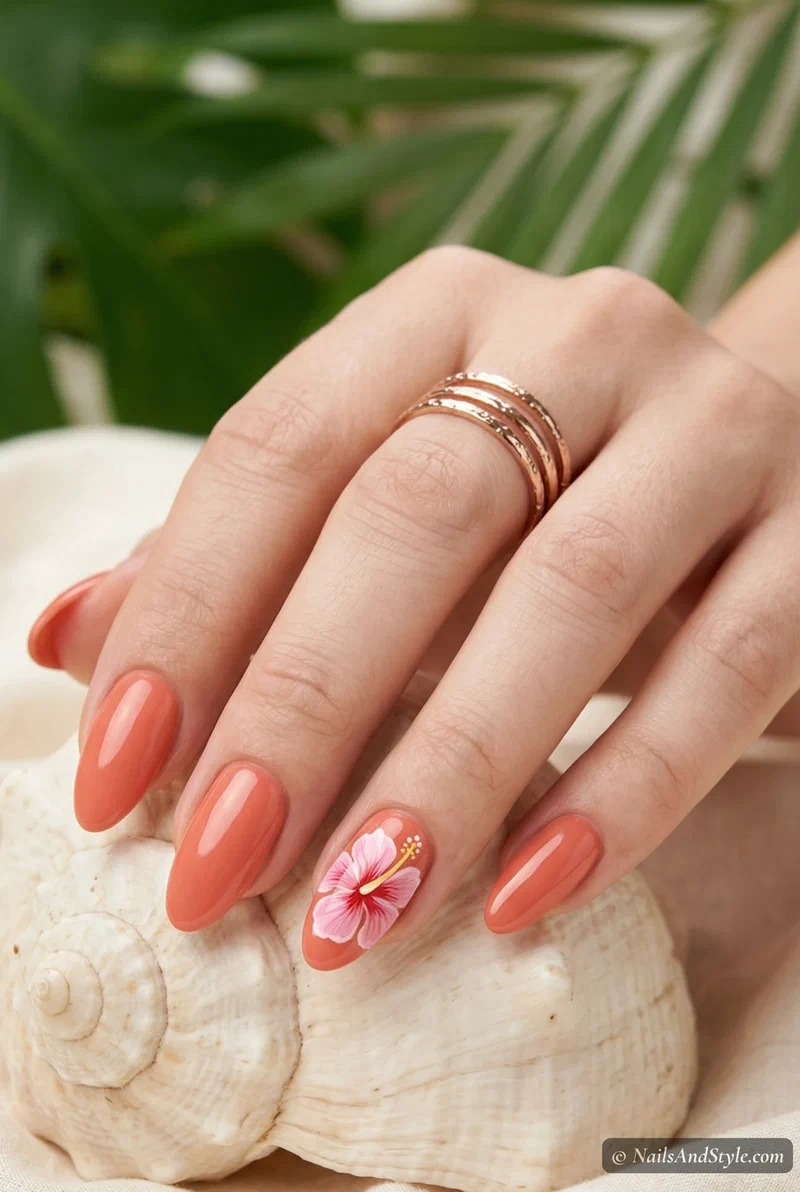
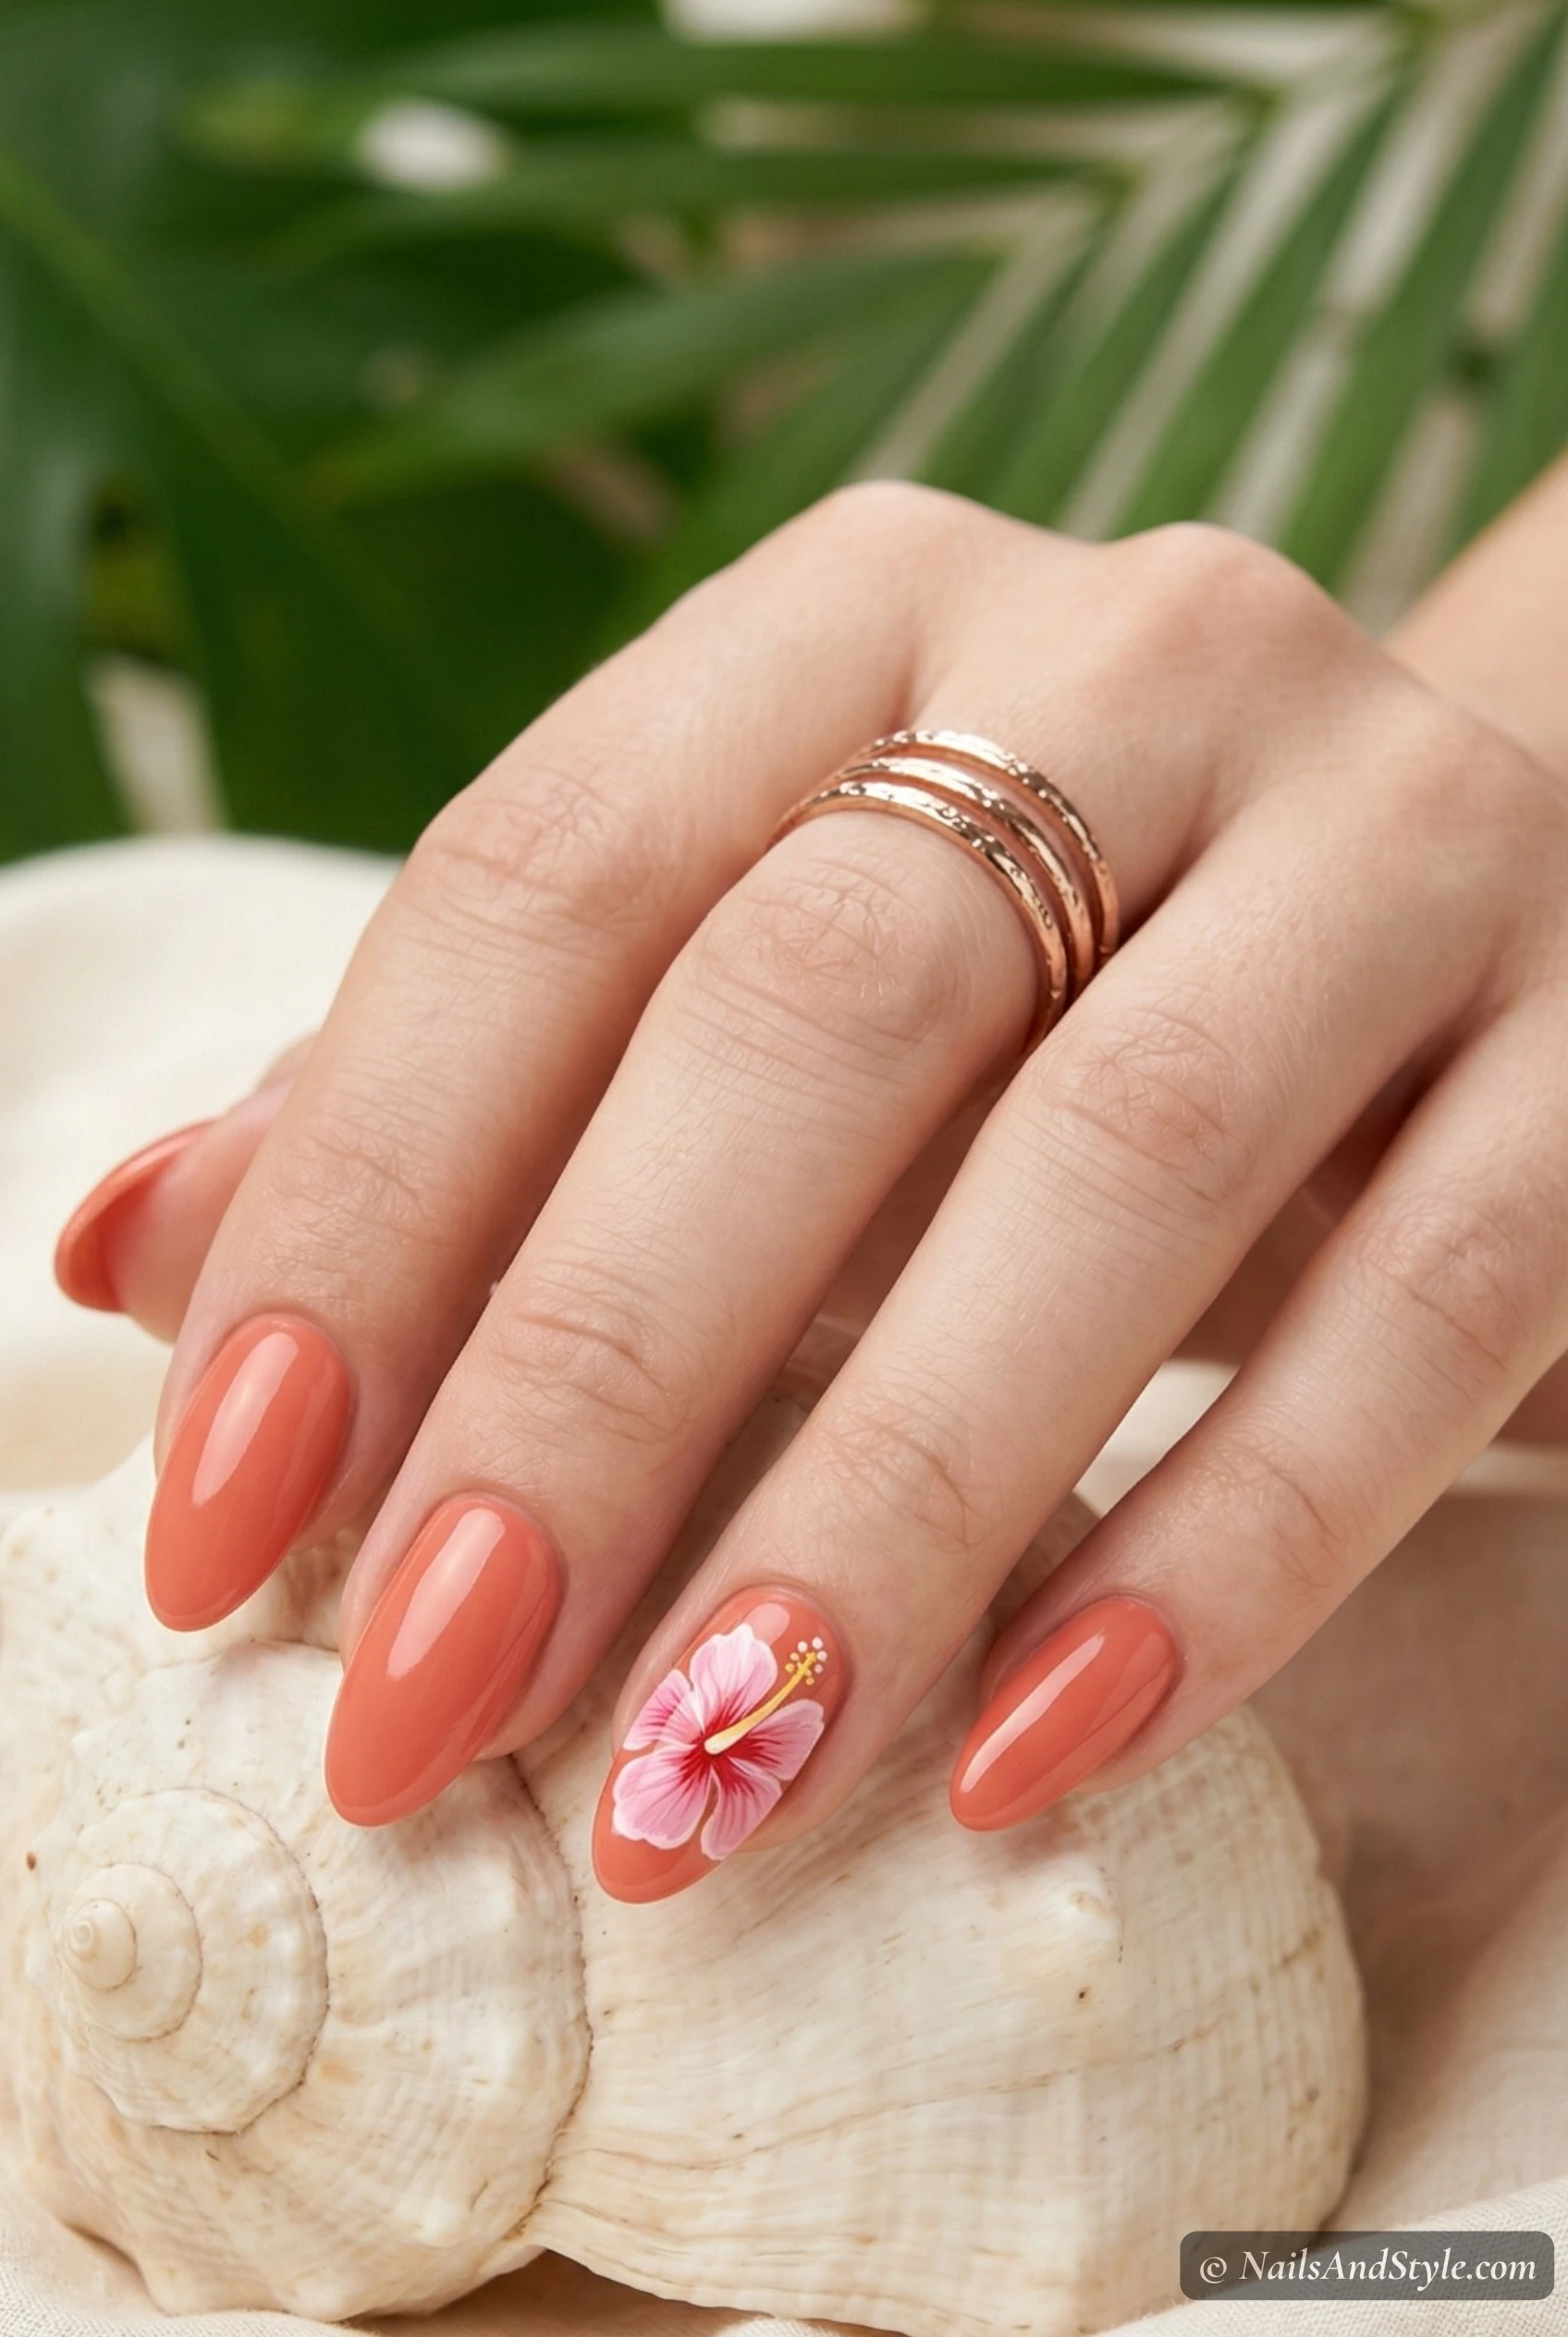
Paint all nails a warm coral, then add a single hibiscus flower on your ring finger using a dotting tool and thin brush. Five petals in a deeper pink, tiny yellow center. Keep it slightly imperfect — hand-painted florals always look better a little messy. If you love florals in general, my spring floral nails post has a ton more ideas that carry straight into summer.
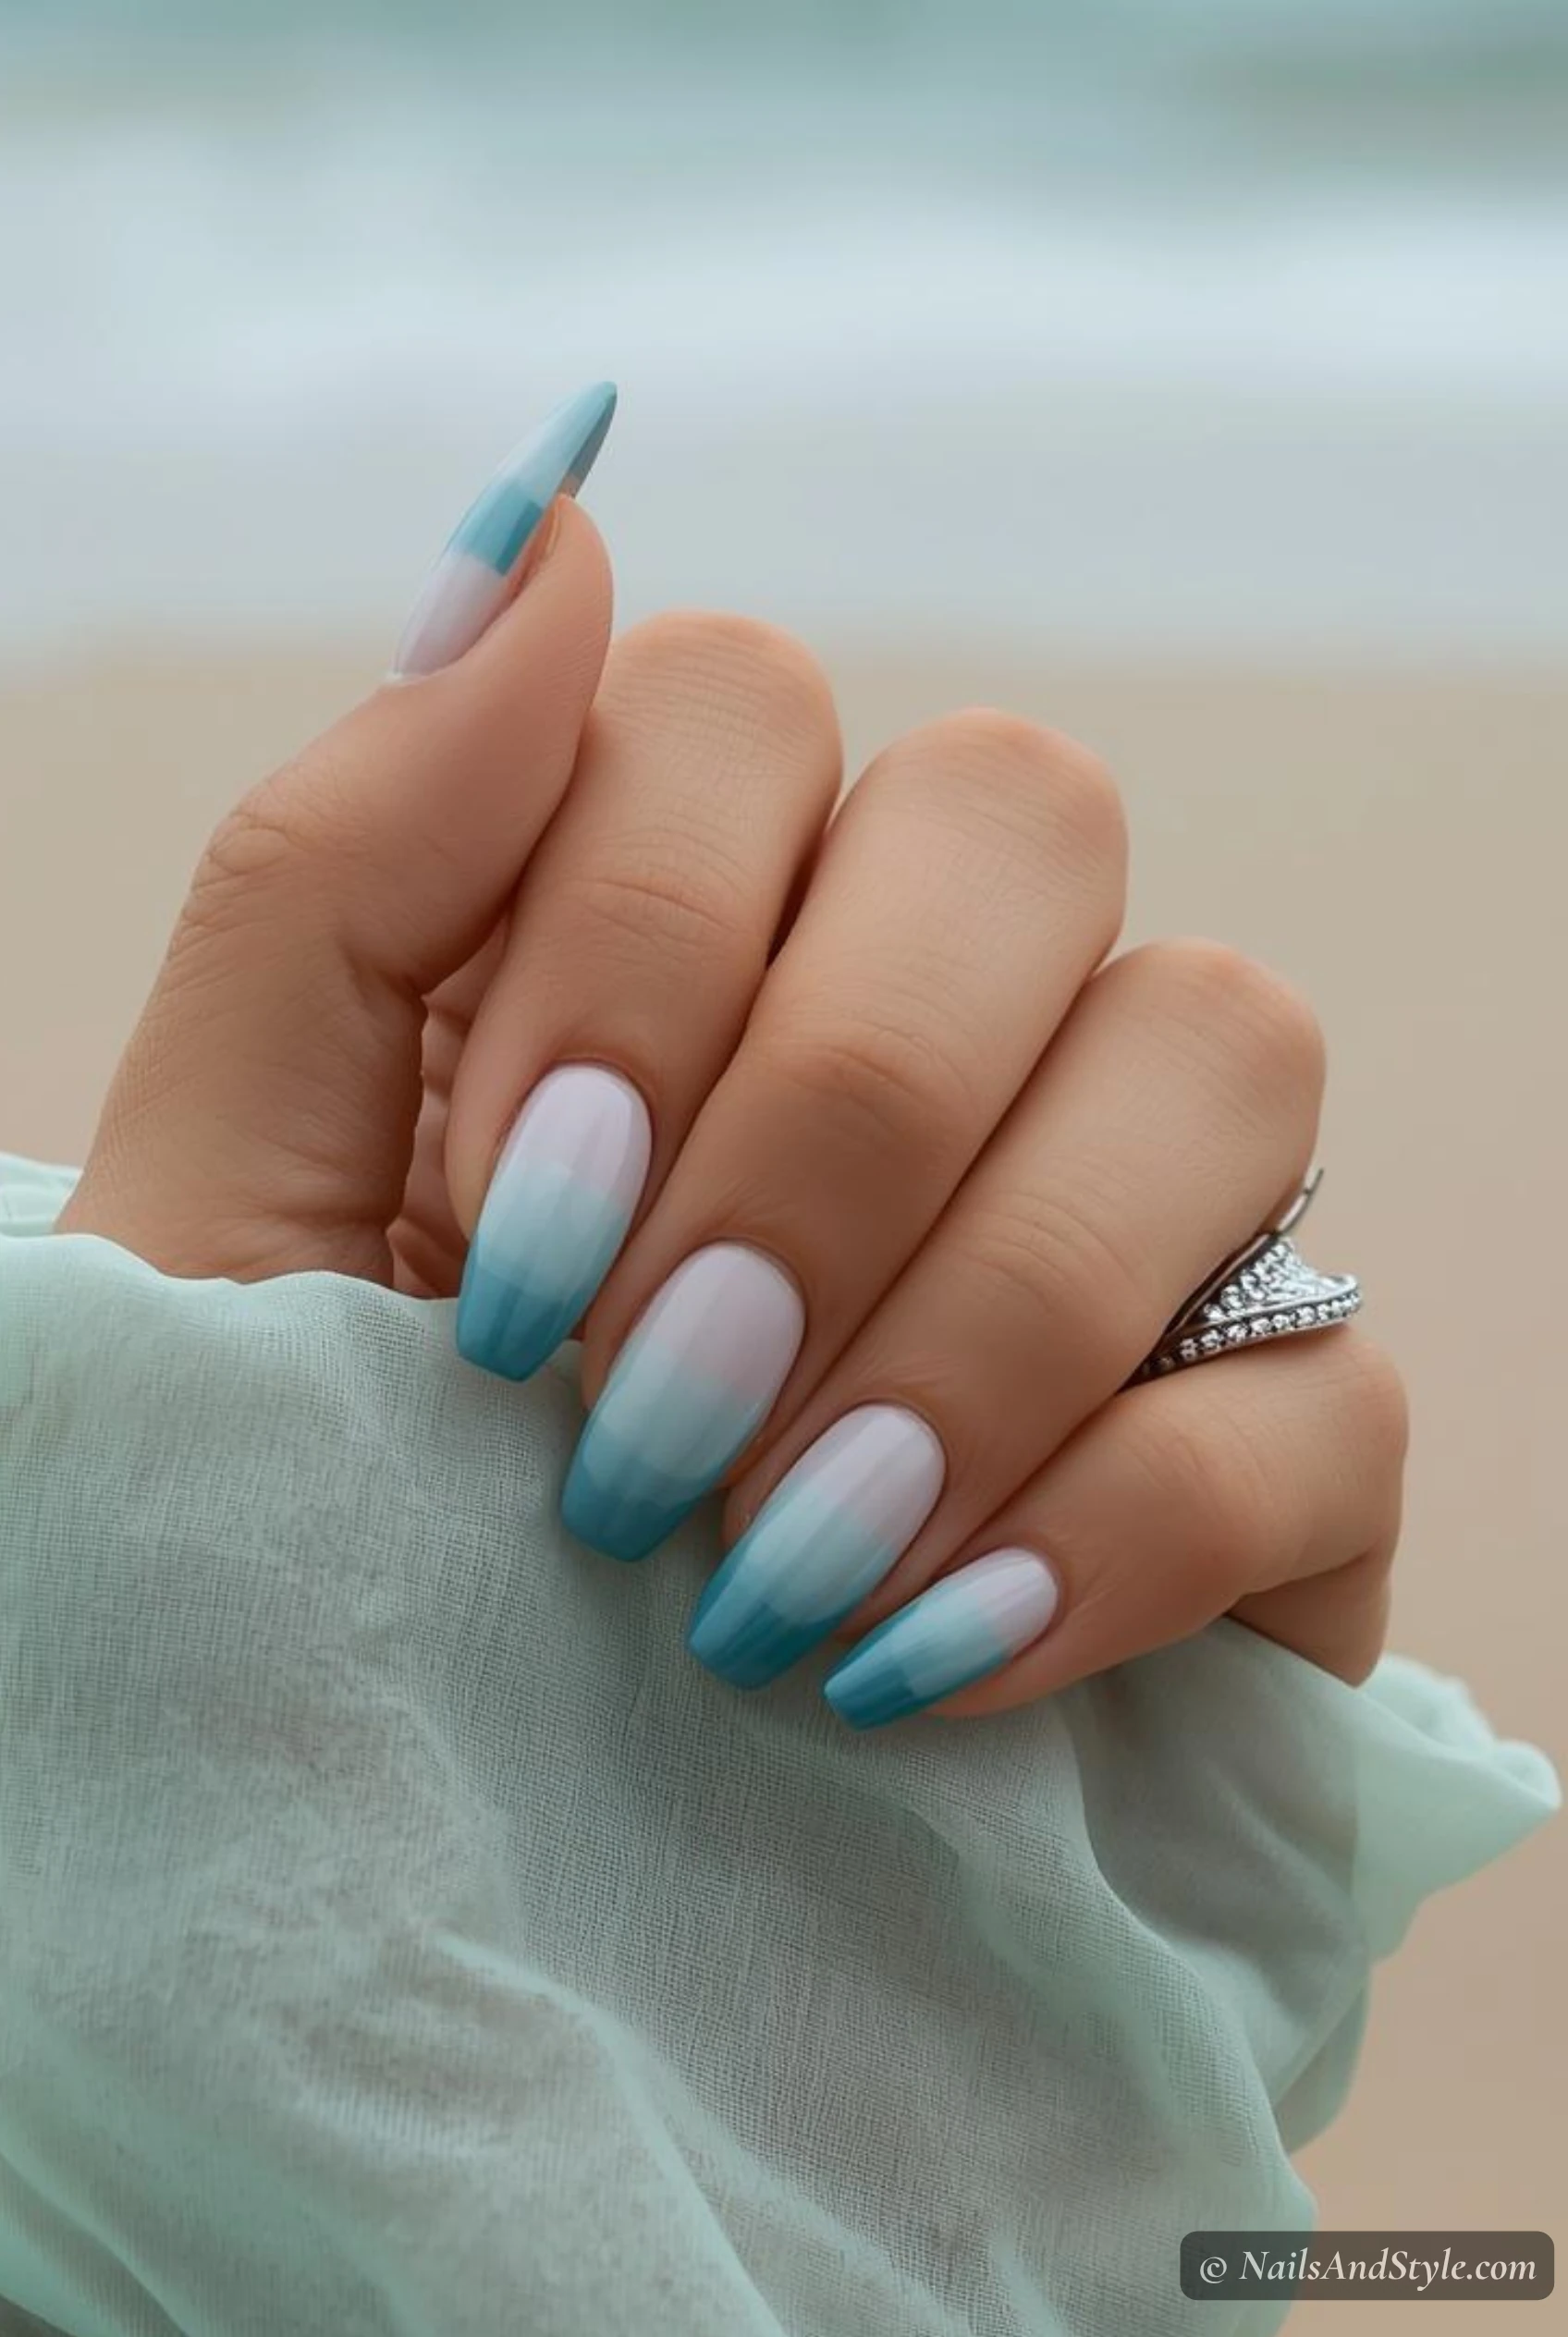
3. Ocean Blue Ombre#
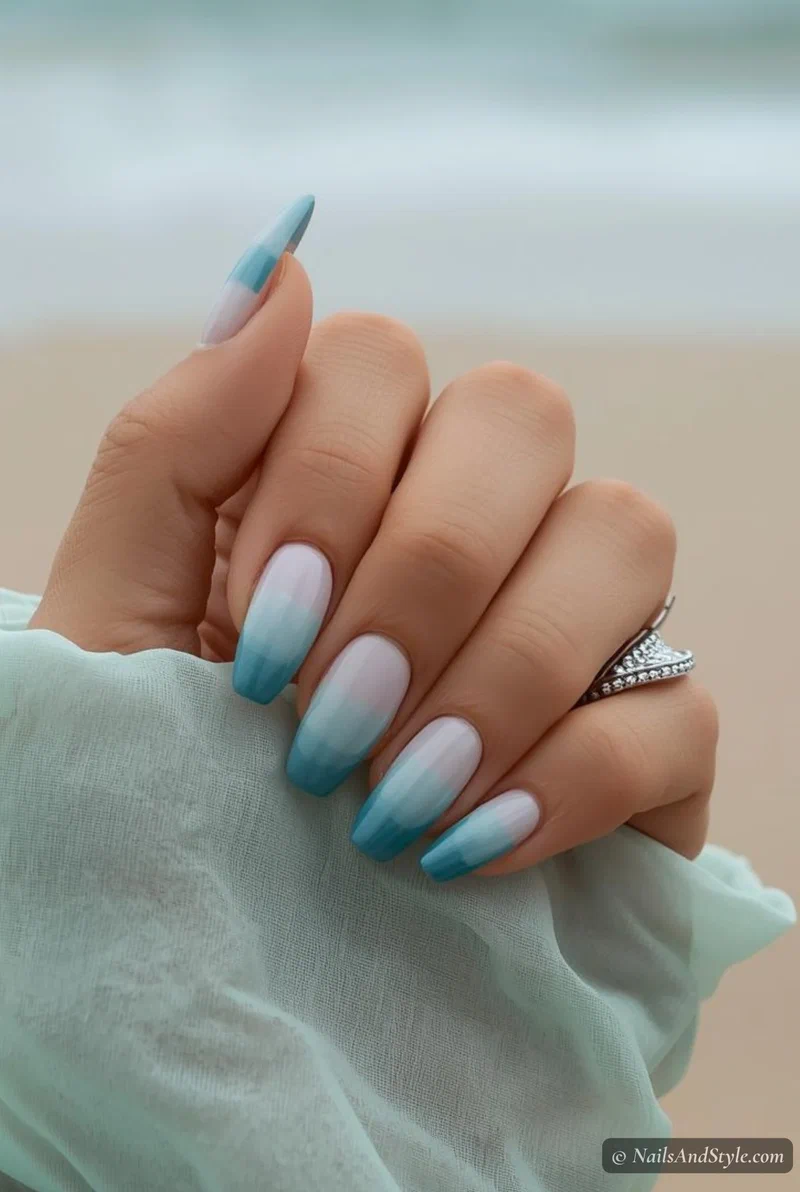
Start with a white base. Sponge on light aqua at the cuticle, blending into deep ocean blue at the tips. Two rounds of sponging usually does it. The gradient gives this dreamy underwater feel that photographs so well. Glossy seal.
4. Flamingo Pink Chrome#
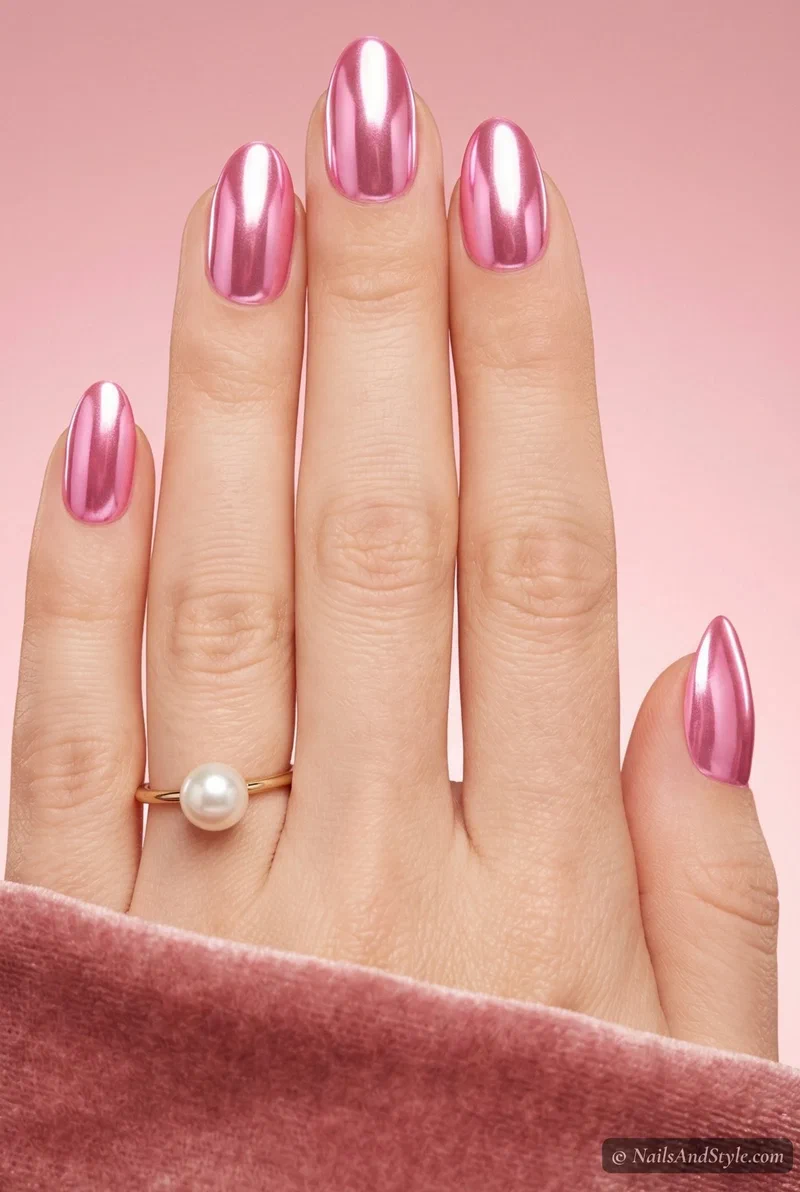
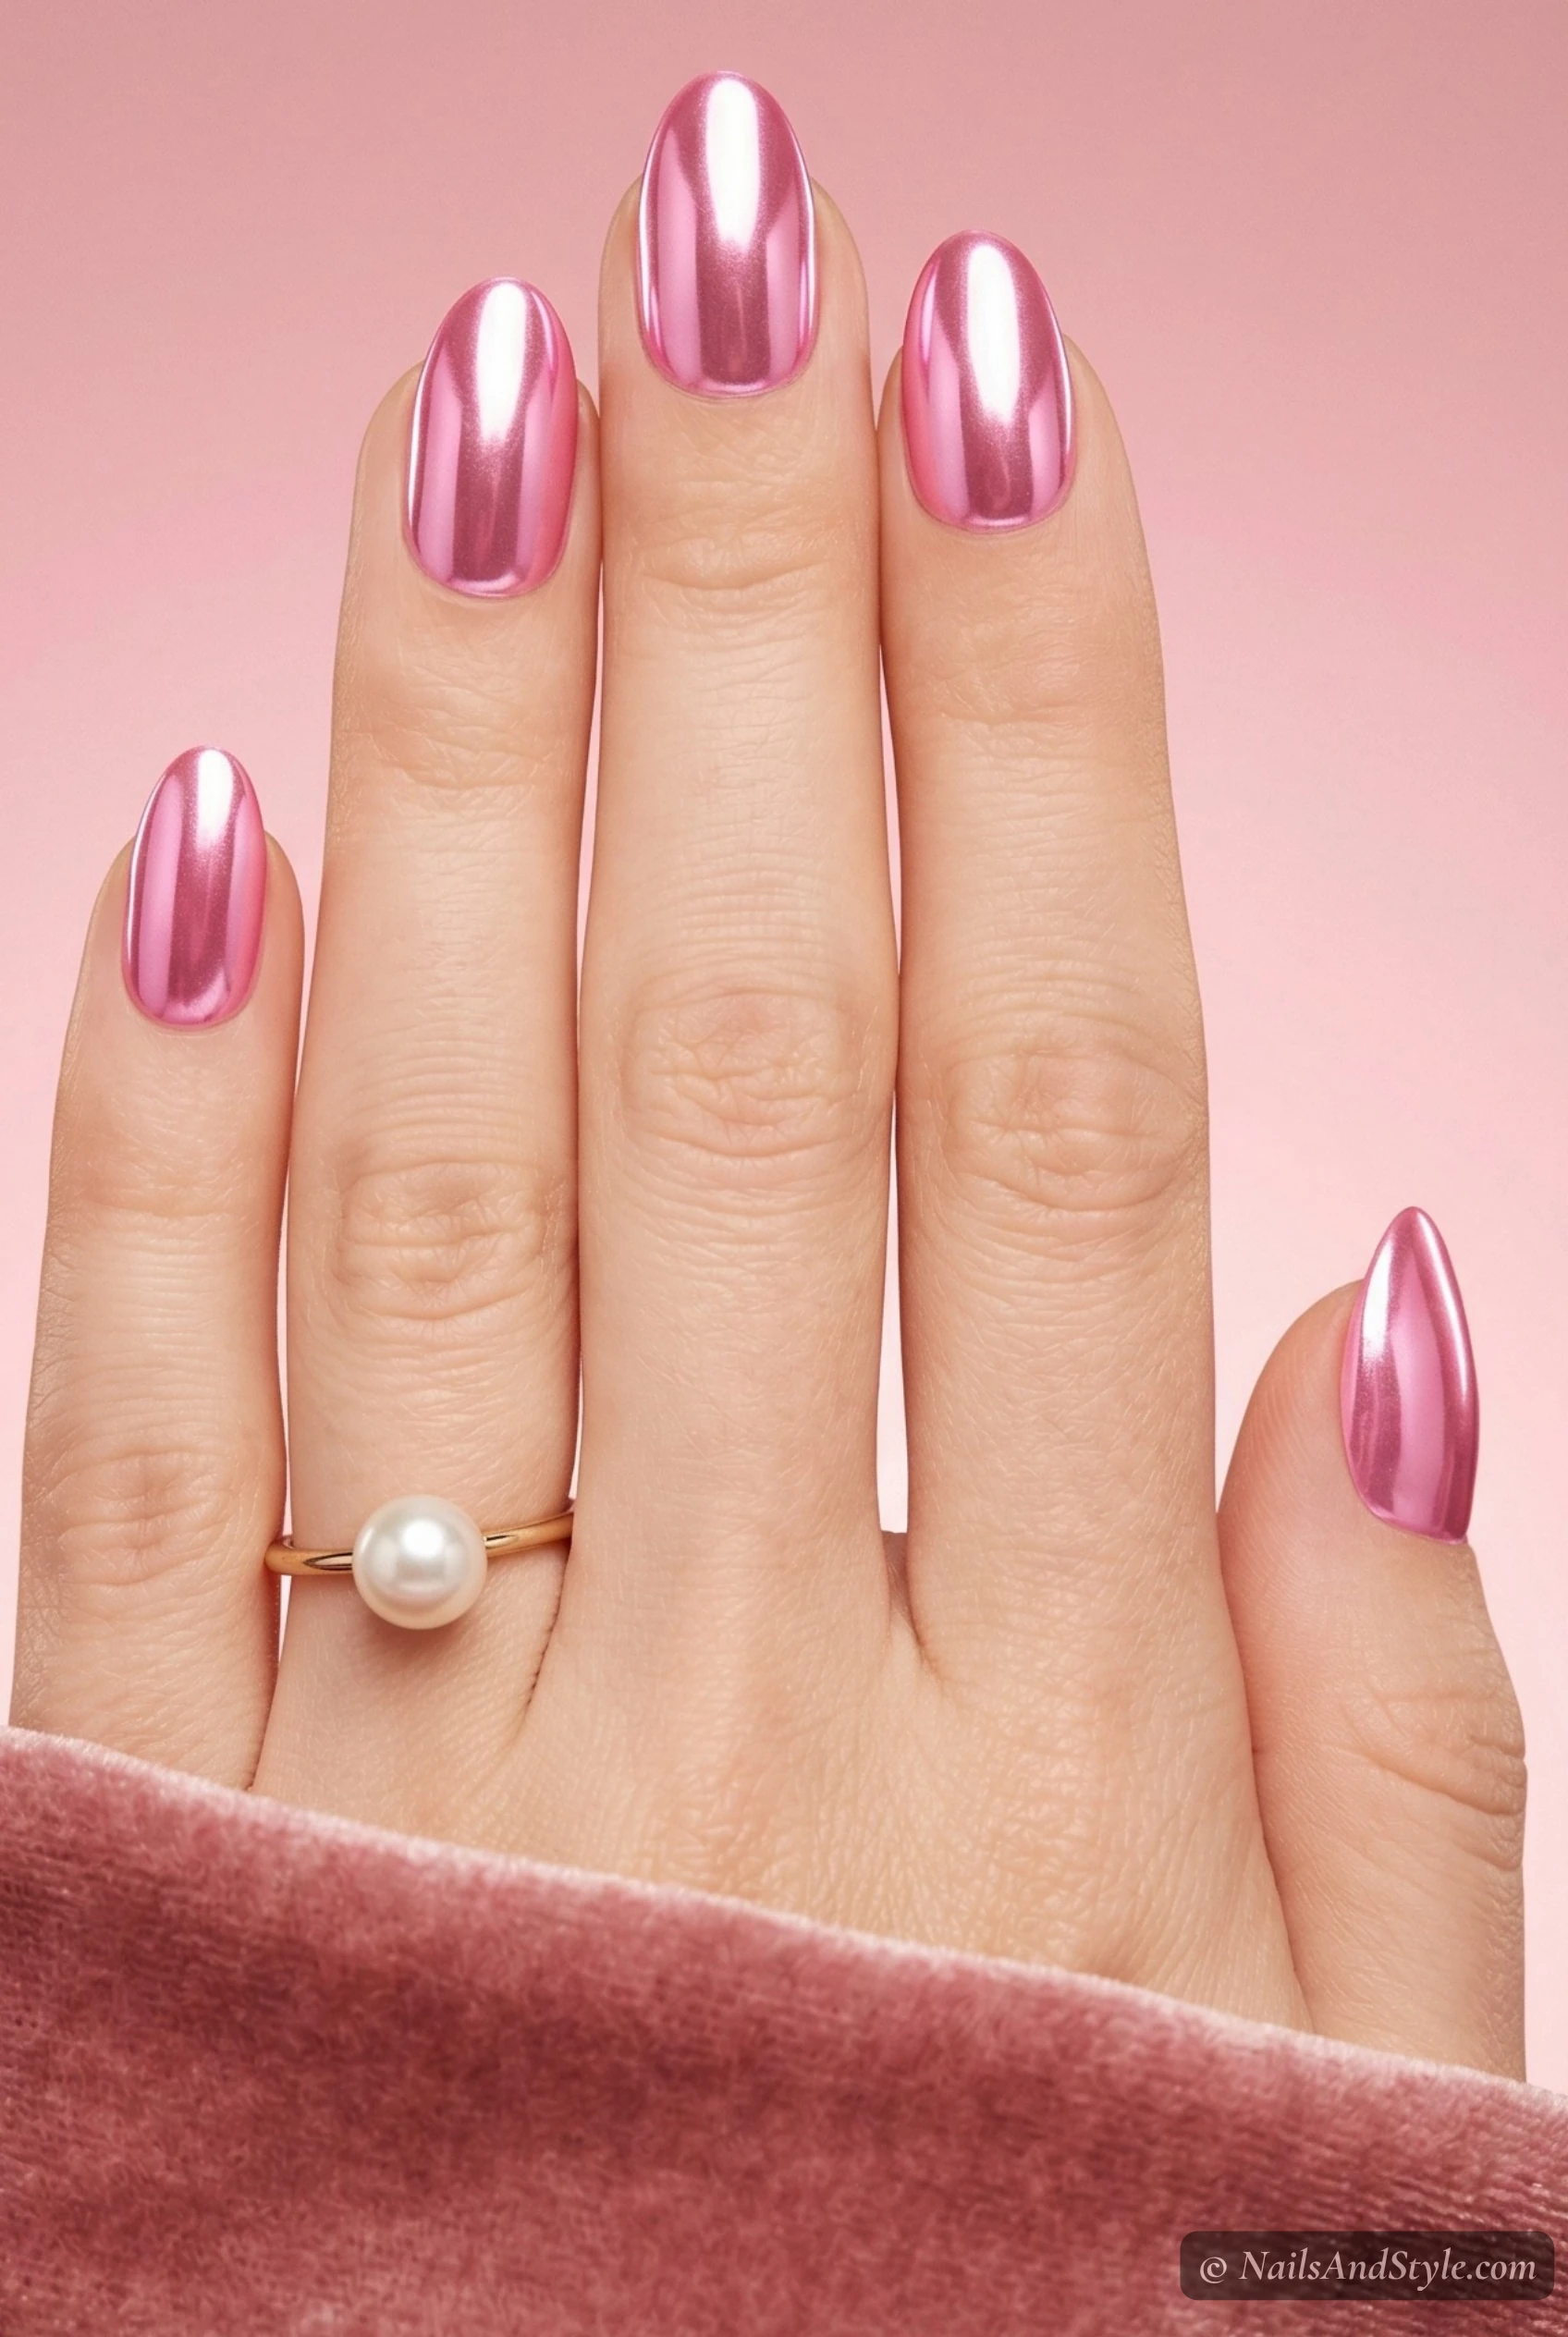
Two coats of bubblegum pink, let them go just tacky, then press chrome powder on with a silicone applicator. The mirror finish in this particular pink honestly looks like a flamingo feather. Seal with a non-water-based top coat so the chrome stays reflective.
5. Pineapple Nail Art#
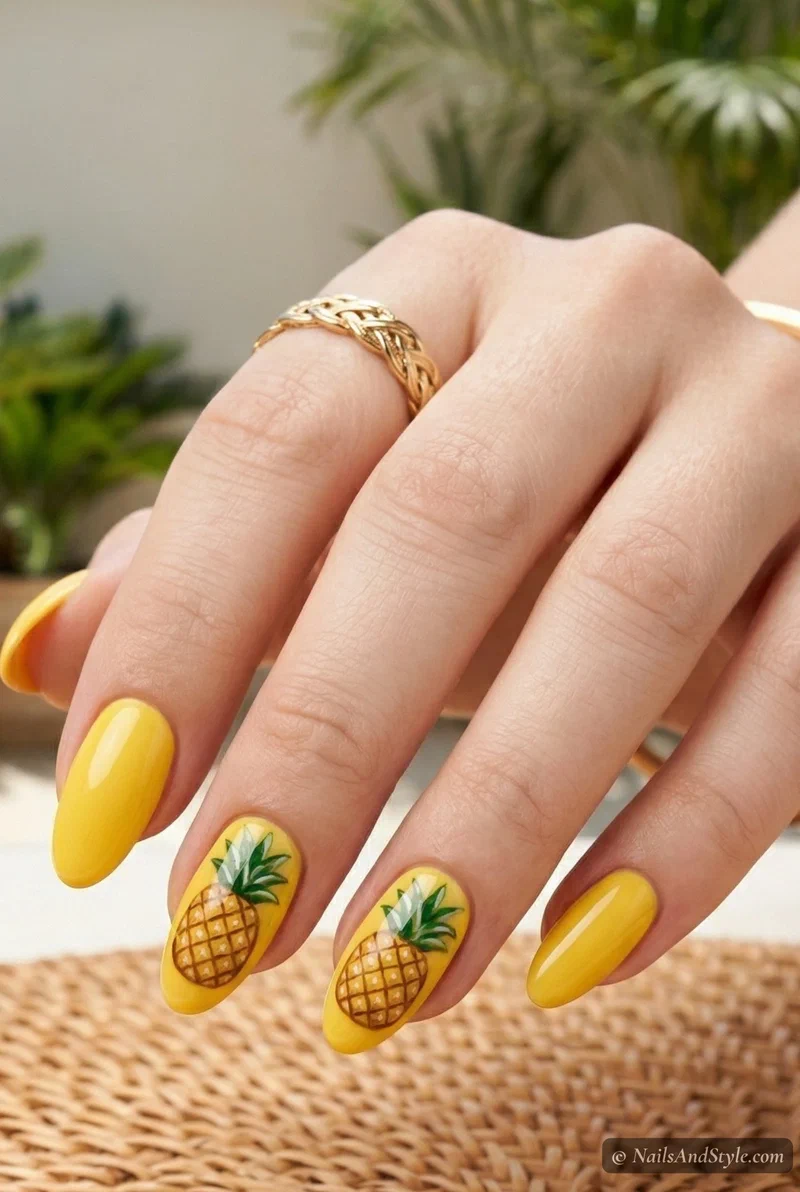
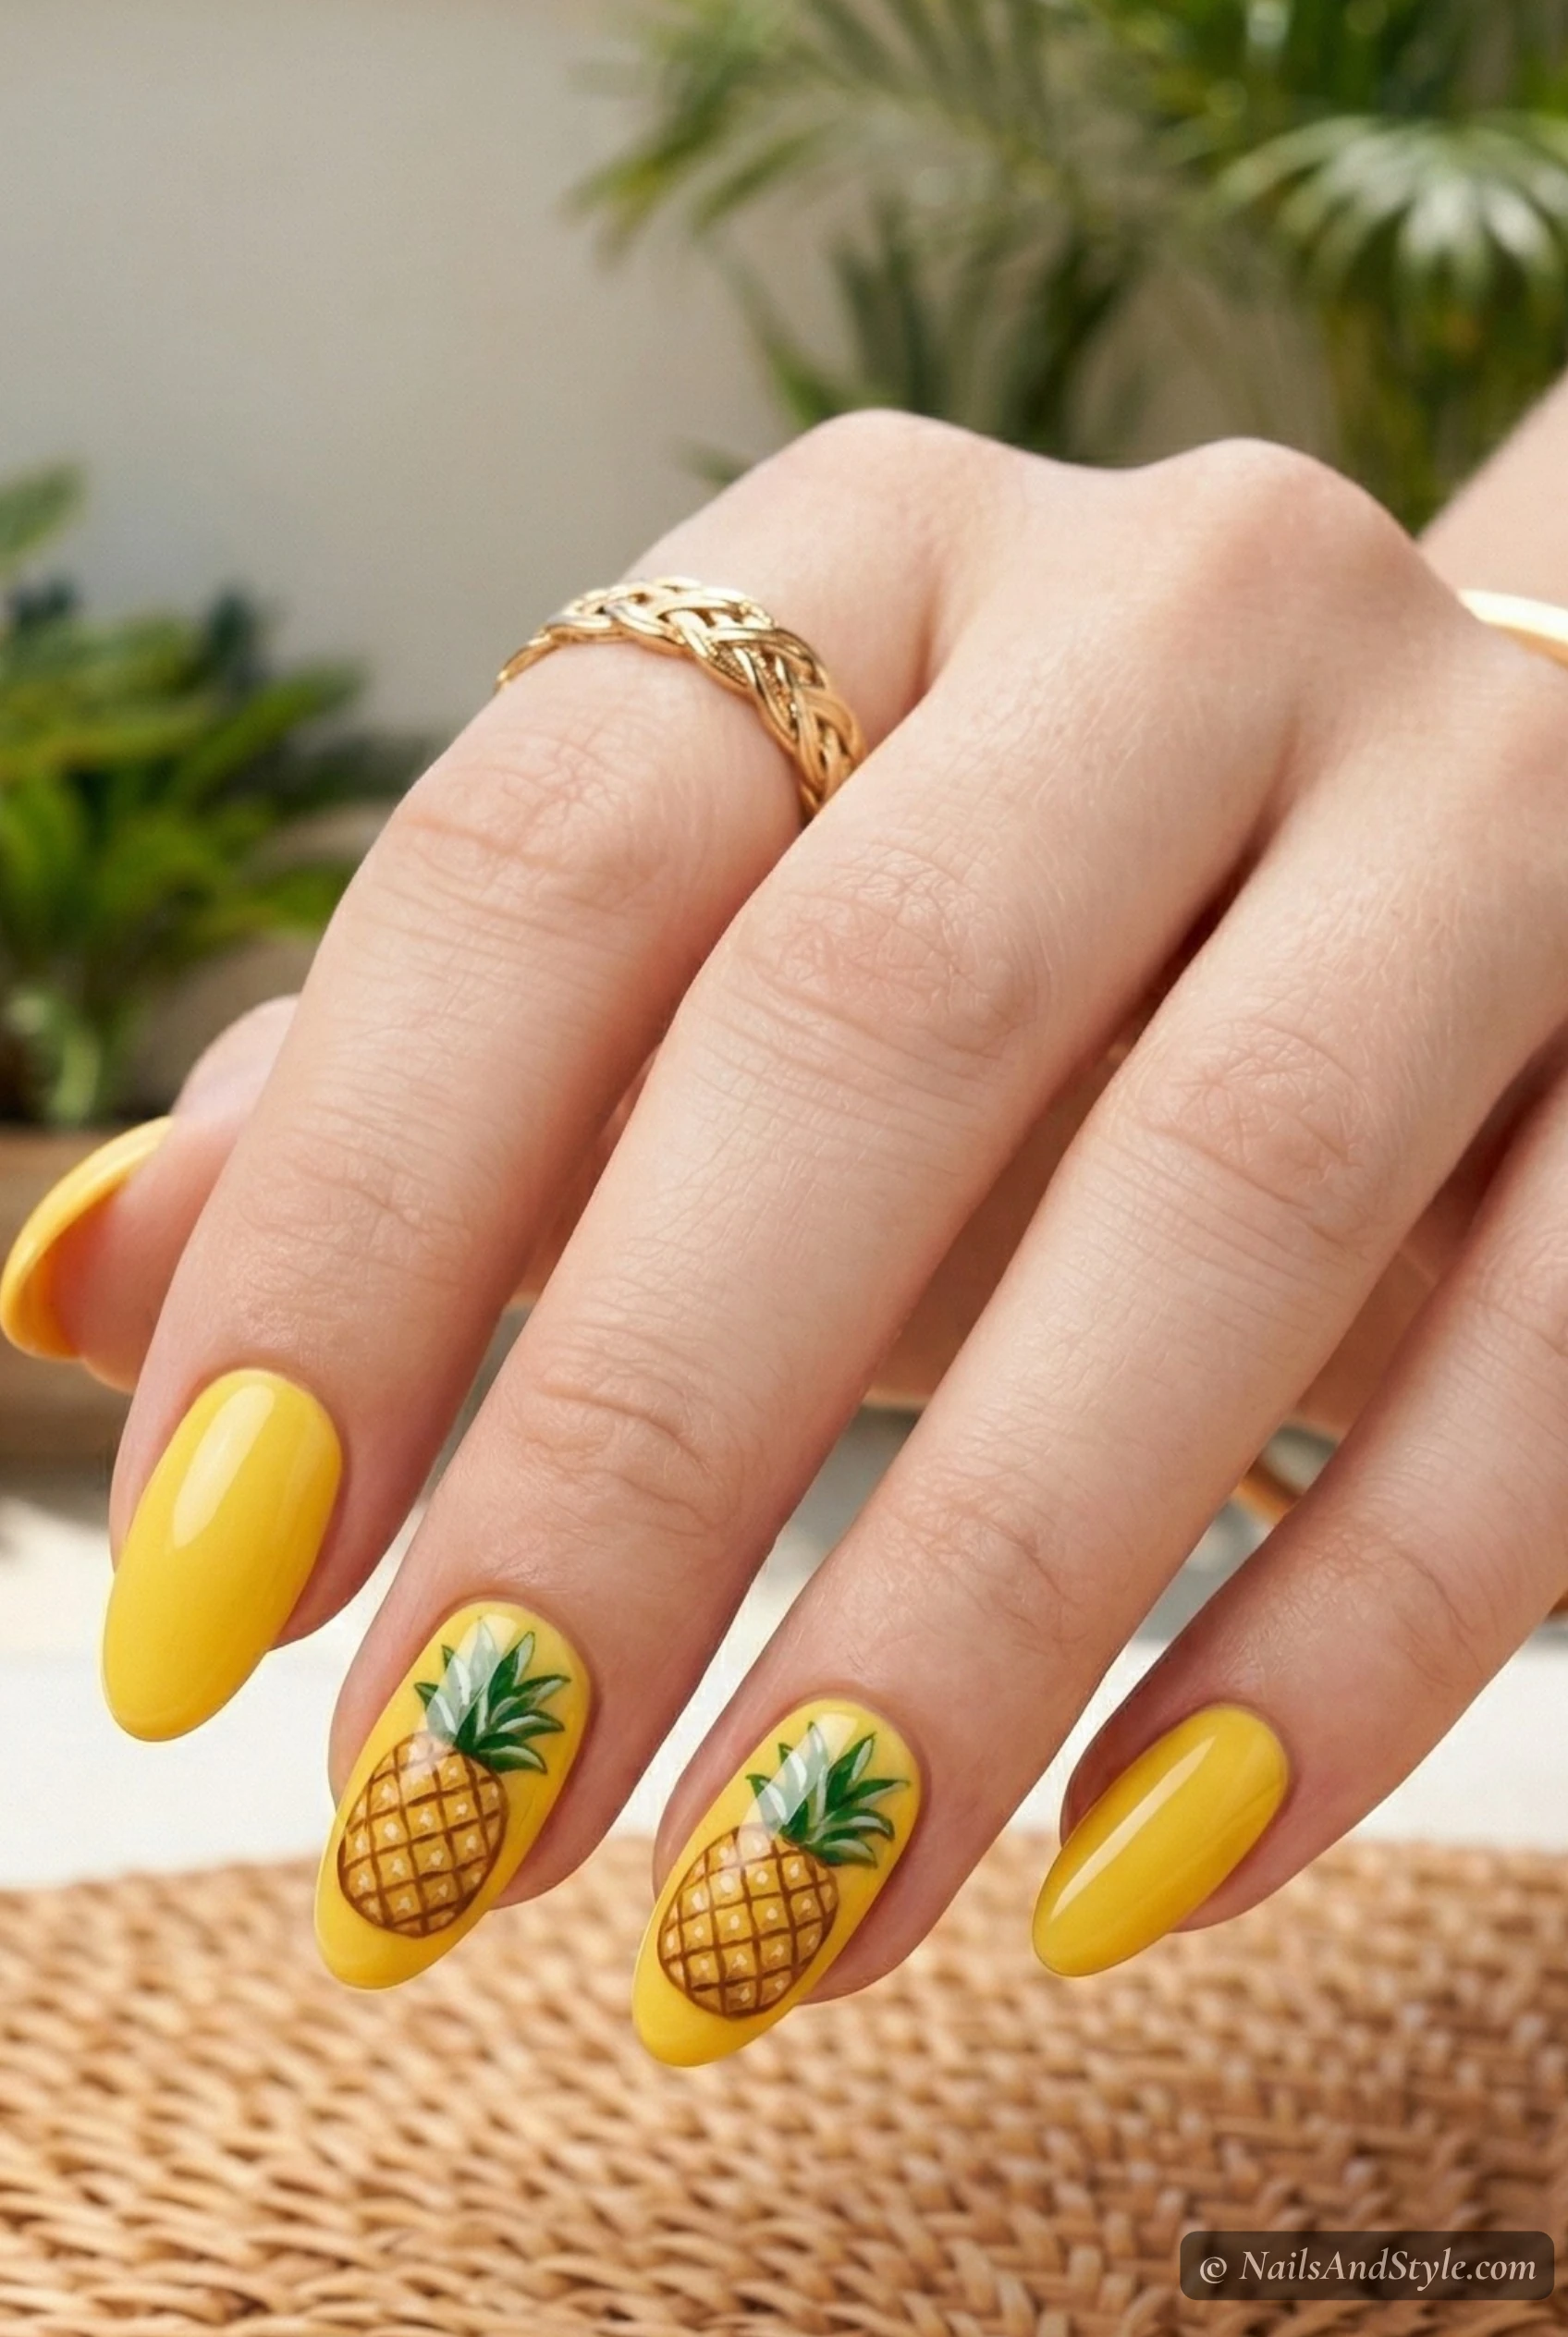
This one’s a crowd-pleaser. Yellow base on all nails, then paint a small pineapple on one or two accent nails — crosshatch pattern in golden brown with a tiny green top. A dotting tool and thin brush handle the details. Fun for pool parties and honestly? Pretty easy once you get the grid pattern down.
6. Tropical Sunset Gradient#
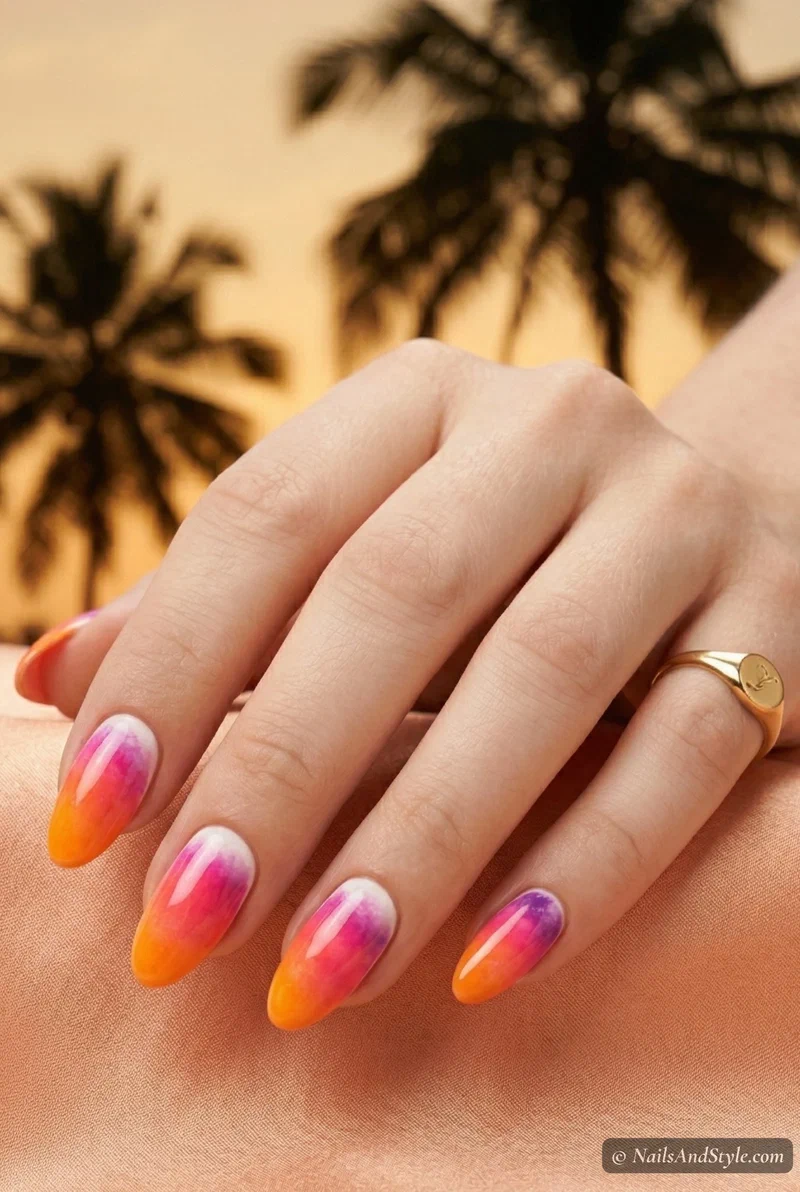
Sponge orange, pink, and a touch of purple across a white base — start warm at the bottom, cool at the top. Each nail becomes its own little sunset. This is the kind of look that makes people stop you and ask where you got your nails done. Glossy finish.
7. Coconut Milk and Gold Flake#
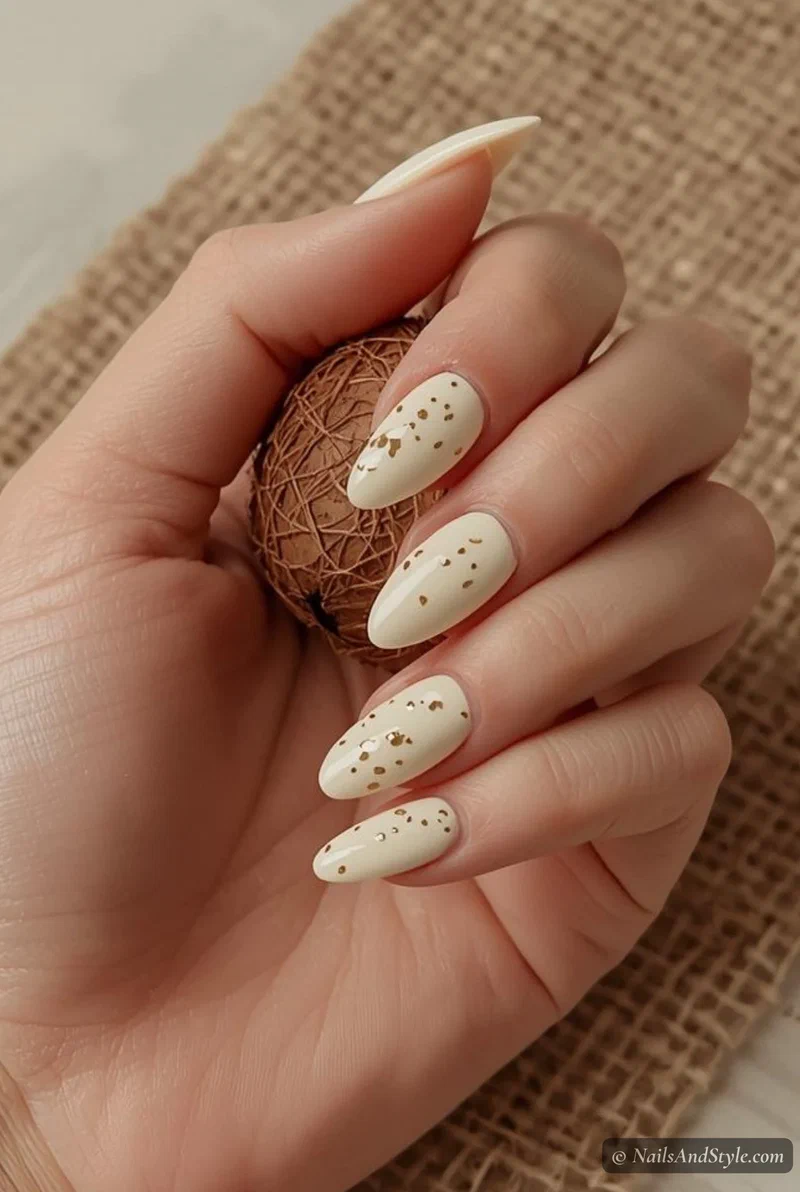
Creamy off-white base (two coats for full opacity), then press tiny gold foil flecks onto the wet second coat. Simple, warm, beachy without screaming about it. Thick glossy top coat locks the foil in place.
8. Teal Lagoon Jelly#
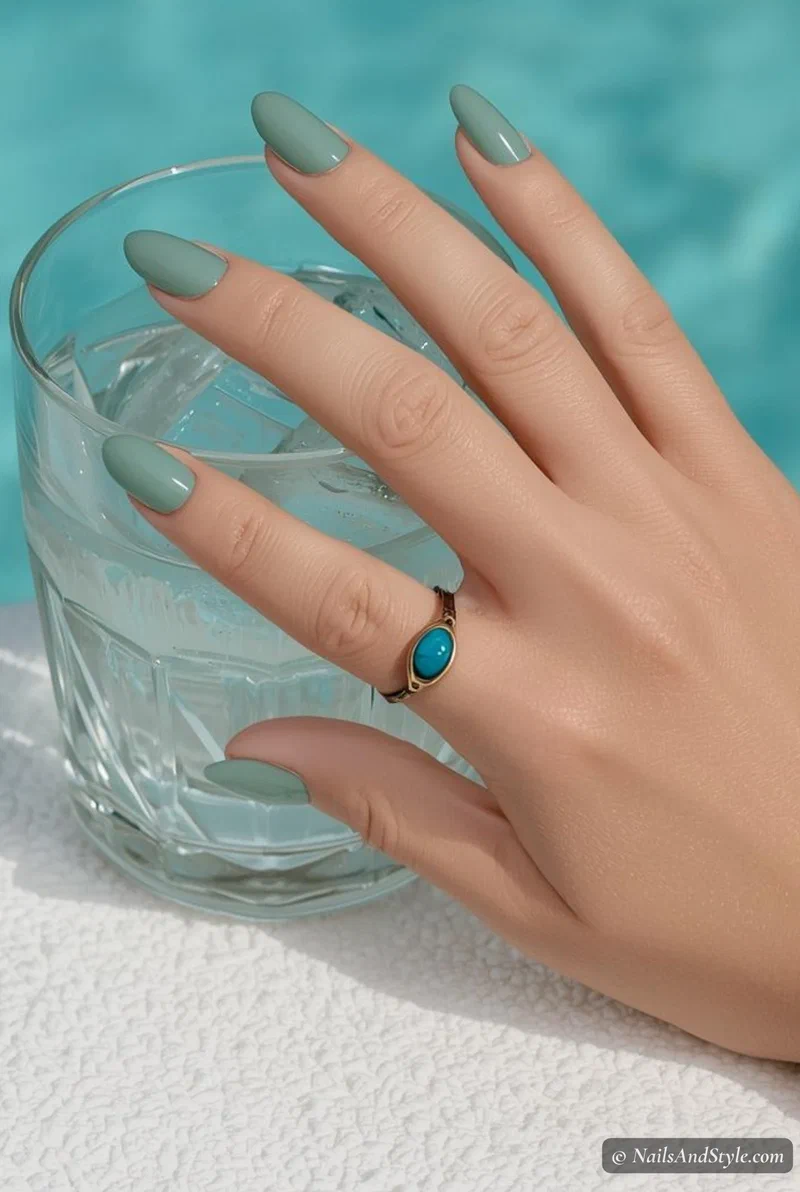
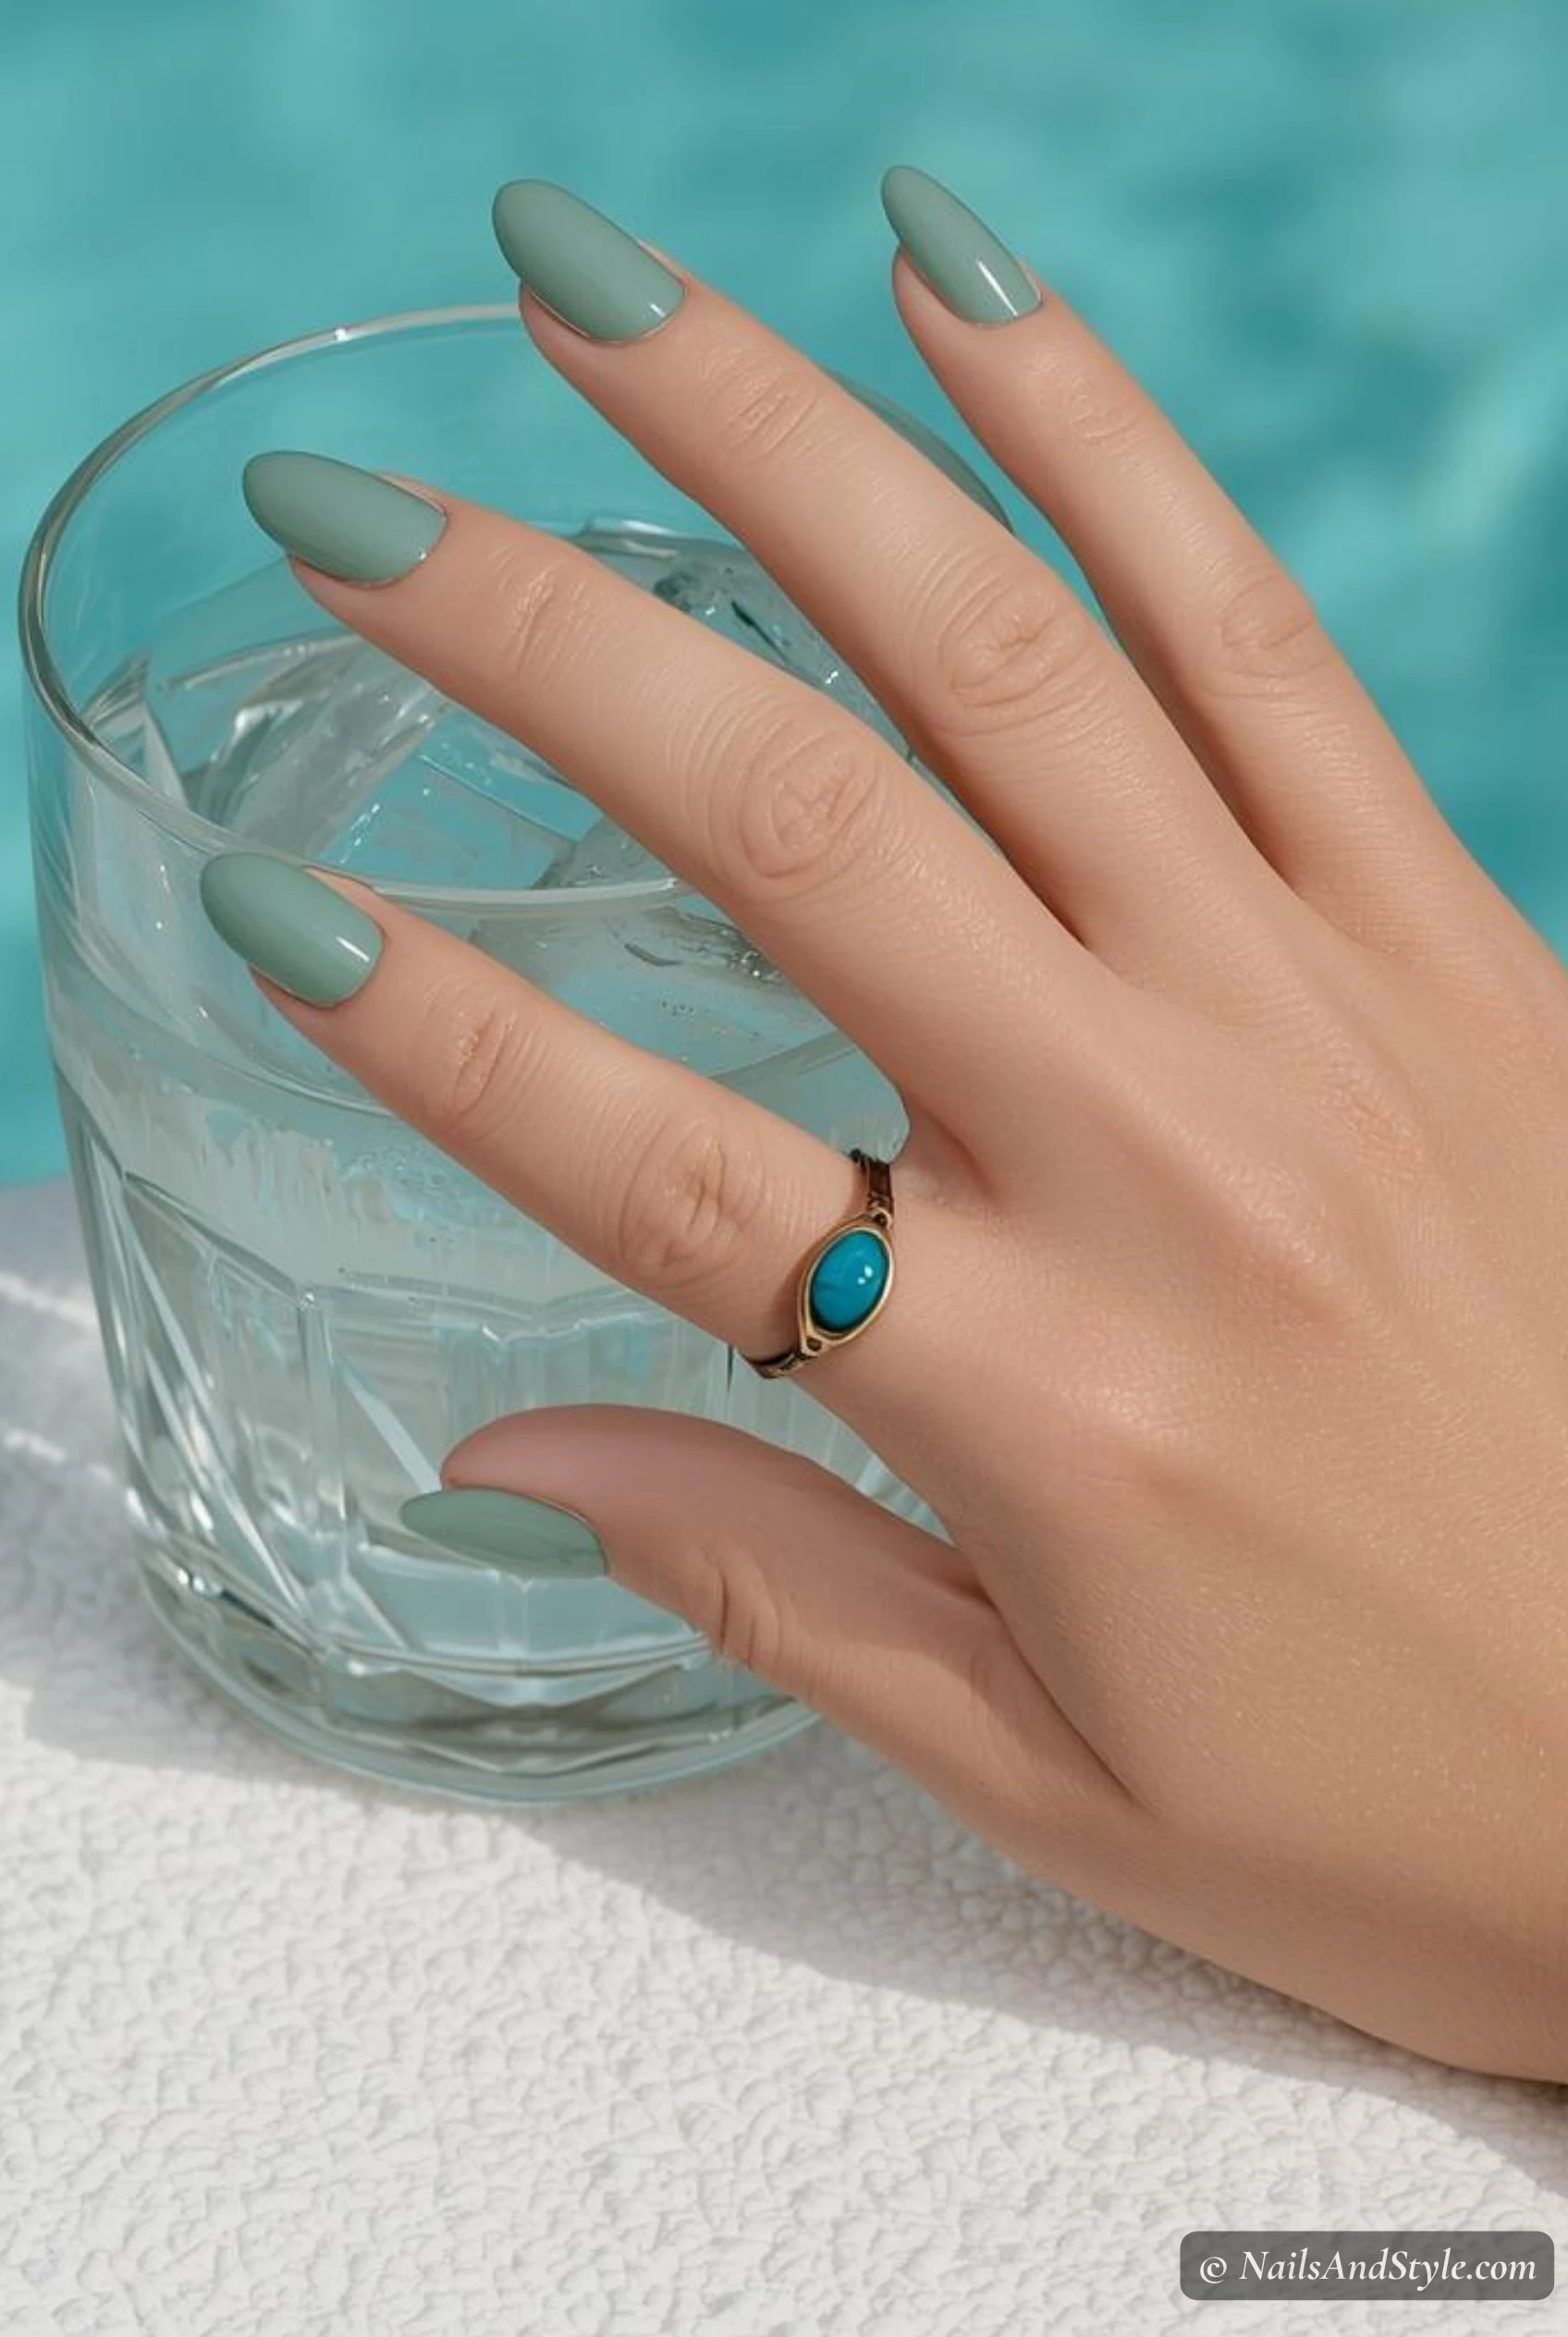
Build two thin coats of sheer teal jelly polish over a clear base. The see-through candy effect in this shade looks like lagoon water — dreamy and slightly addictive. Works best on shorter nails where the translucency really shows. Glossy seal, obviously.
9. Mango Sorbet Matte#
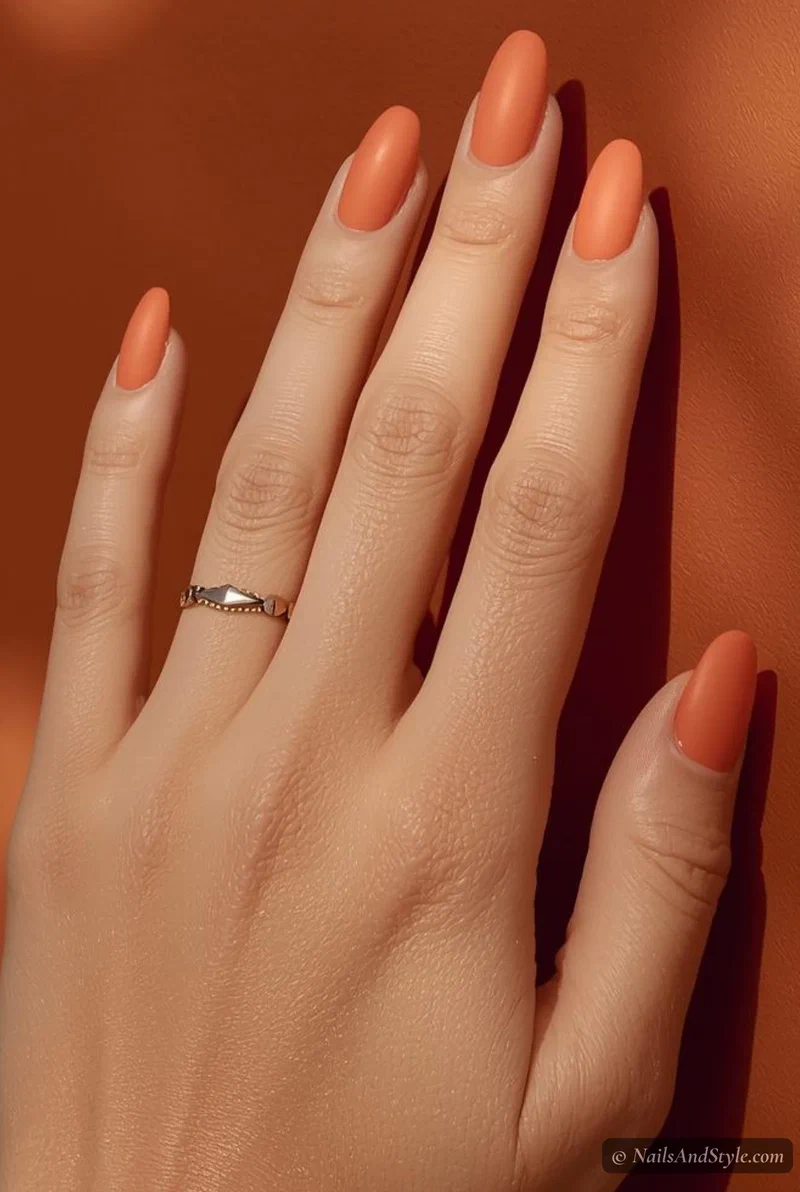
Two coats of warm peachy-orange, then hit it with a matte top coat instead of glossy. The velvety finish turns a basic fruit shade into something that feels really intentional. Low-key one of my favorites on this list.
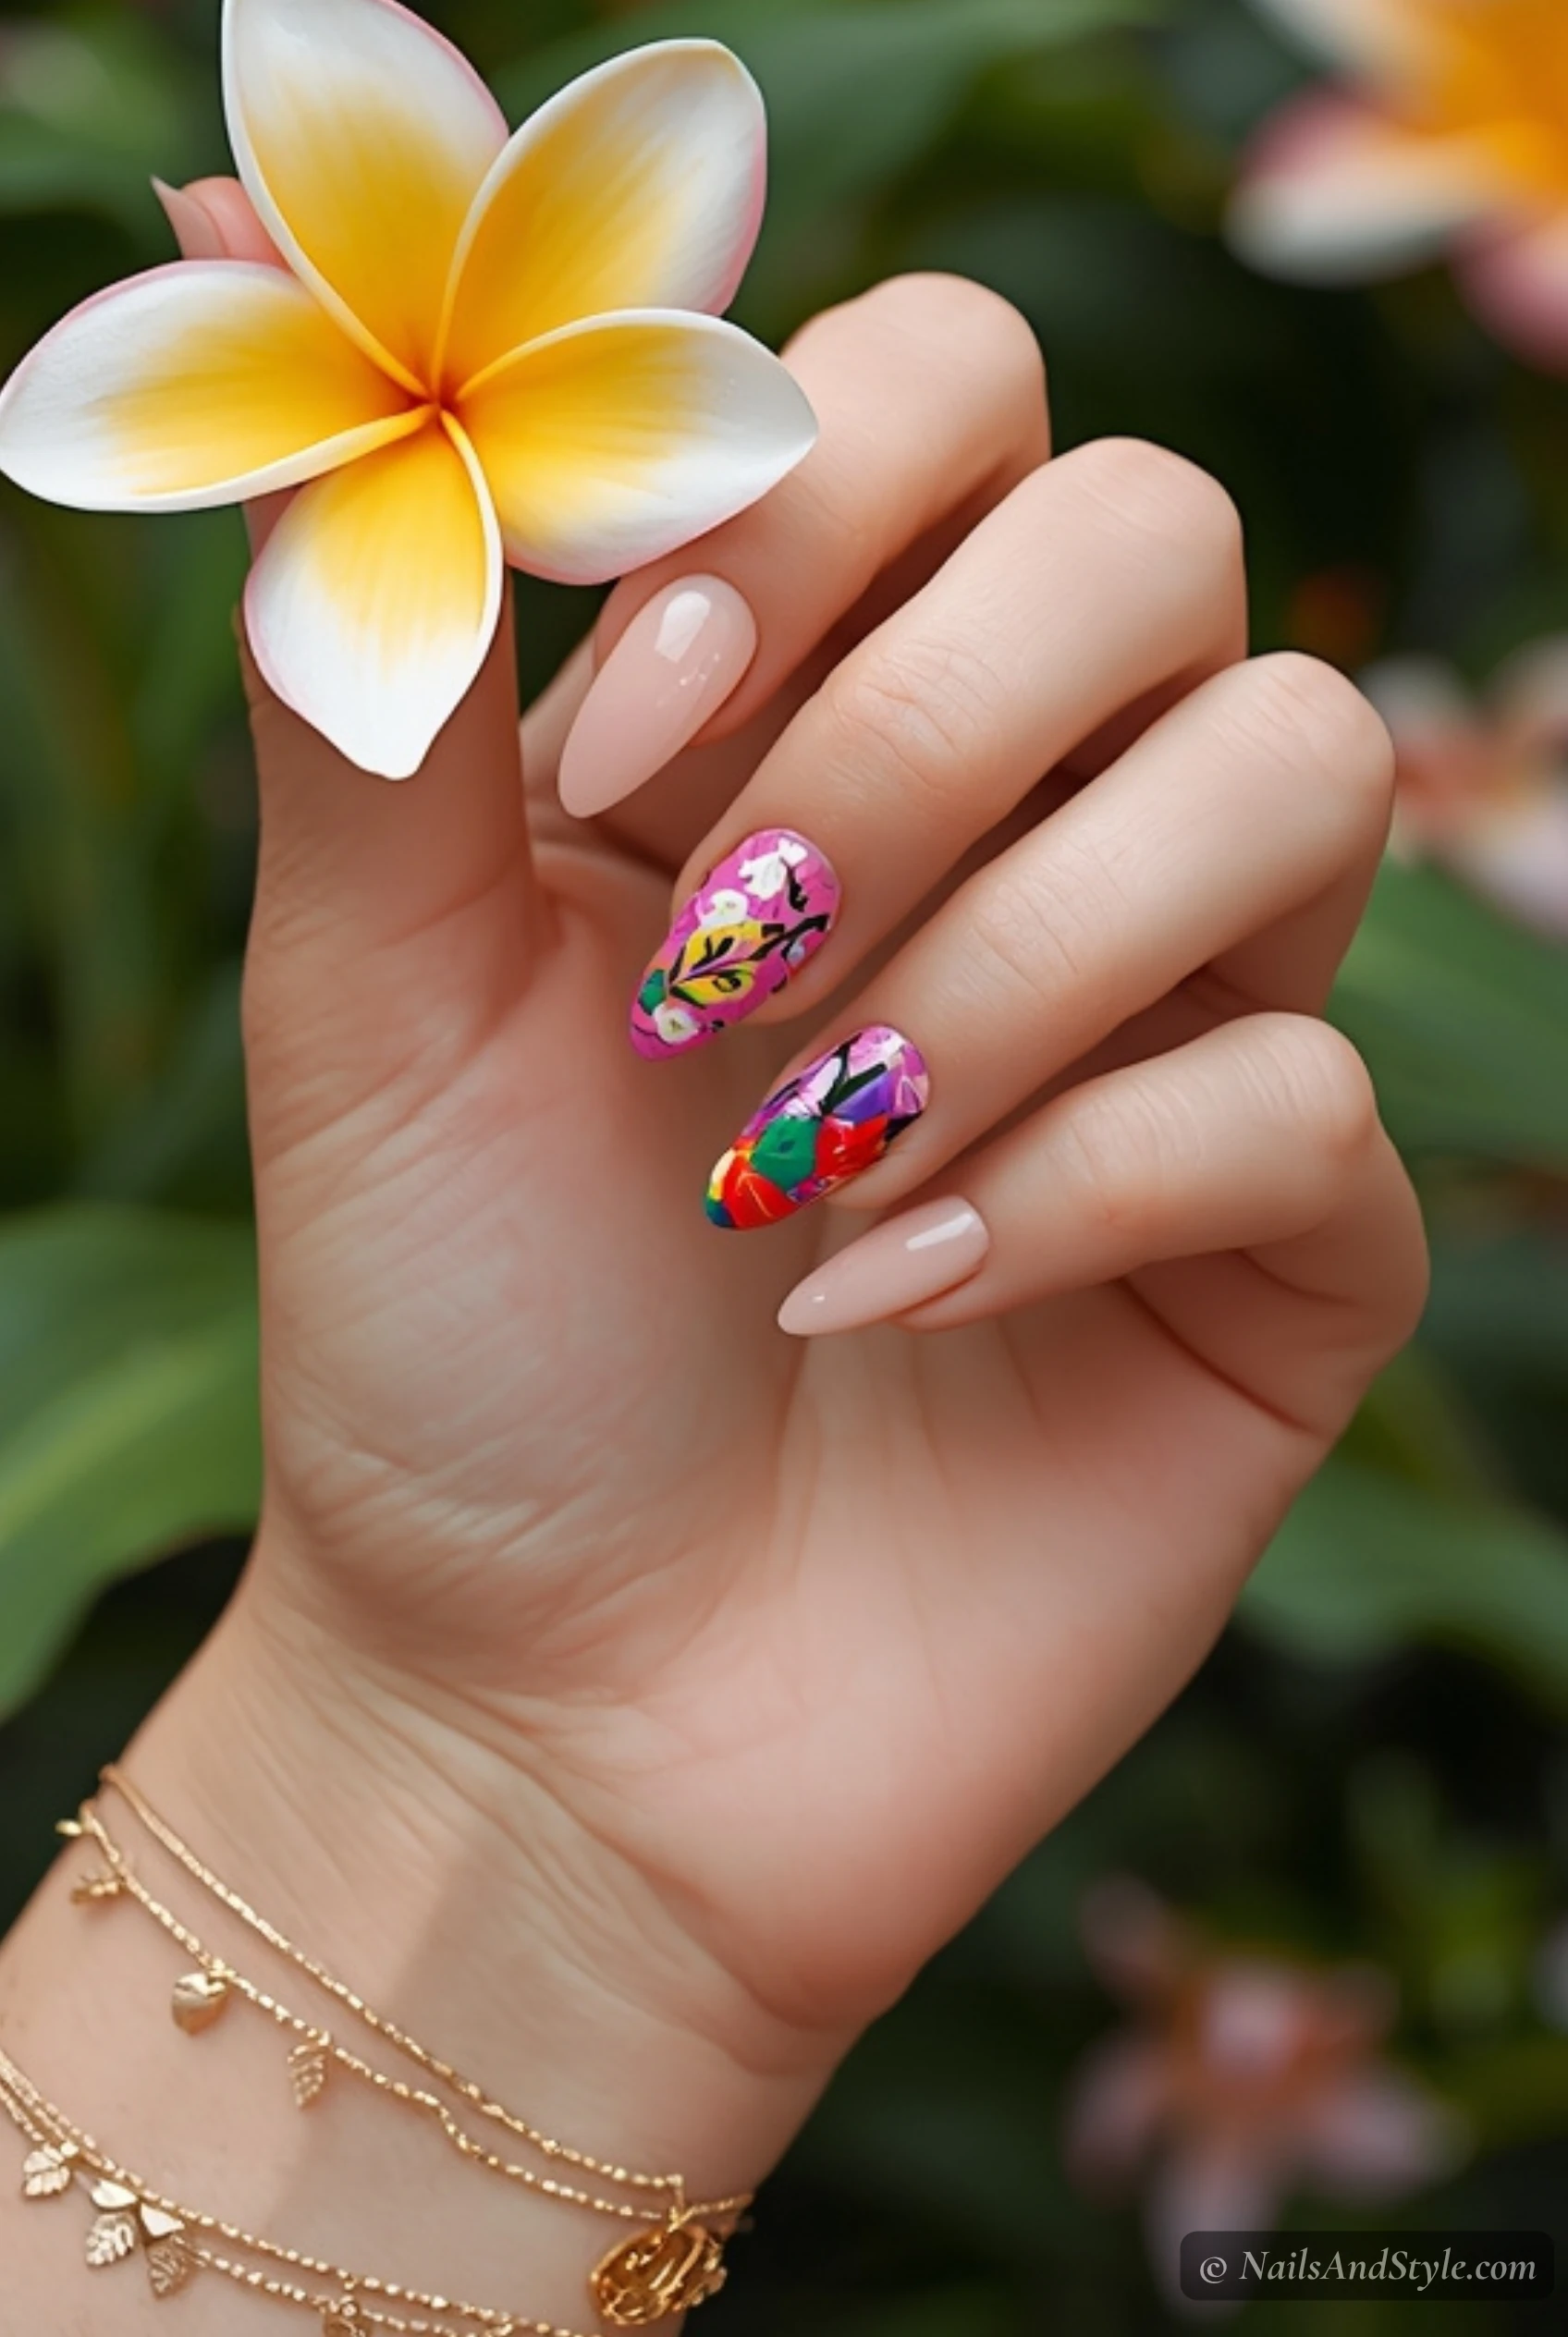
10. Paradise Floral Mix#
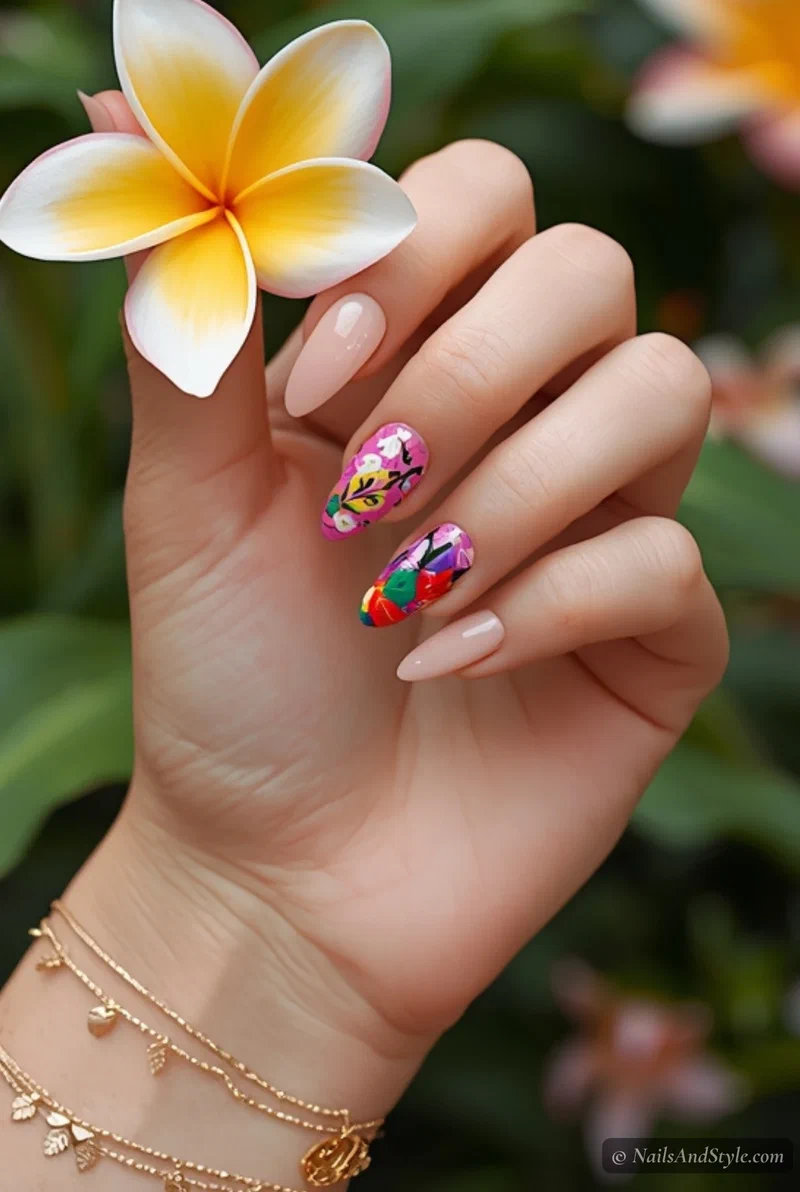
Each nail gets a different small tropical flower — plumeria on one, bird of paradise on another, hibiscus, orchid, whatever you feel. Paint them on a nude or soft pink base. It’s busy on purpose. Use a thin brush and don’t stress about perfection. For a calmer floral approach, my pastel summer nails post leans softer.
11. Coral Reef Glitter#
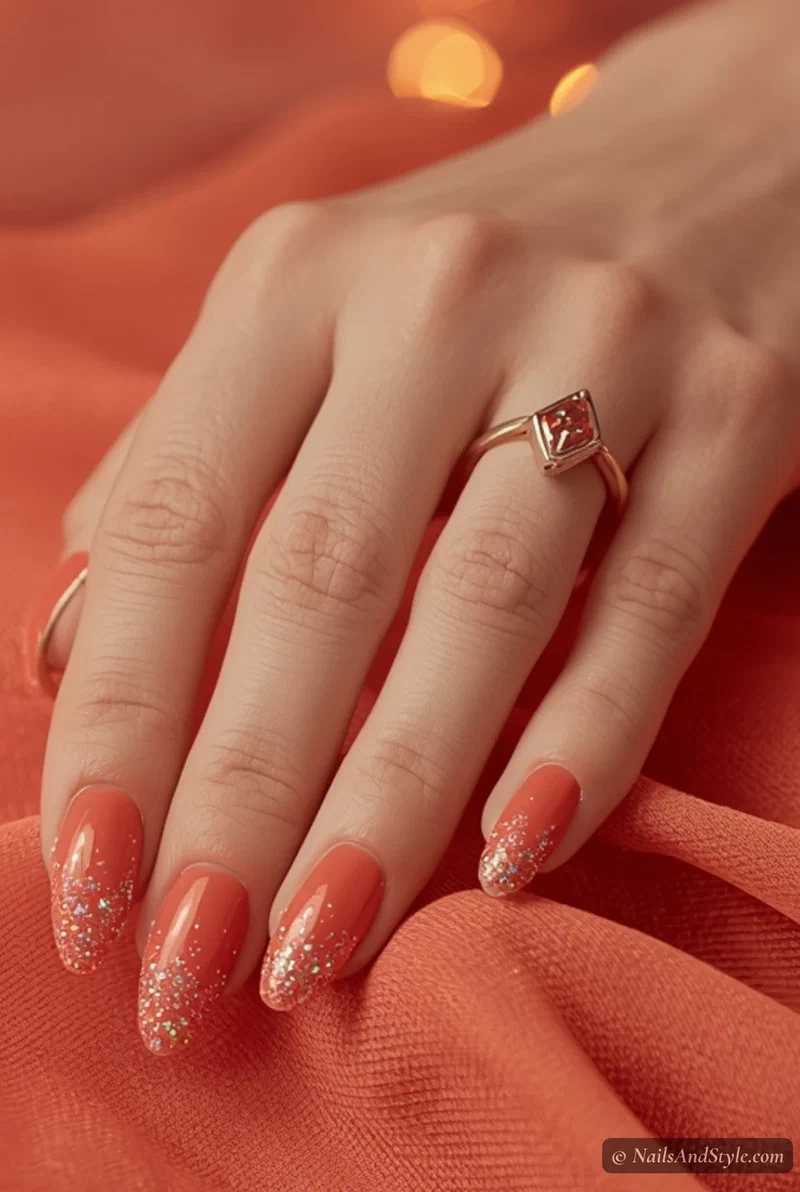
Warm coral base, one coat of iridescent glitter polish on top. Concentrate the glitter more heavily toward the tips for a subtle fade. The iridescent flecks catch light like actual water. Seal well.
12. Banana Leaf Print#
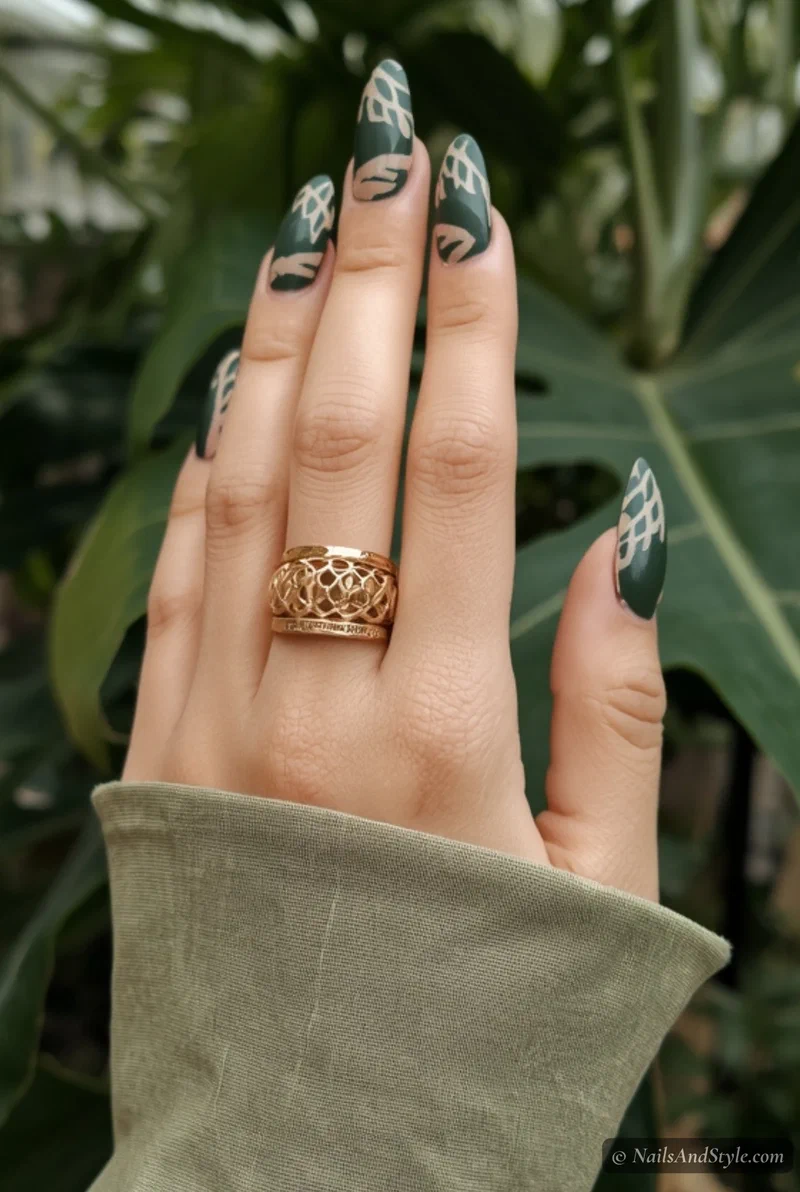
Dark green base, then paint lighter green diagonal stripes with a thin brush to mimic banana leaf veining. It sounds tricky but the pattern is really just parallel lines at an angle. Very editorial, very palm-print-dress energy. Glossy finish.
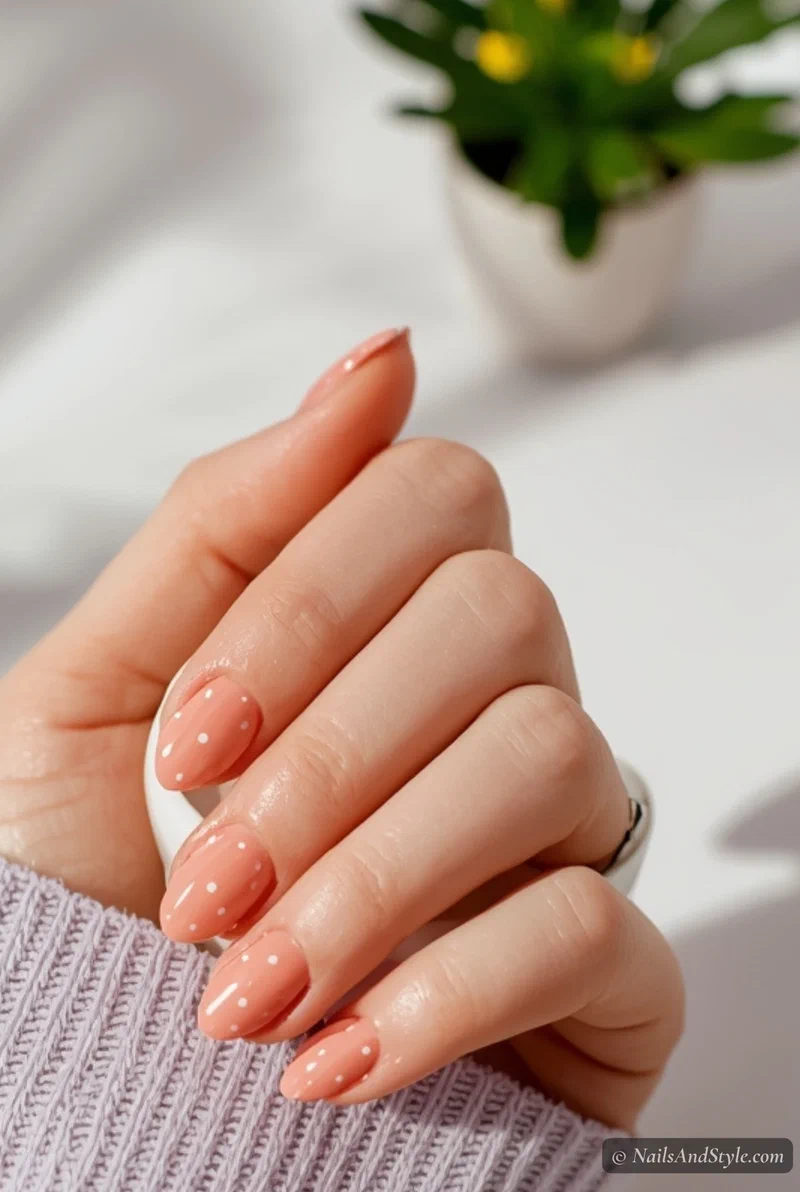
13. Papaya Pink with White Dots#
Soft papaya pink base, then use a dotting tool to add tiny scattered white dots across each nail. That’s it. The whole thing takes maybe fifteen minutes and looks like confetti on a beach. Cute, minimal, totally beginner-friendly.
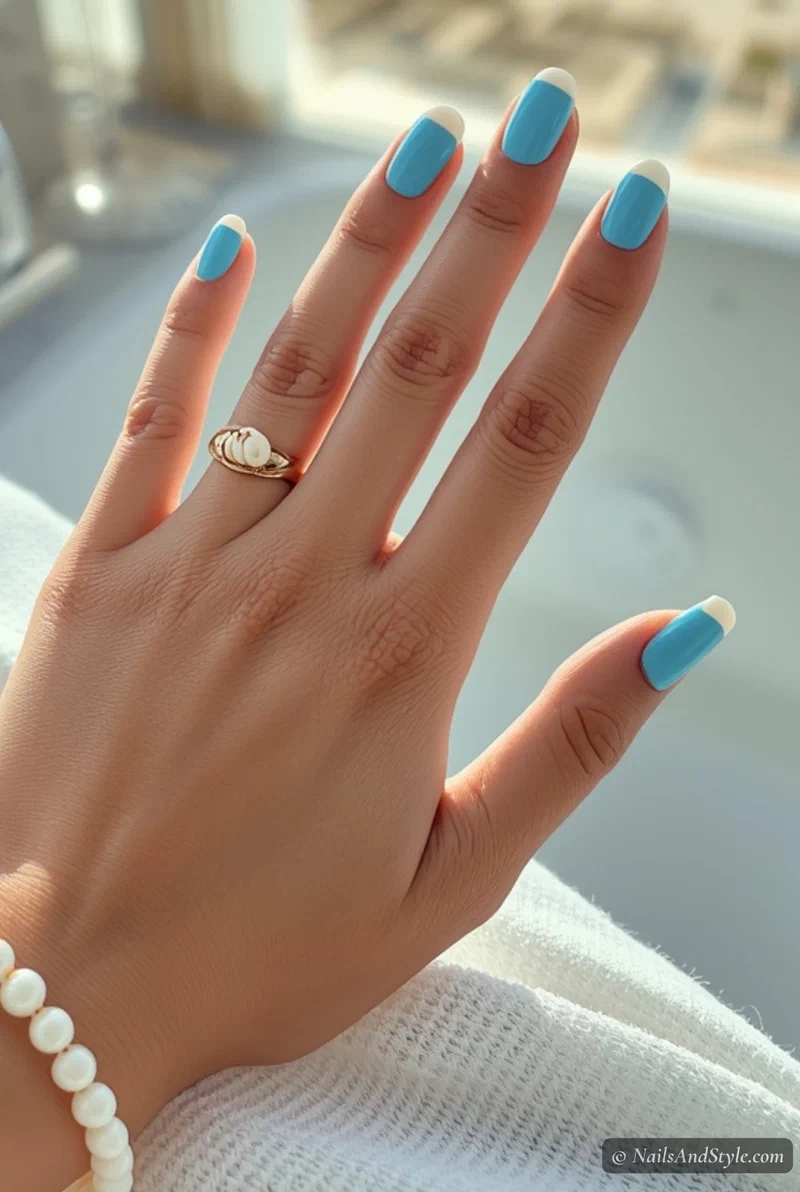
14. Island Blue French Tips#
Bright turquoise tips on a clear or milky base. Use French guides or striping tape for a clean line. The color contrast is bold but the design itself is clean and simple. Short nails especially — this look genuinely makes them appear longer.
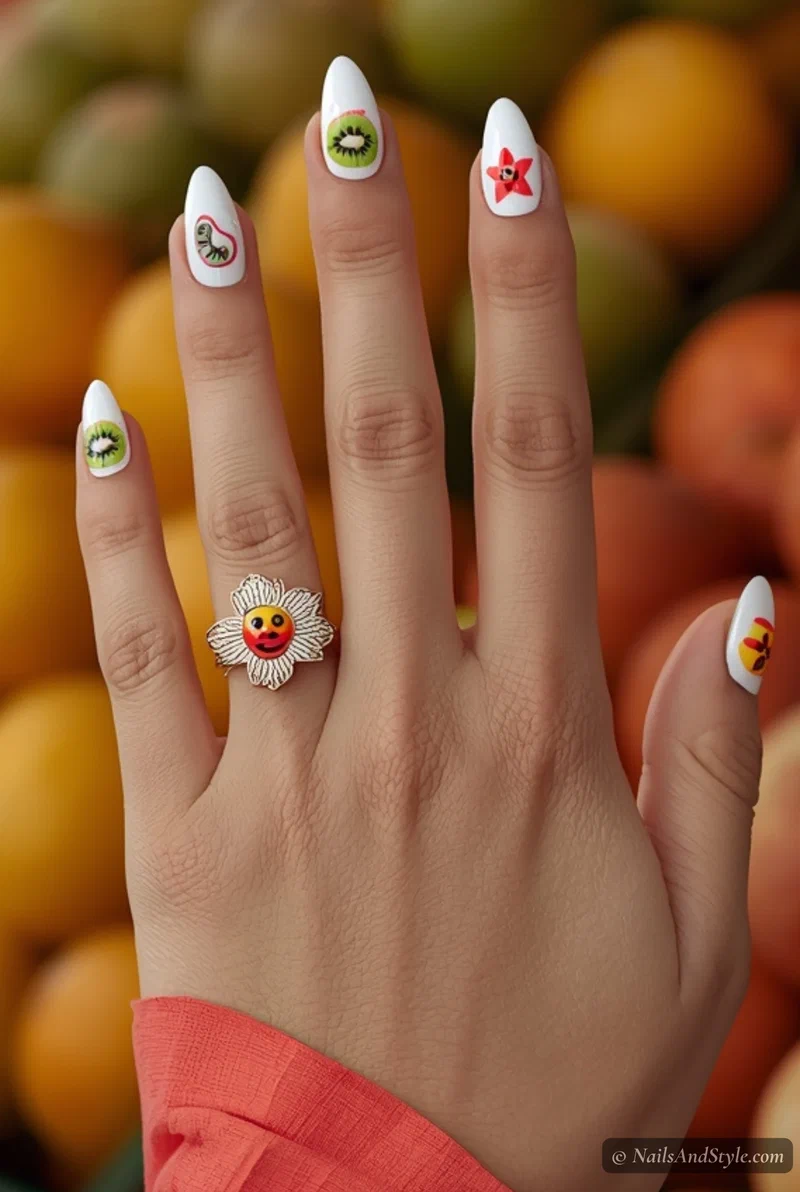
15. Tropical Fruit Salad Art#
Go all in. Each nail gets a different fruit slice — kiwi, dragonfruit, passion fruit, starfruit, papaya. Paint them as cross-sections on a white base using a thin brush and dotting tool. It takes patience, sure. But the result is basically wearable art and it’s the kind of mani people photograph. My cute short summer nails post has more playful art ideas if this vibe speaks to you.
Tropical Nails for Short Nails#
Real talk — tropical art often looks better on short nails. Smaller designs read cleaner, bright colors look punchy without being overwhelming, and you don’t need length to pull off a palm tree or a tiny hibiscus. Short nails are practical, stylish, and honestly the smart choice for anyone spending summer in the water.
A Few More Short Nail-Specific Ideas#
- Palm leaf French tips — the thin design follows the nail curve naturally, even on short beds.
- Papaya pink dots — minimal, cute, and impossible to mess up on any length.
- Island blue French tips — the color contrast tricks the eye into seeing longer nails.
- Teal lagoon jelly — the sheer finish shows off the natural nail shape beautifully.
- Coconut milk and gold — subtle enough for short nails, still unmistakably tropical.
Simple Step-by-Step: How to Do Tropical Nails at Home#
- Prep your nails — trim, file into shape, push back cuticles gently.
- Buff lightly so polish grips better and goes on smooth.
- Apply base coat — bright tropical shades stain badly. Don’t skip this.
- Paint your base color — sheer nude, soft pink, white, or whatever the design calls for. One thin coat first.
- Add the tropical details — palm leaves, flowers, gradients, fruit art, whatever you’re going for. Striping brush and dotting tool are your best friends here.
- Fix mistakes with a small brush dipped in remover. Detailed designs always need a little cleanup.
- Seal with top coat — glossy for juicy looks, matte for editorial ones. Let everything dry fully.
How to Ask Your Nail Artist for Tropical Nails#
Tropical art covers so much ground — palms, fruit, florals, chrome flamingo. Be specific about the motif, color, and detail level you want.
- Bring 2-3 reference photos showing the specific tropical motif and how detailed you want each piece
- Specify the color story — warm coral and mango, ocean blues, hot pink flamingo, or soft sage paradise
- Almond or oval shapes flatter florals and palm art best; squoval works for graphic prints
- Mention hand-painted vs stamping — palms, hibiscus, and fruit slices are usually freehand; chrome and gradient are quicker
- Choose gel polish for tropical details — fine palm trees and floral linework chip fast on regular polish
Tips to Make Your Nails Last Longer#
- Thin layers always. Thick coats bubble and peel — especially with detailed art on top.
- Seal the free edge by swiping polish along the nail tip. Adds days to your mani.
- Stay away from hot water for about an hour after painting. It softens everything.
- Wear gloves for dishes and cleaning. Chlorine and detergent destroy nail art fast.
- Reapply top coat every two to three days. Keeps things fresh and shiny.
- Use cuticle oil daily. Healthy cuticles make the whole mani look better.
- Don’t peel. I know it’s tempting. Don’t.
Quick FAQ#
Are tropical nail designs hard for beginners?#
Not most of them. Solid colors like flamingo chrome or mango sorbet matte are basically foolproof. The detailed art — pineapples, fruit slices, hibiscus — takes a bit more patience and a thin brush, but nothing a YouTube tutorial and a steady hand can’t handle.
What colors work best for tropical nails?#
Think warm and saturated — coral, teal, hot pink, mango orange, palm green, turquoise. Sunset shades and ocean tones are your main palette. Gold accents tie everything together if you want a little glam.
Can I do tropical nails on natural nails?#
Absolutely. Every design here works on natural nails without extensions or gel. Base coat, thin layers, and a good top coat give you solid wear time. If you want the sturdier gel finish at home, check out our gel nails at home complete guide for the full setup.
Shop the Look#
Everything you need to recreate these tropical looks at home:
 BaseBase + Strengthener CoatBright tropical pigments stain — a base coat is a must
 ShineGlossy Top CoatMakes tropical colors look wet and juicy
 Tropical brightsEssie Tropical ShadesTart Deco coral, Pretty Edgy green, In the Cab-ana aqua
 Island shadesOPI Island ShadesNever a Dulles Moment, Toucan Do It, Hotter than You Pink
 ChromeSilver Chrome PowderBuffs into a flamingo-feather mirror over pink
 Florals & fruitDotting Tool SetFor hibiscus, plumeria, pineapples and fruit slices
 Crisp tipsNail Guide StickersFor clean palm-leaf and island-blue French tips
Final Thoughts#
Honestly, tropical nail designs are the most fun part of summer nail art for me — there’s just so much to play with. Florals, fruit, gradients, chrome, jelly finishes, little palm trees. You can go full island maximalist or keep it as subtle as a teal French tip. No rules.
Save the ones that caught your eye, pin the looks you want to try first, and don’t be afraid to mix things up. A mango base with a hibiscus accent? Go for it. Sunset gradient with gold flake? Why not.
Now go paint something tropical before summer’s over.