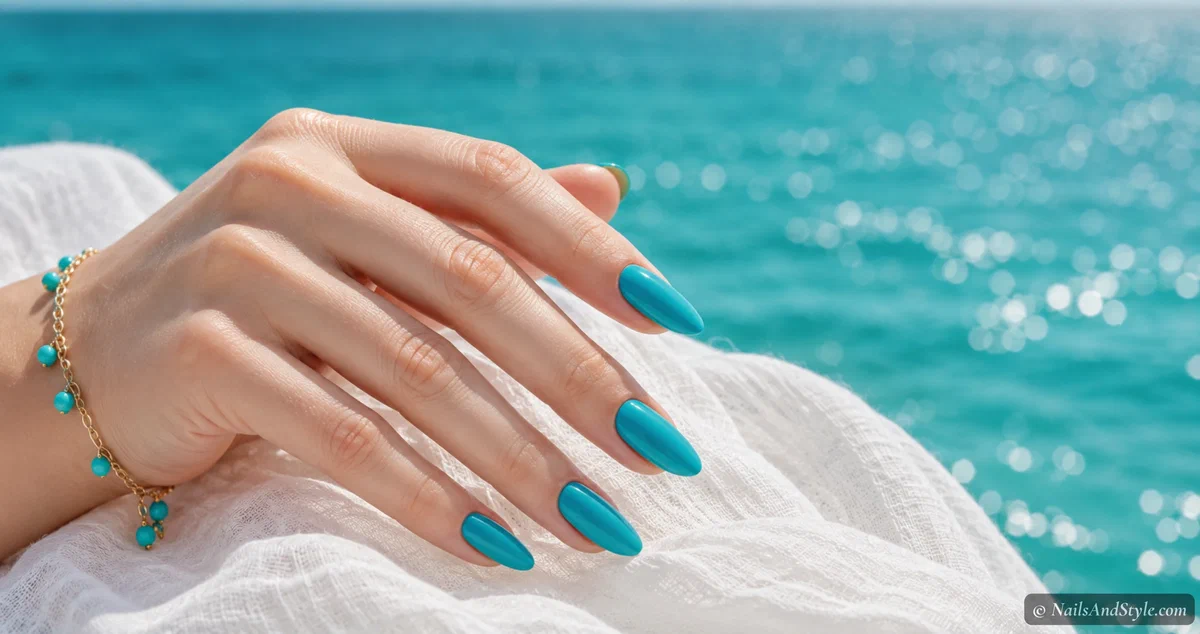
There’s something about turquoise nails that just screams summer. Like, genuinely — the second you put on that ocean blue shade, your whole mood shifts to vacation mode. Even if you’re sitting at your desk on a Monday.
This post has 21 aqua beach nail designs and turquoise looks you can actually do at home. No salon required. They all work on short and medium nails, and most are beginner-friendly (a few will push you, but in a fun way).
Why Turquoise and Aqua Nails Own Summer#
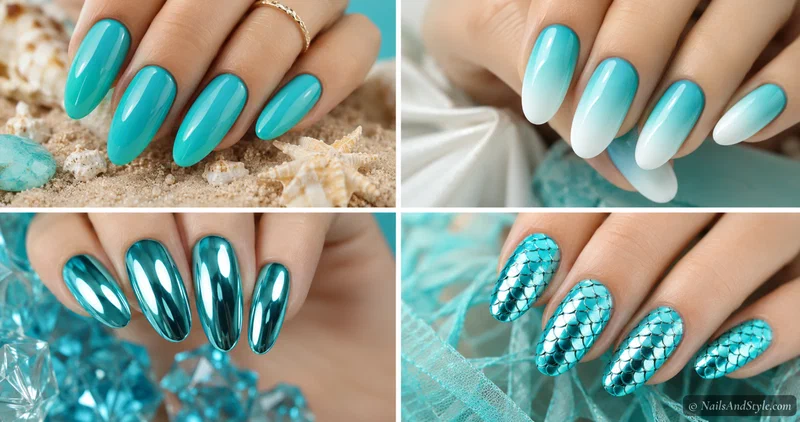
Turquoise has always been a beach staple, but this summer it’s showing up in fresh finishes — chrome, jelly, cat eye, watercolor washes. Mixed with aqua tones, you get this ocean color palette that works for literally everything. Pool day, vacation, brunch, festival. Random Tuesday? Also yes.
A Few Things to Keep in Mind Before You Start#
- Pick your blue — turquoise leans slightly green, aqua is brighter and bluer, teal goes deeper
- Skin tone tip — warm undertones glow with turquoise, cool tones pop with aqua and cyan
- Short nails friendly — round or almond shapes keep these looks wearable and clean
- Always use base coat — blue-green pigments stain fast, and turquoise is the worst offender
Quick Pick: Which Turquoise Design Should You Try?#
| If you’re looking for… | Try these designs |
|---|---|
| Beginner-friendly | Solid Turquoise Gloss, Aqua Ombre Fade |
| Short nails | Aqua French Tips, Aquamarine Jelly |
| Statement piece | Turquoise Chrome, Aqua Mermaid Scales |
| Coastal and modern | Teal Beach Glass, Cyan Abstract Lines |
If you want to explore more in this direction, my ocean wave nails post has plenty to dig into.
21 Turquoise & Aqua Nail Designs for Summer#
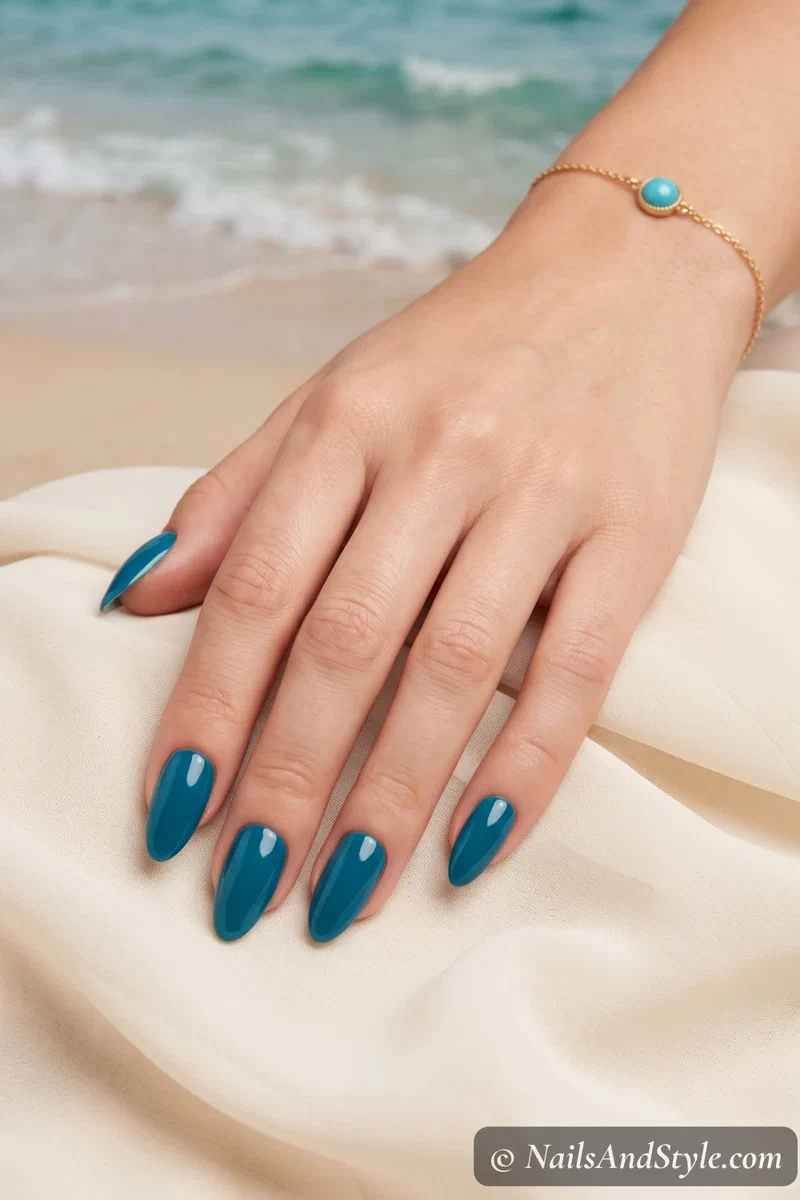
1. Solid Turquoise Gloss#
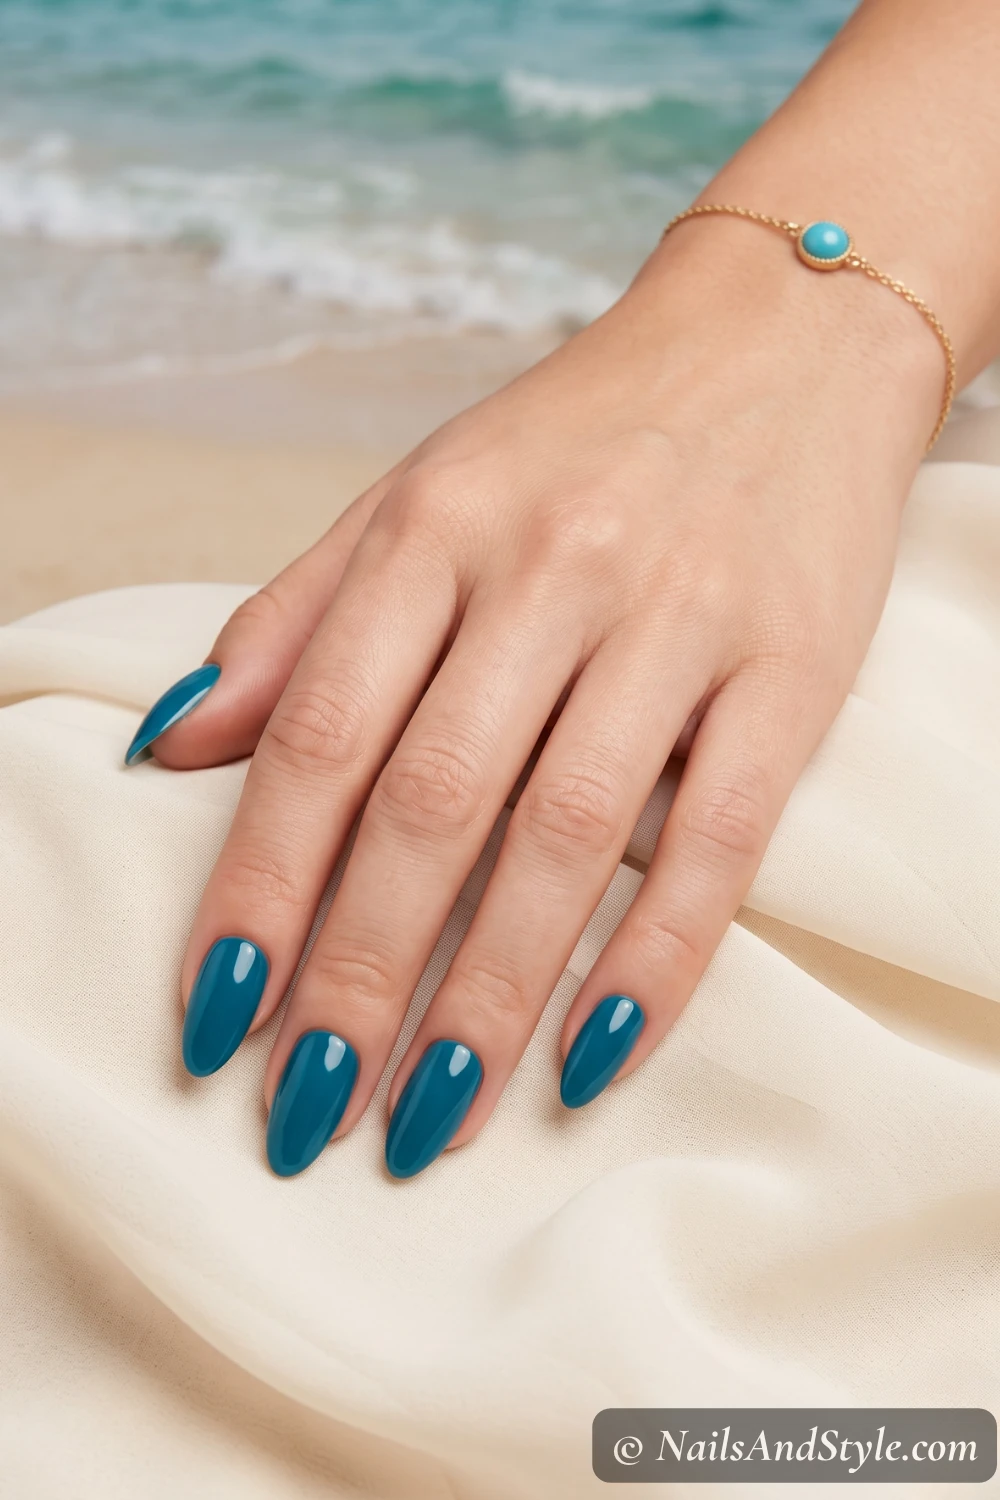
Sometimes the simplest look hits hardest. Two coats of rich turquoise, ultra-glossy top coat, done. This works everywhere — beach, office, date night — and it takes maybe ten minutes.
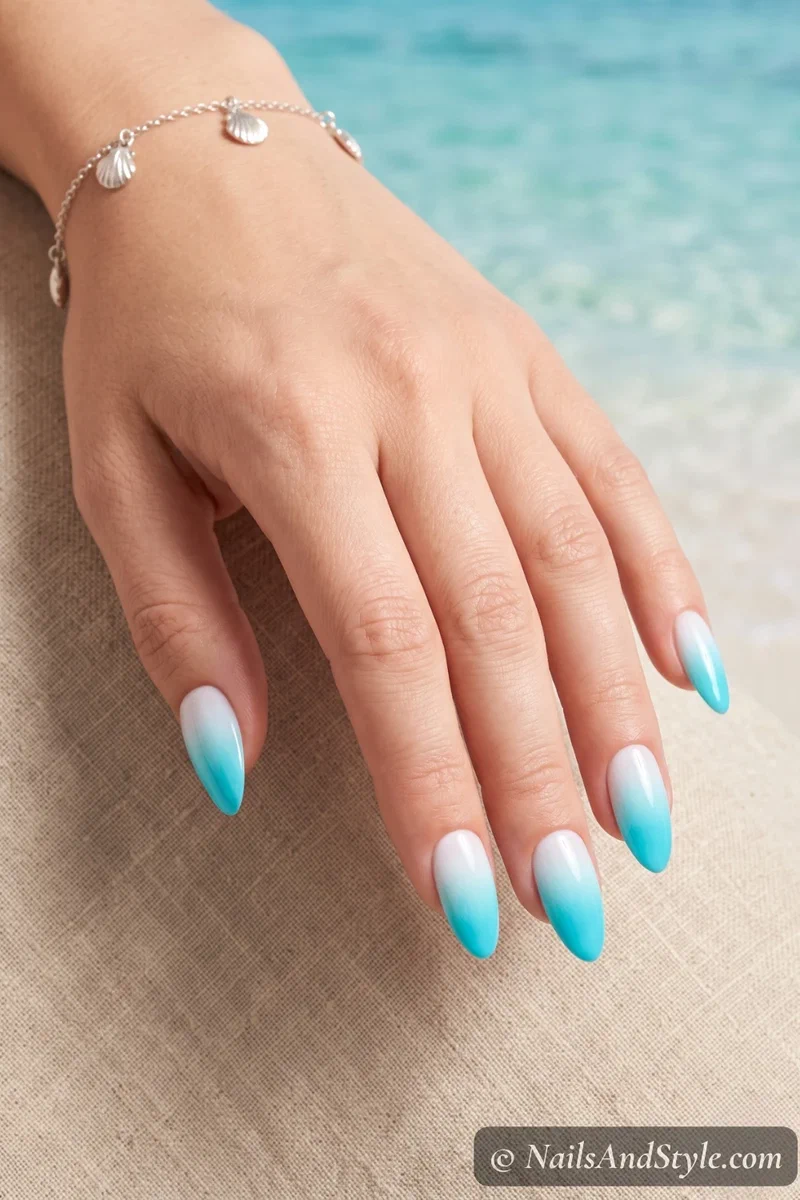
2. Aqua Ombre Fade#
Sponge white into aqua from cuticle to tip for a gradient that looks like shallow beach water. Keep the transition blended and dreamy, not sharp. Two coats of glossy top coat smooth out any sponge texture.
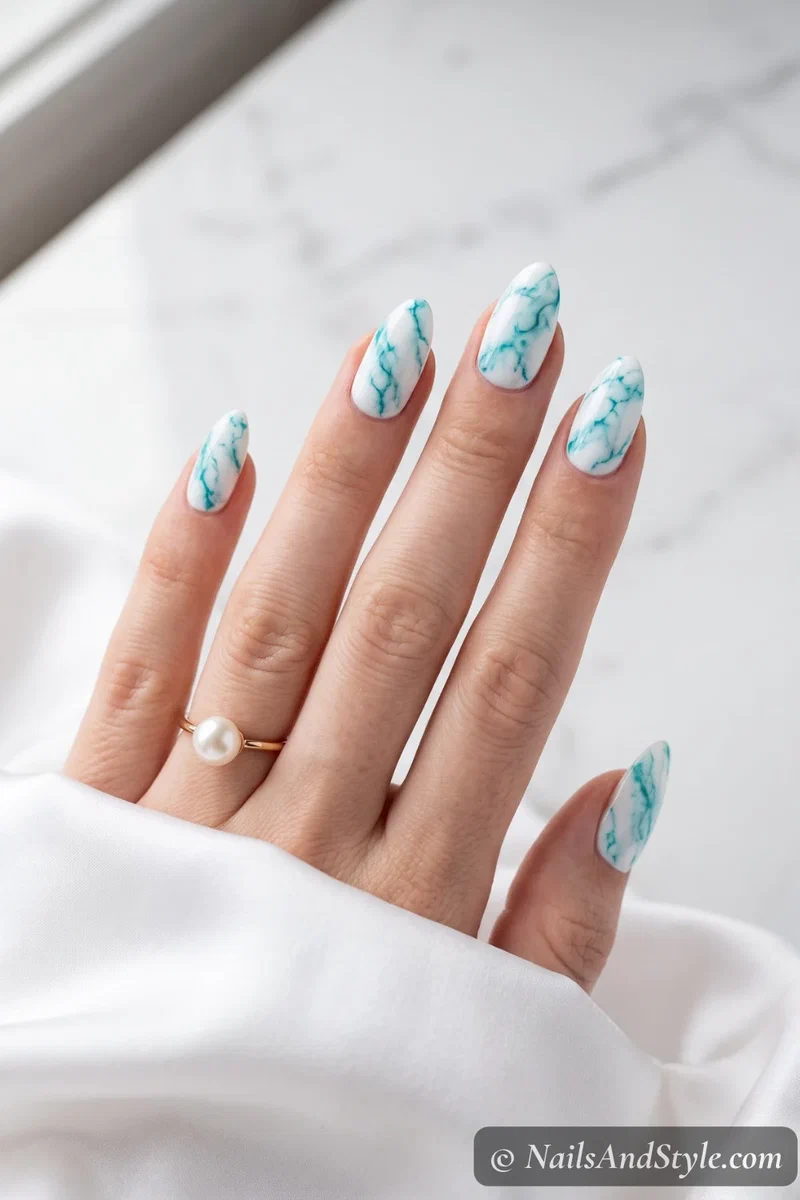
3. Turquoise & White Marble#
Drop turquoise and white polish onto a white base, then swirl with a thin brush while wet. The organic veining looks like turquoise stone — no two nails come out the same, which is the whole charm. Glossy finish.
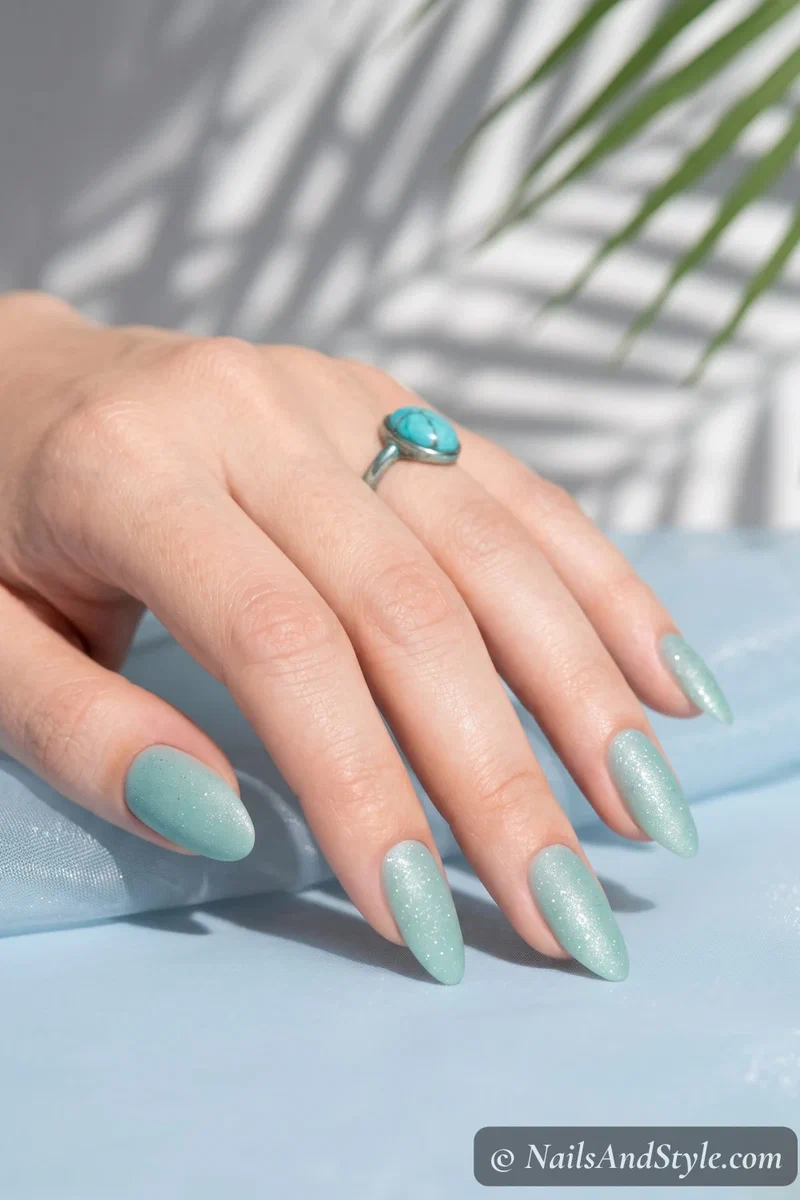
4. Seafoam Shimmer#
This one’s all about the polish pick. Grab a seafoam green with fine shimmer particles — one coat over a white base makes it glow. Matte top coat looks surprisingly good here too, if you want something different.
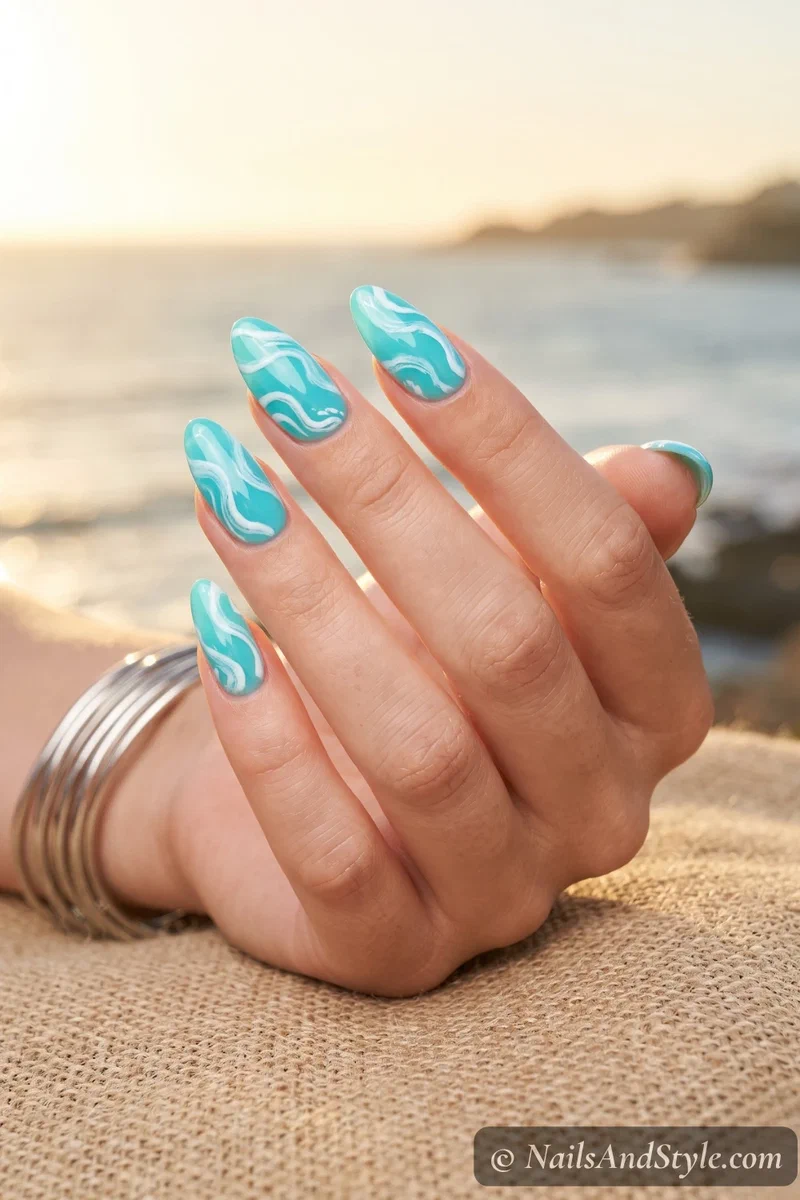
5. Ocean Wave Swirl#
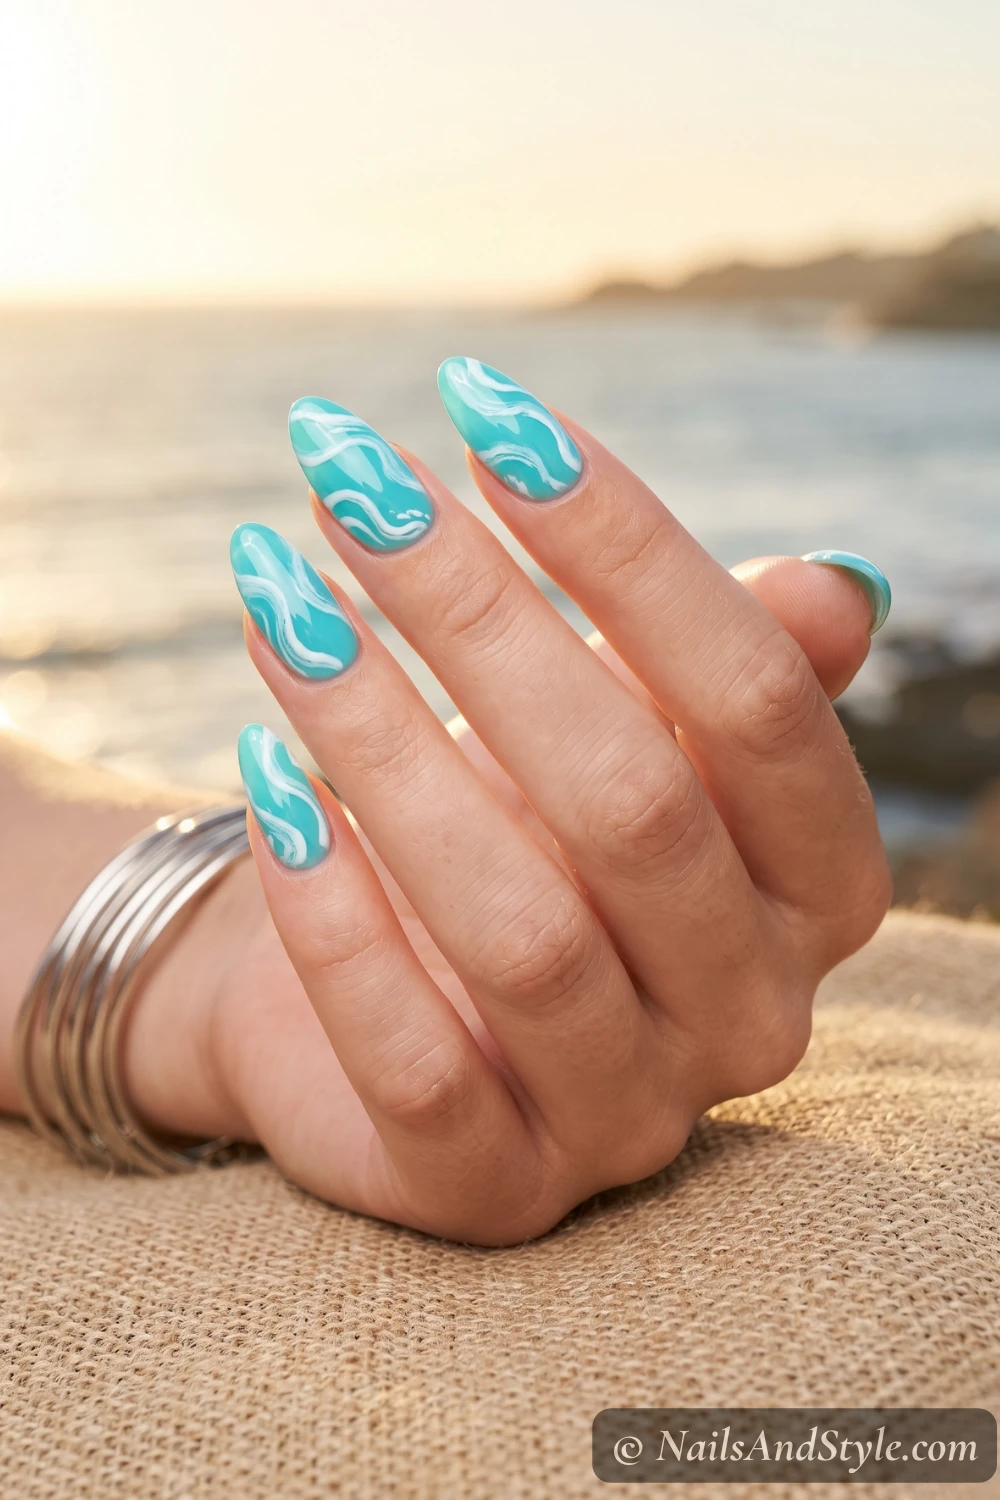
Paint nails turquoise, then drag white swirls from one side with a thin brush — loose, wavy, imperfect. Think wave art but nail-sized. You know that glassy, wet look everyone’s after? Two thick layers of glossy top coat get you there.
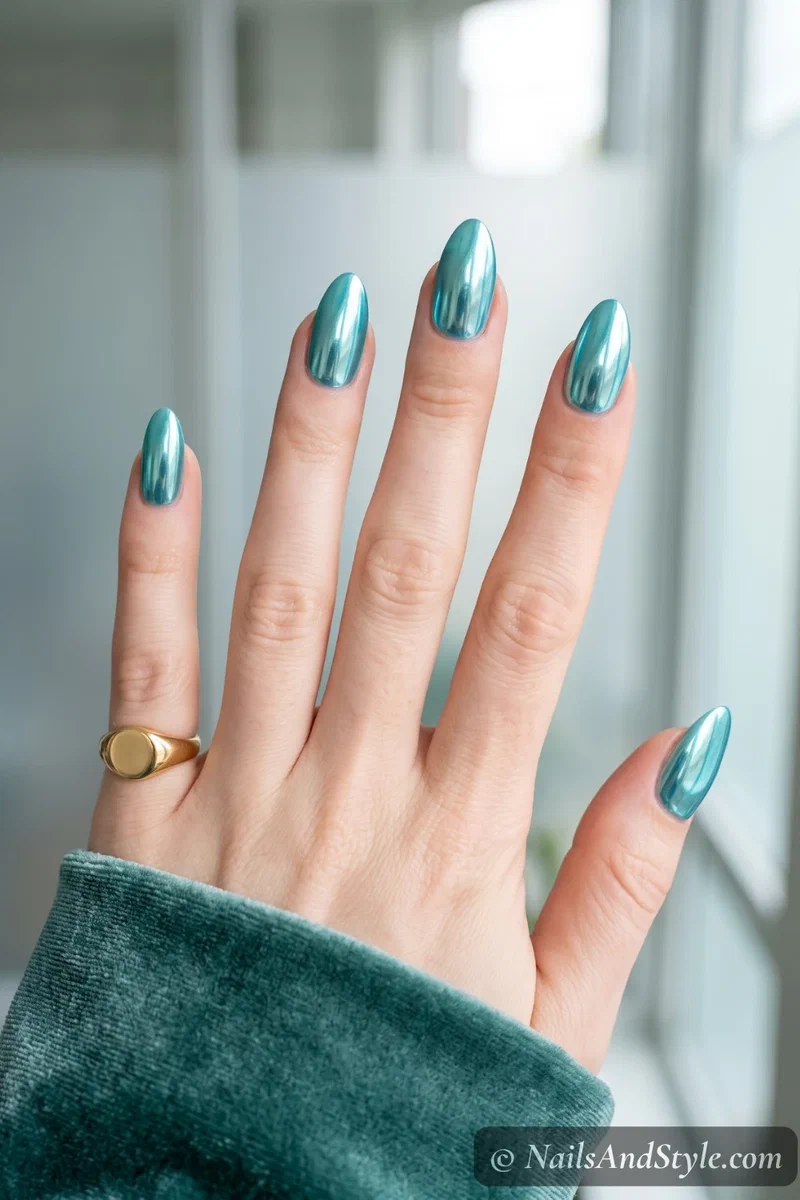
6. Turquoise Chrome#
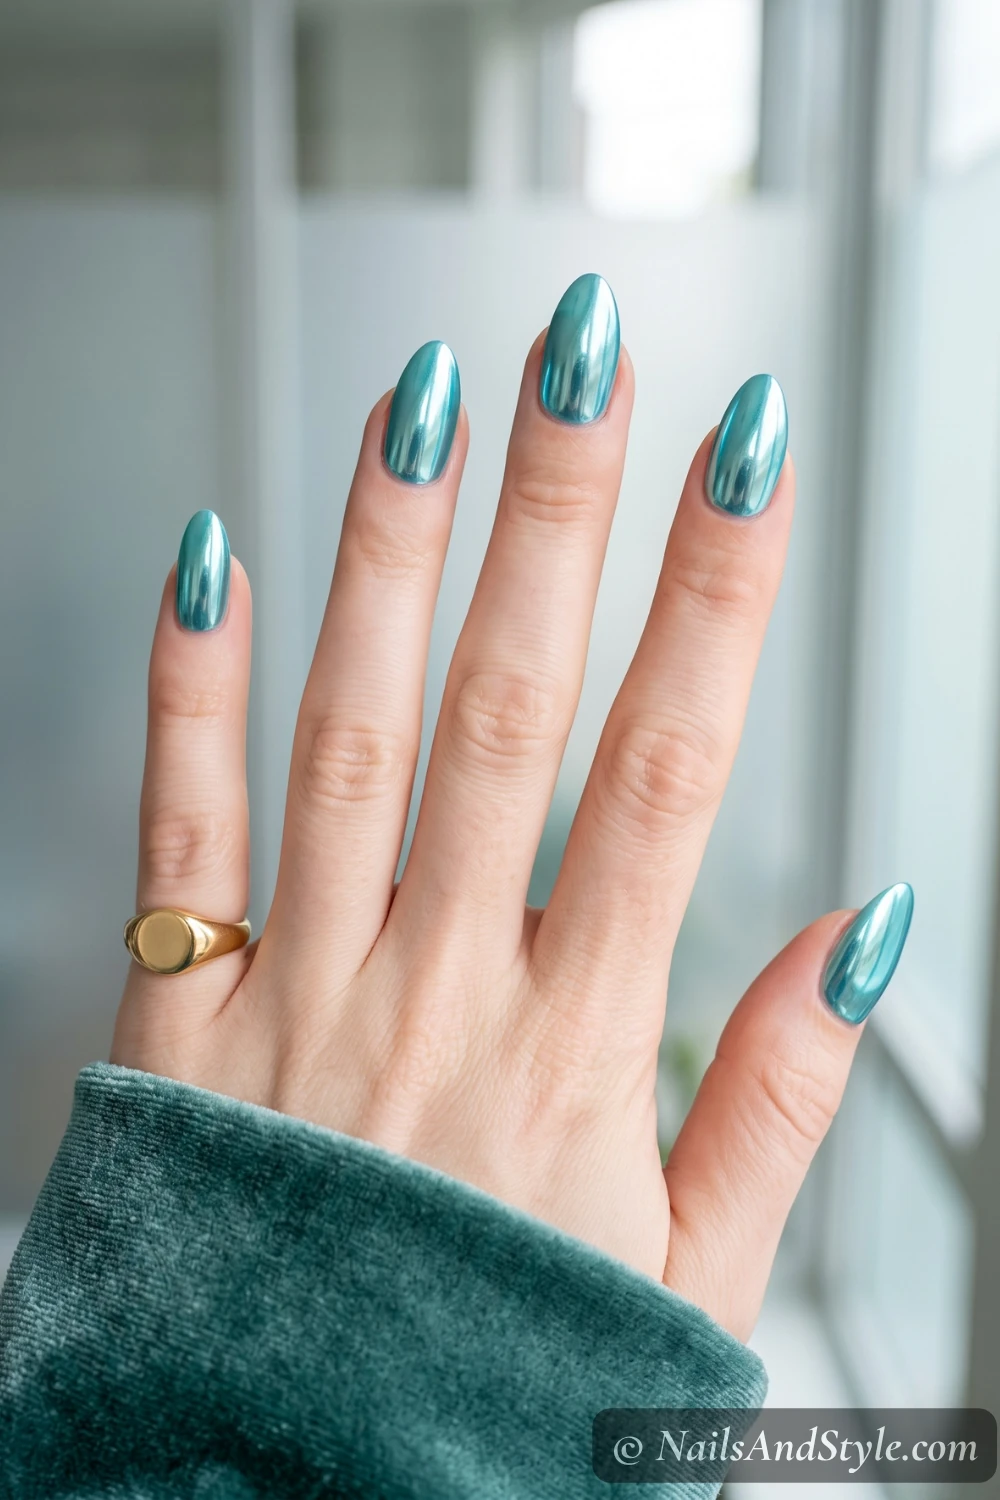
Apply turquoise gel polish, cure it, then rub chrome powder over the tacky layer with a sponge applicator. The mirror shift is unreal. This one needs gel and a UV lamp, but the payoff is absolutely worth the setup.
My chrome nails summer post is a great companion read if you’re loving this style.
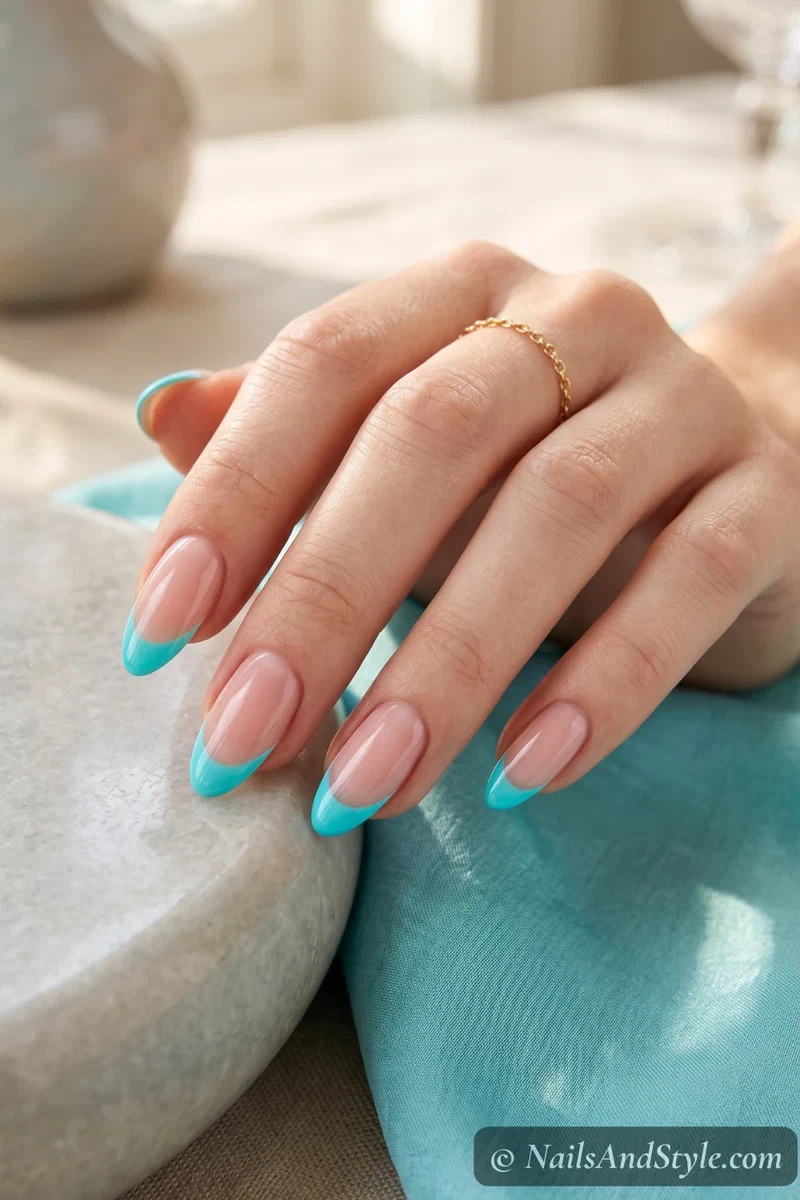
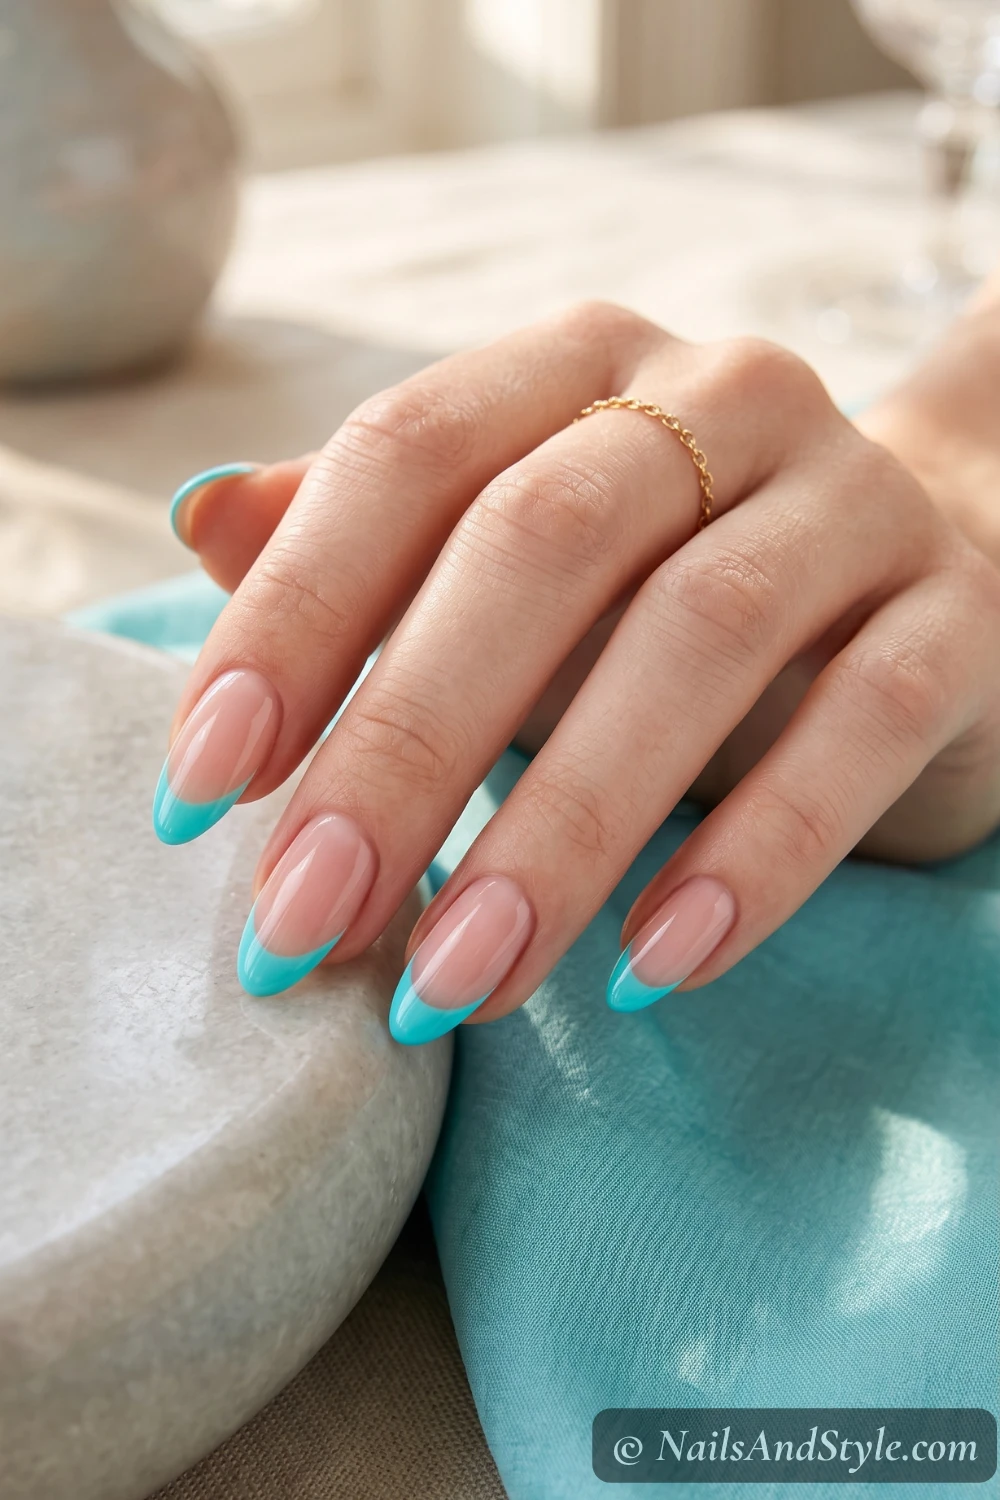
7. Aqua French Tips#
Swap classic white tips for aqua blue. Use French guides or striping tape for clean lines — or freehand it, slightly uneven tips look charming. Glossy finish on a nude or sheer pink base. So easy.
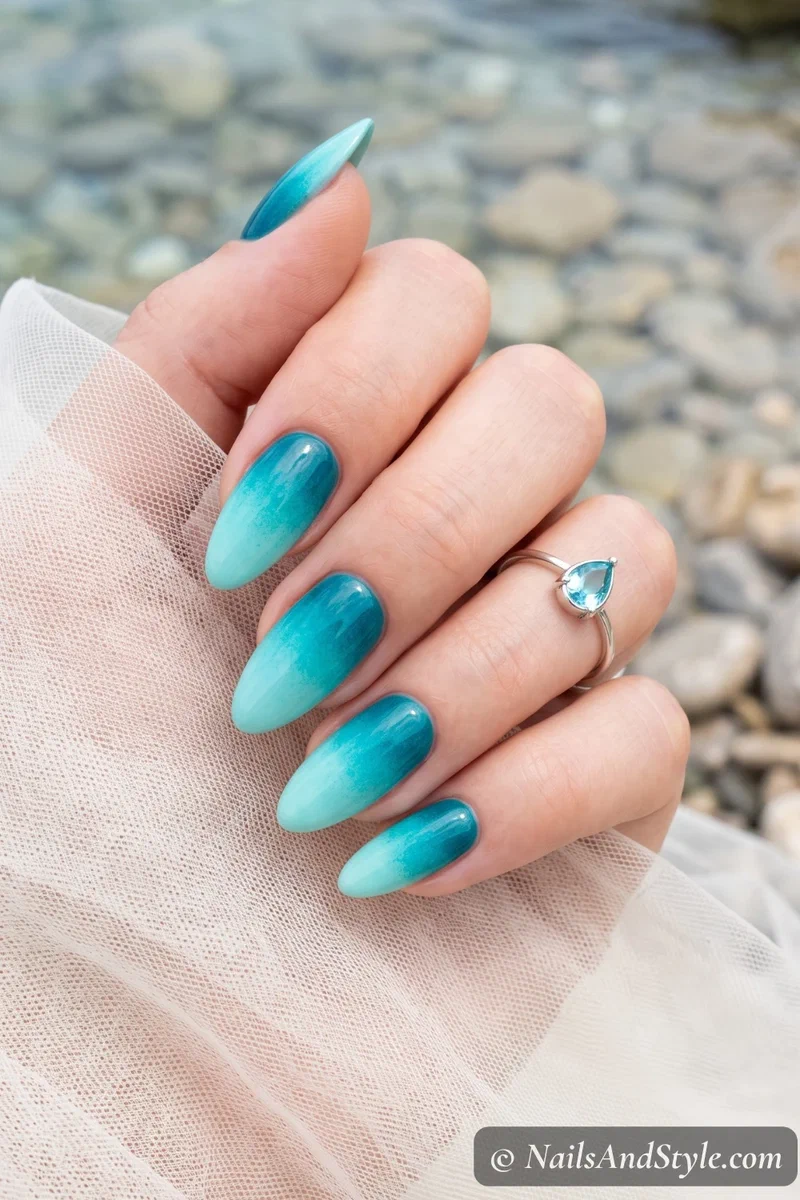
8. Tropical Lagoon Gradient#
Sponge turquoise, aqua, and teal together for a multi-toned gradient that looks like a lagoon from above. Darkest shade at the cuticle, lightest at the tips. Three blues, one nail. Glossy.
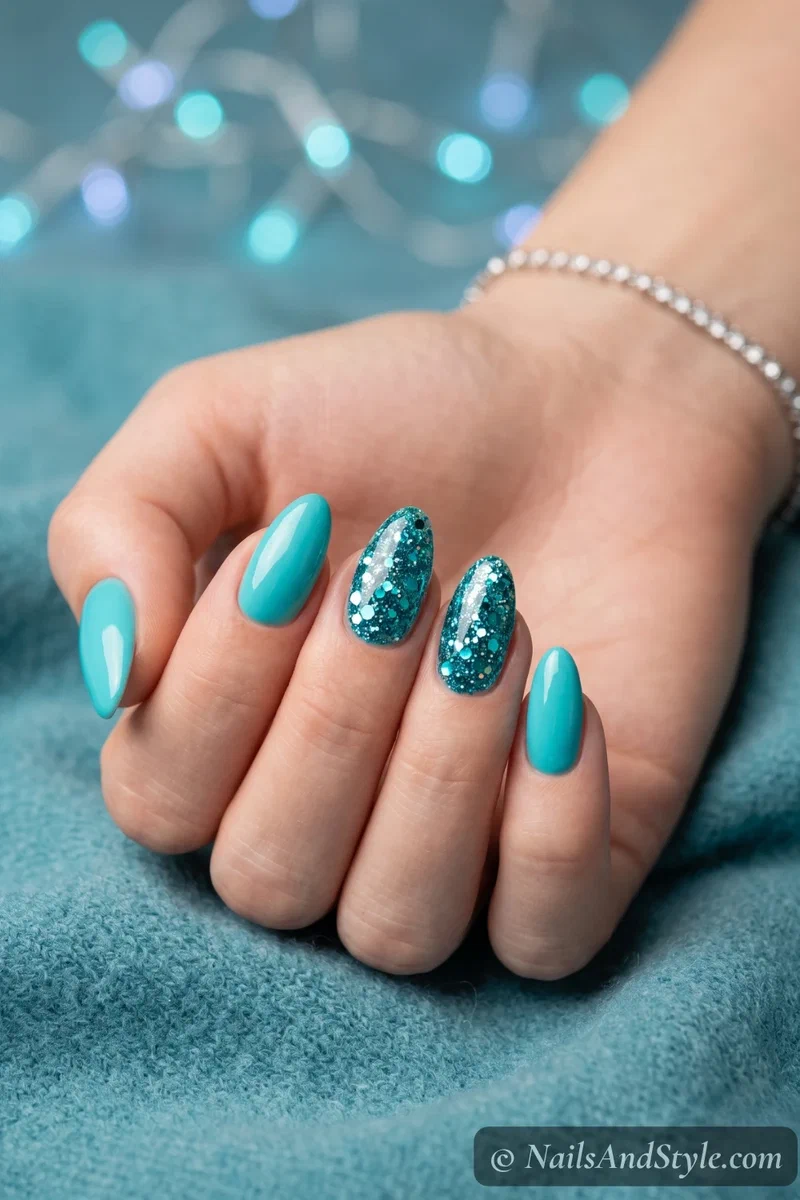
9. Turquoise Glitter Accent#
Solid turquoise on all nails, then load one or two accents with chunky teal glitter polish. The mix of smooth and sparkly creates contrast without going overboard. Top coat smooths down any gritty texture.
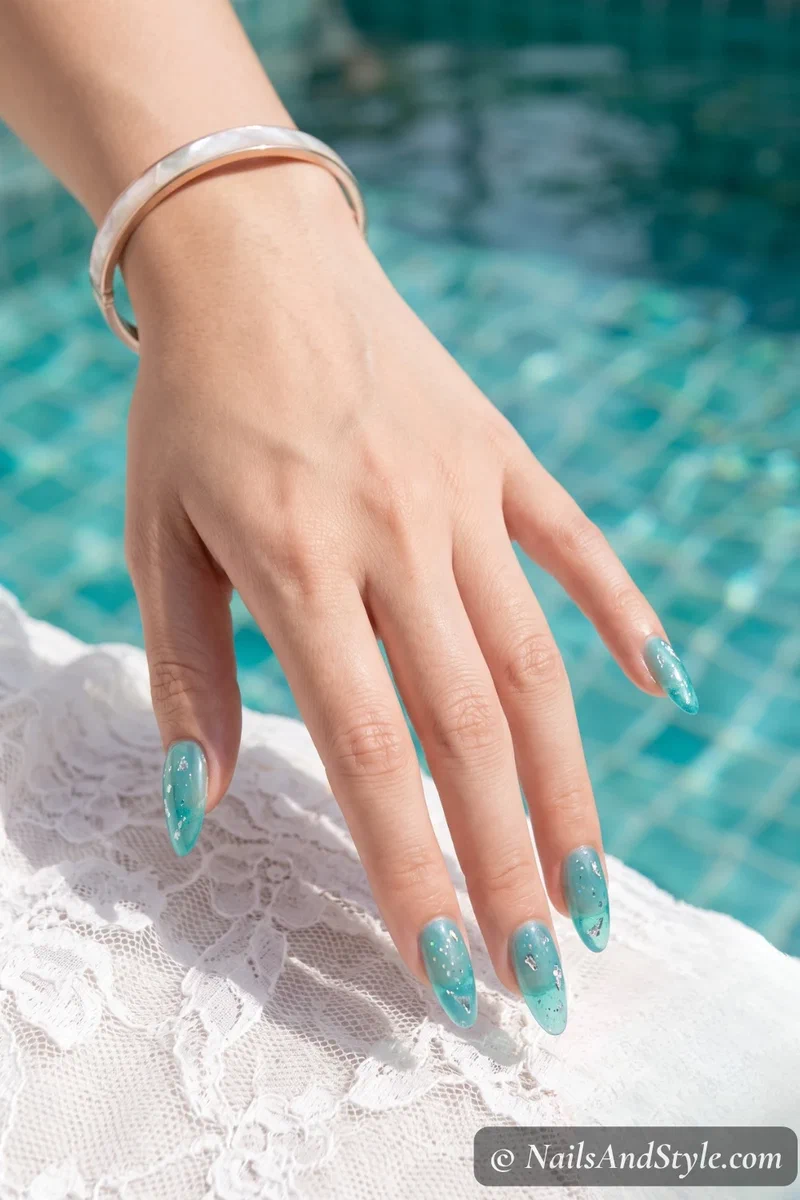
10. Aquamarine Jelly#
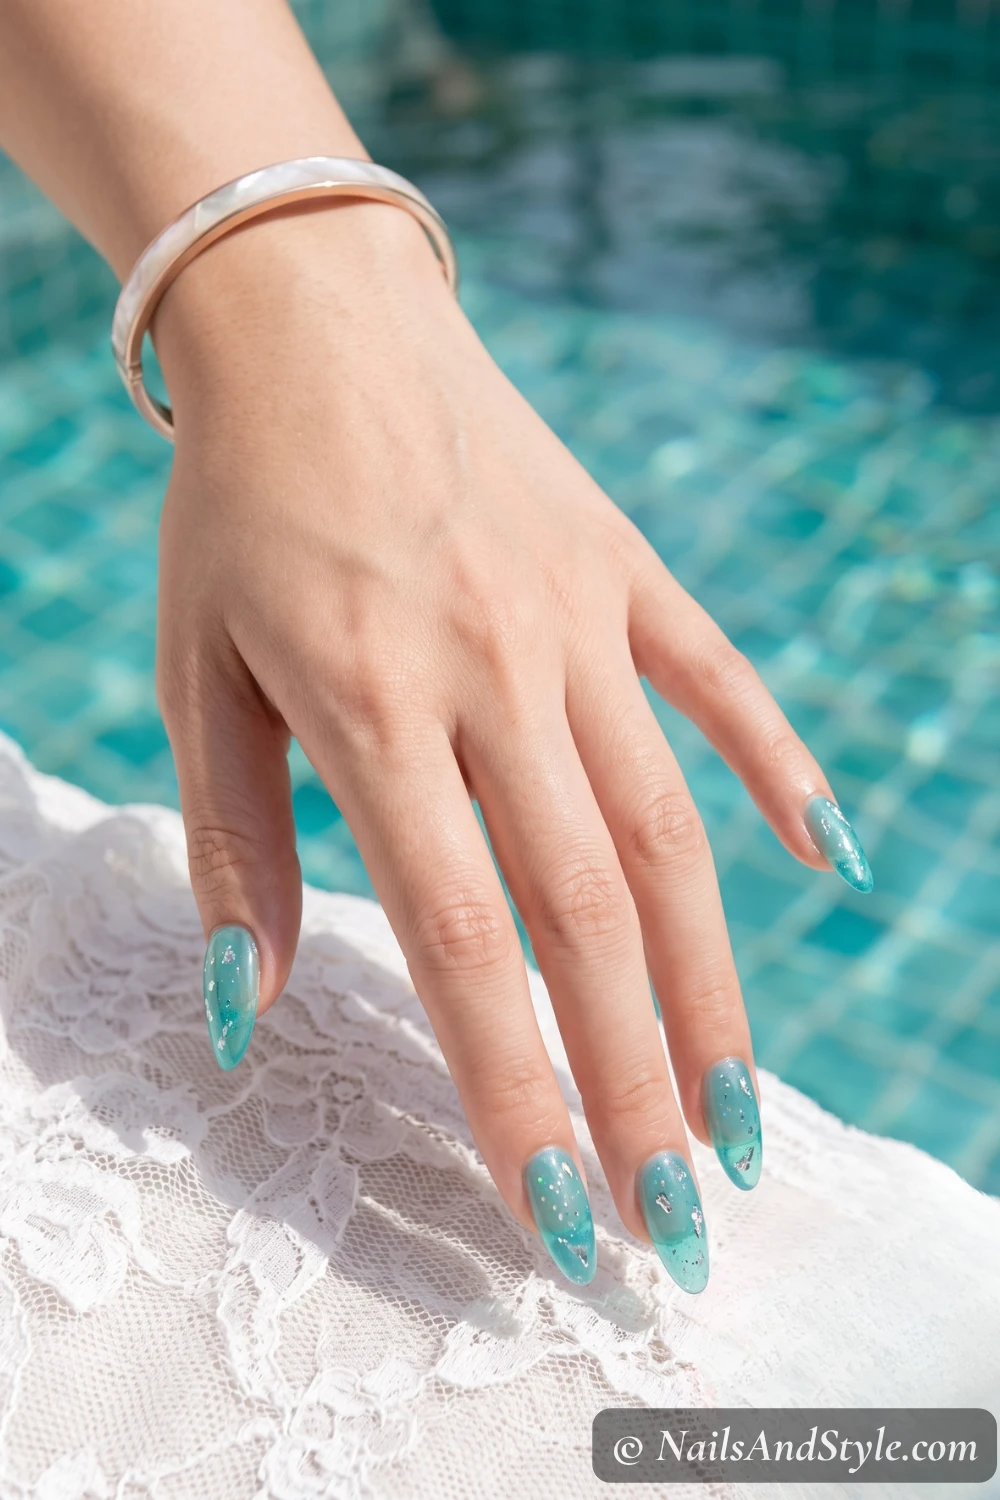
Have you tried jelly polish yet? Aquamarine jelly is so satisfying — that translucent, squishy-looking finish. Build up 2-3 thin layers for depth while keeping the see-through quality. No design needed. The finish does everything.
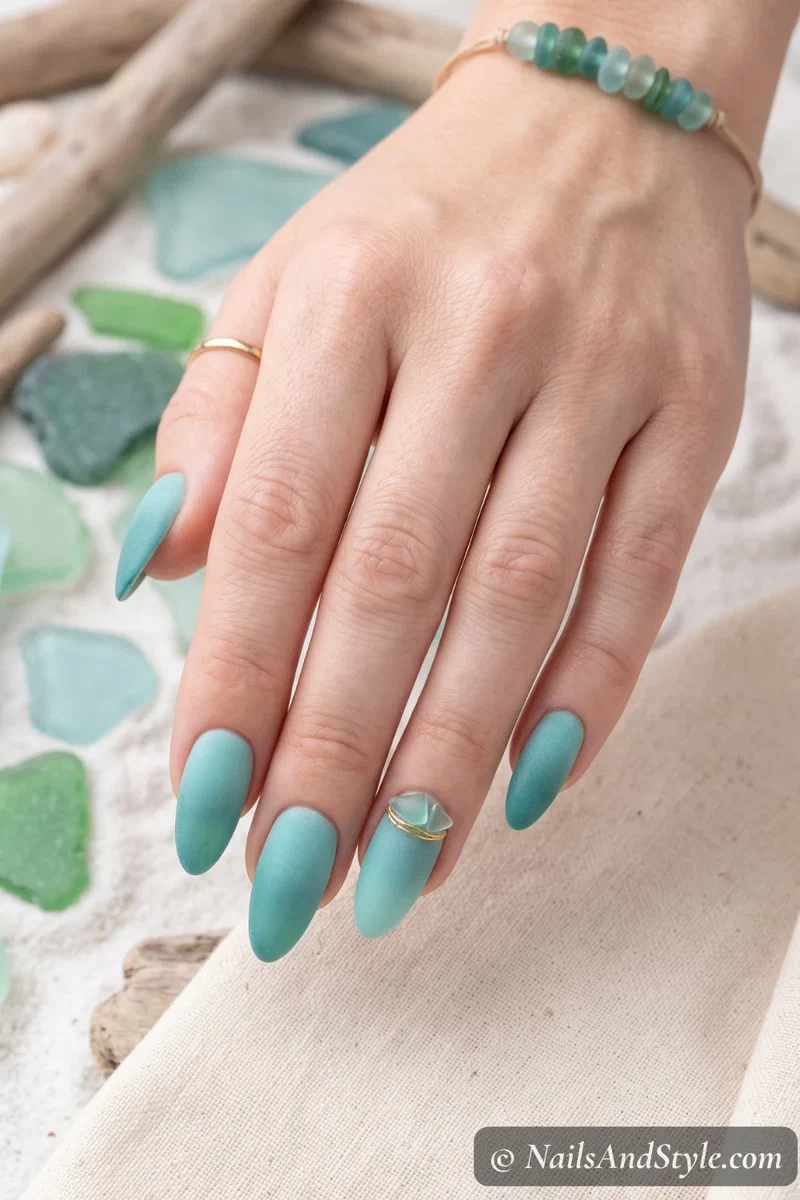
11. Teal Beach Glass#
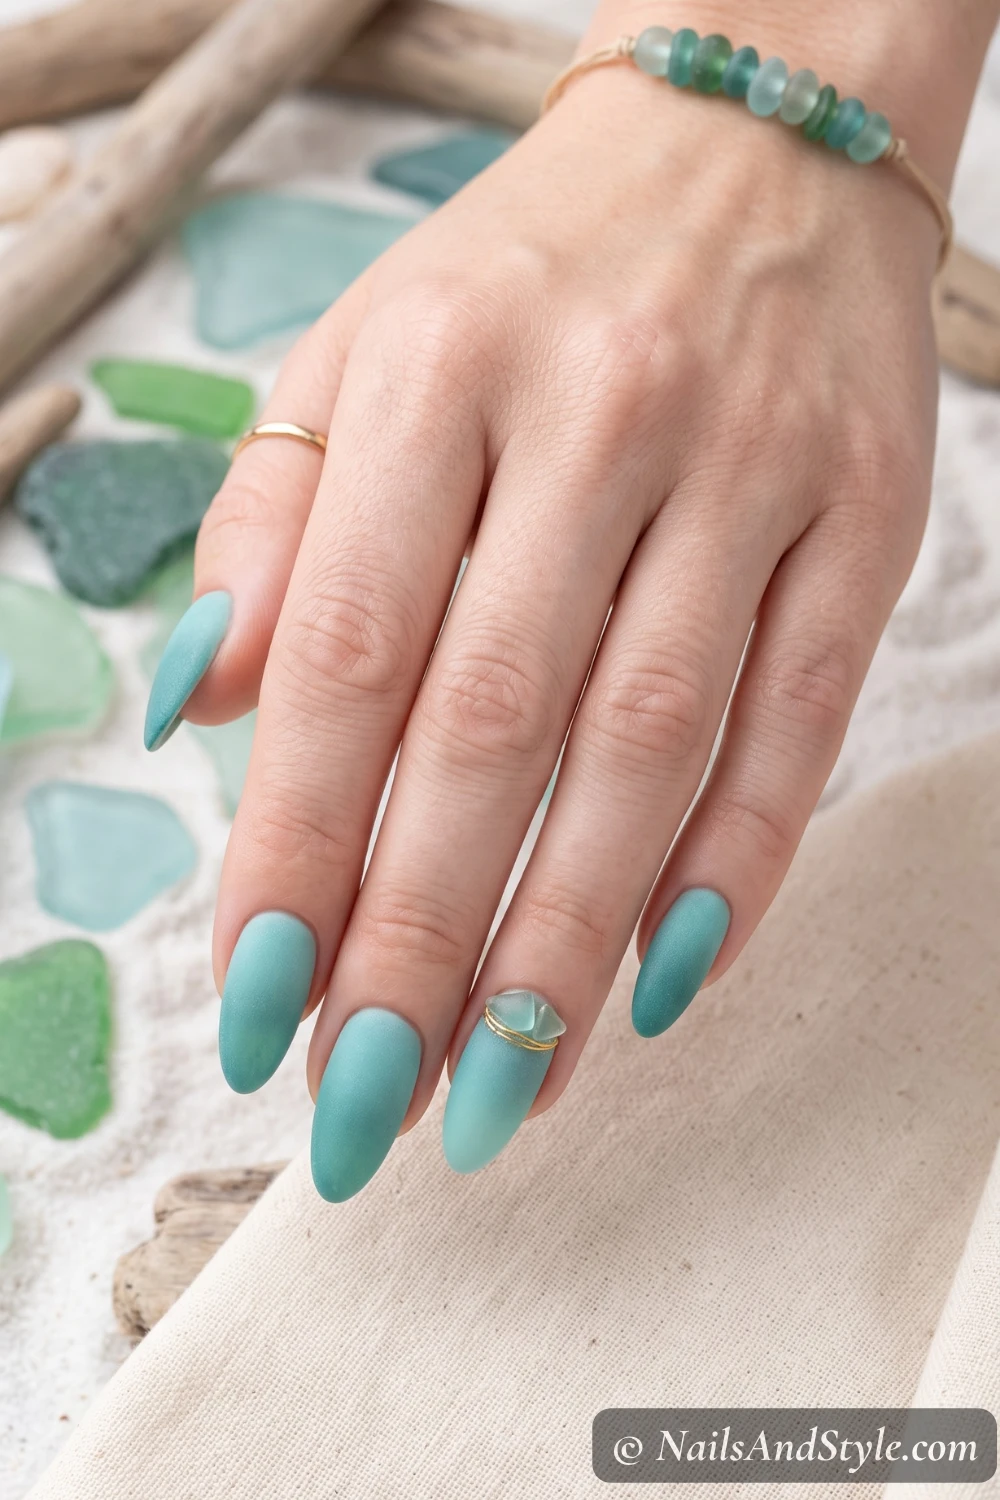
Apply teal polish, let it dry, then lightly buff the surface with a fine file to remove the shine. Creates this frosted, sea-glass effect that’s gorgeous. Skip the top coat — the matte, weathered texture is the whole point.
For more ideas like this, check out my mermaid nails post — worth a scroll.
12. Turquoise & Gold Foil#
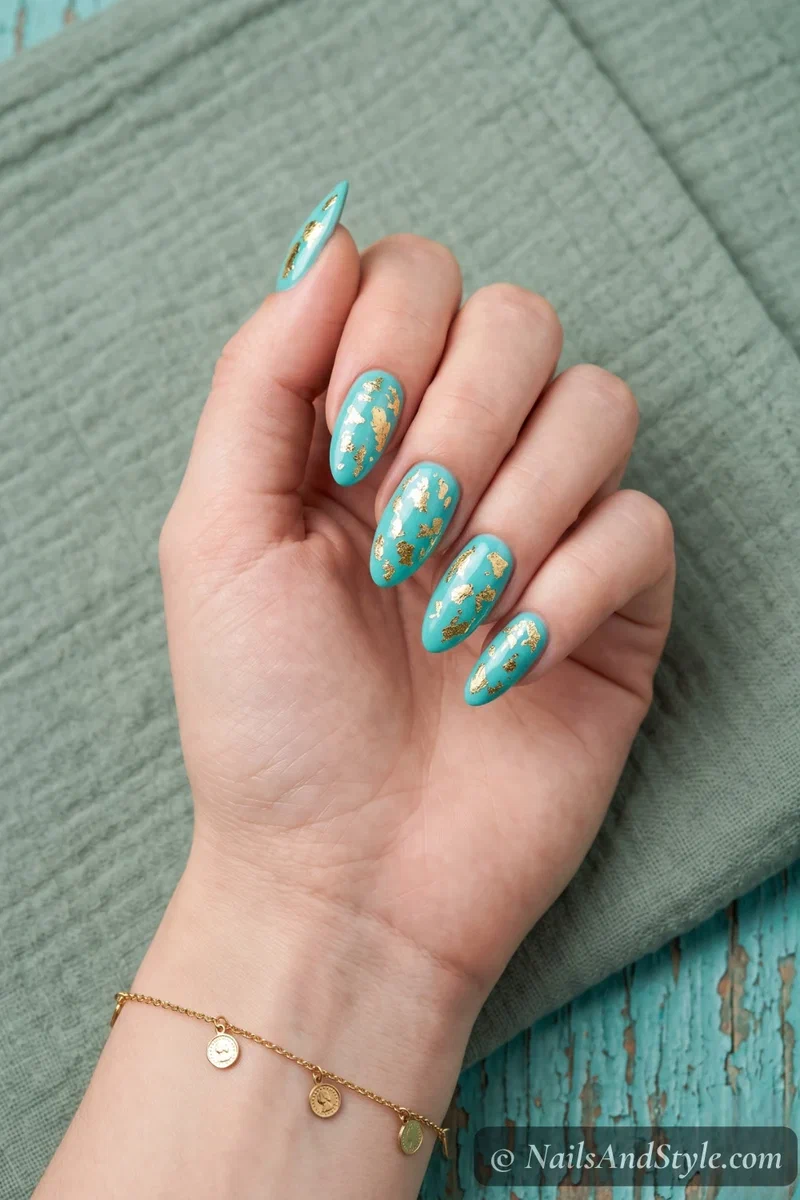
Paint solid turquoise, let it dry, then press small pieces of gold foil onto random spots. The foil picks up unevenly — and that’s what makes it look expensive. Seal well with top coat so the foil stays put.
13. Cyan Abstract Lines#
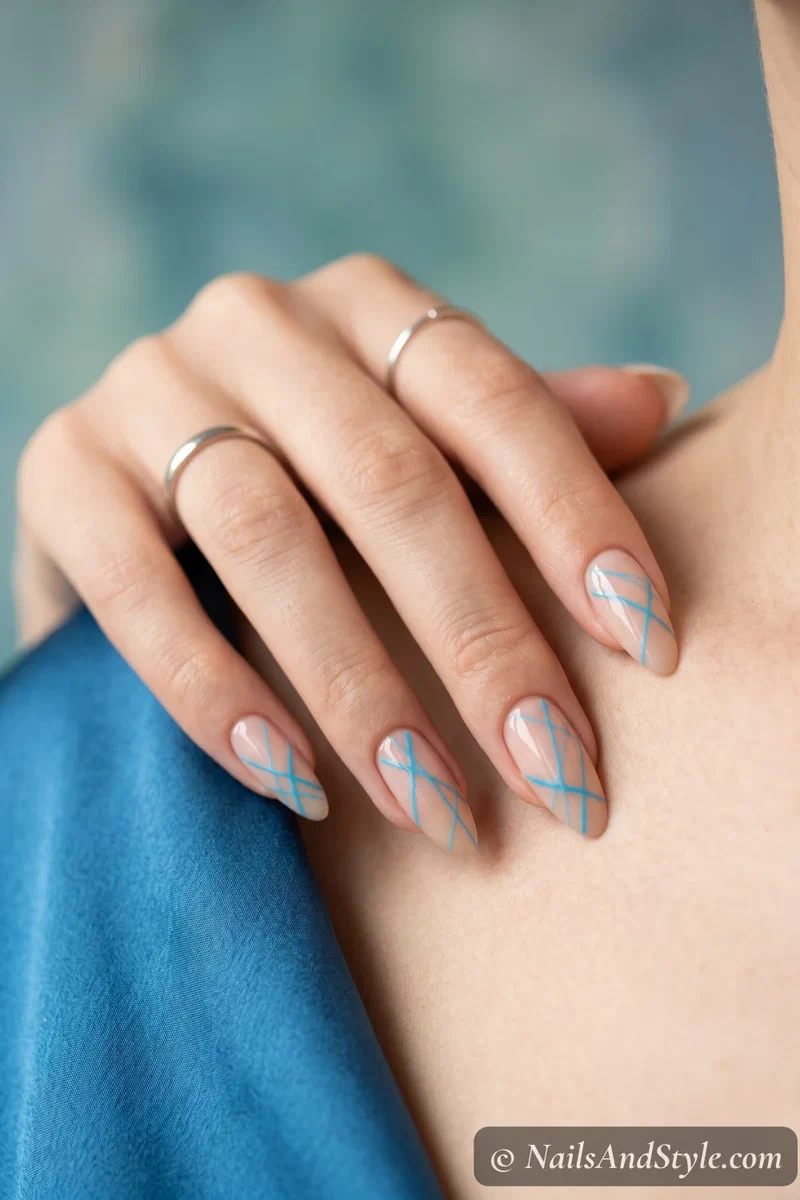
Sheer nude base. Striping brush dipped in cyan. Paint random thin lines — overlapping, crossing, no pattern. Abstract and modern. It looks like gallery art when you get the line thickness right (thin is key). Glossy finish.
14. Azure Watercolor Wash#
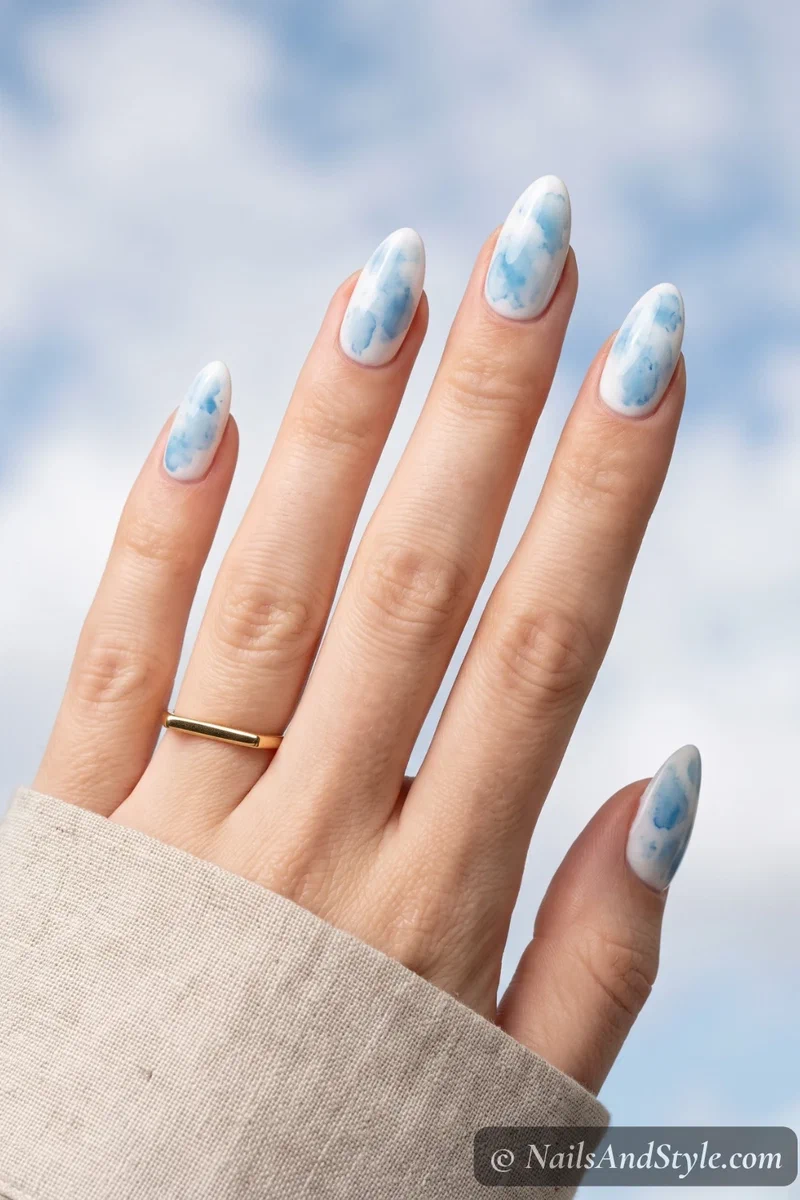
Dilute azure blue polish with top coat on a palette, then dab it onto white nails with a makeup sponge. Lightly, unevenly, like actual watercolor. Build layers where you want intensity. The imperfection is what sells it.
15. Aqua Mermaid Scales#
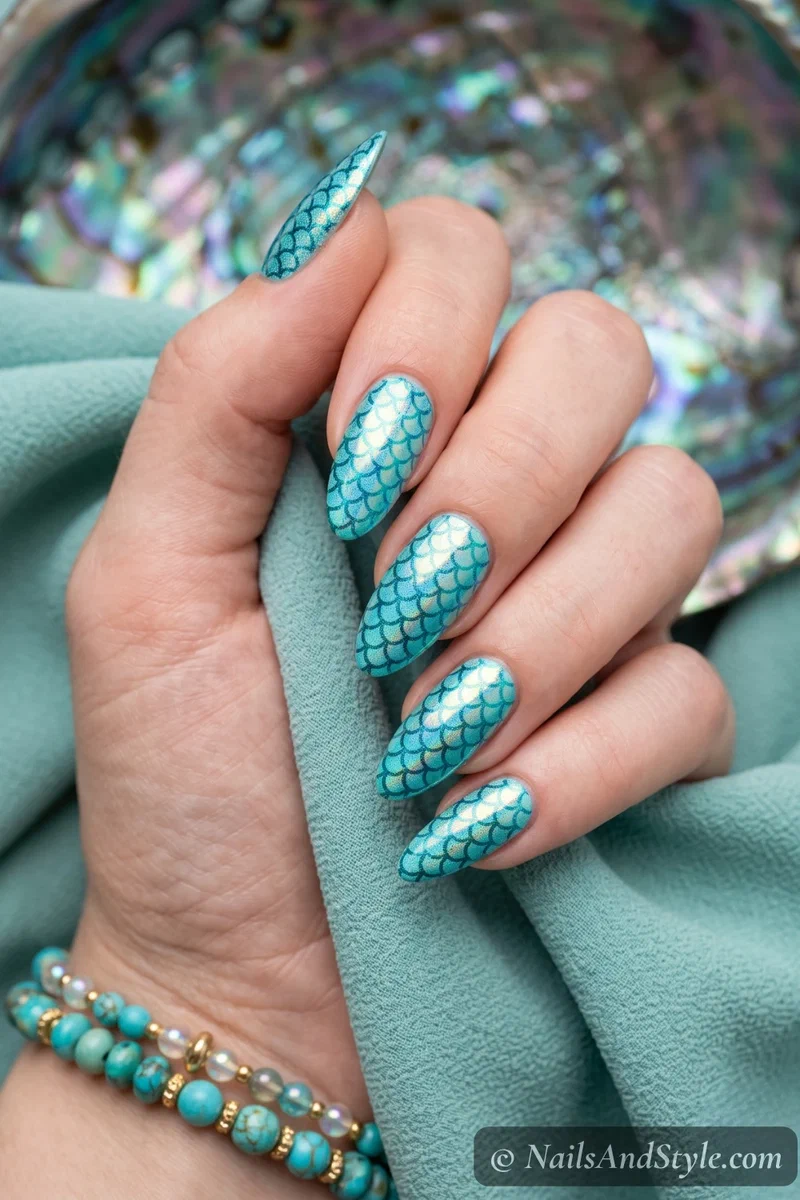
Paint aqua on all nails. Press fishnet fabric against the wet polish, sponge a darker teal over it, peel the net away. Scale pattern, just like that. Chrome powder rubbed on top? Takes this to a completely different level.
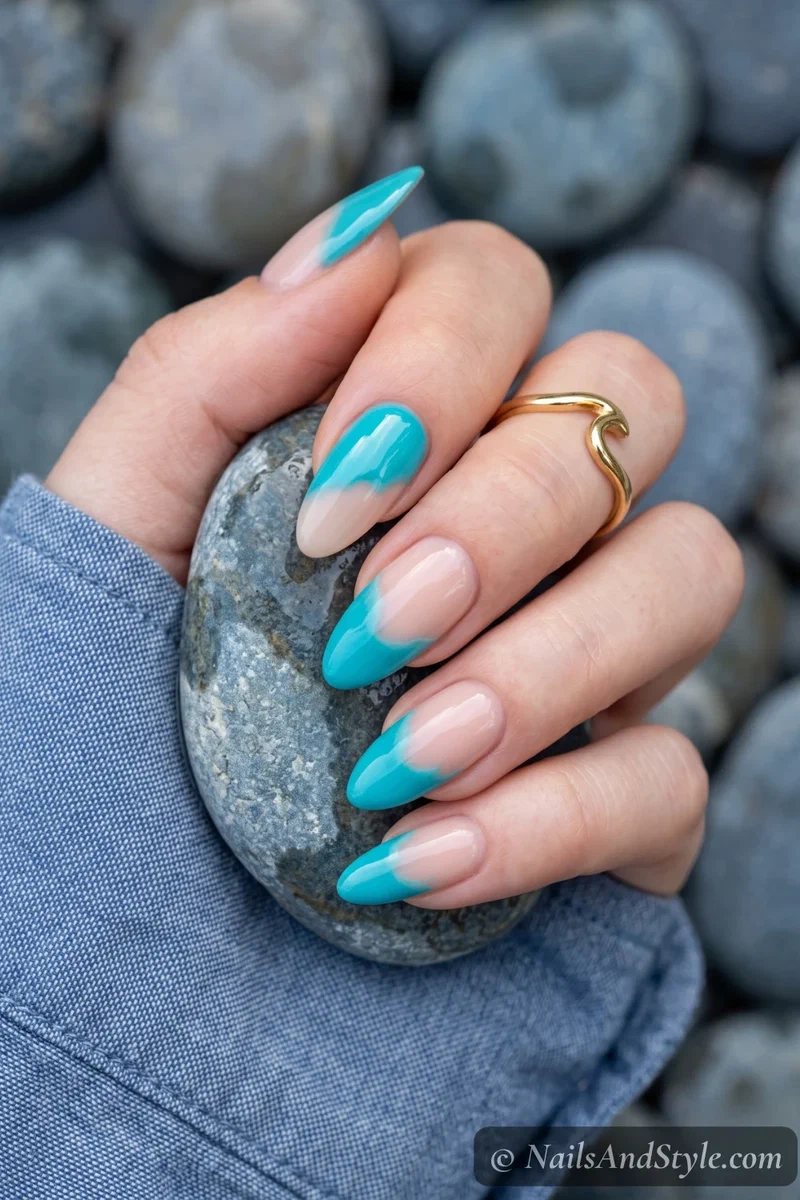
16. Coastal Turquoise Dip-Dye#
Leave the lower half of each nail bare or sheer nude. Paint only the upper half in turquoise with a soft, uneven border — like the nail was dipped into color. Casual, artsy, and incredibly fast.
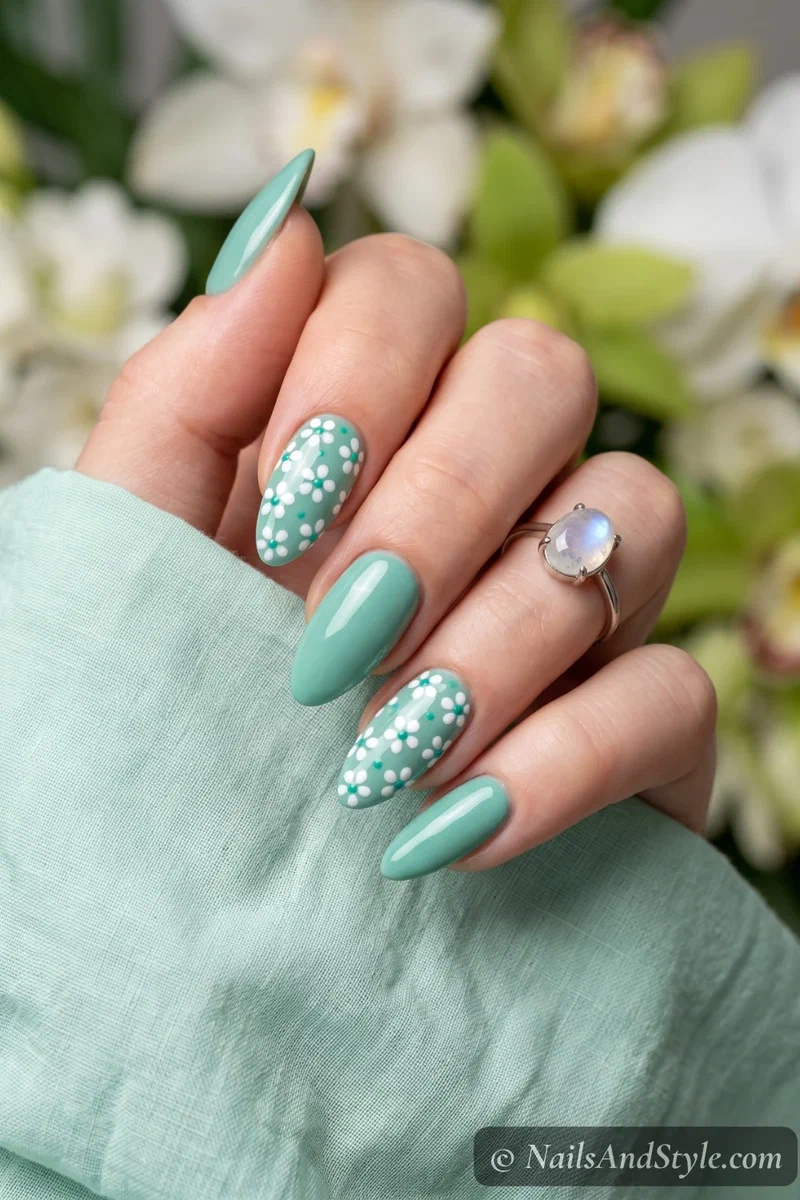
17. Seafoam Floral Accent#
Solid seafoam green on most nails, then tiny white flowers on one or two accents using a dotting tool. Five dots in a circle, green center dot, done. Sweet and summery without overcomplicating things.
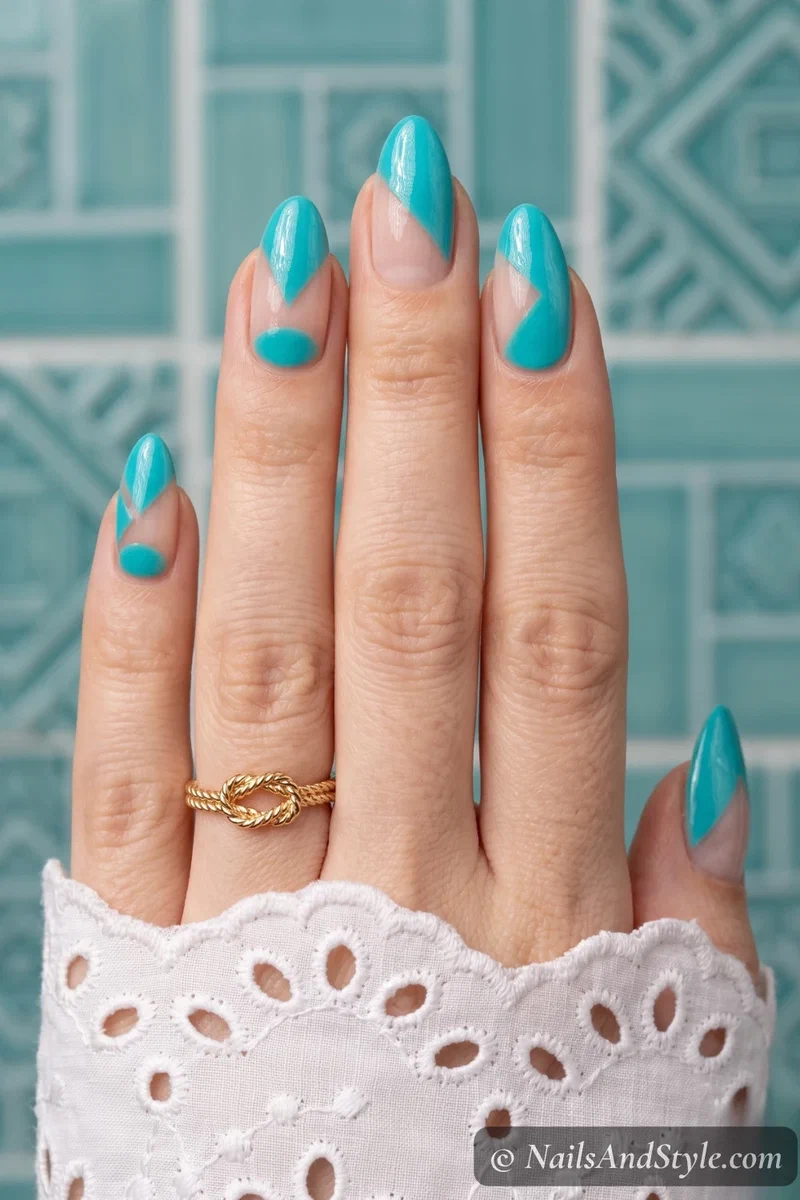
18. Turquoise Negative Space#
Apply turquoise in geometric shapes — triangles, half-moons, diagonal blocks — leaving sections of bare nail exposed. Striping tape gives you clean edges. The contrast between skin and that bold turquoise is so modern.
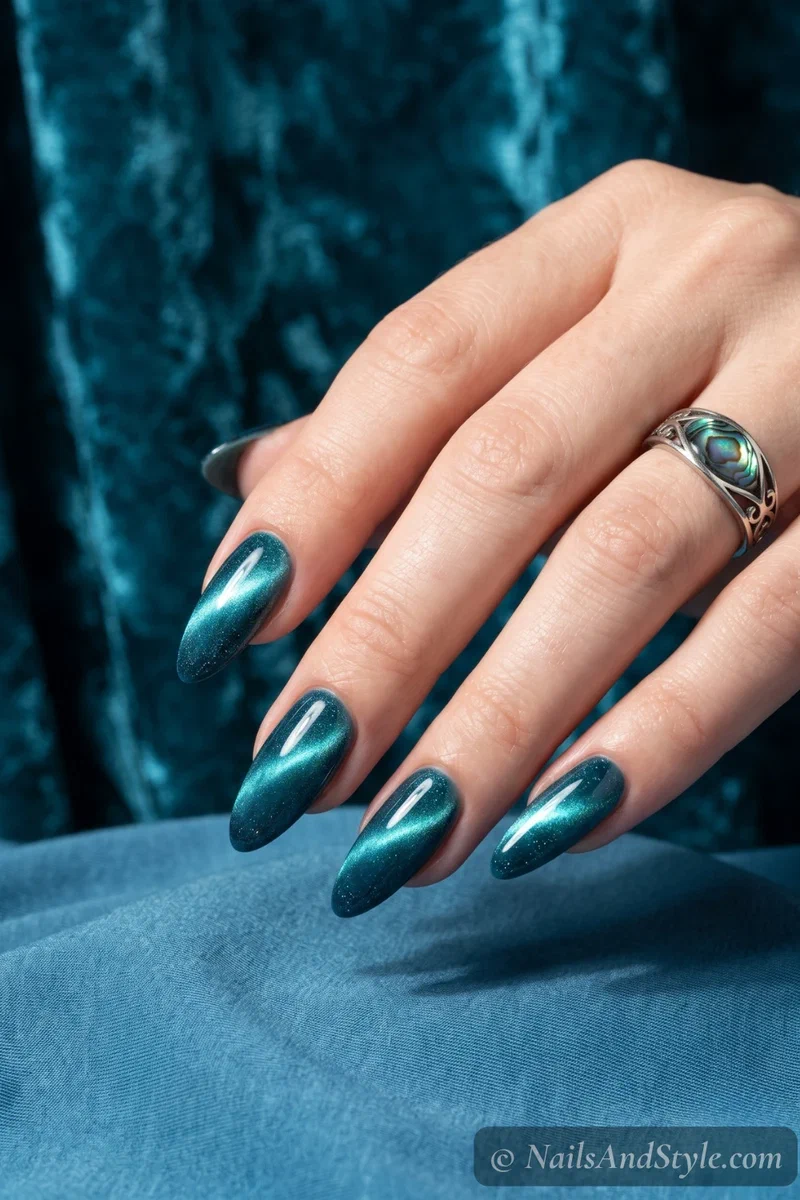
19. Aqua Cat Eye#
Use aqua cat-eye polish (the magnetic kind) and hold a magnet over each wet nail to create that signature light stripe. The depth and shimmer are mesmerizing — is it just me or does this finish look like actual gemstones? Needs special polish and a magnet, but so worth it.
20. Ocean Blue Confetti Dots#
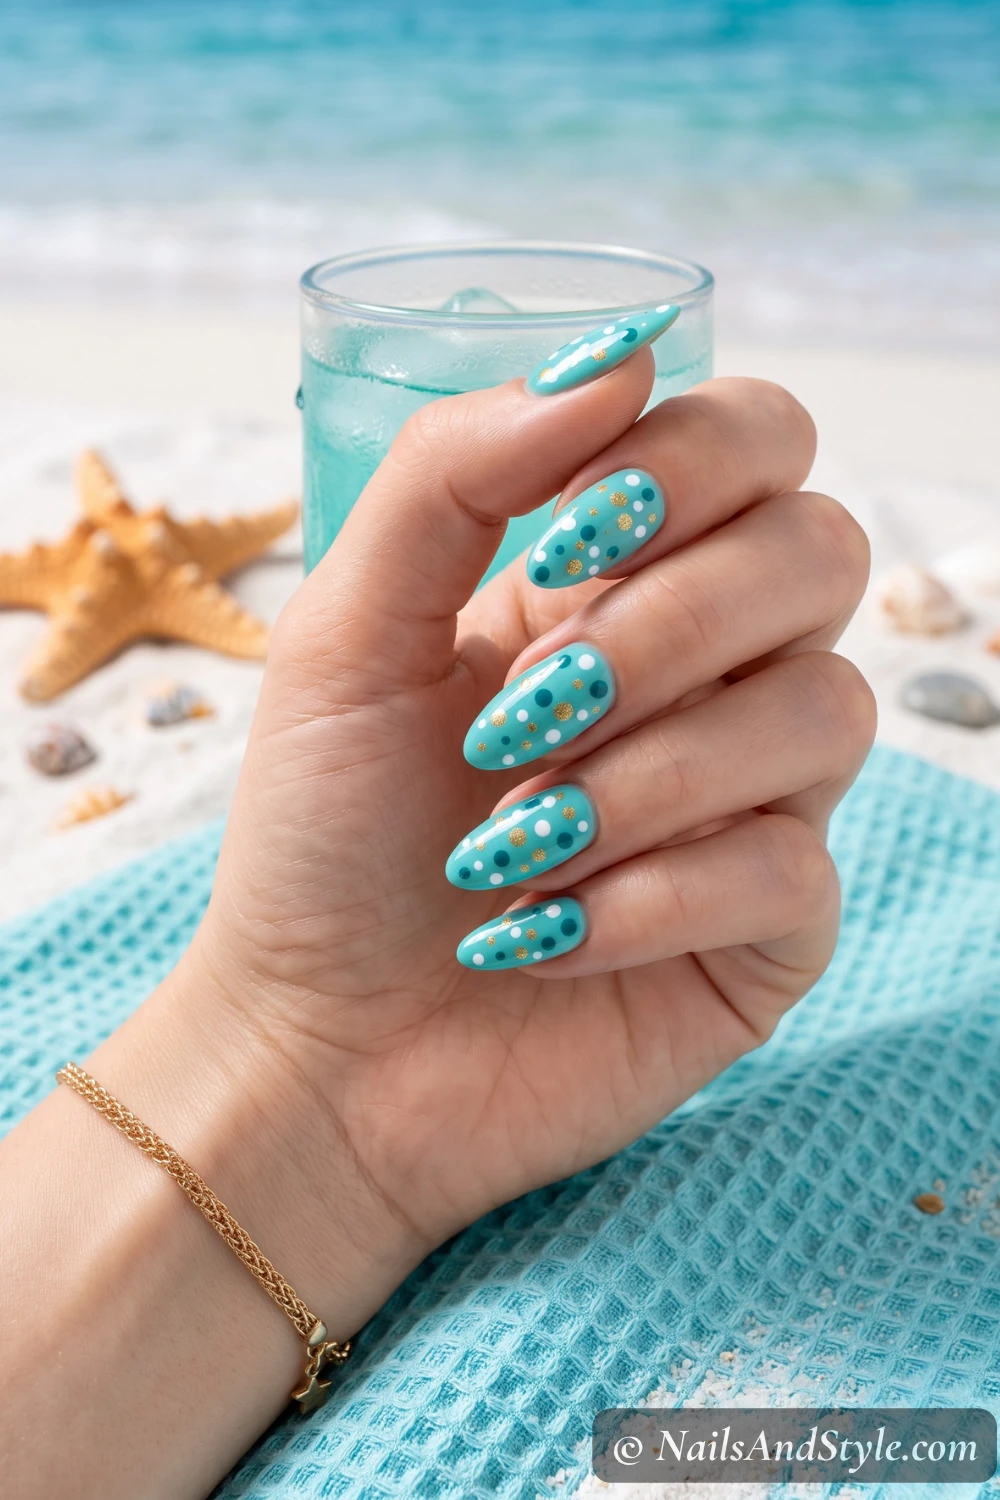
Turquoise base, then scattered dots in white, gold, and deep teal using a dotting tool. Different sizes, random placement — like confetti on ocean water. Playful, fun, and genuinely impossible to mess up.
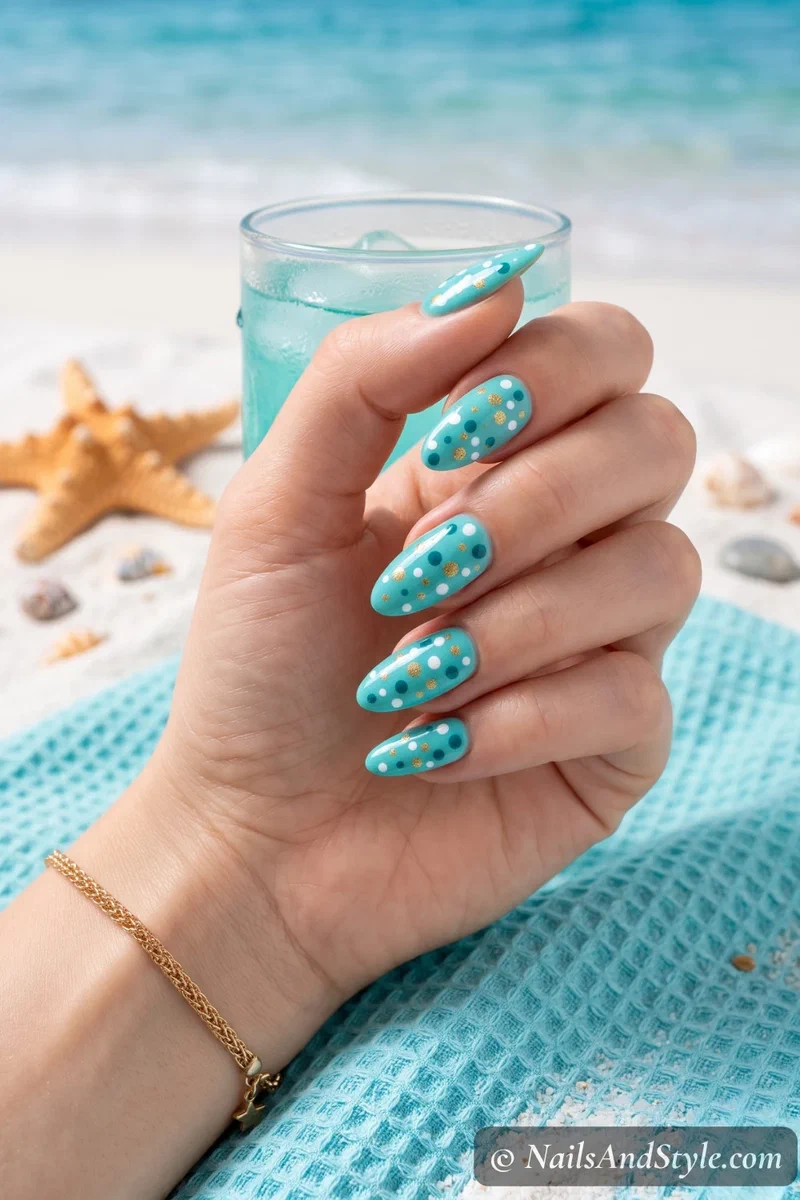
My blue summer nails post goes deeper on this whole vibe if you want to keep going.
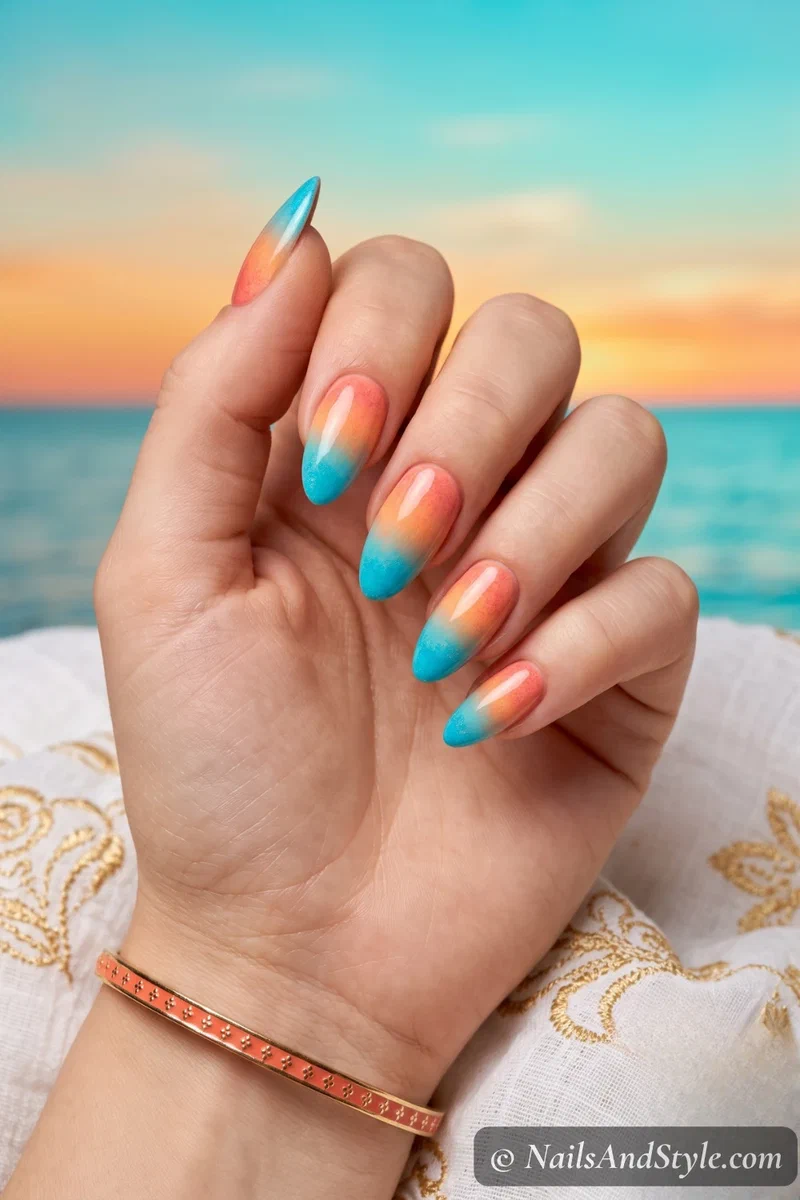
21. Turquoise Sunset Tip#
Paint a warm coral-to-turquoise gradient — sunset at the cuticle fading to ocean at the tip. Sponge and blend where the colors meet. It’s the most colorful look on this list and honestly? Gorgeous.
Turquoise Nails on Short Nails#
Short nails and turquoise are genuinely a great match. The bright color makes short nails look intentional and polished — not like you’re waiting for them to grow. Minimal designs actually look cleaner on shorter lengths.
A Few More Short Nail-Specific Ideas#
- Solid turquoise gloss — makes short nails look polished instantly
- Aqua French tips — thin tips can elongate short nails
- Negative space designs — bare sections create an illusion of length
- Jelly finish — the transparency looks especially cool on shorter nails
- Single glitter accent — one sparkly nail keeps the balance right
Simple Step-by-Step: How to Do Turquoise Nails at Home#
- Clean, trim, and file nails into your preferred shape
- Push back cuticles gently with an orangewood stick
- Buff the surface lightly for better adhesion
- Apply a clear base coat — essential with turquoise (staining is real)
- Paint your turquoise or aqua base in thin, even layers — two coats usually does it
- Add your design details — marble swirls, glitter, chrome powder, dots, whatever you chose
- Clean up edges with a small brush dipped in remover
- Seal with glossy top coat and let it dry completely
How to Ask Your Nail Artist for Turquoise Nails#
Turquoise and aqua come in a huge range — bright, muted, chrome, jelly, neon. Photos help the salon hit the exact undertone you want.
- Bring 2-3 reference photos showing the exact blue-green undertone — turquoise versus aqua versus teal read very differently
- Specify the finish — glossy cream, jelly translucent, chrome mirror, matte sea-glass, or cat-eye magnetic
- Almond, round, or oval shapes flatter ocean shades best on shorter lengths
- Mention hand-painted vs stamping vs gradient — marble and waves are freehand, mermaid scales use a fishnet, gradient is sponged
- Choose gel polish for turquoise — it stains natural nails fast, gel keeps the bed clean and the color saturated
Tips to Make Your Turquoise Nails Last#
- Apply thin layers — thick coats peel and chip way faster
- Seal the free edge with every coat (base, color, top)
- Wait at least an hour before putting hands in water
- Wear gloves for dishes and cleaning
- Reapply top coat every 2-3 days for ongoing shine
- Use cuticle oil daily — healthy cuticles make everything look better
- Stop using nails to open things (we all do it, we all know we shouldn’t)
Quick FAQ#
Are turquoise nail designs hard for beginners?#
Not at all. Solid turquoise, aqua ombre, and chrome looks need almost no skill. Even the marbles and swirls are forgiving — the messy blending is the whole point. Start simple and add details as you get comfortable.
What shades work best for turquoise and aqua nails?#
Classic turquoise, seafoam green, teal, aquamarine, and bright cyan all look amazing. For a muted vibe try dusty teal or sage-tinted aqua. For bold summer energy go with electric turquoise or neon aqua.
Can I do these on natural nails?#
Yes — every look here works on natural nails with regular polish. Use a good base coat because turquoise pigments can leave color behind. Thin layers and a glossy top coat keep everything smooth.
Shop the Look#
Everything you need to recreate these turquoise and aqua looks at home:
 BaseBase + Strengthener CoatTurquoise stains fast — a base coat keeps your nails clean
 ShineGlossy Top CoatSmooths sponge texture and gives that wet-glass finish
 Aqua shadesEssie Aqua ShadesIn the Cab-ana, Naughty Nautical and Tart Deco coral
 Teal shadesOPI Teal & Mint ShadesTeal the Cows Come Home, Gelato on My Mind, This Cost Me a Mint
 ChromeSilver Chrome PowderBuffs into a mirror shift over cured turquoise gel
 Dots & swirlsDotting Tool SetFor confetti dots, florals and marble swirls
 Crisp tipsNail Guide StickersFor clean aqua French tips and negative-space shapes
Final Thoughts#
Turquoise nail designs are one of those trends that never really leave — they just keep showing up with better finishes and cooler techniques every year. From full chrome mirror to a simple glossy coat, these ocean blues are summer on your fingertips.
Save the ones that caught your eye, pin them, screenshot them — whatever works. Then grab your turquoise polish and start. Most of these looks are pretty forgiving, and your nails don’t need to be flawless. They just need to make you smile when you look down at your hands.