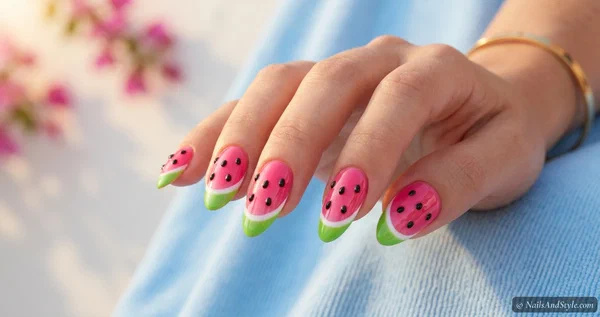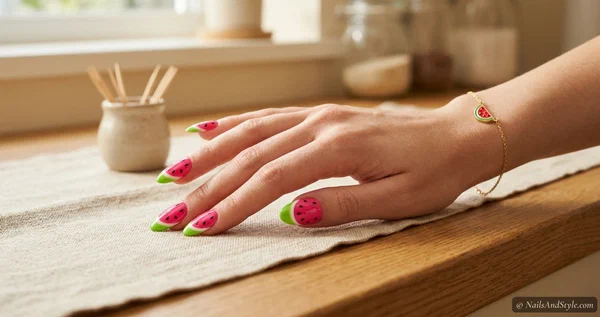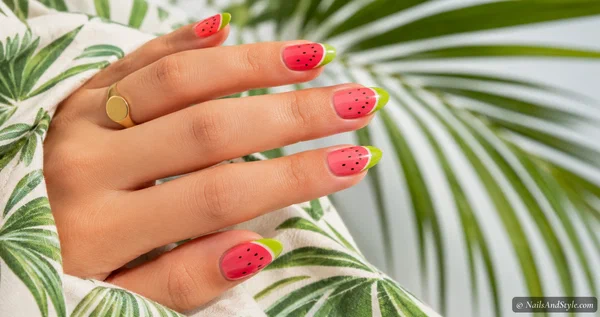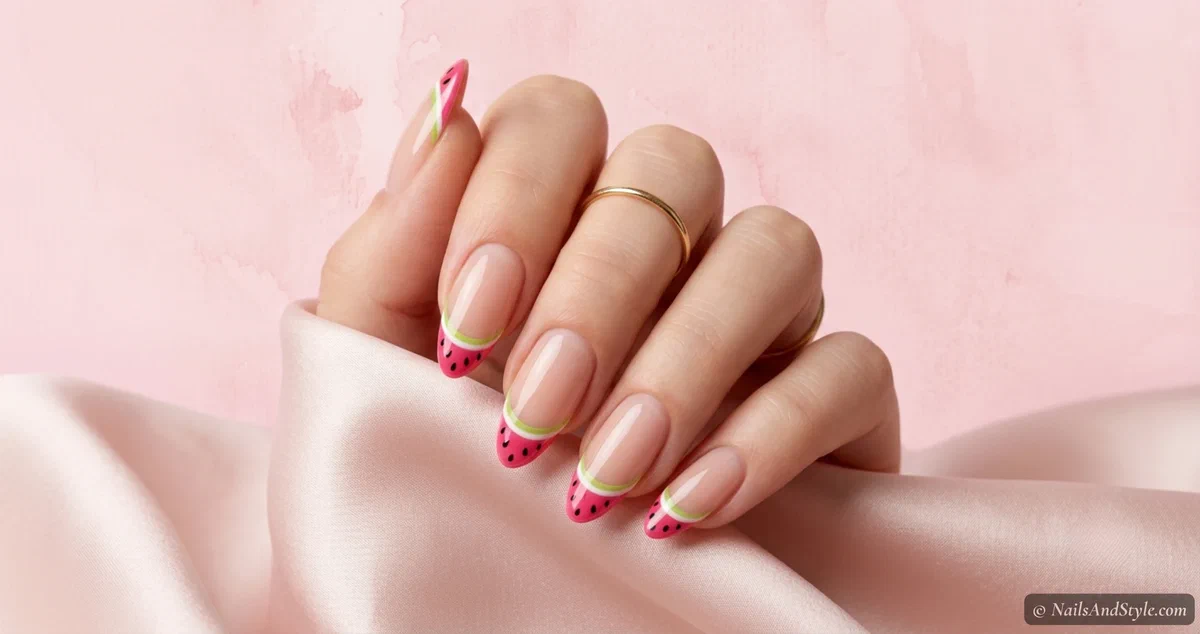
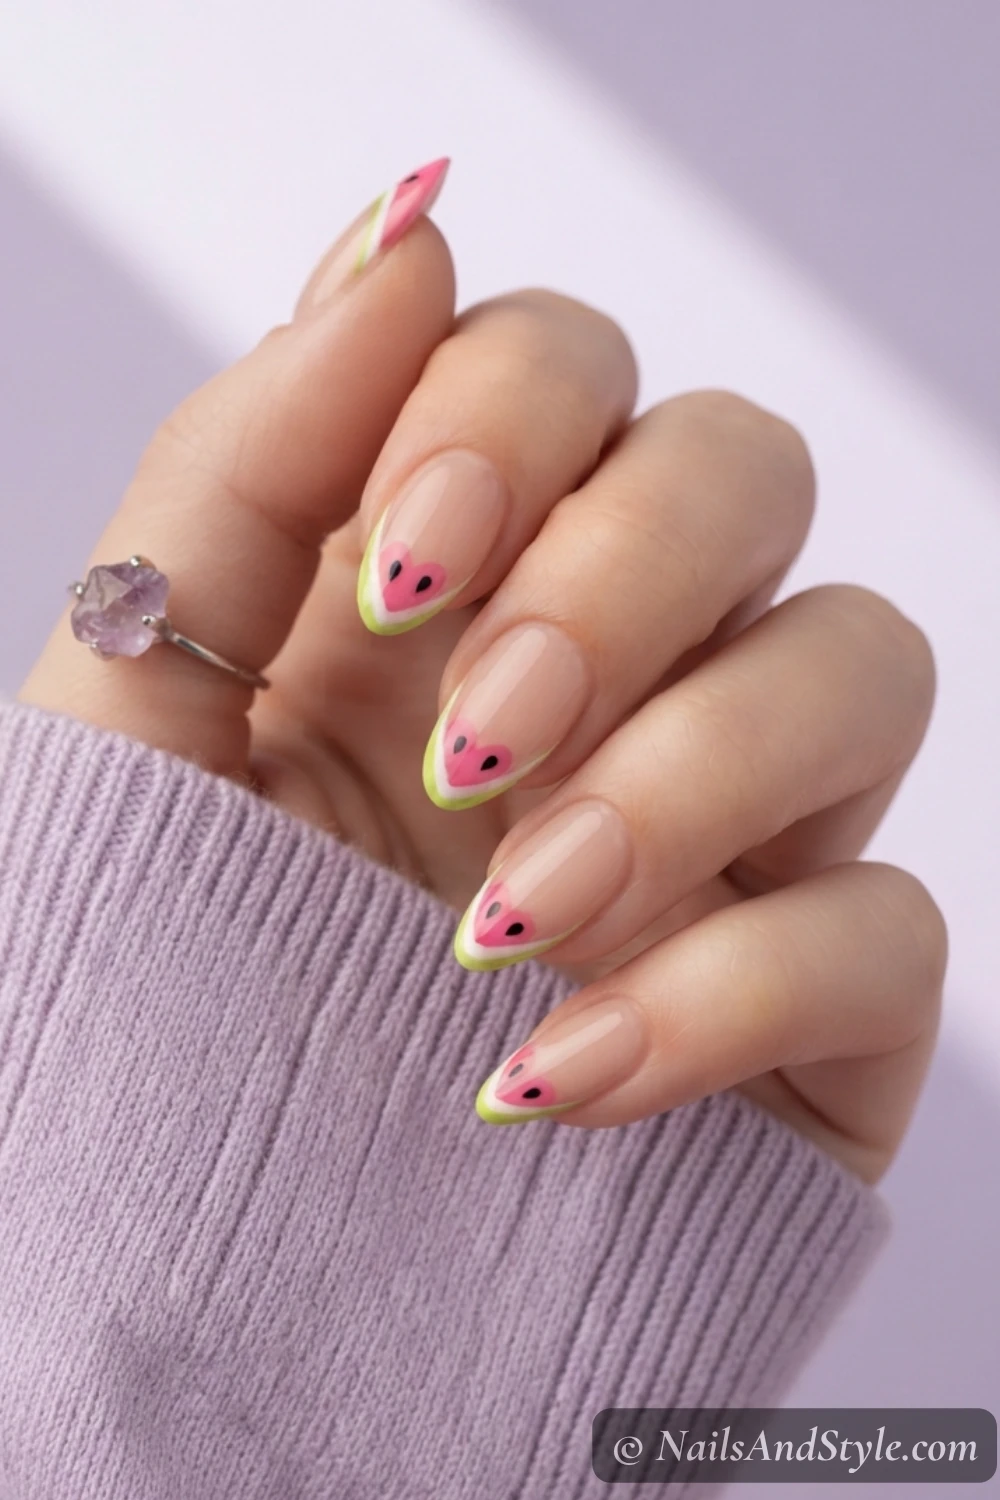
French tips have officially gone fruity. Watermelon french tips — the mini, pinky-green, seed-dotted version — are everywhere this summer, and honestly they’re way easier to pull off than they look. The “mini” part is what makes them so wearable: subtle enough for work, cute enough for a pool day.
This guide walks you through 10 mini watermelon french tip designs, each with clear step-by-step instructions you can follow at home. Some take ten minutes. Others are weekend-vibes-only projects. All work on short and medium nails, and you really only need a thin brush, a toothpick, and four polish colors.
I’m covering the full method for each design so you can pick whichever vibe suits your mood (or your manicure schedule).
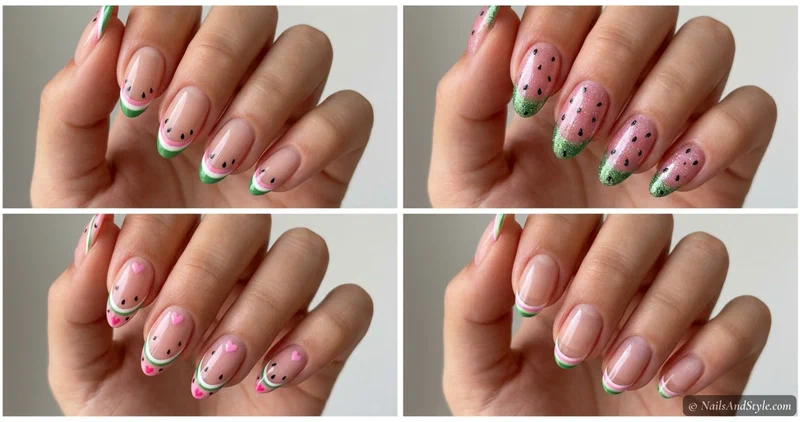
Why Mini Watermelon French Tips Are Such a Summer Win#
Honestly? They’re the rare design that looks editorial AND beginner-friendly. The watermelon palette (pink, green, a touch of white) is forgiving on every skin tone, and french tips draw the eye to the longest part of the nail, which makes your hands look polished even if the rest is bare.
A Few Things to Keep in Mind Before You Start#
- A sheer nude base makes the tip design pop without competing.
- Keep the pink tip thin — micro is the whole point.
- Use a striping brush (not a regular nail brush) for crisp lines.
- A toothpick handles the seeds better than most fancy tools.
Quick Pick: Which Mini Watermelon Design Should You Try?#
| If you’re looking for… | Try these designs |
|---|---|
| Beginner-friendly | Classic Mini Watermelon, Seeds Only |
| Short nails | Micro Slice on Tip Corner, Negative Space |
| Bold statement | Glittery Watermelon, Chrome Watermelon |
| Romantic and detailed | Heart French Tips, Pastel Mini |
If you want the bigger watermelon picture first, my how to do watermelon nails post covers ten full-coverage versions before you commit to the tips-only route.
How to Do Watermelon French Tips: 10 Cute Mini Designs#
Each design below has a clear step-by-step so you can recreate it. I’ve sorted them from easiest to slightly trickier — start with the classic mini if you’re new to french tips.
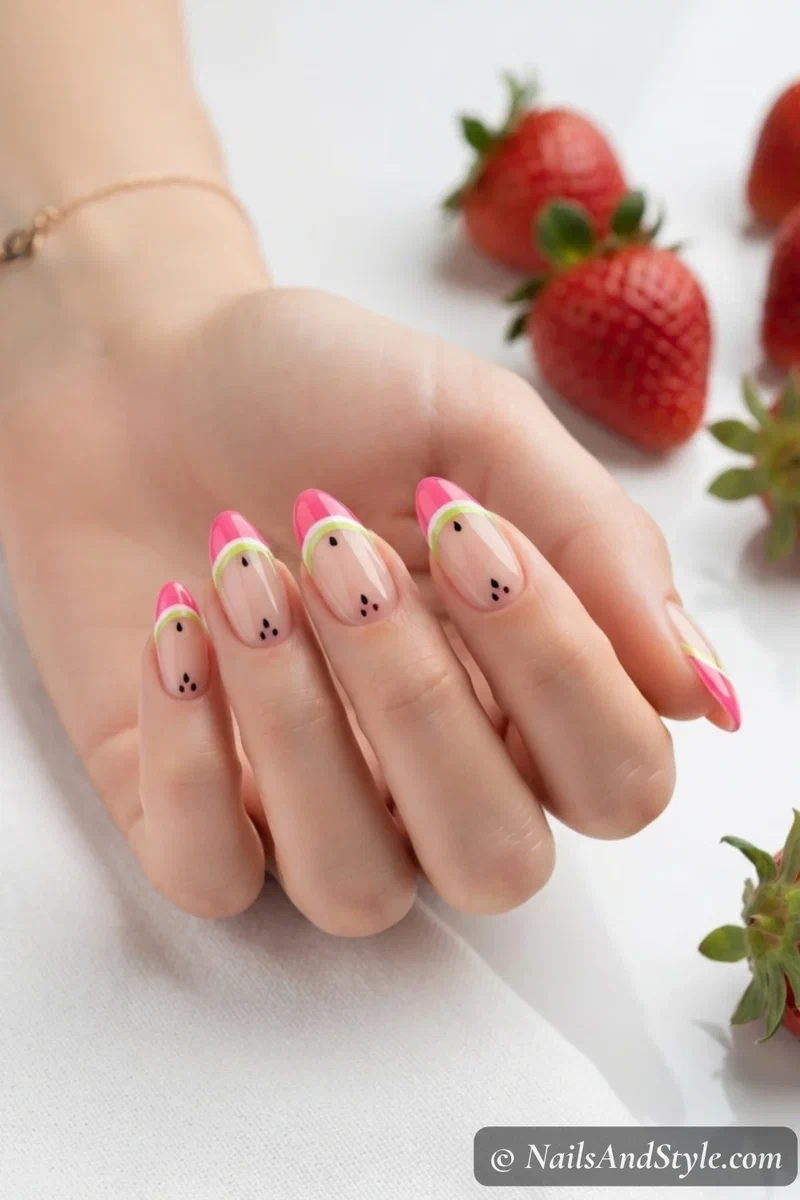
1. Classic Mini Watermelon French Tip#
The OG version. Recognizable, cute, doable in under fifteen minutes.
Steps:
- Paint two thin coats of sheer nude polish as your base.
- Use a thin striping brush to paint a slim hot pink tip across each nail.
- Add an even thinner white line just above the pink.
- Top the white line with a slim lime green stripe.
- Use a toothpick to dot two tiny black seeds onto each pink tip.
Finish with one layer of glossy top coat to seal everything down.
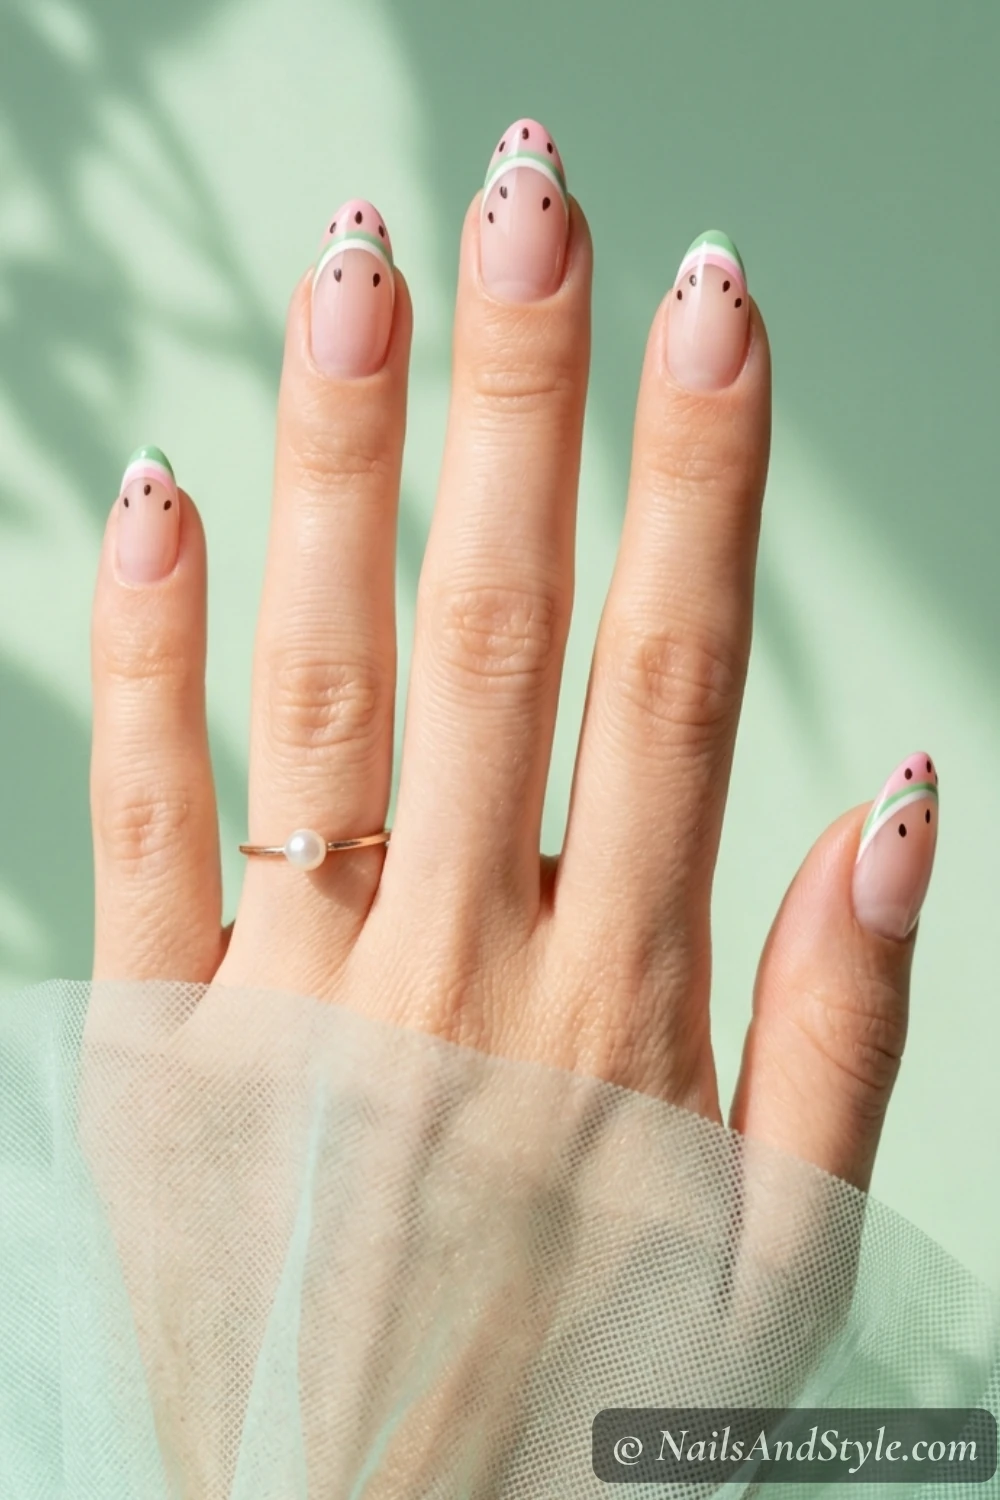
2. Pastel Mini Watermelon French Tips#
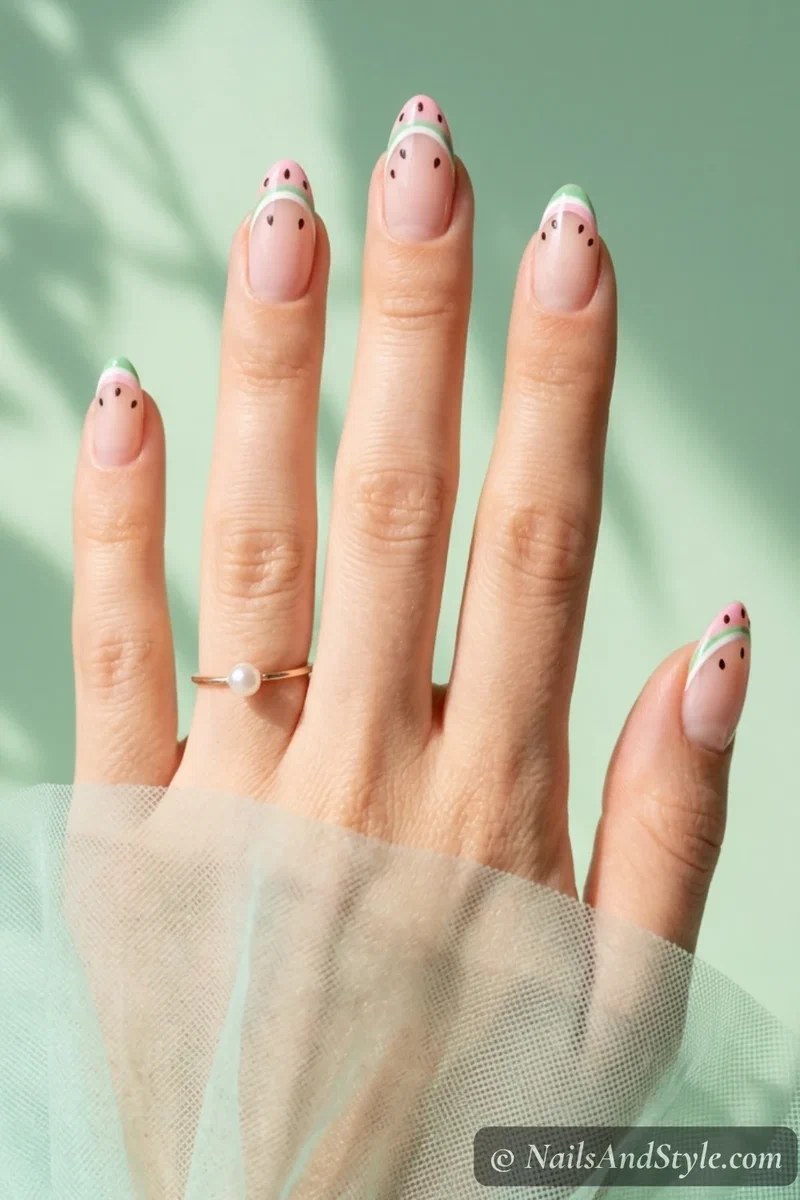
Same idea, softer mood. Reads as romantic instead of bright.
Steps:
- Apply a milky-pink base coat (two thin layers).
- Use a striping brush to paint a baby pink tip.
- Add a thin white divider line just above.
- Layer a mint green tip above the white line.
- Use a toothpick to dot tiny dark brown seeds on the baby pink.
Glossy top coat keeps everything soft and clean.
3. Micro Watermelon Slice on the Tip Corner#
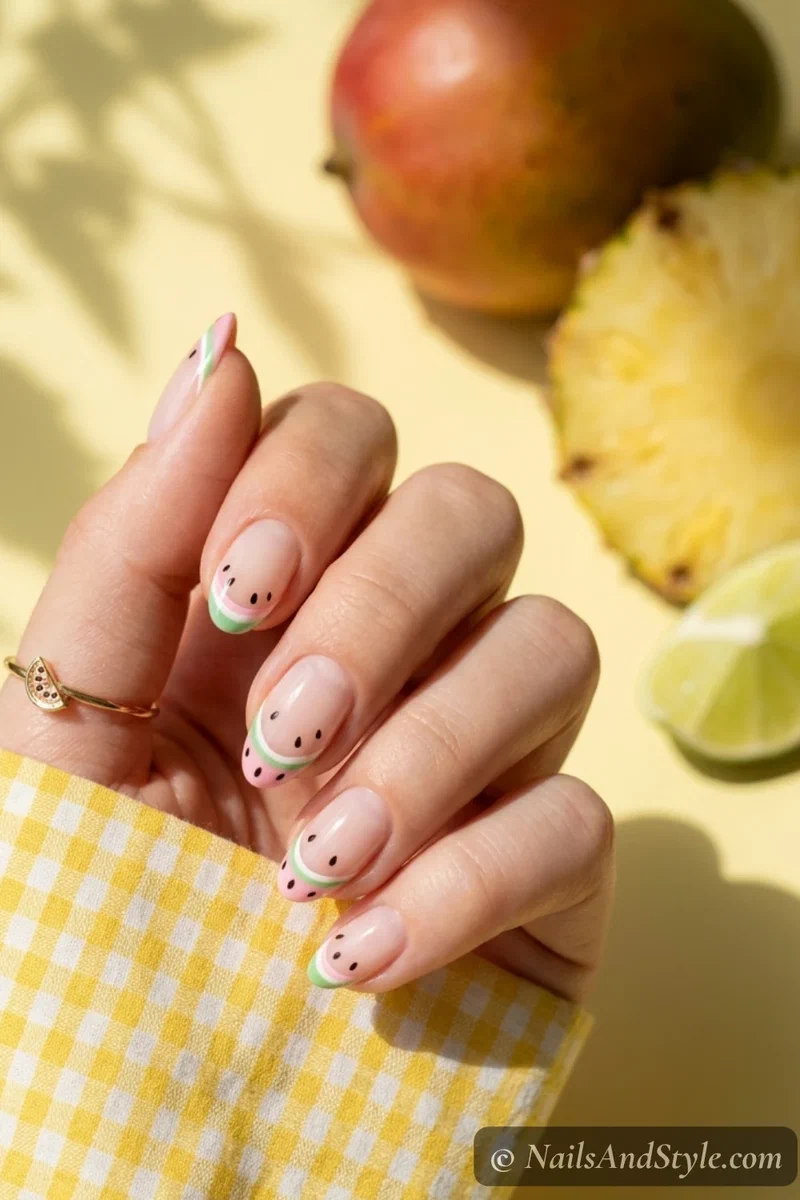
The minimalist’s dream. A tiny slice tucked into just one corner of each tip.
Steps:
- Paint a sheer or milky base coat across each nail.
- Use a thin nail art brush to paint a small pink half-circle at the corner of each tip.
- Outline the bottom edge of the pink with a thin white curve.
- Add a slim green curve below the white.
- Drop one tiny black seed inside the pink with a toothpick.
A glossy top coat ties it all together. Editorial without the effort.
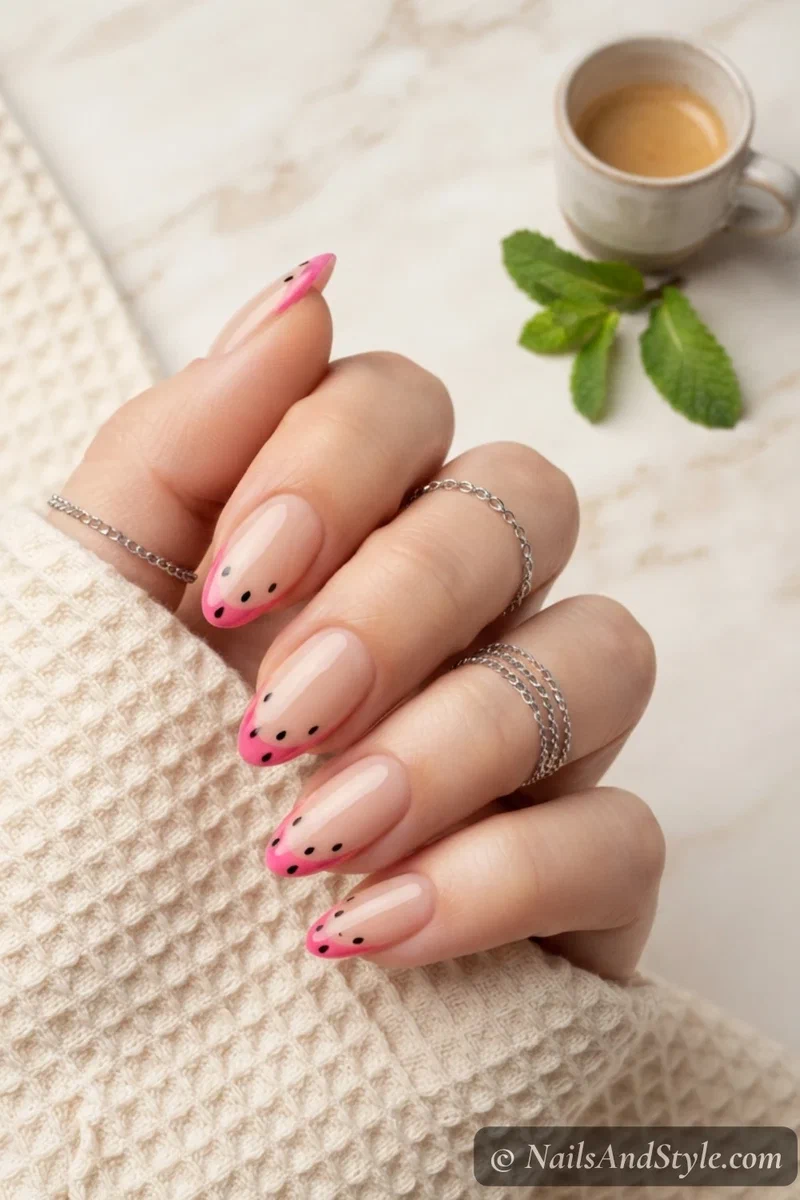
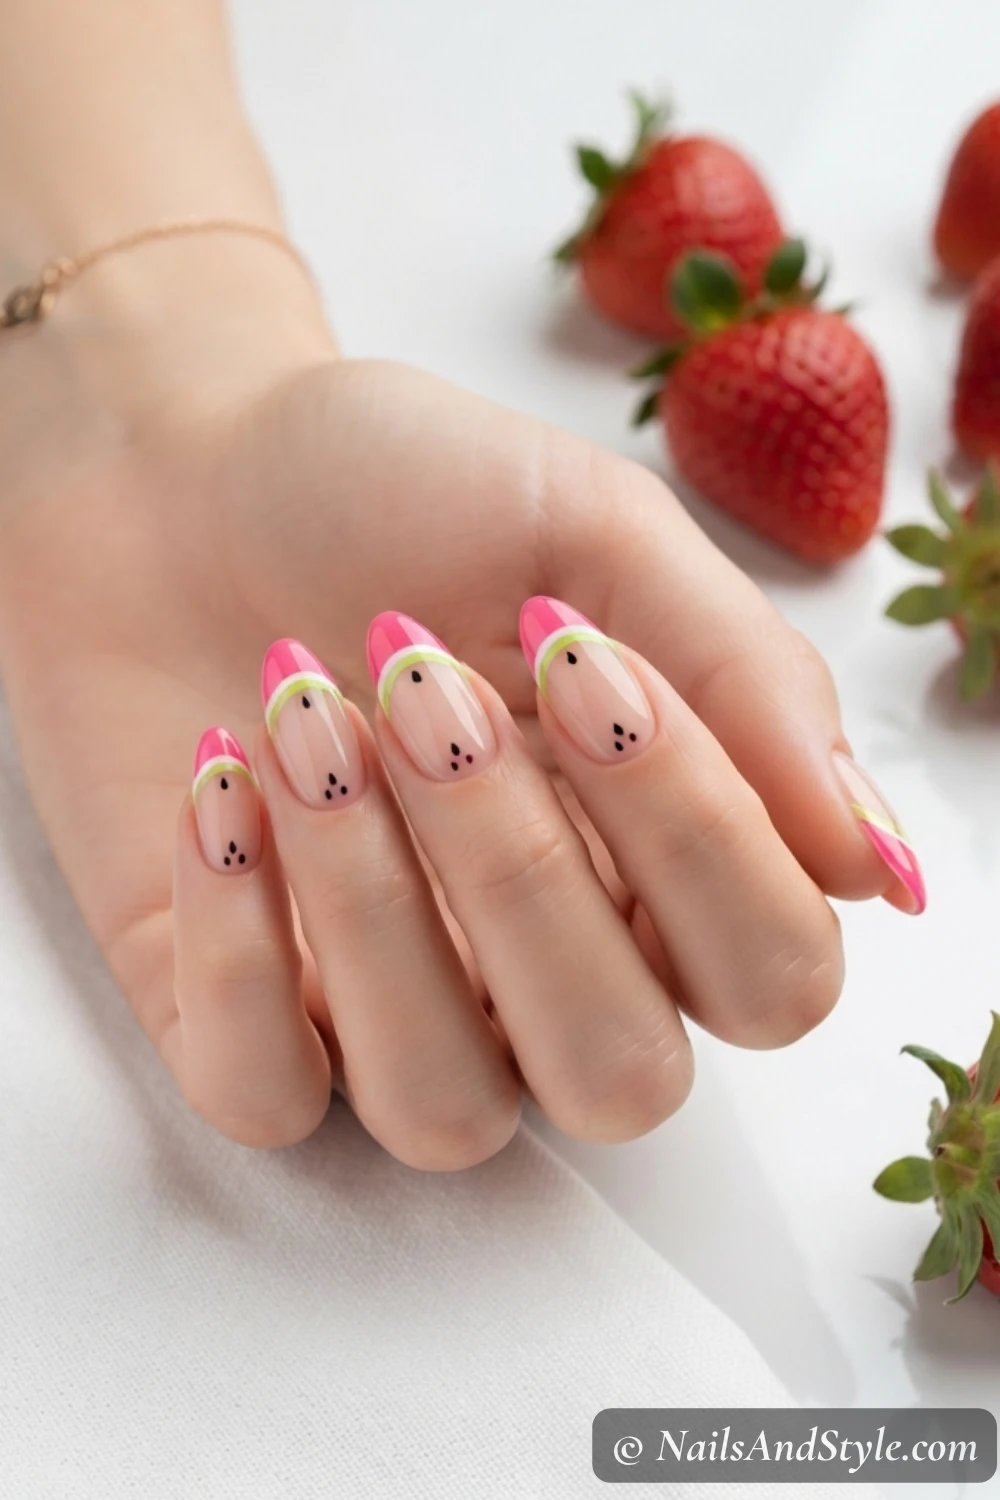
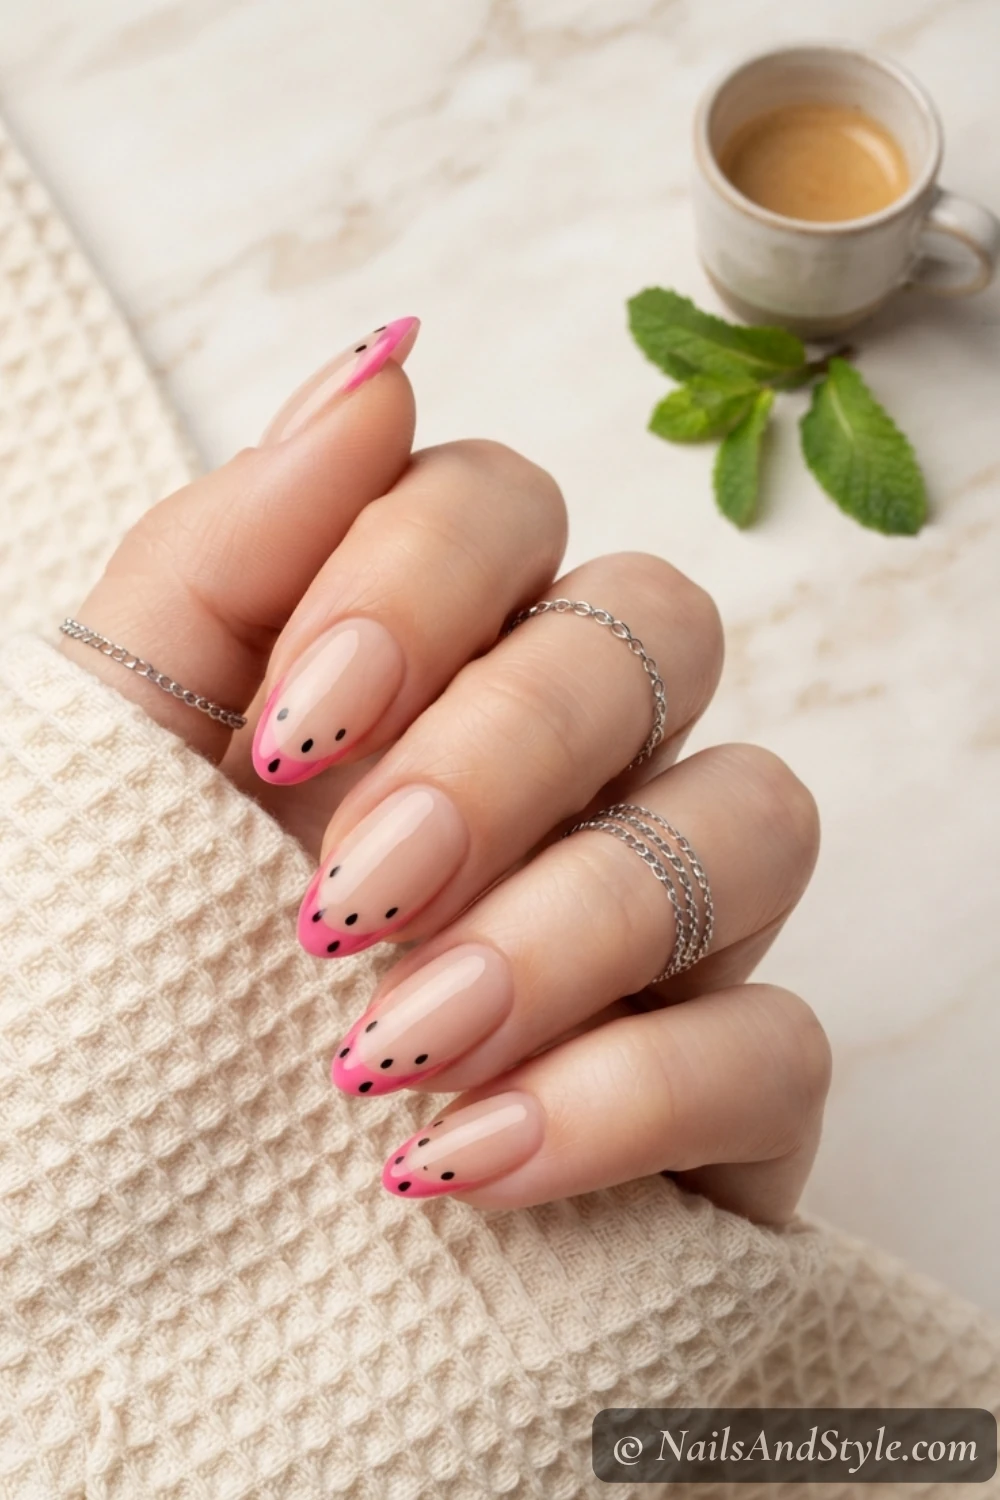
4. Mini Watermelon Tips with Seeds Only#
When you want the watermelon nod but not the green stripe. Surprisingly chic.
Steps:
- Apply a sheer nude base.
- Paint a slim hot pink french tip across each nail with a striping brush.
- Skip the white and green lines — yes, really.
- Use a toothpick to scatter three or four tiny black seed dots across each pink tip.
- Seal everything with two thin coats of top coat for a polished look.
The result is minimalist, instantly recognizable, and stupidly easy.
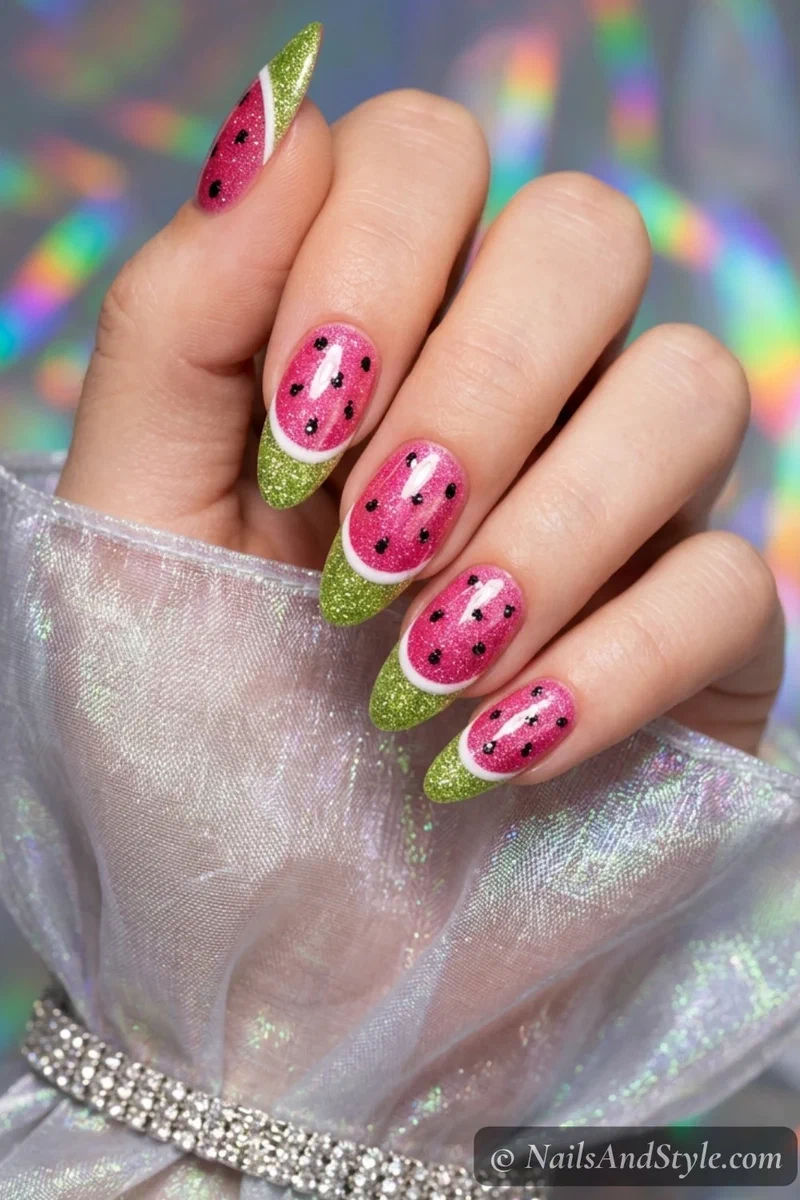
5. Glittery Watermelon French Tips#
Loud, sparkly, end-of-summer-festival energy. Brings the party.
Steps:
- Paint a shimmery pink base coat (two layers).
- Apply a glittery hot pink tip using a striping brush.
- Add a thin white divider line just above the pink.
- Press fine green glitter onto a tacky thin layer of clear polish at the very tip.
- Hand-place tiny black glitter flakes for seeds with a toothpick.
Cap with two layers of glossy top coat to smooth the glitter texture.
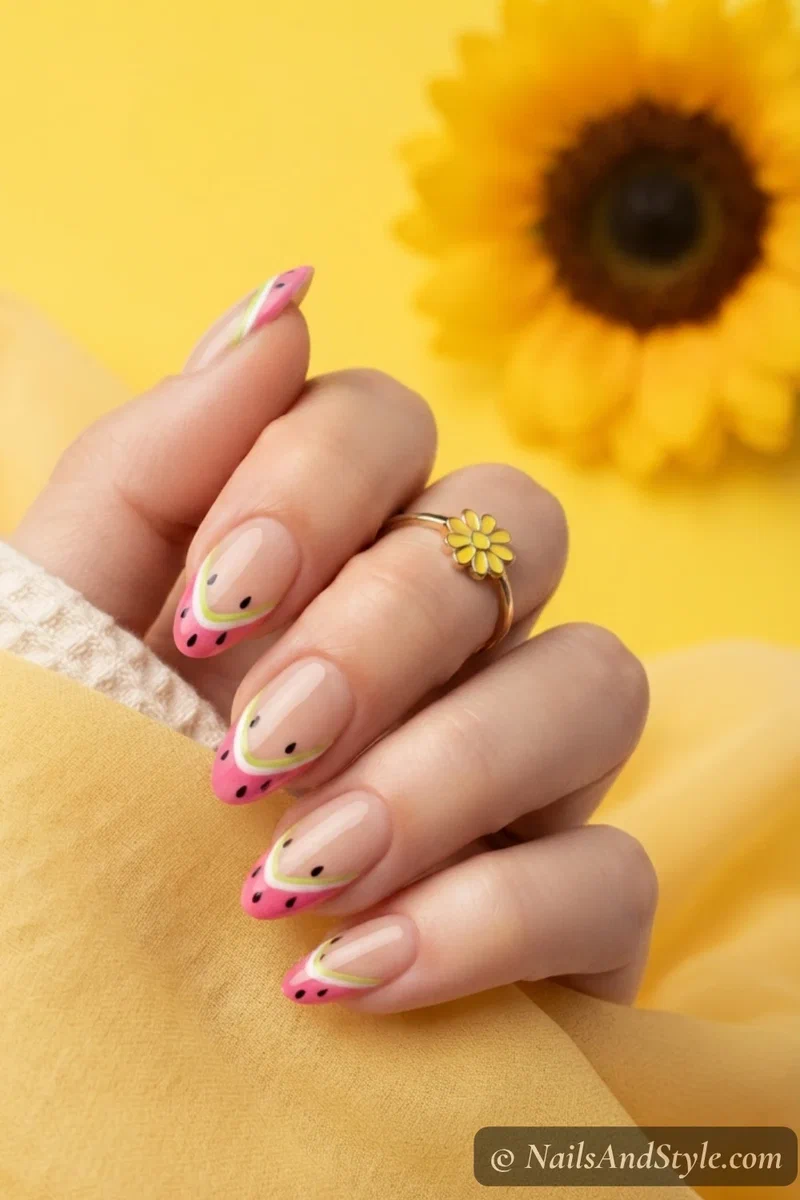
6. Watermelon V-Tip (Smiley Edge)#
A playful spin where the tip dips into a soft V or smile instead of a straight line.
Steps:
- Paint a sheer nude base.
- Use a thin brush to draw a soft V-shape or curved smile across each tip in hot pink.
- Outline the inside curve of the V with a thin white line.
- Add a slim green curve above the white.
- Drop two small black seed dots inside the pink.
A glossy top coat keeps the curve crisp. This one looks great in photos.
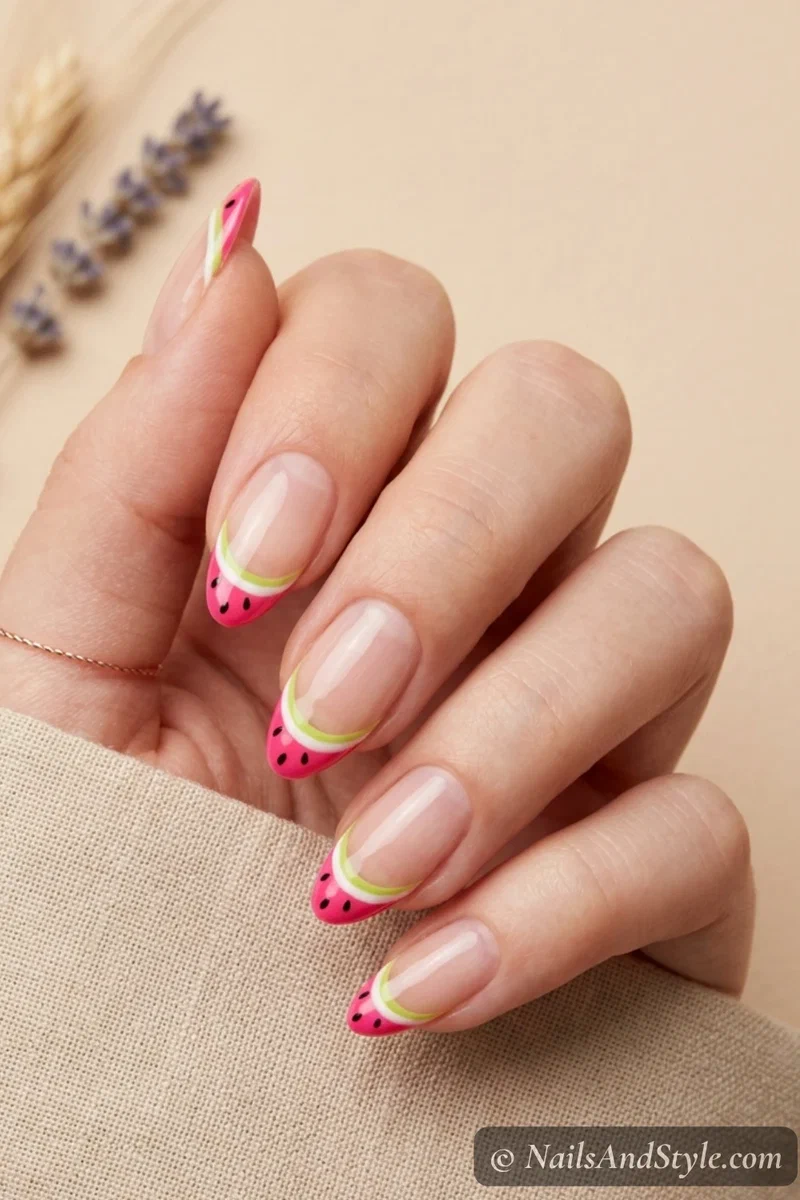
7. Negative Space Mini Watermelon Tips#
The most editorial of the bunch. Most of the nail stays bare, with just a sliver of design.
Steps:
- Apply a clear base coat — that’s your “color” for most of the nail.
- Use a thin brush to paint a very slim hot pink line right along the very tip edge.
- Add an even thinner white line just above it.
- Top with a slim green stripe.
- Dot one tiny black seed into each pink section.
Finish with a high-shine top coat. The bare nail does all the styling for you. For more bare-nail inspiration, my beginner nail art guide covers similar negative-space techniques.
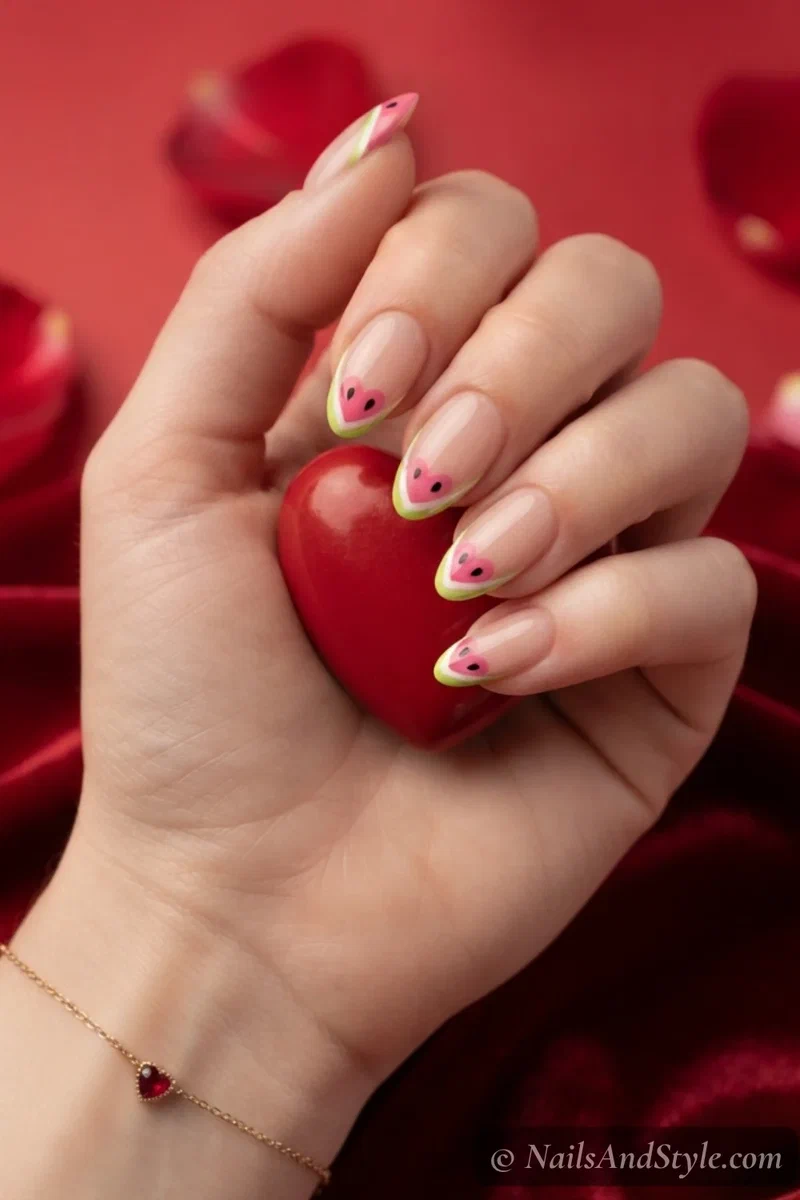
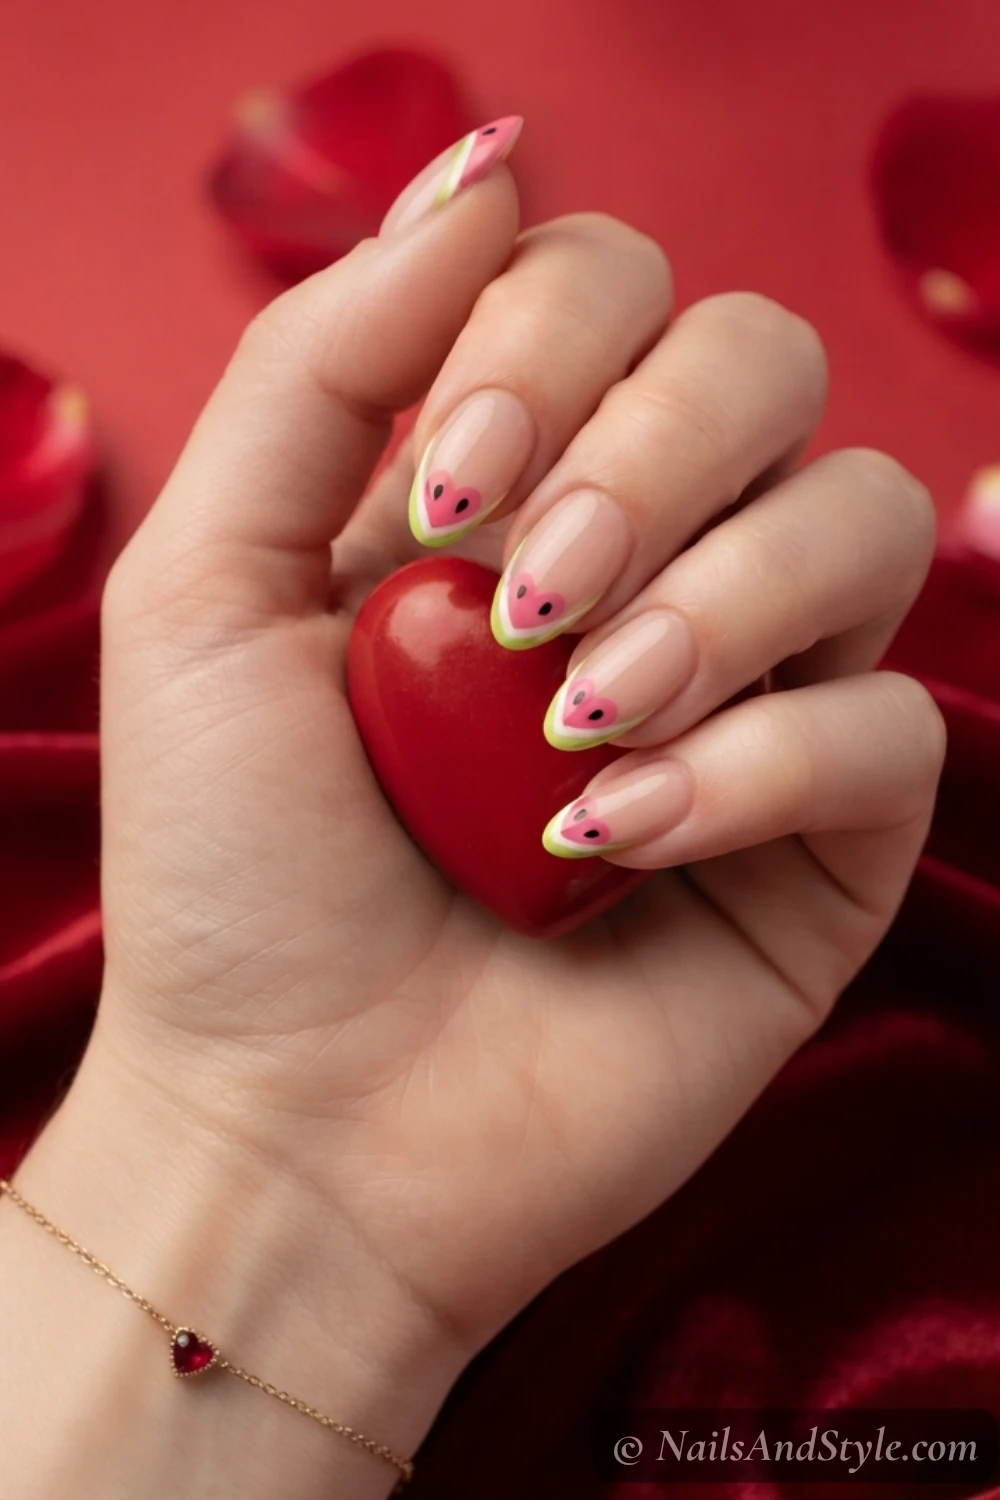
8. Watermelon Heart French Tips#
Hearts. On the tips. Yes, really. Yes, they’re adorable.
Steps:
- Start with a sheer pink base.
- Use a fine dotting tool to make two small pink dots side by side at the tip of each nail, then connect them into a heart shape with a thin brush.
- Outline the bottom of the heart in white.
- Add a small curve of green below the white.
- Tap one black seed into the center of each pink heart with a toothpick.
Glossy top coat seals it. Saved for date-night manicures, honestly.
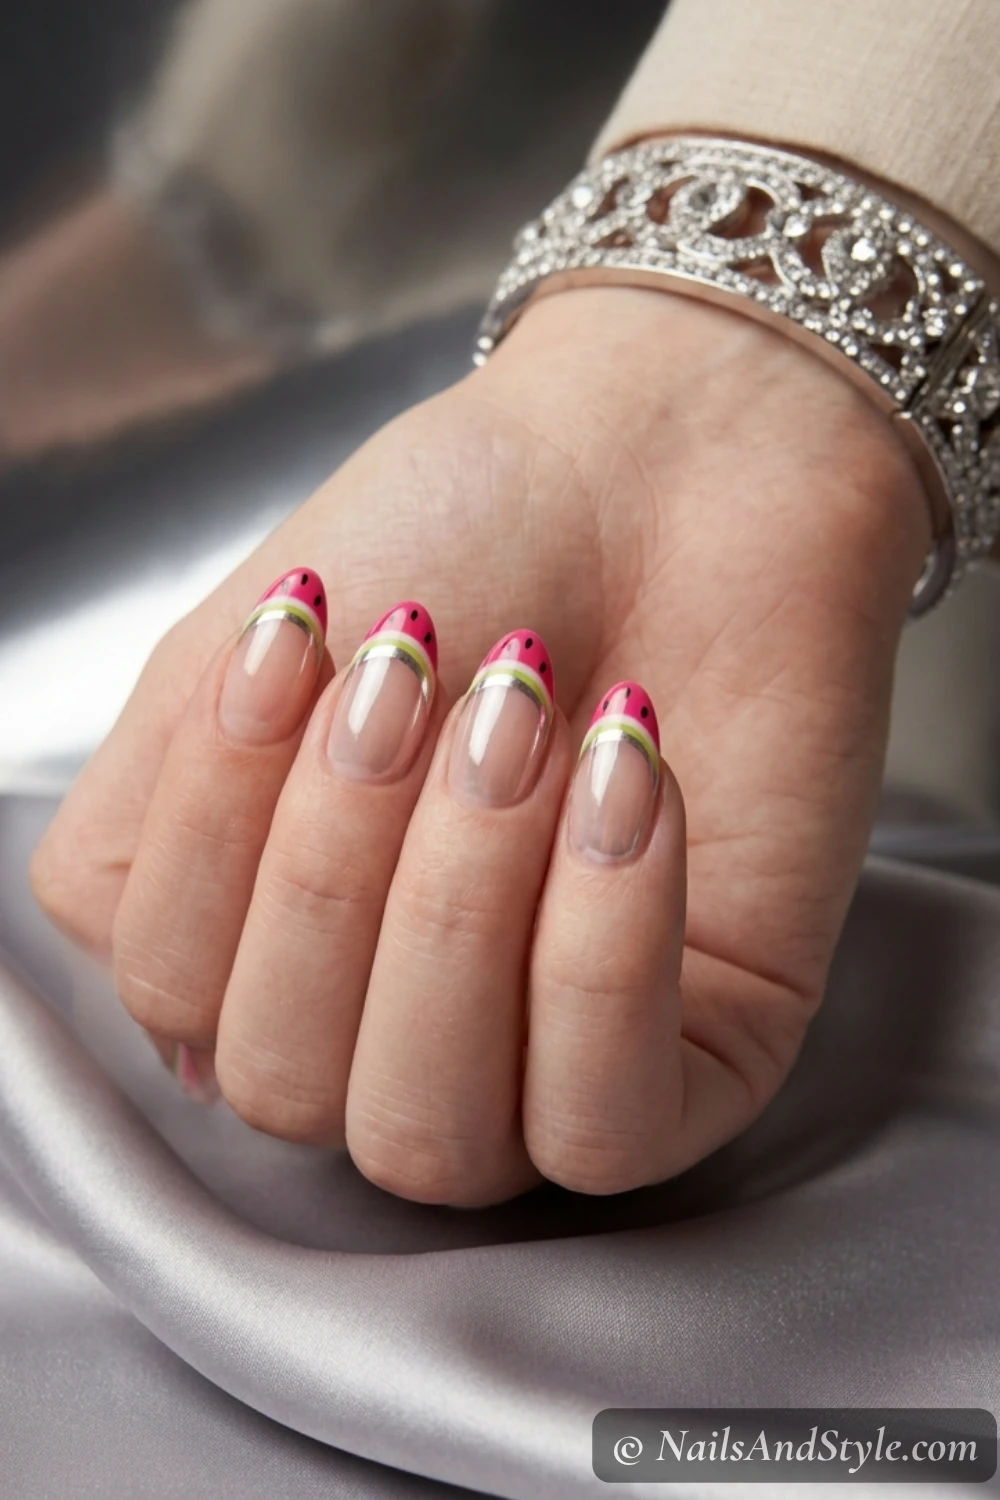
9. Chrome Watermelon French Tips#
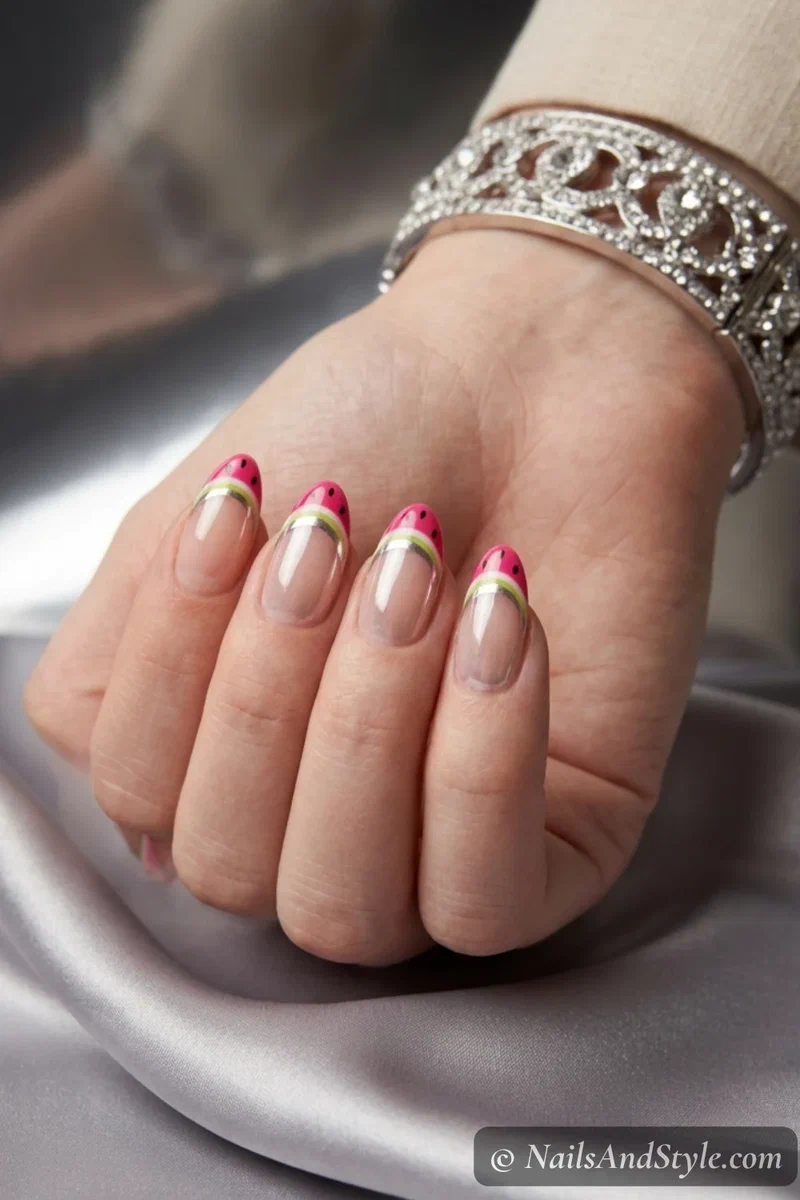
Mirror finish meets fruit theme. Sounds chaotic; looks expensive.
Steps:
- Paint a sheer base coat across each nail.
- Add a slim hot pink french tip with a striping brush.
- Brush a thin layer of no-wipe top coat over just the white divider area.
- While tacky, rub silver chrome powder over the white line with a small applicator or fingertip.
- Top with a thin green stripe above the chrome line and dot black seeds onto the pink.
A no-wipe top coat locks the chrome down. Catches light from every angle.
10. Diagonal Mini Watermelon Side Tips#
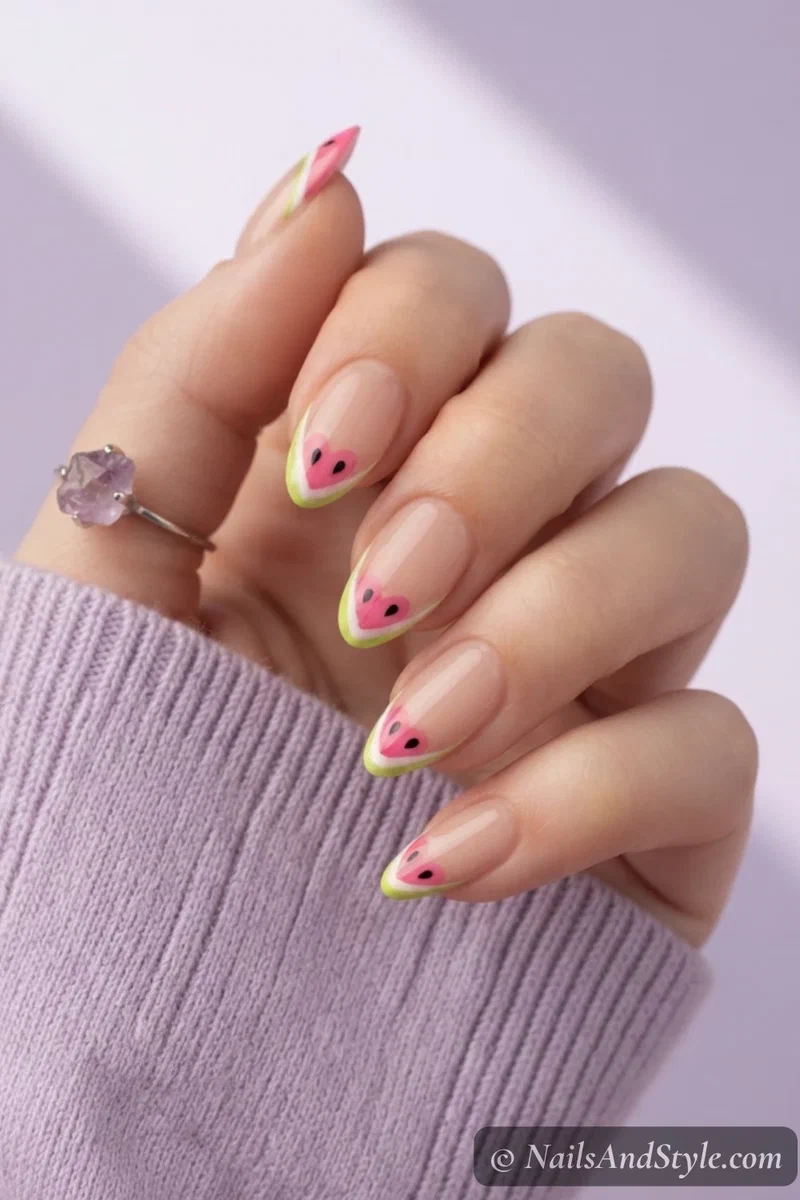
The fashion-girl move. Tips angle diagonally instead of running straight across.
Steps:
- Apply a sheer nude base coat.
- Use French guides (or freehand carefully) to mark a diagonal line across each tip — angle them all in the same direction.
- Fill the diagonal section with hot pink polish.
- Add a white line and green stripe along the diagonal, matching the angle.
- Drop two black seeds onto each pink diagonal section with a toothpick.
Glossy top coat finishes the look. Looks especially cool on almond or coffin shapes. For the foundational technique, my French tip nail art tutorial walks through angled tips in detail.
These Looks for Short Nails#
Mini watermelon french tips were basically made for short nails.
A Few More Short Nail-Specific Ideas#
- Classic mini stays neat on a small canvas without crowding.
- Micro slice on the tip corner uses even less space than a standard french.
- Seeds-only version keeps the visual weight low for stubby nails.
- Negative space stretches short nails visually because most of the nail stays bare.
- Heart french tips add personality without overwhelming the shape.
Shop the Look#
Everything you need for these mini watermelon tips at home:
 BaseBase + Strengthener CoatA smooth sheer base keeps the tiny tip art crisp
 ShineGlossy Top CoatSeals the seeds and gives a juicy finish
 Hot pinkOPI Hotter than You PinkThe bright watermelon pink for the tipsPastel pinkEssie FijiA milky baby-pink for the pastel version
 ChromeSilver Chrome PowderFor a mirror divider stripe on the chrome version
 SeedsDotting Tool SetThe easy way to dot tiny watermelon seeds
 Crisp tipsNail Guide StickersFor clean straight and diagonal tip lines
Simple Step-by-Step: How to Do Watermelon French Tips at Home#
Here’s the order I follow no matter which version I’m doing:
- Prep. Wash hands, push back cuticles, trim, file in one direction.
- Buff lightly. Helps polish grip without weakening the nail.
- Base coat. One thin layer. Always.
- Sheer base color. Two thin coats of sheer nude or milky pink.
- Paint the pink tip. Use French guides or a striping brush.
- Add the white divider above the pink (slim line).
- Add the green tip above the white.
- Drop the seeds. Toothpick or dotting tool.
- Clean edges. Small brush dipped in remover.
- Top coat. Seal the free edge. Let it cure longer than you think.
How to Ask Your Nail Artist for Watermelon French Tips#
Mini watermelon designs are detailed but small — show a clear reference so the salon hits the right scale and color story.
- Bring 2-3 reference photos showing the exact size and detail level you want
- Specify the style — classic, pastel, glittery, chrome, hearts, or diagonal each look completely different
- Almond or oval shapes flatter the tip art best; coffin works for diagonal versions
- Mention if you want hand-painted seeds or stamped — toothpick dots are quick freehand
- Choose gel polish for fine details — the seeds and thin lines chip fast on regular polish
Tips to Make Watermelon French Tips Last Longer#
- Thin layers always beat thick ones.
- Wrap the top coat over the free edge to seal the design.
- No hot water for at least an hour after painting.
- Refresh top coat every 2-3 days to keep the seeds from chipping.
- Cuticle oil daily — small habit, big difference.
- Wear gloves for cleaning. They save manicures.
Quick FAQ#
What’s the easiest watermelon french tip design for beginners?#
The classic mini or seeds-only versions. Both are short tutorials with simple lines — no curves, no chrome, no glitter. Just a steady hand and a thin brush.
Do I need French guides for these designs?#
Not strictly. A striping brush gives you a clean line with practice. French guides are helpful for diagonal tips and V-shapes if you want guaranteed symmetry.
Can I do watermelon french tips with gel polish?#
Yes. The same technique works with gel — just cure each layer (pink, white, green, seeds) under your lamp before adding the next. For a no-lamp version, my gel nails at home without a UV light guide is worth a read.
Final Thoughts#
Watermelon french tips are the kind of design that looks high-effort but really isn’t. Once you’ve got the basic mini down, every other variation here is just a small tweak — swap the colors for pastel, dot the seeds without the green, or angle the tip diagonally. Same technique, ten different vibes.
Pin the ones you want to try, save your favorites for the weekend, and start with whichever feels least intimidating. Your nails are about to be the cutest part of your summer outfit.